How to Print a Cookbook as a Booklet at Home – Best Method 2026
I’ve had quite a few updates to my cookbook, so I decided it was high time to reprint. Getting the print settings right can be challenging — to say the least. After my most recent testing with 15 different margin combinations and workflows, I finally landed on the best method for clean, professional-looking booklets at home.
This is a major update to my original post with everything I’ve learned from real-world troubleshooting.
Before I get to that, I have a series of blog posts I’ve written over the past year or so that delve into how to create, bind, and print a family cookbook. A full list of the posts I’ve published regarding cookbook creation is below:
- Creating a Microsoft Word Cookbook Template
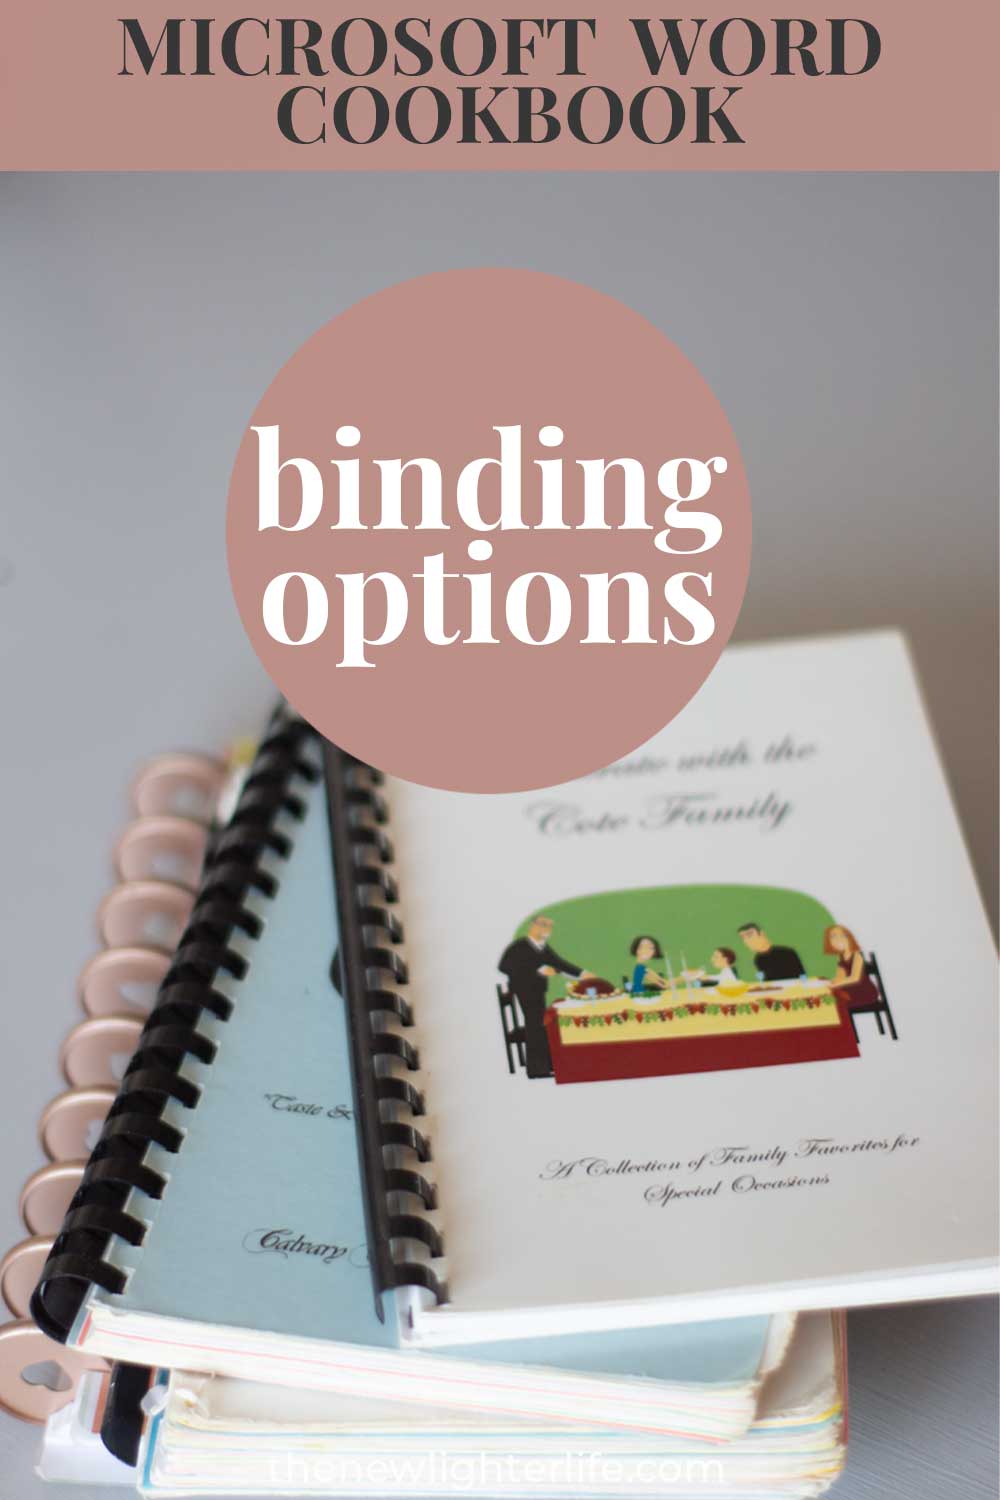
- The 4 Affordable Binding Options for your Cookbook
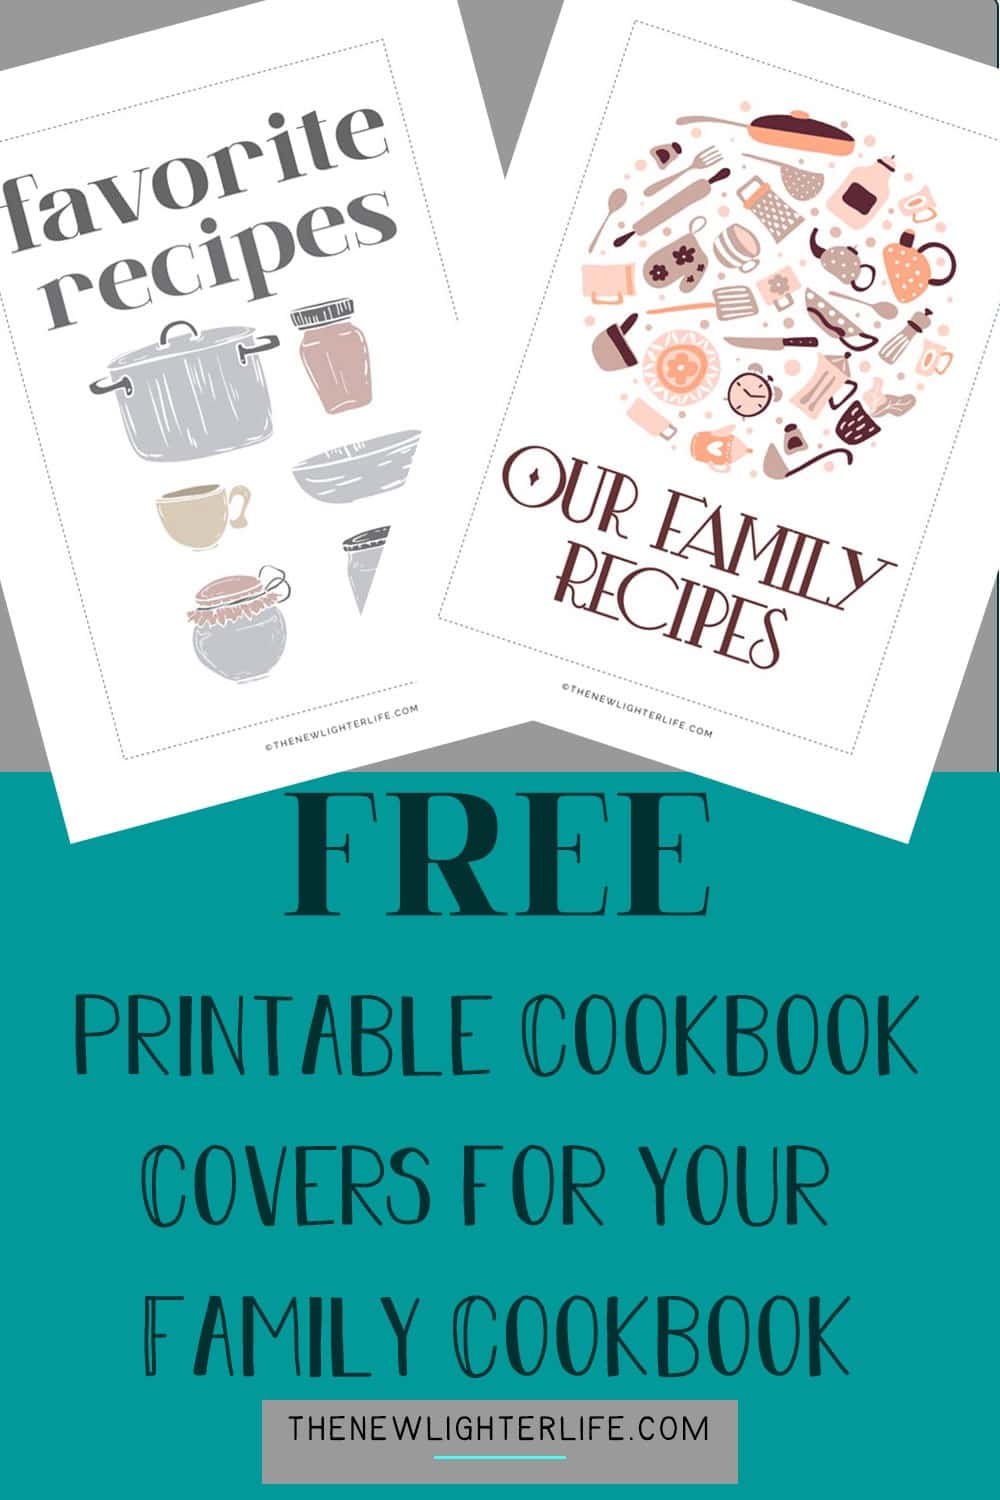
- Three FREE Printable Cookbook Covers
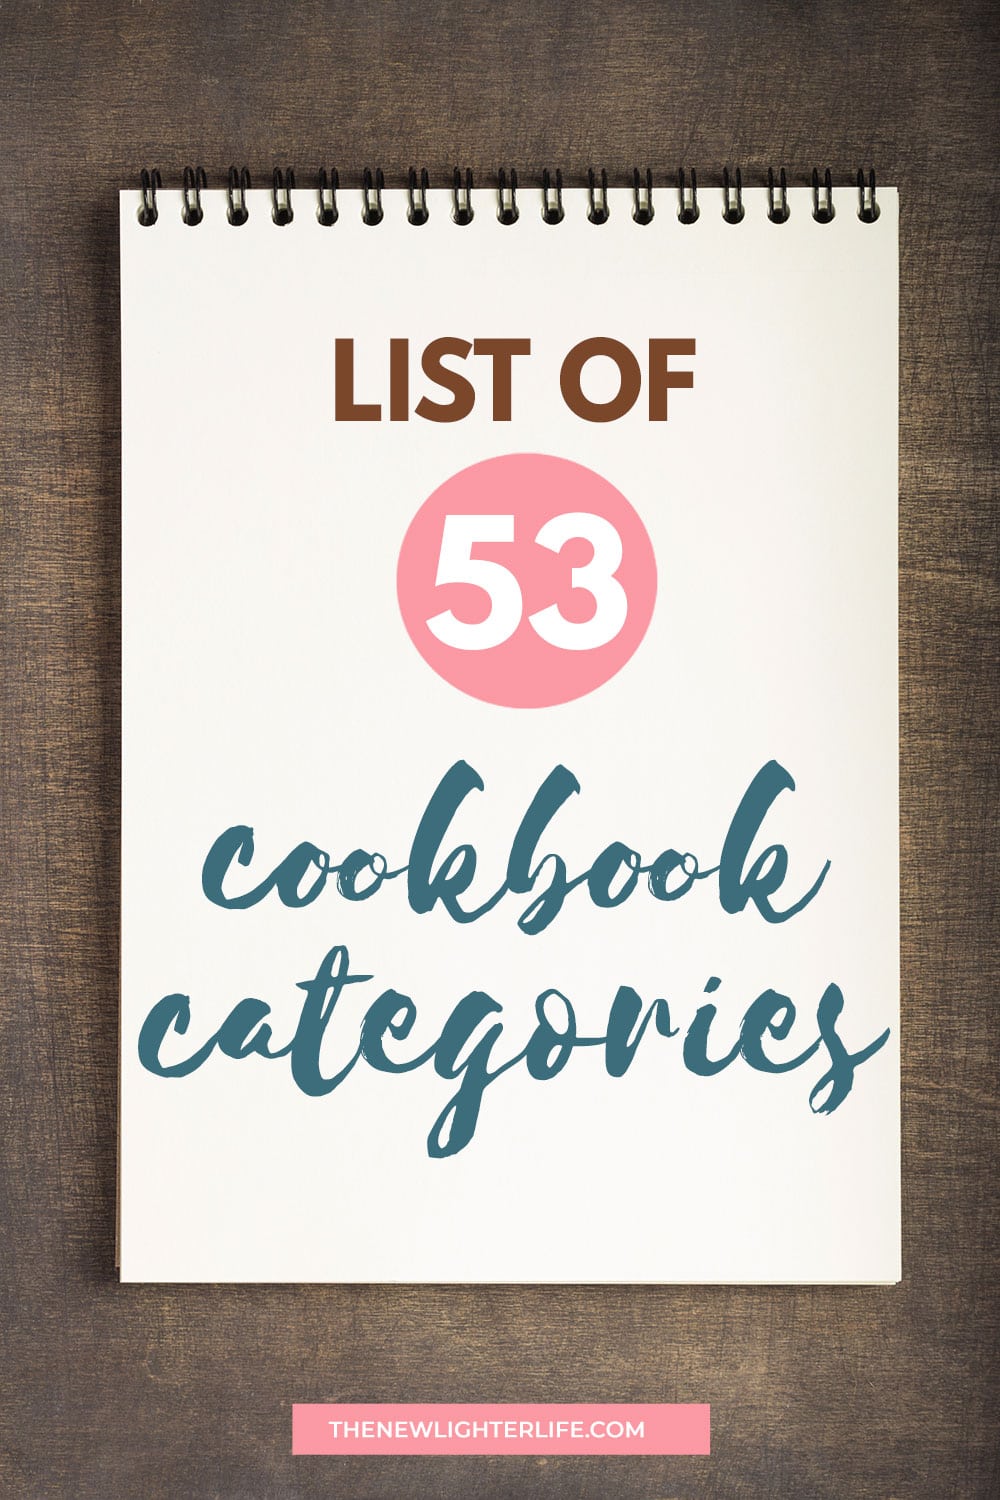
- Categories for Cookbooks
- Updates to the Table of Contents with Fields
- Creating a Cookbook Index
- Adding Images to Your Cookbook Template
- FREE Cookbook Category Divider Pages & Cover
Professional Printing vs. Home Printing
In the past, the cookbooks I’ve created for family and my church had always been printed by professionals (such as Office Depot, Staples, or local print shops). Years ago, they always got it right, but this year (2026) two different print shops told me I had to format my word documents as pdf booklets before they could print them.
Real Talk on Costs:
Here is what a single print of a 126-page (63 double-sided sheets) black-and-white cookbook costs.
Professional Printing
$27. The pages were cut in half but no other options were added such as binding, dividers, or specialty paper. Higher quantities help reduce the cost per cookbook a little, but not dramatically.
At Home Printing:
$5/each. I think at home printing is actually less, but it’s incredibly difficult to get an accurate estimate on this cost. I know for certain that my paper cost was only $0.60 (total). For my ink – my printer is loaded with aftermarket print cartridges (OEM) which make it much cheaper to print. Also, you can factor in that my cookbook is text only so there is less ink used per sheet.
Print Quality Comparision:
Professional Printing
Quality from the print shop was very crisp and noticeably better.
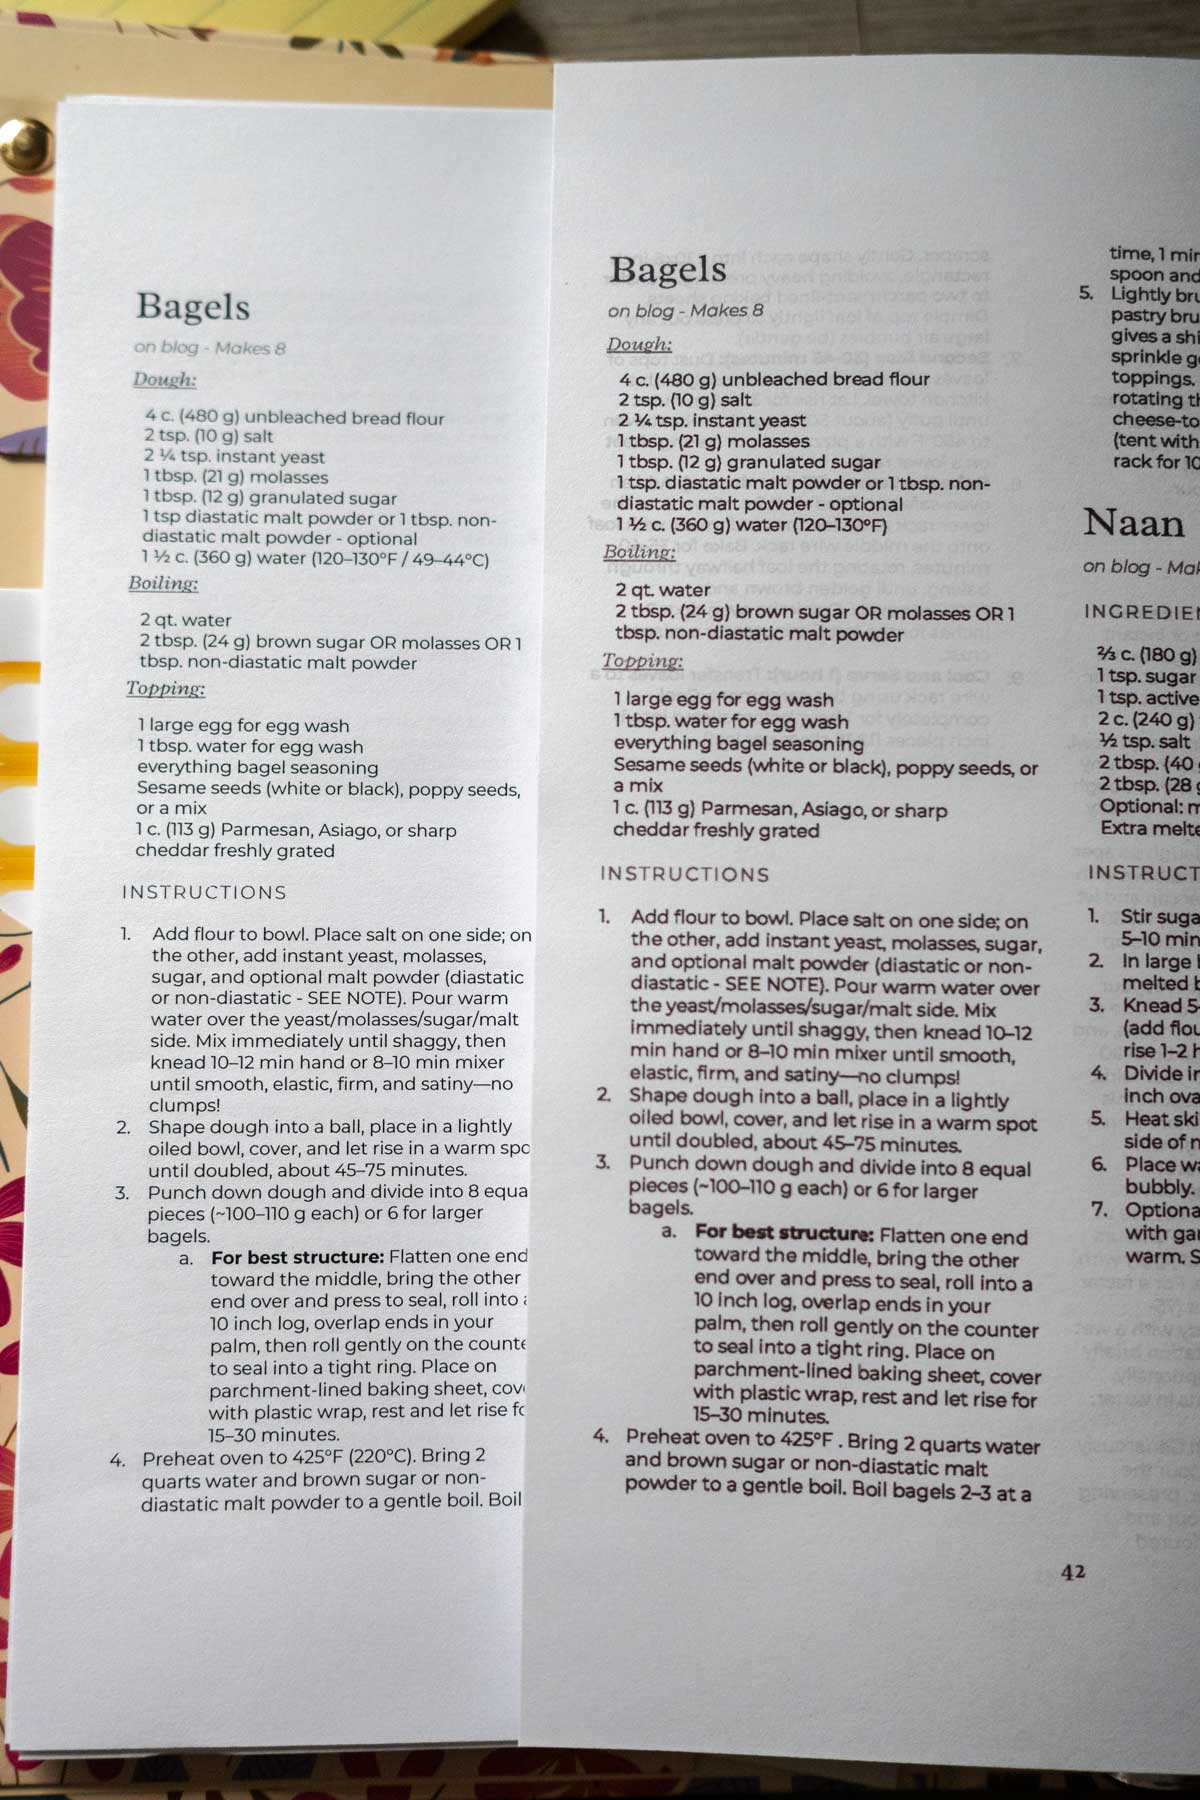
It is hard to tell from this photos but the text is way more crisp and clear in the professional-printed on the left versus my home printed on the right.
At Home Printing
I noticed an improvement in quality when I switched from draft (150 dpi) to 400 or 600 dpi. Still quality on my HP OfficeJet Pro 8720 is not nearly as crisp as professionally printed.
Margin Errors:
Professional Printing
Print shops don’t adjust margins, so whatever you send to them will be printed. It looked like my margins were set perfectly for print and binding. But my print shop printed cookbook had slightly narrower outside and inside margins and the text was slightly cut into when I 3-hole punched my cookbook. Ugh.
I was wracking my brain on where I went wrong so I decided to print a page on my printer from the exact PDF I sent to the printer. Guys – the inside and outside margins are slightly wider from my home printer. That said, if you use a professional printshop – I suggest you have them print a test page so you know if you have enough margin for binding. Then you can make adjustments before the bigger cost of printing cookbook(s).
At Home Printing
You can adjust your settings and print test pages to make sure everything is good for your needs. Like I told you before I changed my margin and print settings 15 times (no exaggeration) to get what I needed to print correctly on my home printer.
The Best Way I’ve Found: BookletFree.com
After many frustrating tests with Word’s built-in booklet feature (that I used to recommend), BookletFree.com is now my go-to.
Systems Used for Printing
Before we get to the solution, you should know the operating system and printer I’m using in case you need to adjust slightly. If there are slight differences in what you see when you print, it may be attributed to the systems/hardware I’m using. Below are the details of my system:
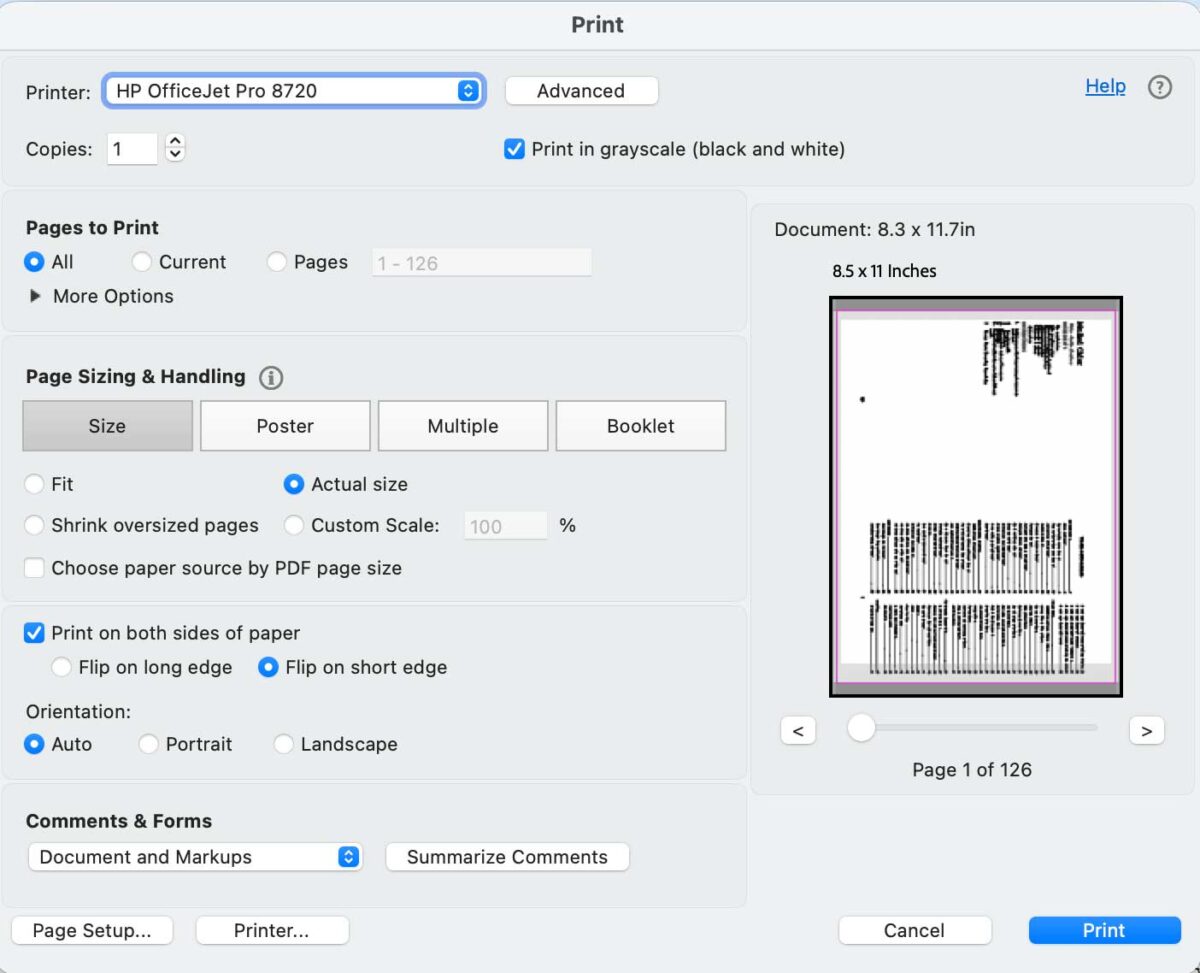
Computer: Apple MacBook Pro, OS Tahoe 26.4.1
Printer: HP OfficeJet Pro 8720
Software: Microsoft Word for Mac (2019 License)
Recommended Document Setup (Before Exporting)
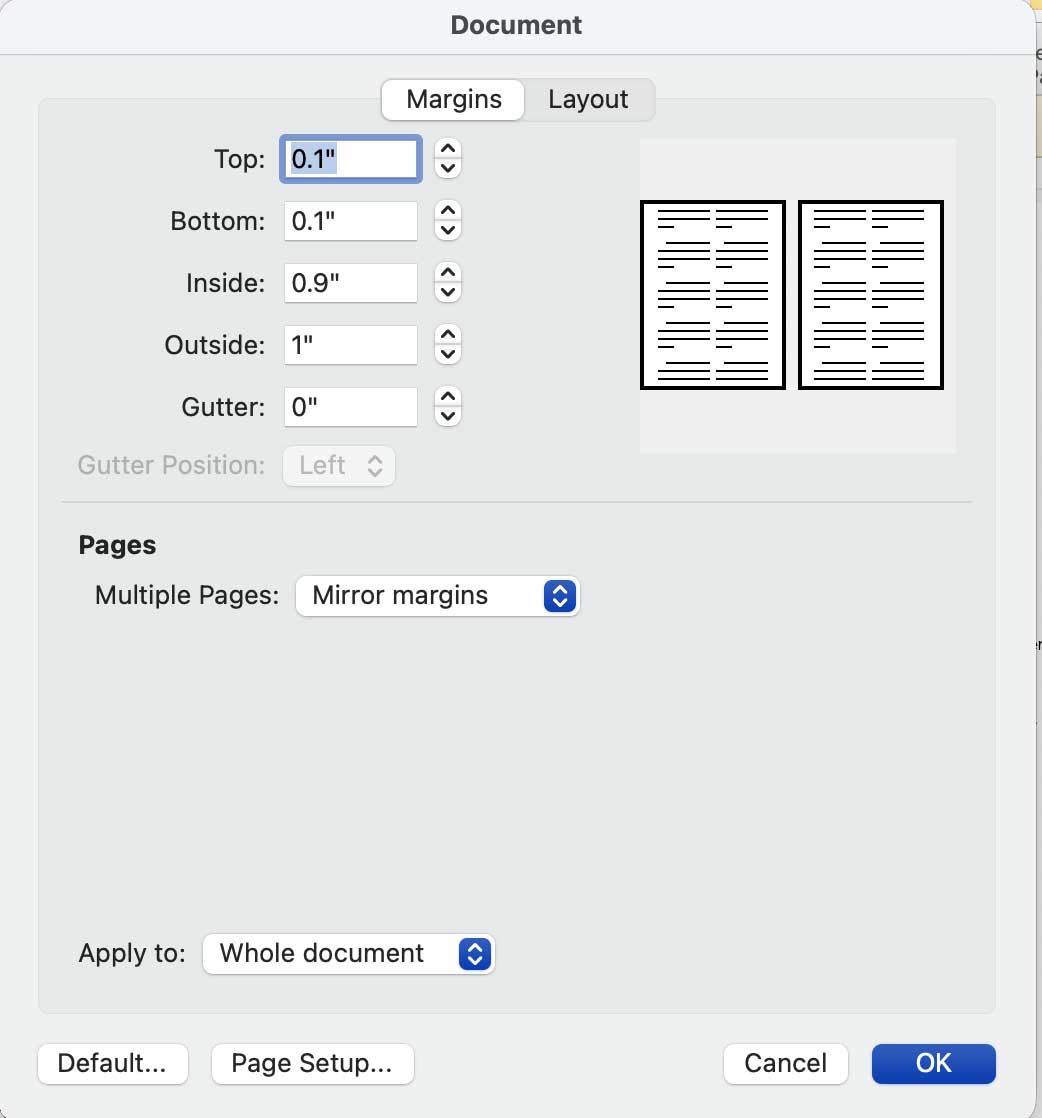
- Use Mirror Margins:
- Inside Margin: 0.9″ or 1″
- Outside Margin: 0.9″ or 1″
- Top Margin: 0.1″
- Bottom Margin: 0.1″
- Make sure you apply to the Whole Document.
- Save your document as a PDF.
BookletFree.com Steps
- Upload your PDF to BookletFree.com.
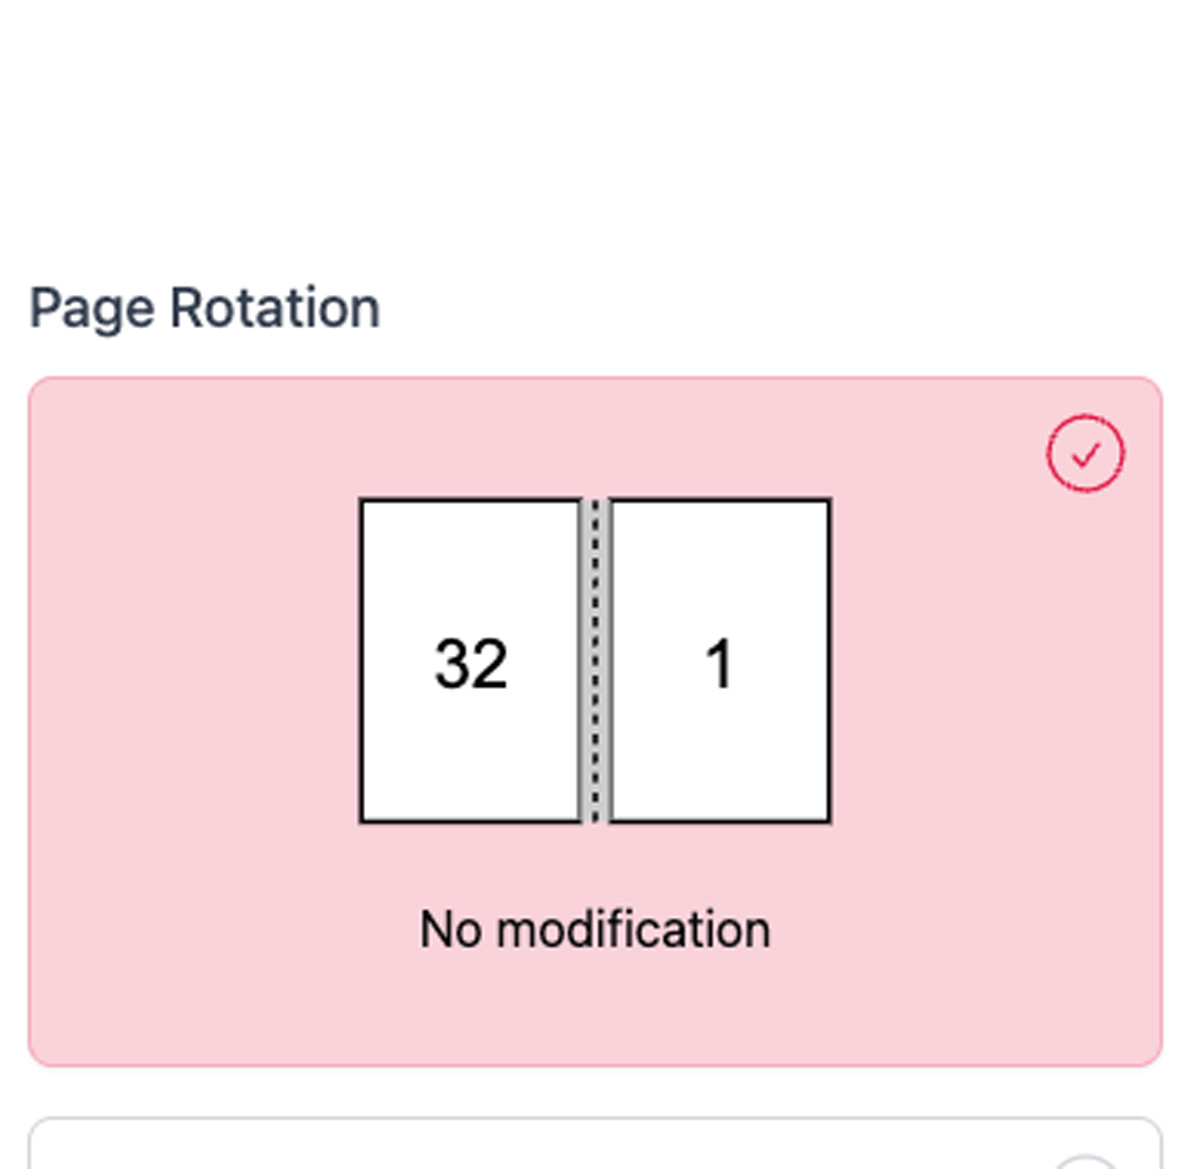
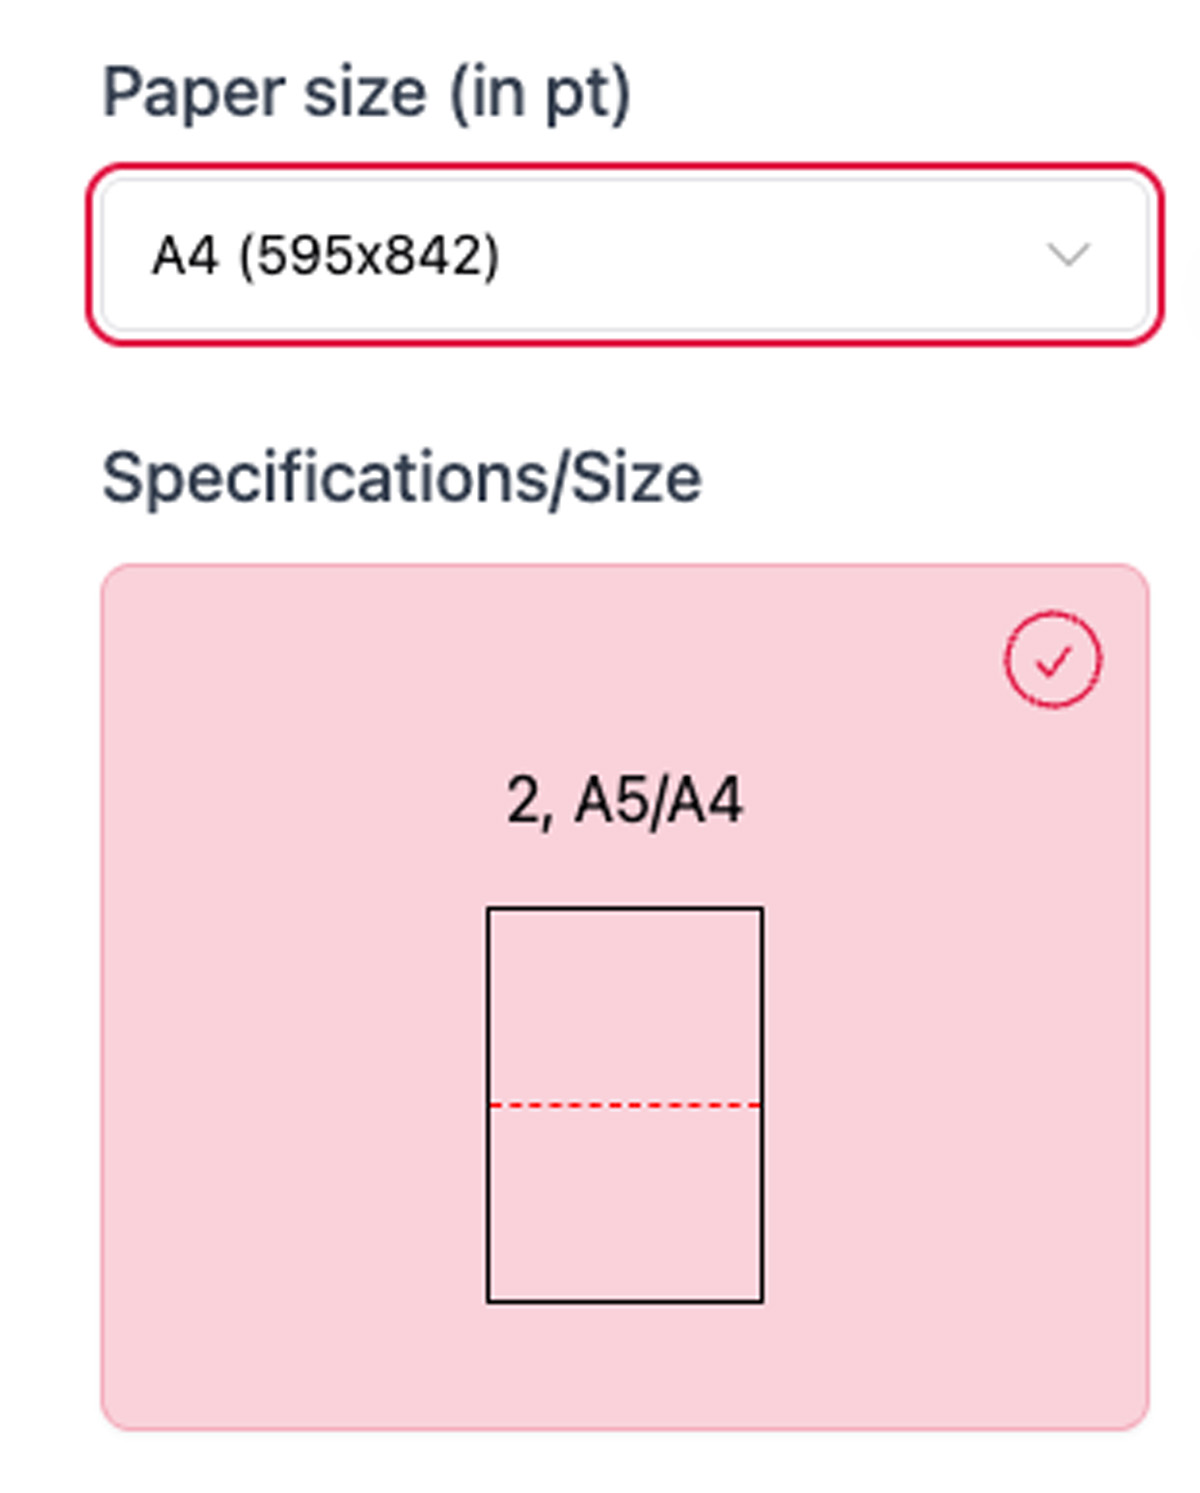
- Leave page rotation on default.
- Use A4 size (this is important — it tricks the printer into tighter margins).
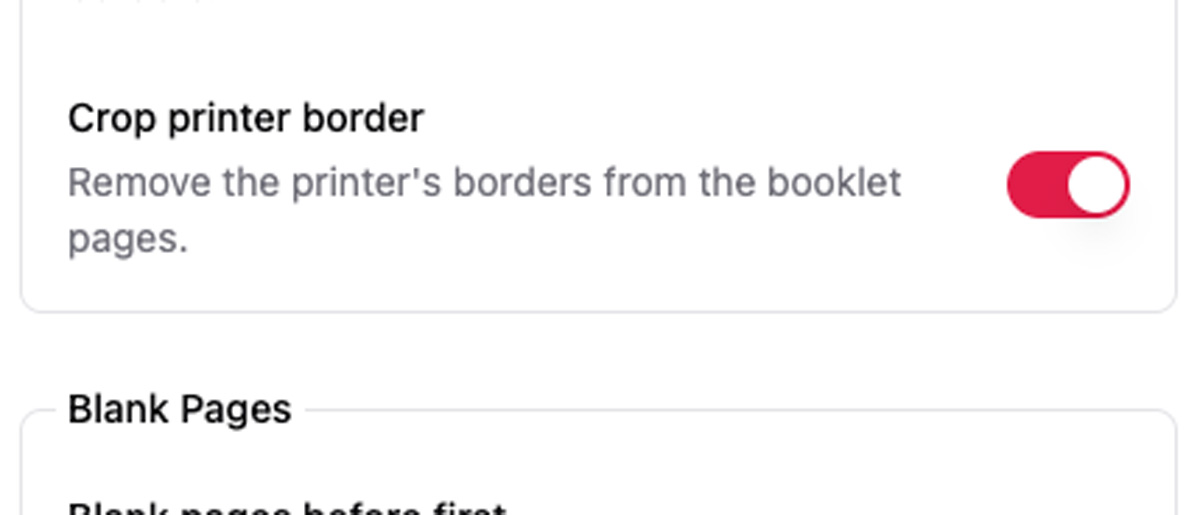
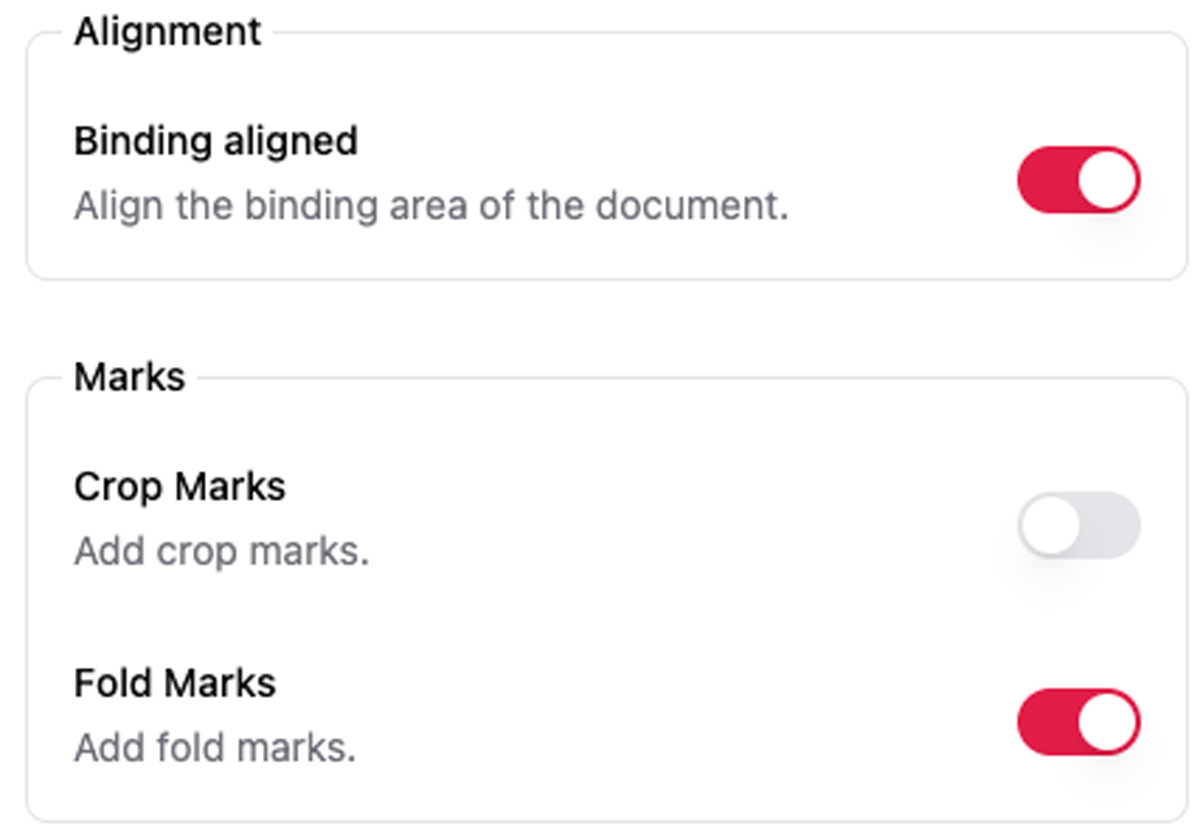
- Check these two critical advanced options:
- Crop Print Border (removes printer margins)
- Binding Align
- (Optional) Add fold marks for easier cutting guides.
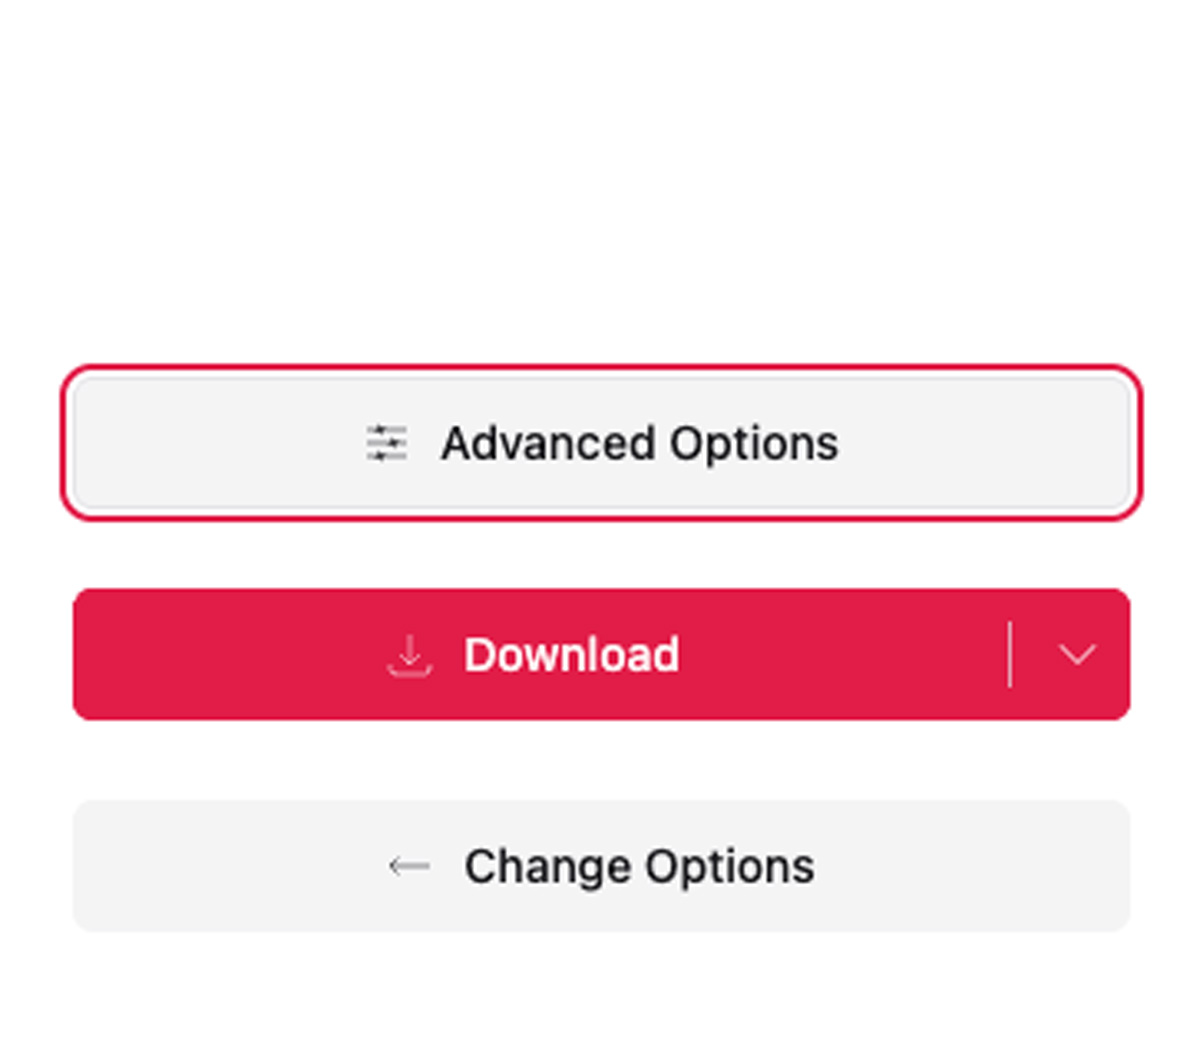
- Download the new imposed PDF.
Printing the Booklet
- Print Actual Size
- Print on Both Sides
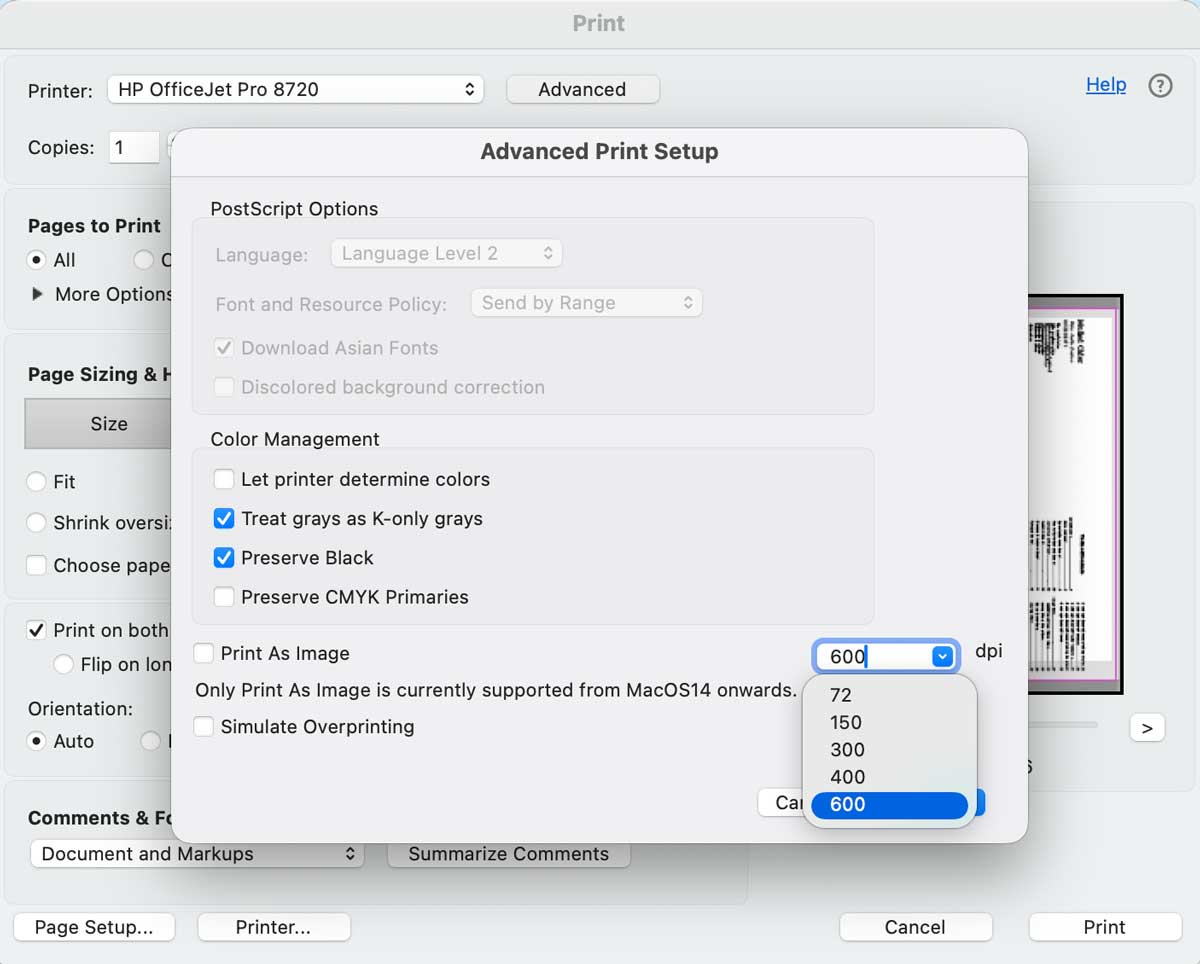
- For advanced options select higher DPI (400 or 600 for better quality)
- Flip on Short Edge
Printed Margin Results (huge improvement!):
| Measurement | Direct from Word | After BookletFree.com |
|---|---|---|
| Top | 1 1/8″ | 5/8″ |
| Bottom | 1 1/8″ | 5/8″ |
| Inside | 3/4″ | 5/8″ |
| Outside | 7/8″ | 3/8″ |
There is significant text shrinkage with larger margins when printing directly from Word. BookletFree.com gives much tighter, cleaner results.
Final Reminders for You
Please keep the following tips in mind when you are finalizing your document.
- Margin needs vary by binding type. 3-ring binders need more inside margin than comb or wire binding.
- If text quality is extremely important, a professional print shop is still the best option (but expect to pay for it).
- Every page at the start of a cookbook section needs to be on the odd page of the document. This is VERY important for assembly. You may need to insert a blank page at the end of a cookbook section to make sure your new category/section starts on an odd page.
- I highly recommend that if you are using a table of contents or index, you update right before you print. To do so, right-click the table or the index, click “Update Field” and “Update entire table”
- Once you have updated your table, double-check to be sure your cookbook sections still start on an odd page.
- I recommend you test print pages 1-4 somewhere in the middle of your cookbook after you have converted your pdf to a booklet with BookletFree.com. This will help you make sure nothing major is off in your document before you send your whole cookbook.
- Preview options are NOT accurate which is why you need to test print some pages
Final Thoughts
Home printing a booklet is trickier than it should be, but with the right margins and BookletFree.com, you can get excellent results without spending a fortune. This workflow has become my standard for updating and reprinting my personal cookbook.
Have you struggled with booklet margins too? Let me know if this worked for you below.
Happy Cookbook Printing!
As an Amazon Associate, I earn from qualifying purchases at no extra cost to you. Thank you for your support!


7 Comments