Foolproof Authentic Bagel Recipe
Unless you live on the East Coast, you might think the only way to get a real, chewy New York-style bagel is to visit a deli in Manhattan. But after two years of testing and perfecting, I’ve nailed a straightforward recipe and technique that can absolutely rival any bagel shop—right from your own kitchen. These homemade bagels are glossy, golden, perfectly chewy yet soft, and full of classic flavor. The real game-changers? The rope-and-seal shaping method that keeps the holes open and defined, and the optional overnight cold proof that delivers noticeably deeper, more complex taste with better rise and structure.
I usually make 8 medium-sized bagels, but you can divide into 6 larger ones for hearty sandwiches or breakfasts. Molasses in the dough adds subtle rich depth, and brown sugar in the boil creates that beautiful glossy finish. Let’s dive in!

Why You’ll Love This Bagel Recipe
This recipe has quickly become one of my go-to baking projects, and here’s why I think you’ll fall in love with it too:
- Game-changing shaping technique — The rope-and-seal method builds gluten tension for even, professional-looking bagels with open, defined holes—no more closing up during boiling or baking.
- Cold-proofing magic — An easy overnight fridge rest transforms flavor and texture: taller rise, less flatness, more complex taste, and slightly more open crumb while staying perfectly chewy.
- Incredible chew and texture — Bread flour, thorough kneading, and boiling deliver that dense-yet-soft deli-style bite.
- Customizable and forgiving — Molasses adds richness, malt powder boosts flavor/rise (optional), and toppings (especially homemade everything seasoning) let you personalize.
- Better than store-bought — Fresh from the oven, these outshine anything pre-packaged—your kitchen will smell like the best bakery in town.


Helpful Tips for the Best Homemade Bagels
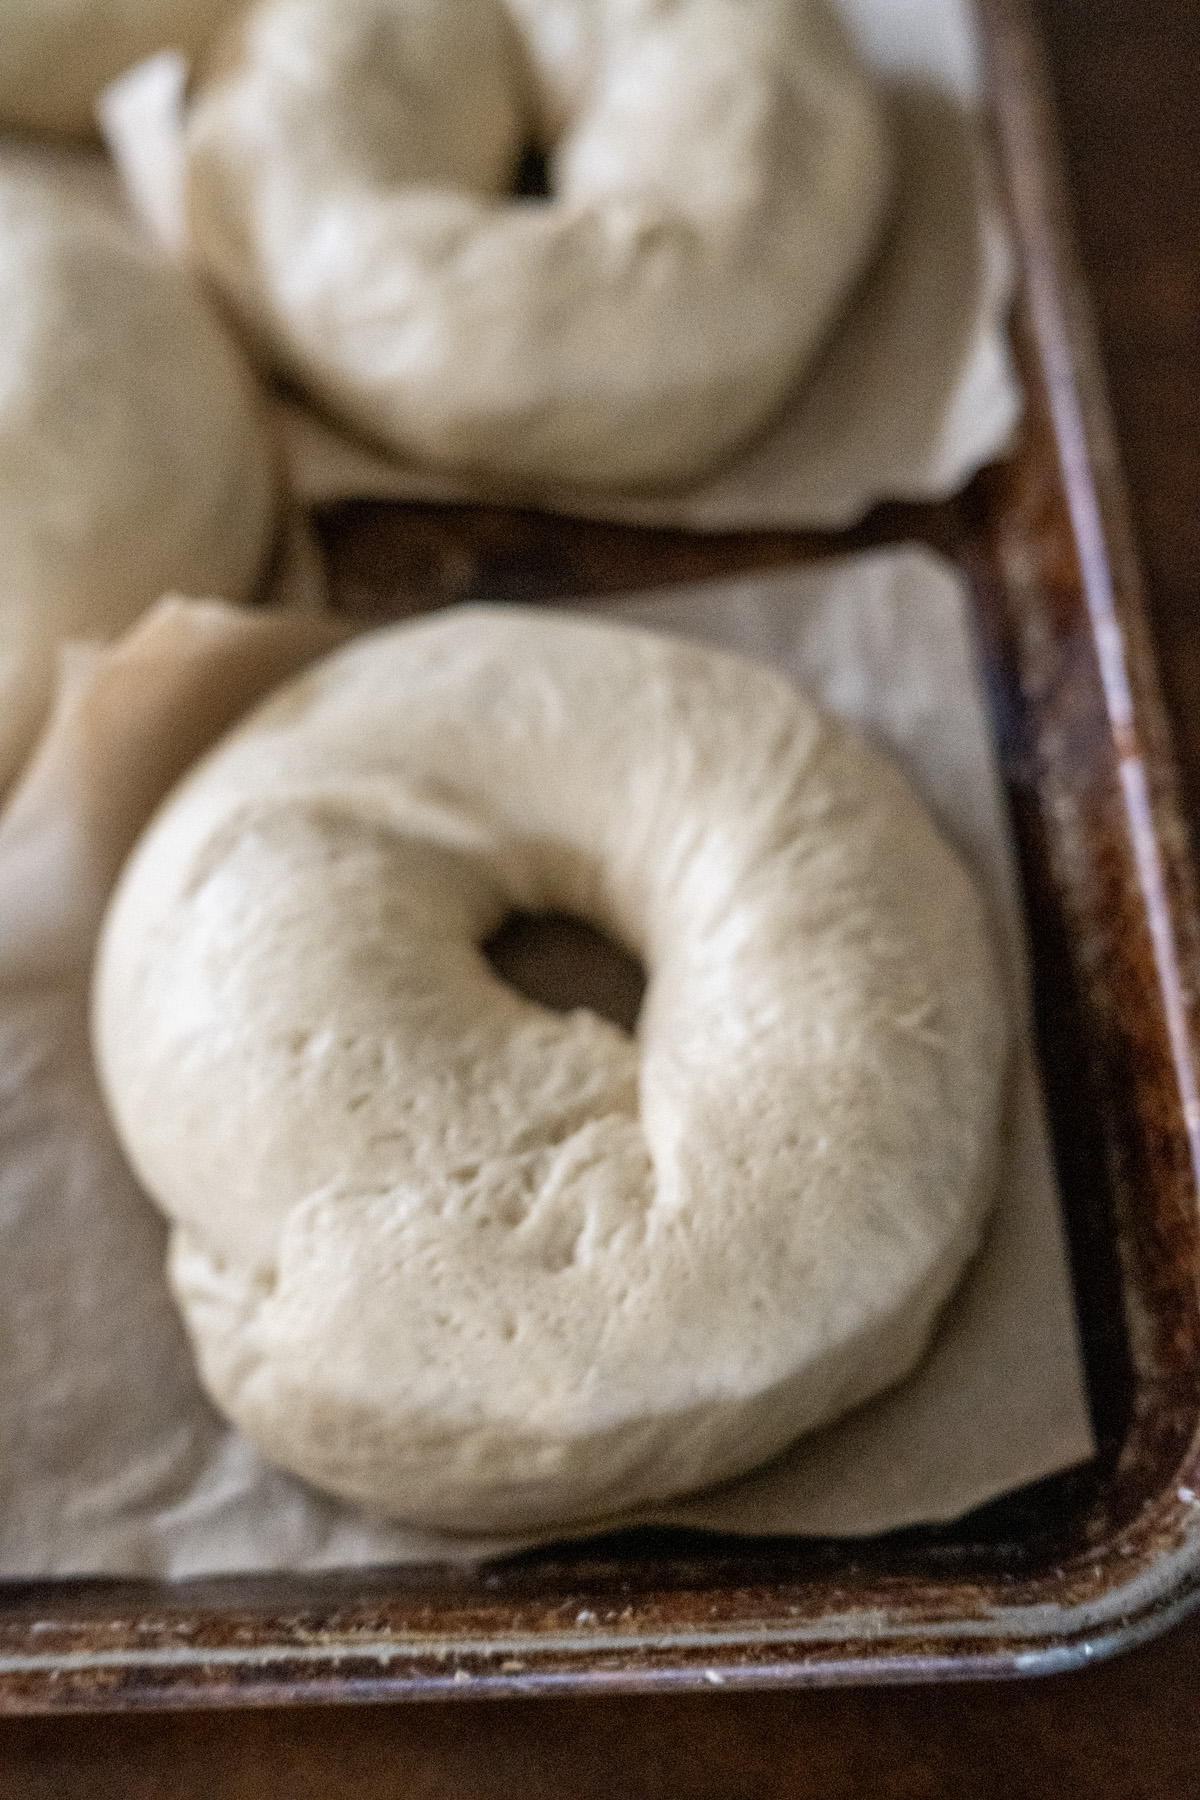
- Cold-Proofing Recommendation: For the best flavor and structure, shape the bagels, place on parchment squares, cover tightly with plastic wrap, and refrigerate 8–24 hours (overnight is ideal). The slow rise builds deeper, more complex taste (richer, tangier, maltier), taller domes, less bottom discoloration, and slightly more open crumb while keeping classic bagel chew. Same-day proofed bagels are great, but cold-proofed are noticeably better—especially if you want fresh bagels over multiple days. If they overproof and flatten slightly, just reshape gently and let rise a bit before boiling.
- Kneading & Windowpane Test: Knead for the full recommended time—don’t rush! Strong gluten = chewy bagels. For bagels, if you want to check with a windowpane test but always let the dough rest 1–2 minutes first. Freshly kneaded stiff dough is tight, so the gluten needs time to relax before it stretches properly without tearing—this gives a true read on development. A partial windowpane is often enough; over-kneading make it tough.
- Malt Powder in the Dough: For extra authentic flavor, add 1 teaspoon diastatic malt powder to the dry ingredients (it provides enzymes for better rise and crust). Non-diastatic malt powder works for flavor only but won’t help with fermentation. If using, reduce molasses/sugar slightly to balance sweetness.
- Boiling Liquid Options: Non-diastatic malt powder gives the most authentic malty flavor and deepest color (use 1 Tbsp in the boil). Brown sugar adds subtle caramel notes (my go-to); honey works too. Avoid plain water—the sugar helps with browning and shine.
- Size Variations: 8 pieces = medium (great for toasting); 6 = larger deli-style. Weigh for evenness!
- Storage: Keep in a paper bag for 1–2 days, or slice and freeze for up to 3 months. Toast from frozen—they’re perfect!


Topping Ideas
One of the best parts of homemade bagels is piling on toppings—it’s where you can truly make them your own! I frequently use my go-to homemade everything bagel seasoning (a mix of sesame seeds, poppy seeds, dried minced garlic, dried minced onion, and flaky sea salt. It adds that irresistible crunchy, savory, garlicky punch that pairs perfectly with the chewy bagels.
Here are some favorite topping choices to try:
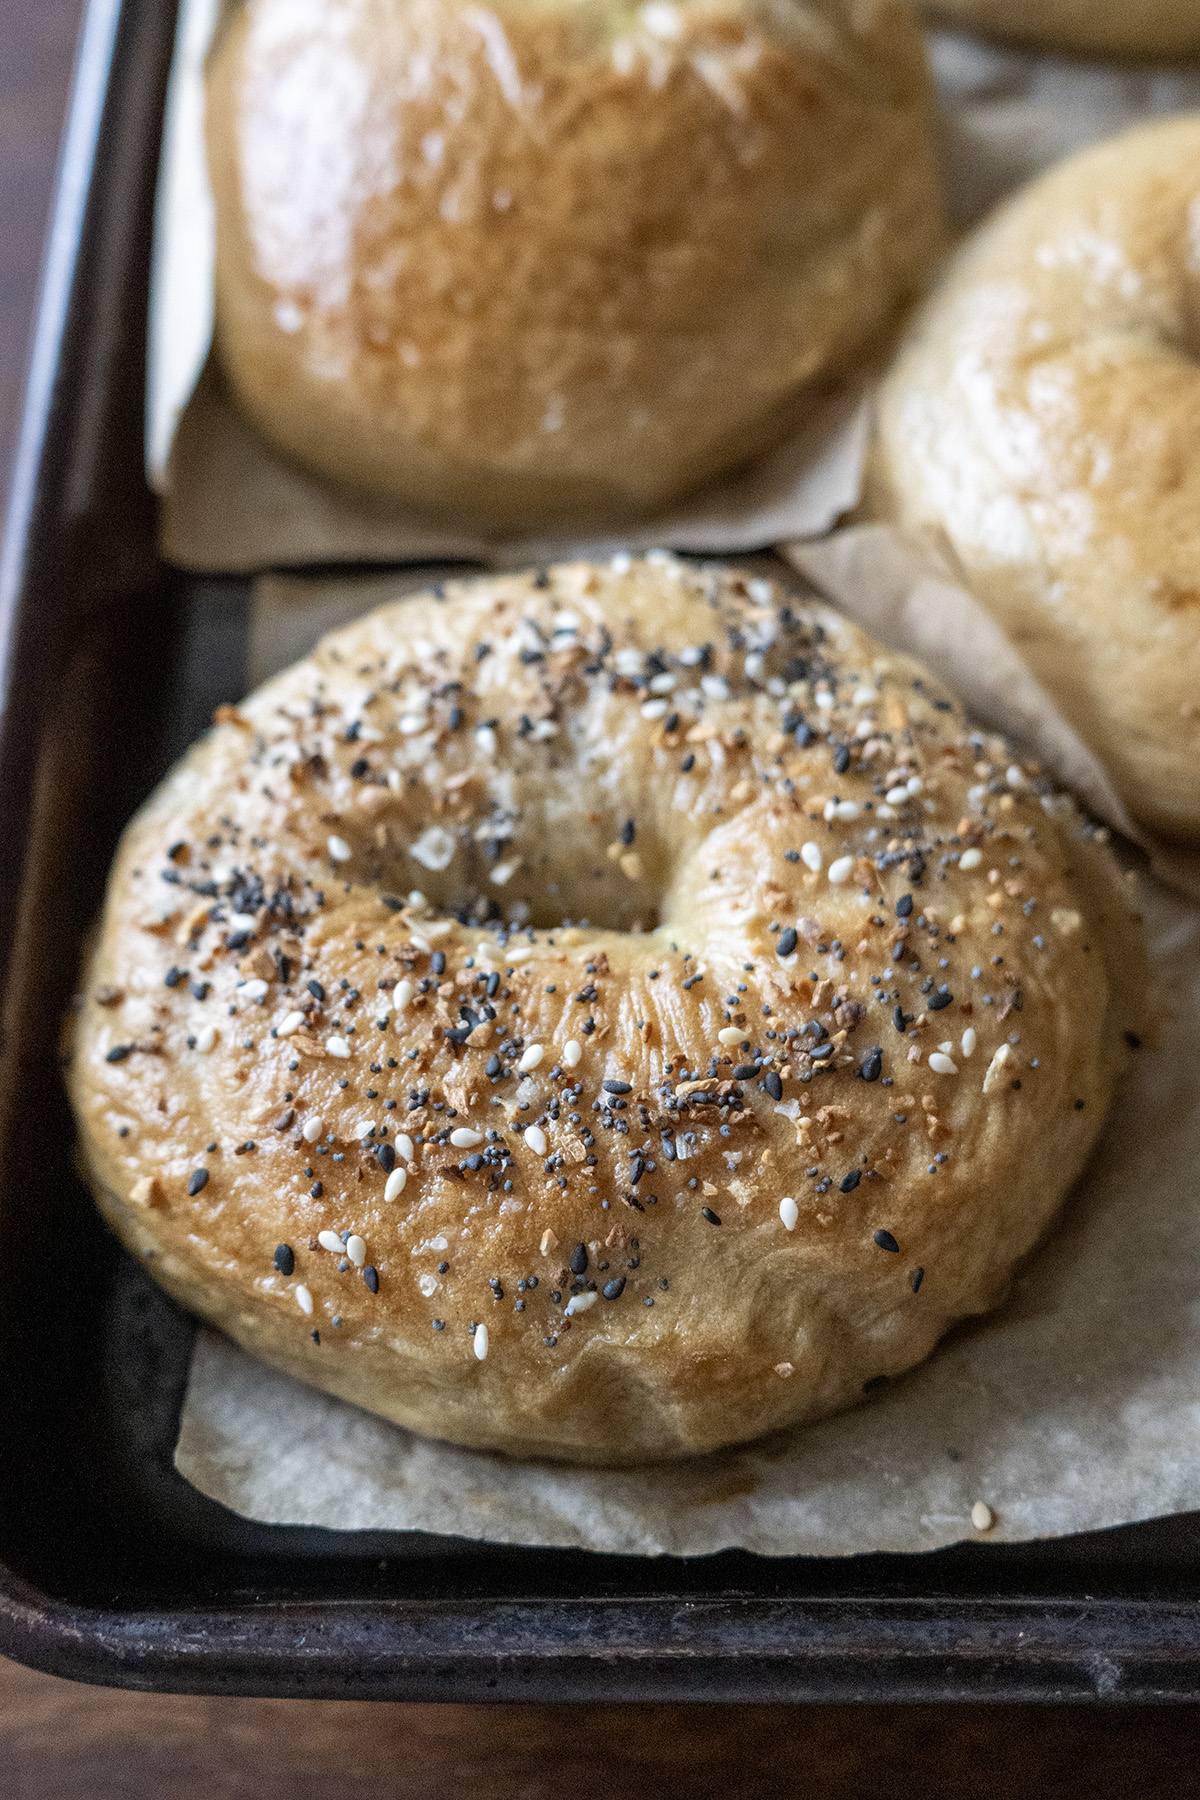
- Everything Bagel Seasoning — Storebought or homemade blend (sesame seeds, poppy seeds, dried minced garlic, dried minced onion, flaky sea salt, and any special tweaks)! After boiling and with bagel still wet, sprinkle generously. You can also brush the bagel with an egg wash for a glossier finish and stronger adhesion.
- Freshly Grated Parmesan, Cheddar, or Asiago — Liberally sprinkle for a crispy, golden, cheesy crust—sharp, salty, and melty perfection. Pairs amazingly with the bagels’ subtle depth.
- Sesame Seeds (white or black) — Nutty, classic, and elegant on their own for a simple seeded look.
- Poppy Seeds — Mild crunch with subtle flavor; great for a traditional plain-seeded bagel.
- Coarse Salt or Flaky Sea Salt — Just a light sprinkle for that essential salty contrast.
- Dried Minced Onion — For a bolder, caramelized onion vibe—use alone or mix with garlic for extra savoriness.
- Dried Minced Garlic — Intense and aromatic; perfect if you love garlic-forward bagels.
- Other Savory Twists — Caraway seeds (for rye-inspired note), chili flakes (subtle heat), or nutritional yeast (cheesy umami, great for vegan).
Frequently Asked Questions
Here are answers to some common questions about bagel recipes—based on my own baking experience and what works best!
Can I use all-purpose flour?
Yes, you can! Bread flour gives the chewiest, most authentic texture due to its higher protein content (better gluten development for that signature bagel bite). All-purpose flour works fine and makes good, tasty bagels, but they’ll be slightly softer and less chewy with a more open crumb. If using all-purpose, you may need a touch less water or more kneading to build strength. For even better chew with all-purpose, some add a tablespoon or two of vital wheat gluten. Stick with bread flour for classic results, but all-purpose is a solid backup!
Do I have to use diastatic or non-diastatic malt powder?
No, not at all! Malt powder adds a subtle malty flavor, better browning, and (with diastatic) a slight rise boost, but I’ve made these bagels many times without it and they turn out excellent—chewy, flavorful, and delicious. The molasses in the dough and brown sugar in the boil provide plenty of depth and shine. Use malt powder if you have it and want that extra “bakery” touch.
Is windowpane testing necessary?
Not really—it’s a helpful optional check for gluten development, but many bakers (including me for most breads) skip it entirely and rely on kneading time + dough feel instead. For bagels, knead the full recommended time until the dough is smooth, elastic, firm, and satiny. If you want to test, rest your dough for 1–2 minutes first (gluten relaxes so it stretches without tearing prematurely). A partial translucent window is plenty—full paper-thin isn’t required for great chewy bagels.
What about using active dry yeast?
You can swap it in! Use the same amount (2¼ teaspoons) as instant, but dissolve it first in the water warmed to about 90-110°F with the sugar for 5–10 minutes until foamy. Then proceed as usual. The rise might take 10–20 minutes longer since active dry is slower to start. Instant yeast is more convenient (no proofing needed), but active dry works great with this extra step. Results are very similar!

Final Thoughts
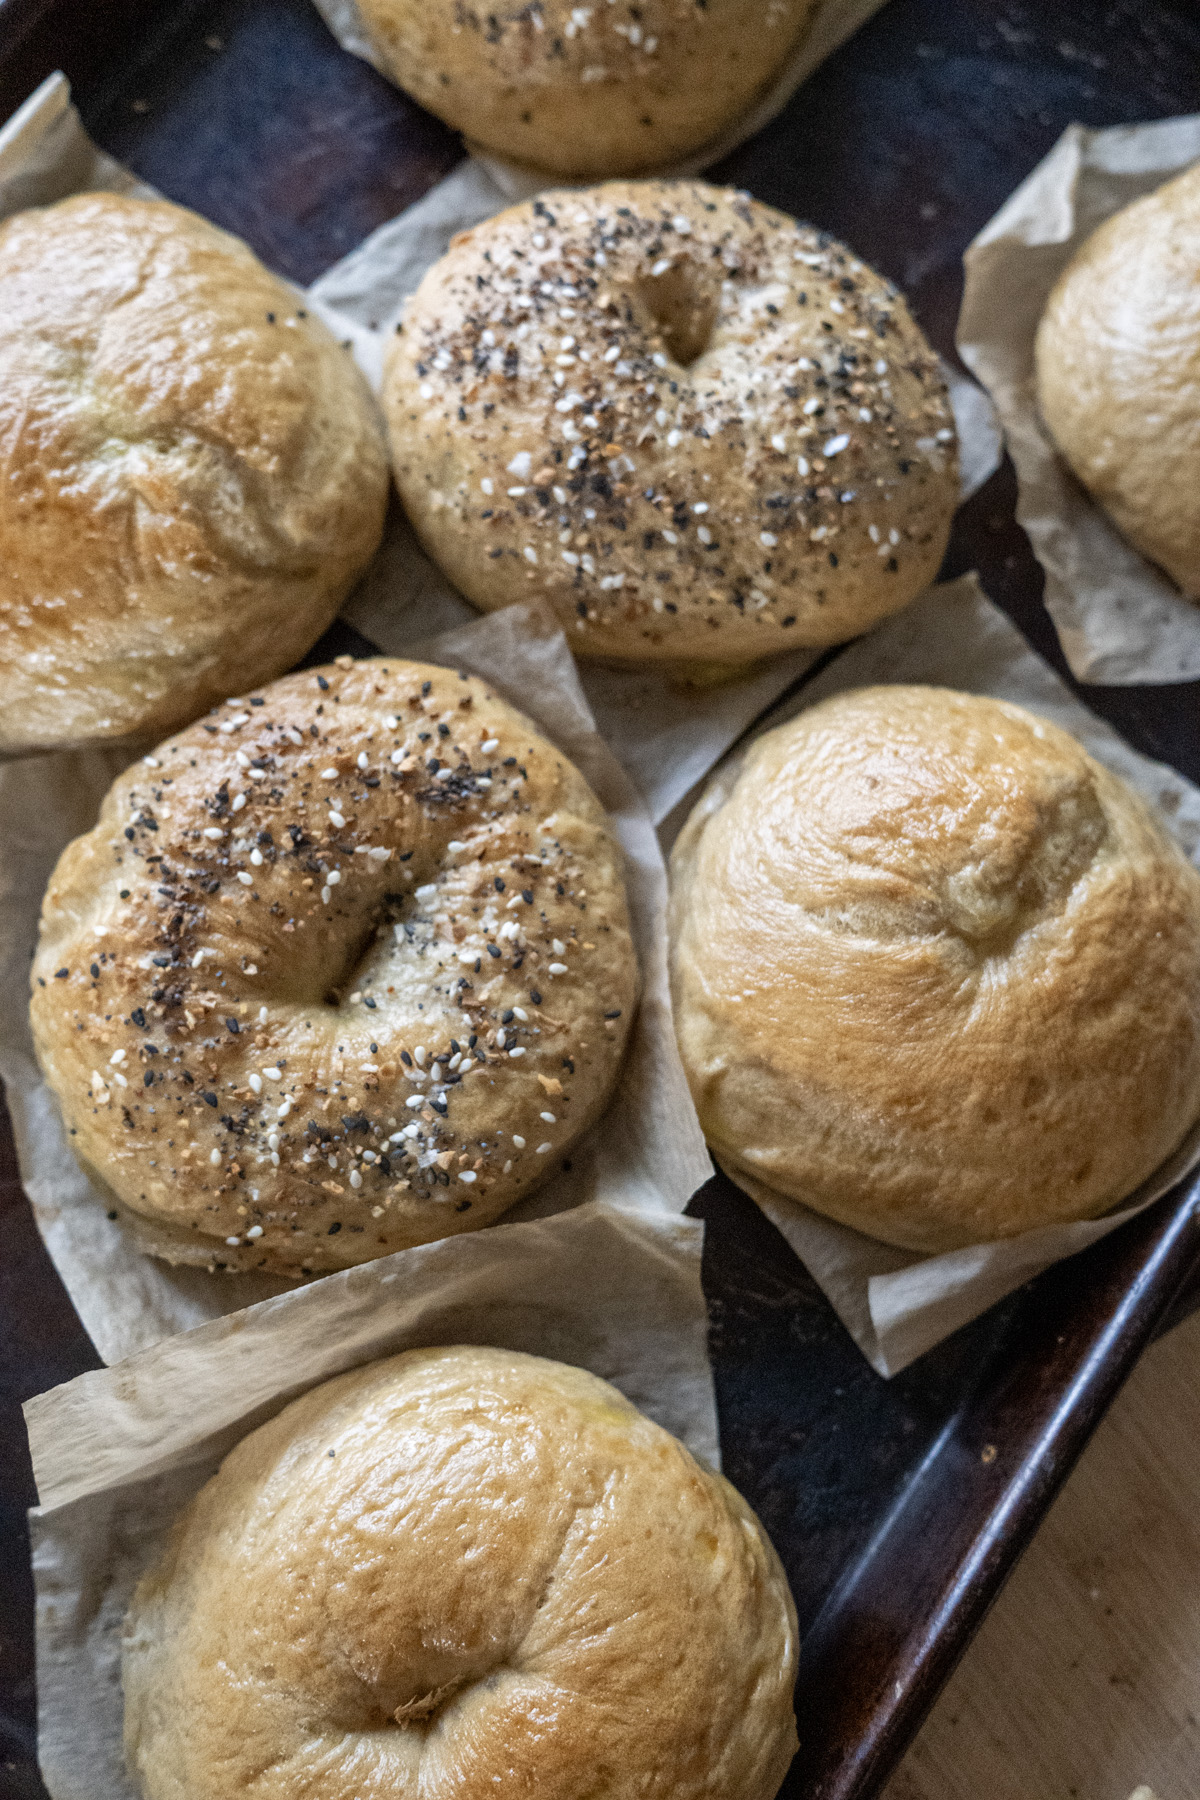
Pulling warm, golden bagels from your oven feels magical. This bagel recipe gives that “I made these!” joy every time—chewy, customizable, and better than store-bought. Whether with your homemade everything seasoning or cheesy Parmesan, the simple method and malt powder tweaks make it accessible and delicious. Once you nail these, weekends change forever.
Have you made bagels before? What’s your favorite topping combo? I’d love to hear in the comments!
Happy baking!
Easy Homemade Bagel Recipe
Print Recipe
equipment (affiliate links
- kitchen scale for best accuracy
- Stand mixer with dough hook recommended due to long knead time
- medum saucepan for boiling bagels
- Pastry brush for optional egg wash
- diastatic malt powder optional
- non-diastatic malt powder optional
Ingredients
Dough:
- 4 c. (480 g) unbleached bread flour (RECOMMEND WEIGHING)
- 2 tsp. (10 g) salt
- 2 ¼ tsp. instant yeast
- 1 tbsp. (21 g) molasses
- 1 tbsp. (12 g) granulated sugar
- 1 tsp diastatic malt powder or 1 tbsp. non-diastatic malt powder – optional
- 1 ½ c. (360 g) water (120–130°F / 49–44°C)
Boiling:
- 2 qt. water
- 2 tbsp. (24 g) brown sugar OR molasses OR 1 tbsp. non-diastatic malt powder
Topping:
- 1 large egg for egg wash
- 1 tbsp. water for egg wash
- everything bagel seasoning
- Sesame seeds (white or black), poppy seeds, or a mix
- 1 c. (113 g) Parmesan, Asiago, or sharp cheddar freshly grated
Instructions
- Make the dough: Add flour to bowl. Place salt on one side; on the other, add instant yeast, molasses, sugar, and optional malt powder (diastatic or non-diastatic – SEE NOTE). Pour warm water over the yeast/molasses/sugar/malt side. Mix immediately until shaggy, then knead 10–12 min hand or 8–10 min mixer until smooth, elastic, firm, and satiny—no clumps!4 c. (480 g) unbleached bread flour (RECOMMEND WEIGHING)2 tsp. (10 g) salt2 ¼ tsp. instant yeast1 tbsp. (21 g) molasses1 tbsp. (12 g) granulated sugar1 tsp diastatic malt powder1 ½ c. (360 g) water
- First rise: Shape dough into a ball, place in a lightly oiled bowl, cover, and let rise in a warm spot until doubled, about 45–75 minutes.
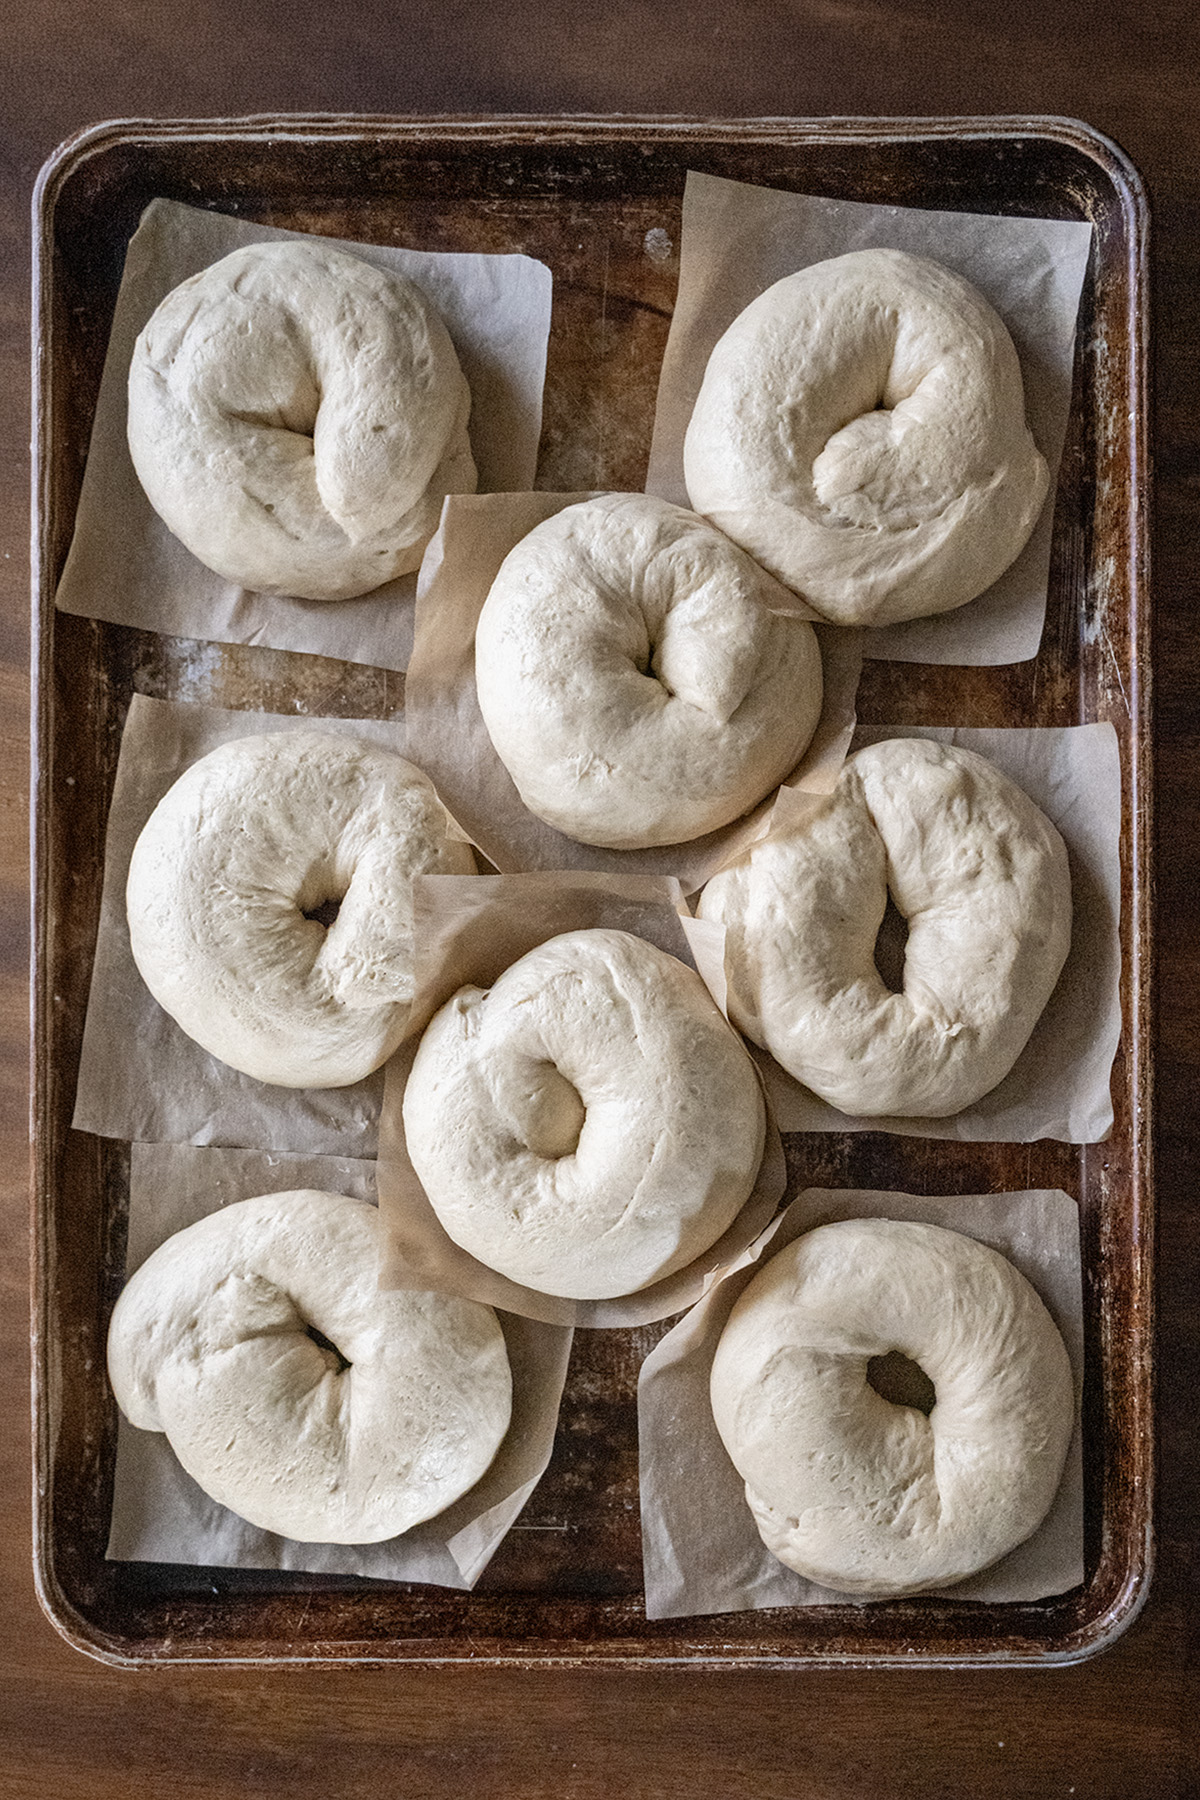
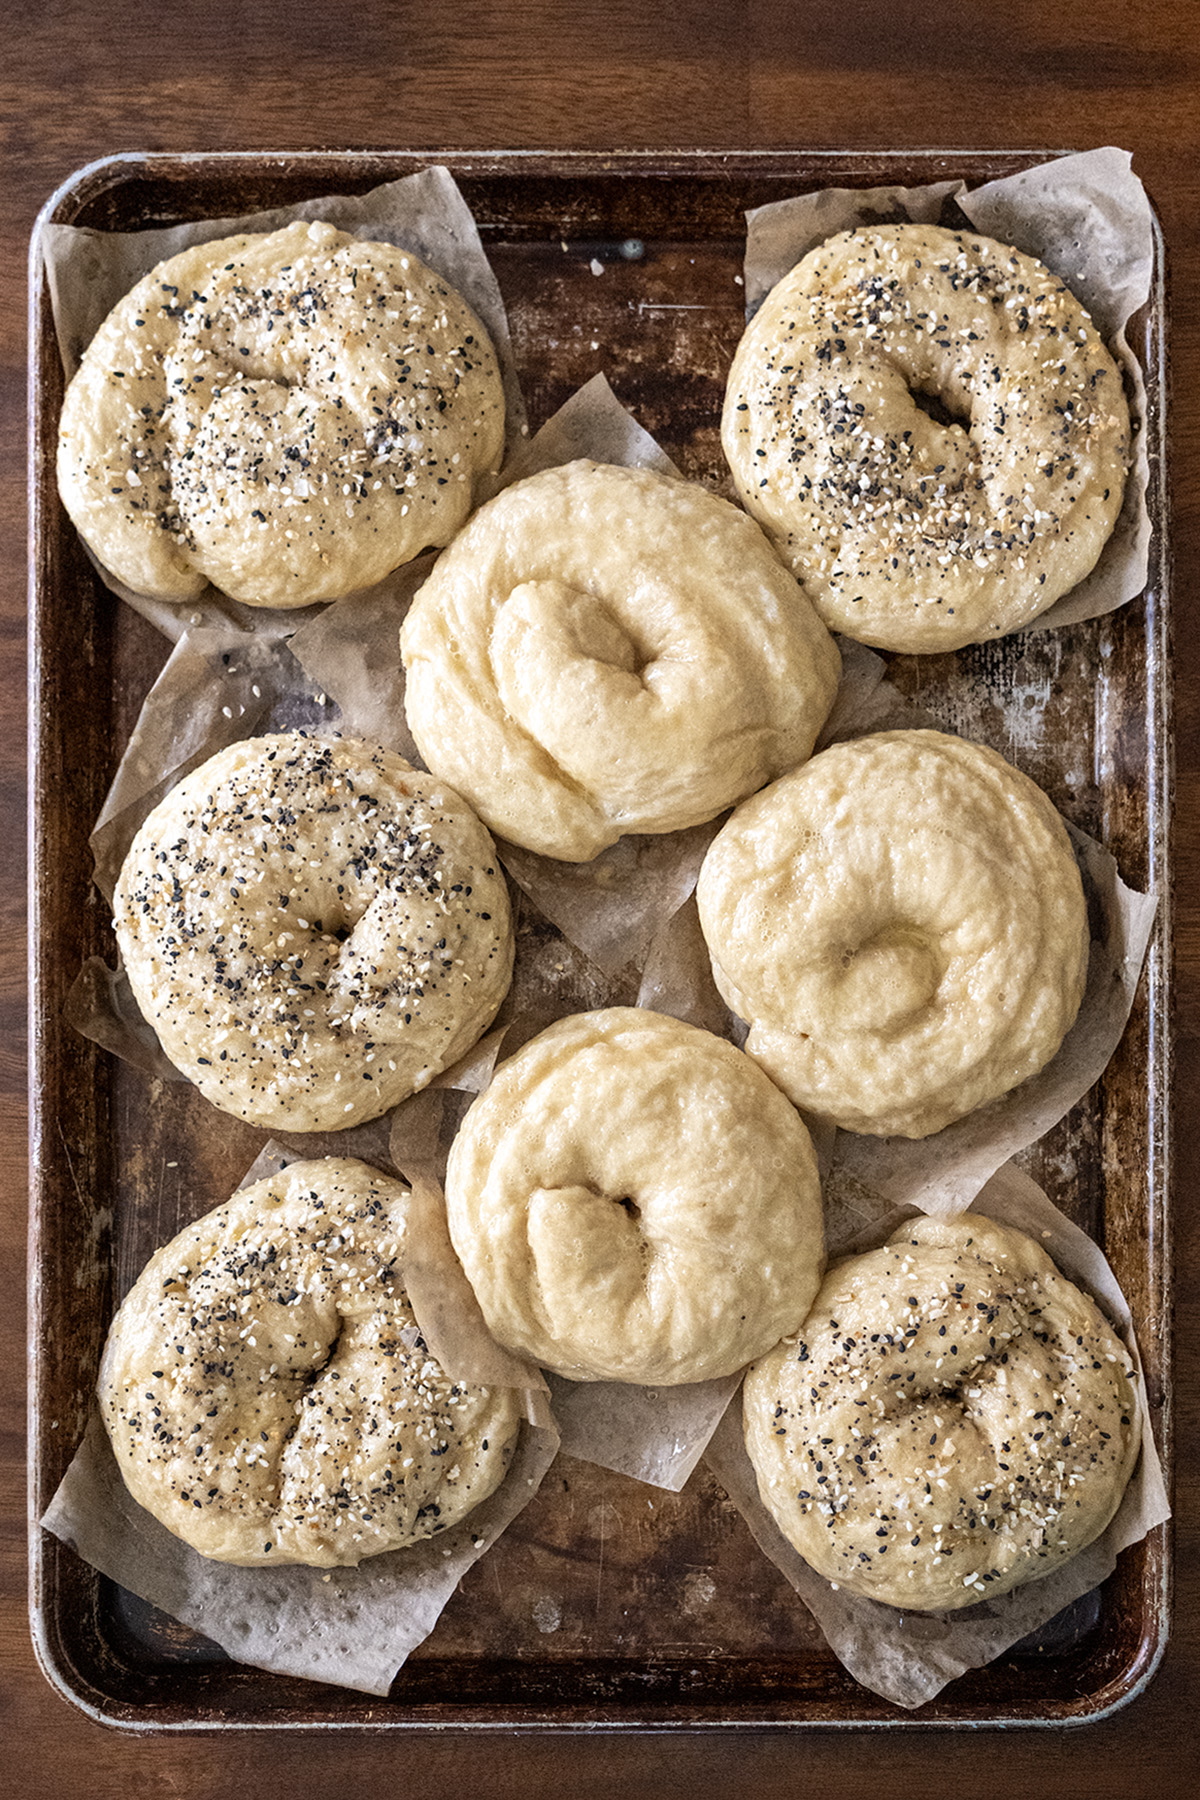
- Divide and shape: Punch down dough and divide into 8 equal pieces (~100–110 g each) or 6 for larger bagels.
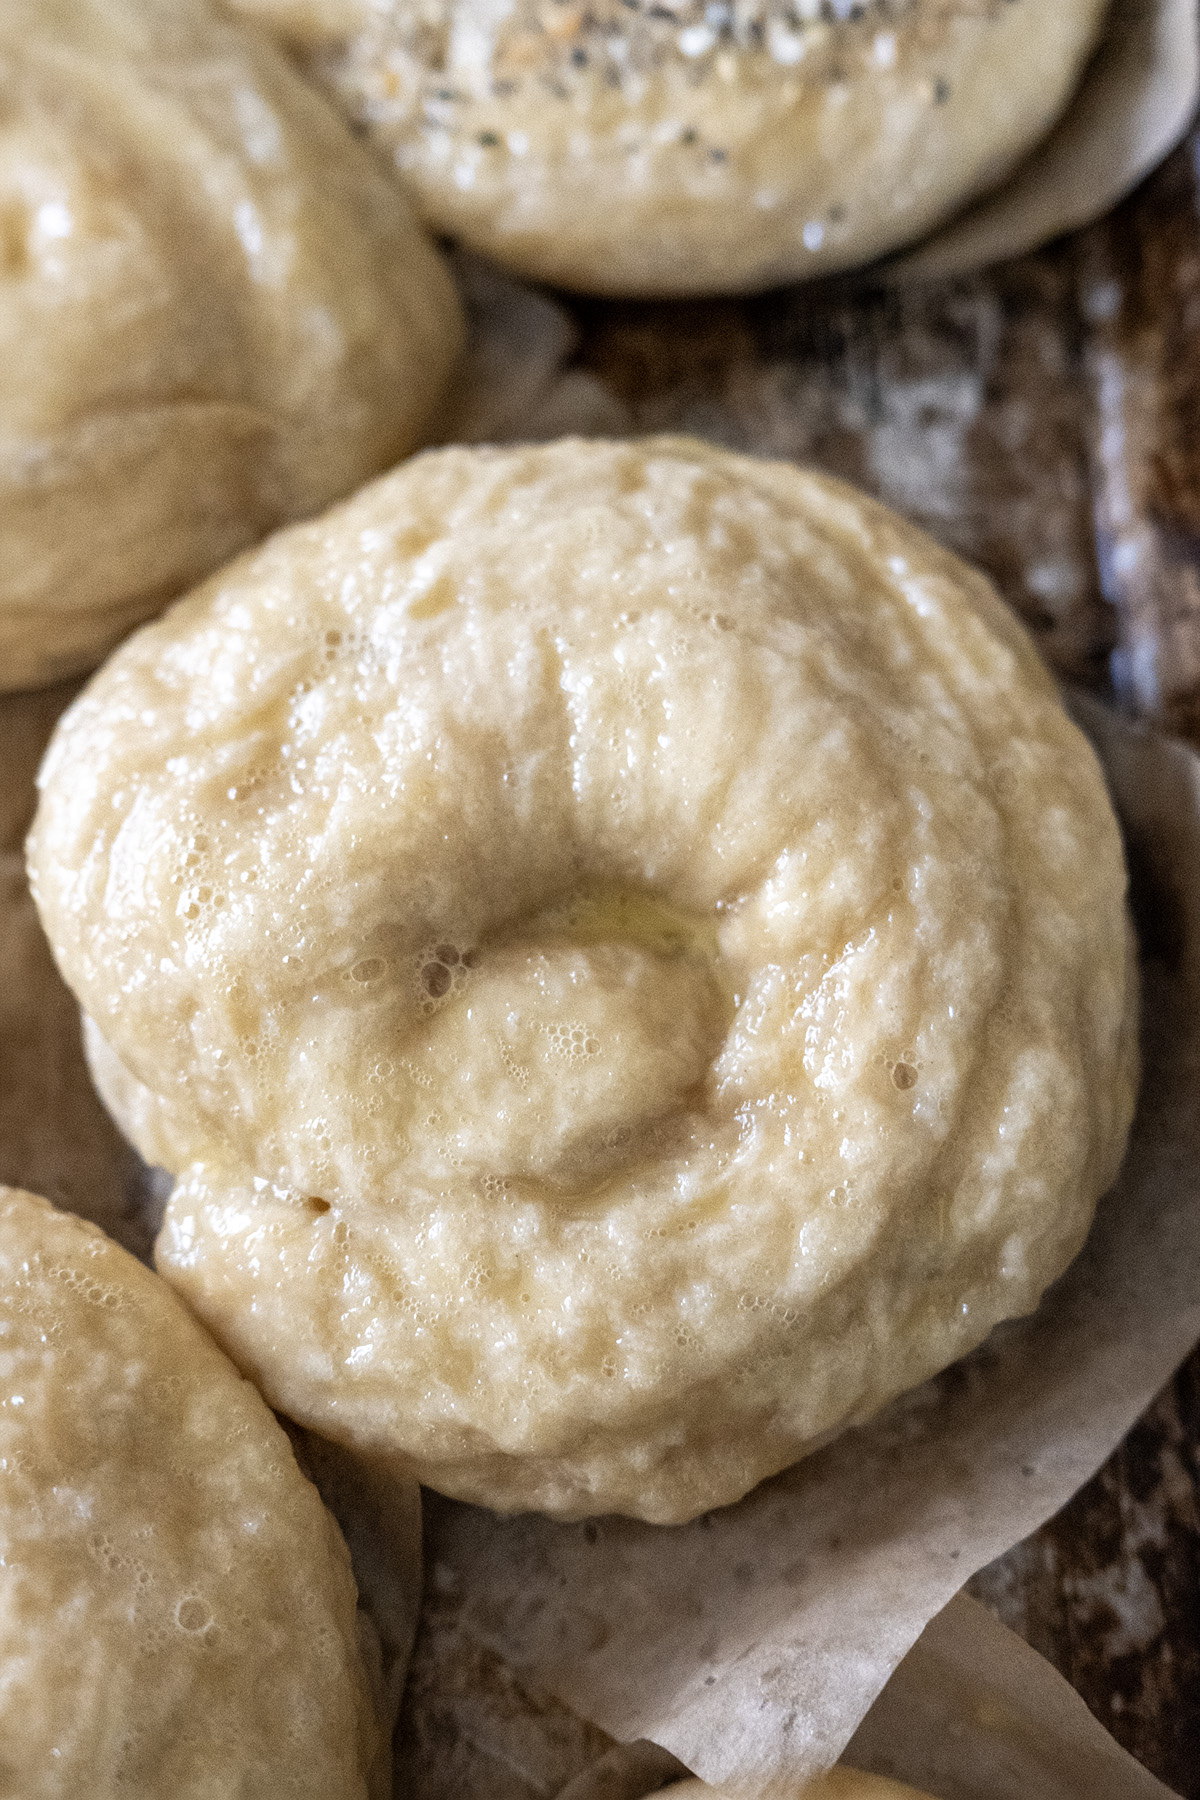
- For best structure: Flatten one end toward the middle, bring the other end over and press to seal, roll into a 10 inch log, overlap ends in your palm, then roll gently on the counter to seal into a tight ring. Place on parchment-lined baking sheet, cover with plastic wrap, rest and let rise for 15–30 minutes.
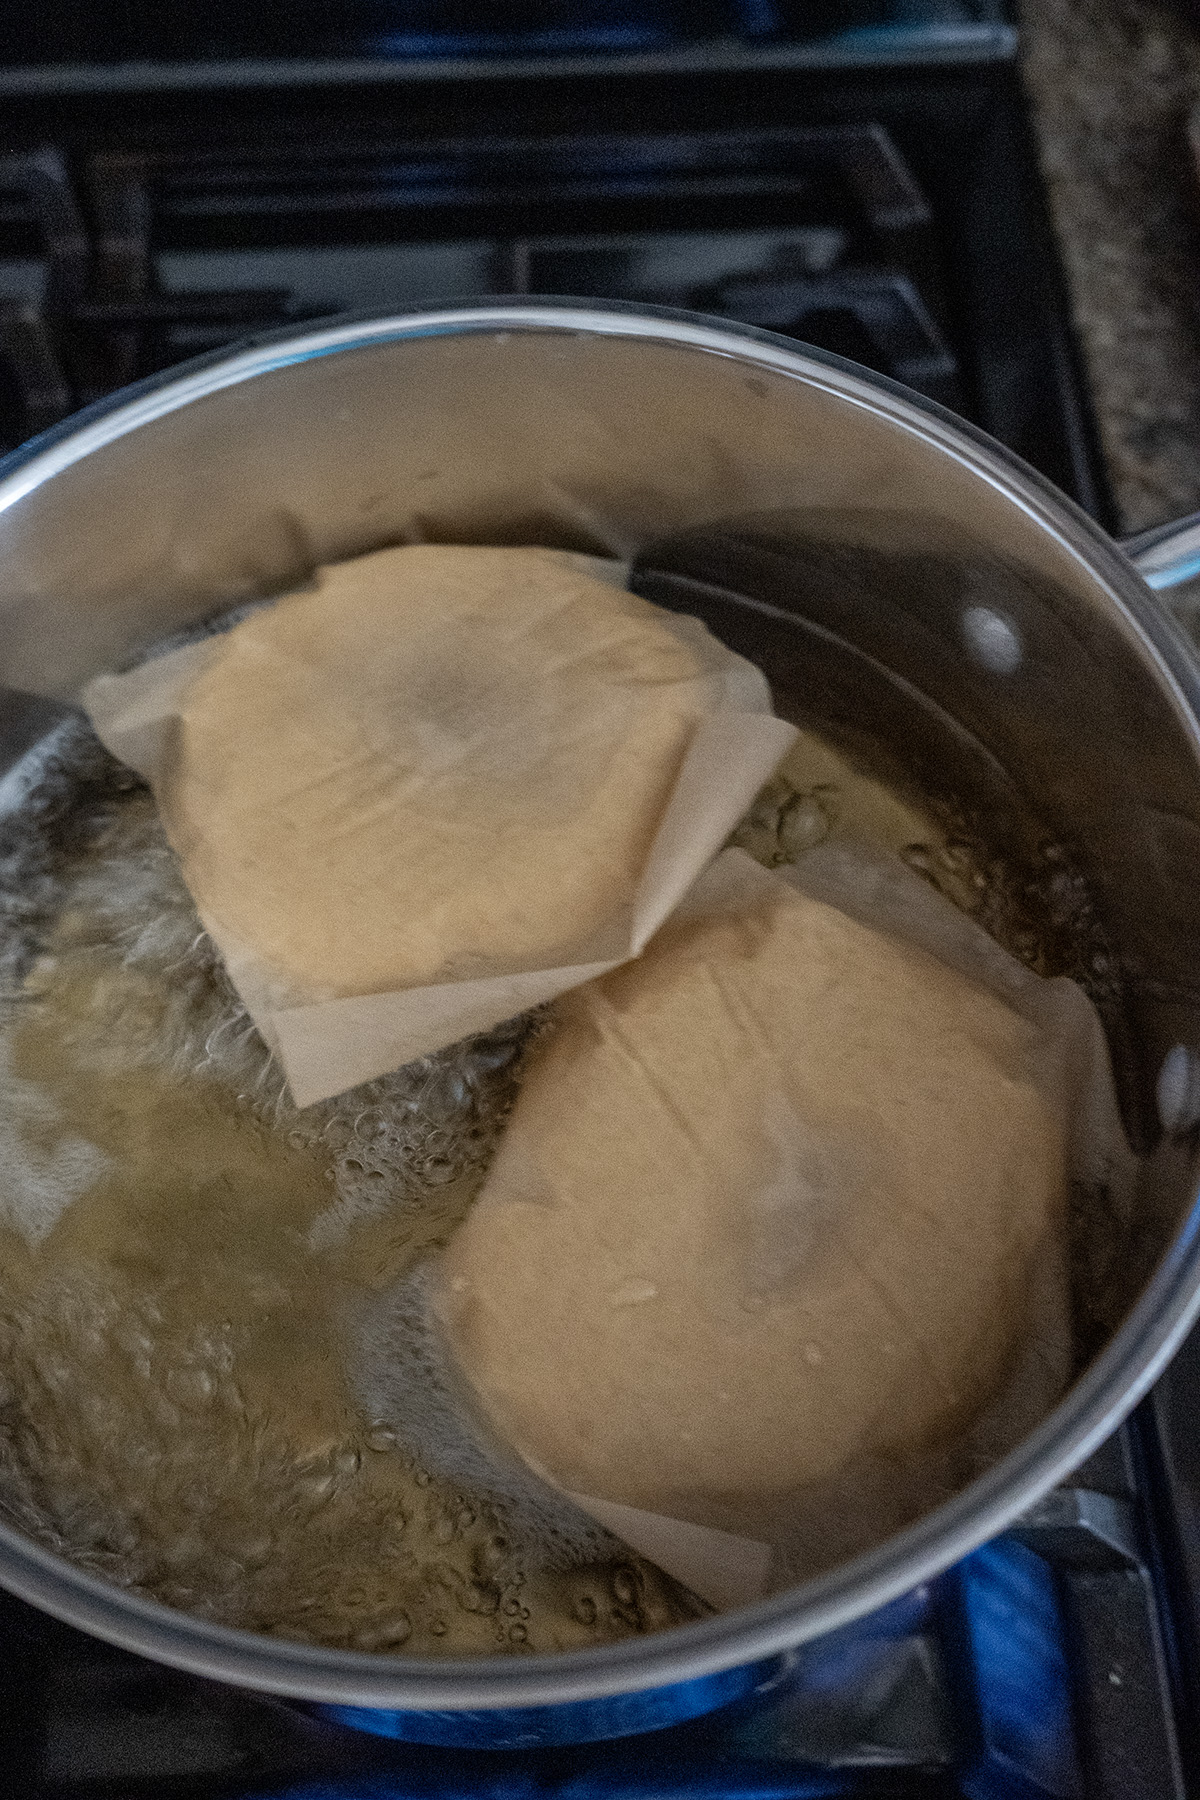
- Boil: Preheat oven to 425°F (220°C). Bring 2 quarts water and brown sugar or non-diastatic malt powder to a gentle boil. Boil bagels 2–3 at a time, 1 minute per side. Remove with slotted spoon and return to sheet.2 qt. water2 tbsp. (24 g) brown sugar
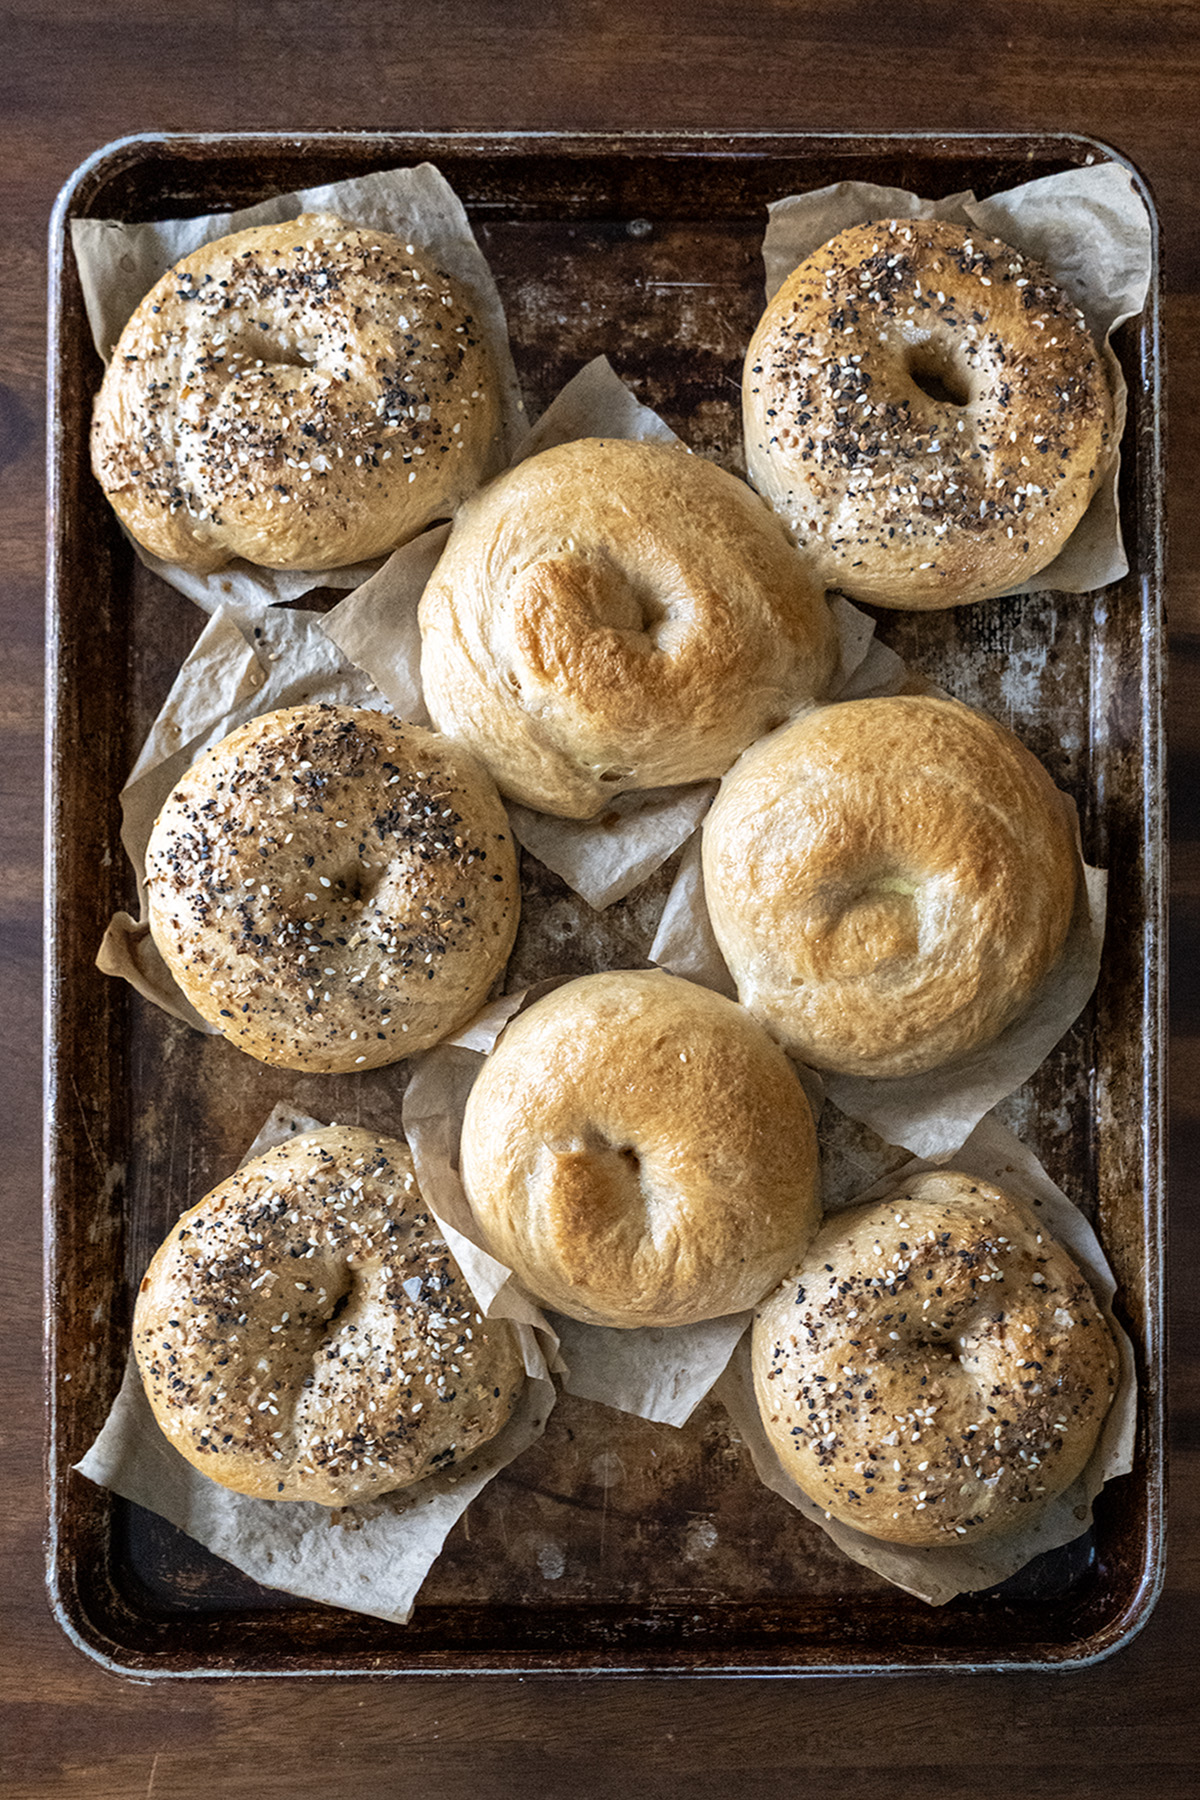
- Top and bake: Lightly brush the tops with egg wash using a pastry brush—this helps toppings stick and gives a shiny, golden finish.Immediately sprinkle generously with your chosen toppings. Bake at 425°F (220°C) for 20–25 minutes, rotating the sheet halfway through. Watch cheese-topped ones closely after 15 minutes (tent with foil if browning too fast). Cool on a rack for 10–15 minutes before slicing.1 large egg1 tbsp. water
Video
Notes
- Malt Powder in Dough: Diastatic helps with rise/texture; non-diastatic boosts that classic malty taste. If using diastatic, watch for faster rise (check at 45 min). Reduce the molasses slightly if using.
- Windowpane Test (Optional): After kneading, pinch off a small piece, rest 1–5 minutes (gluten relaxes), then stretch gently. Partial translucent window = good enough for chewy bagels.
- Boiling Liquid Options: Brown sugar adds caramel notes (what I use most often); non-diastatic is most authentic; honey works too. Avoid plain water.
- Make-Ahead: Shape then cold-proof in fridge 8–24 hours for deeper flavor.
- Storage: Paper bag 1–2 days; freeze sliced up to 3 months—toast from frozen.
As an Amazon Associate, I earn from qualifying purchases at no extra cost to you. Thank you for your support!