DIY Recipe Book Binder: Ultimate Simple Recipe Organization Method
Is your collection of recipes a chaotic mess? Are you tired of sifting through stacks of cookbooks, printed recipes, and endless pins on Pinterest just to find that one dish you want to make for dinner? Look no further! Creating a recipe book binder is the perfect solution to bringing order to your kitchen and simplifying your meal planning process. My quick and simple guide will walk you through everything you need to know about creating your very own recipe book binder.
If you’ve been a long-time reader, you know that I’m a HUGE fan of compiling family recipes and creating Microsoft Word cookbooks. As much as I love to do this for projects and gifts, it is extremely time-consuming. If you need an easy solution to organize your recipes, a recipe binder is the way to go!
Why Create a Recipe Book Binder?
Easy Access to Your Favorite Recipes
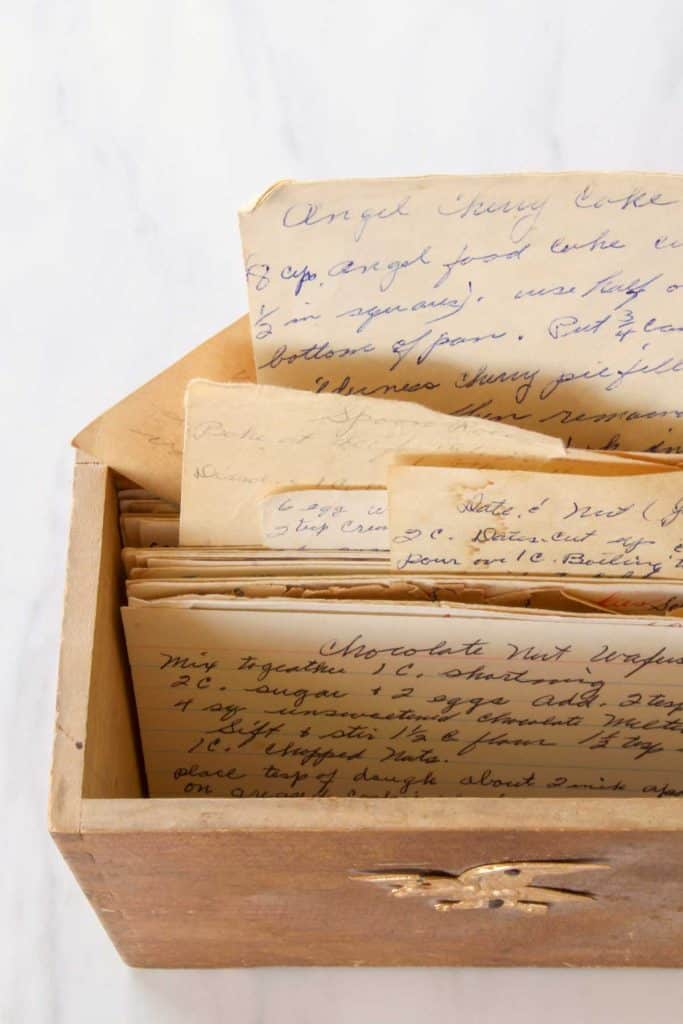
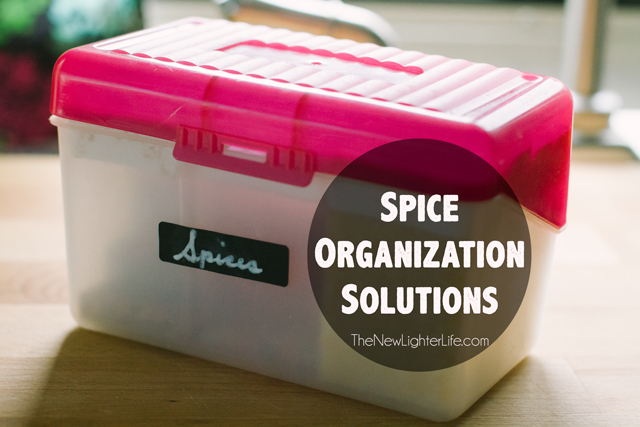
By having a recipe binder, you’ll have all your most-loved recipes at your fingertips. No more digging through cookbooks or scrolling through your phone searching for that one recipe you love. You can also easily organize old recipe cards in sheet protectors so Grandma’s cookie recipe does not get ruined or lost.
Track Recipes to Try
I love printing recipes to try. If you’re like me, out of sight, out of mind. Plus it is so easy for a recipe to get lost in a Pinterest board, never to be seen again. A recipe binder is the easiest way to look for recipe inspiration through recipes you’ve already vetted as potentials.
Personalized and Customizable
One of the best things about creating a recipe book binder is that you can personalize it to suit your needs and preferences. You have full control over the categories, layout, and design, making it a unique and practical addition to your kitchen.
Reduces Clutter and Saves Time
A well-organized recipe binder will help you declutter your kitchen, reduce your reliance on cookbooks, and save you time when planning meals. With all your favorite recipes or new recipes to try in one place, meal planning becomes a breeze. Say goodbye to stray pieces of paper in the kitchen!
Gathering Your Supplies
Before you start creating your recipe binder, you’ll need to gather materials. I have specific product recommendations later on when we get to Designing Your Recipe Book Binder. Below is a general list of the necessary materials:
- A three-ring binder (full size: 8.5″ x 11″ or half size: 8.5″ x 5.5″)
- Heavyweight sheet protectors (full size or half size, depending on your binder size)
- Heavy-duty white cardstock for printing the cover
- Divider tabs (full size or half sheet size) and optional labels
- Paper trimmer or scissors
- Optional: laminator, decorative paper, and other embellishments
Remember, you can choose the size of your binder based on your personal preferences and the amount of space you have available in your kitchen. I keep an extensive number of recipes and find that 1.5″ is the perfect size.
Selecting and Organizing Your Recipes
Depending on the purpose of your DIY Recipe Binder, you’ll need to compile recipes for your binder.
Select Your Favorite Recipes
Start by going through your collection of cookbooks, printed recipes, and digital files to select the recipes you want to include in your binder. Be selective and only include the recipes you truly love and use frequently.
Select Recipes for Inspiration
You can also use your binder as I do, and not only include recipes you like but also recipes to try. This is also helpful if you want to make notes on the recipe as far as adjustments needed or general comments on the recipe.
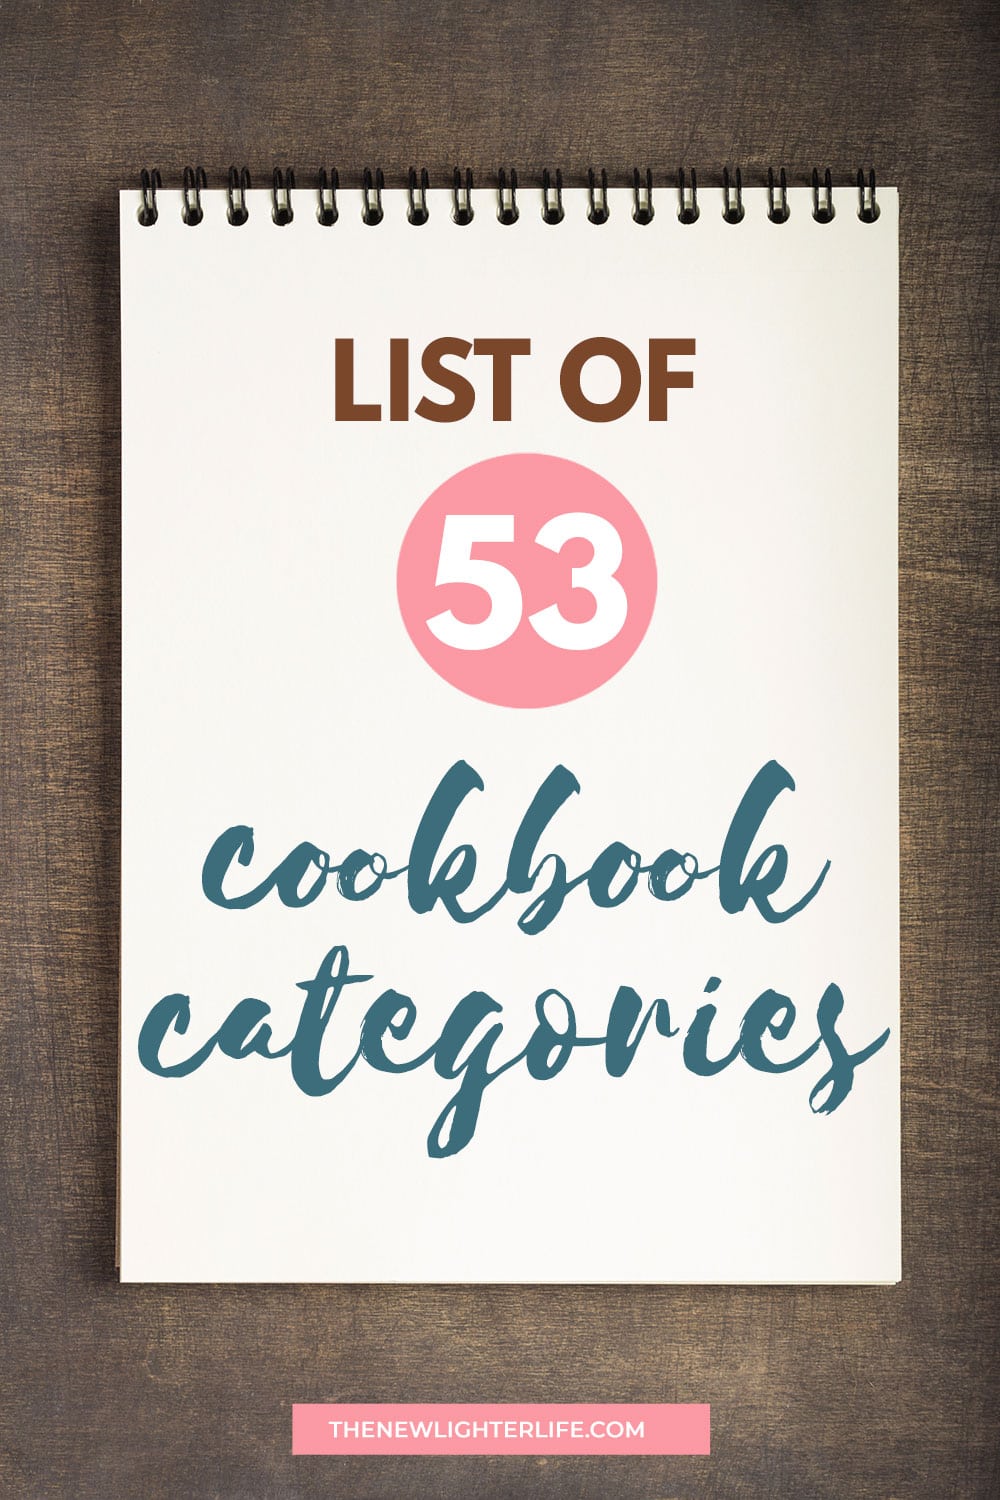
Organize Recipes by Categories
Once you’ve gathered your recipes, it’s time to organize them into categories. This is completely up to you and can be as broad or as specific as you like. Some common categories include:
- Appetizers
- Main Dishes
- Side Dishes
- Salads
- Soups
- Desserts
- Beverages
- Baking
- Slow Cooker or Instant Pot
If you’d like some other ideas, check out my exhaustive list of cookbook categories.
Print and Prepare Your Recipes
After organizing your recipes into categories, print them out. You can either print them on full-size sheets or scale them down to fit a mini binder. I find the mini binder printouts are far easier if you’re creating a cookbook in a Word document. Be sure to save your digital recipes in a special folder on your computer for easy access and editing in the future.
Designing Your Recipe Book Binder
Choose a Cover and Divider Design
The appearance of your recipe binder cover is such a fun feature, but is totally optional. Choose a cover design that reflects your personal style and complements your kitchen décor. Options for your covers:
- Create your own design in Canva, Microsoft Word, or Google Docs to slip into the front sleeve of your binder.
- Several printable cookbook covers are available for you to access for free along with a set that includes category divider sheets.
- Binder-specific insert cover below is available here.
- Decorative binders are available on Amazon if you’d prefer a pretty binder without a custom cover.
Add Divider Tabs and Labels
To make navigating your recipe binder even easier, adding divider tabs or labels for each of your categories is a must. This will let you quickly flip to the section you need while cooking. There are quite a few nice options for tabs and the possibilities are nearly endless but I’ll break down my favorite ones:
- Binder Tabs with Printable Labels: I used these in my regular size recipe binder and it was easy breezy.
- Pocket Binder Dividers with Tabs: these dividers are great for inserting your pretty divider pages and the sheet protector element keeps them nice (there is a workaround for the mini binders below).
- DIY Tab Punch & Adhesive 3-Hole Punch Strips – I love this option for creating your tabs with this punch (which I discussed in my other post). You can use beautiful paper and really personalize your cookbook this way. Incorporating the adhesive 3-hole strips means that you’ll still be able to view your category tabs when all your recipes are in the binder.
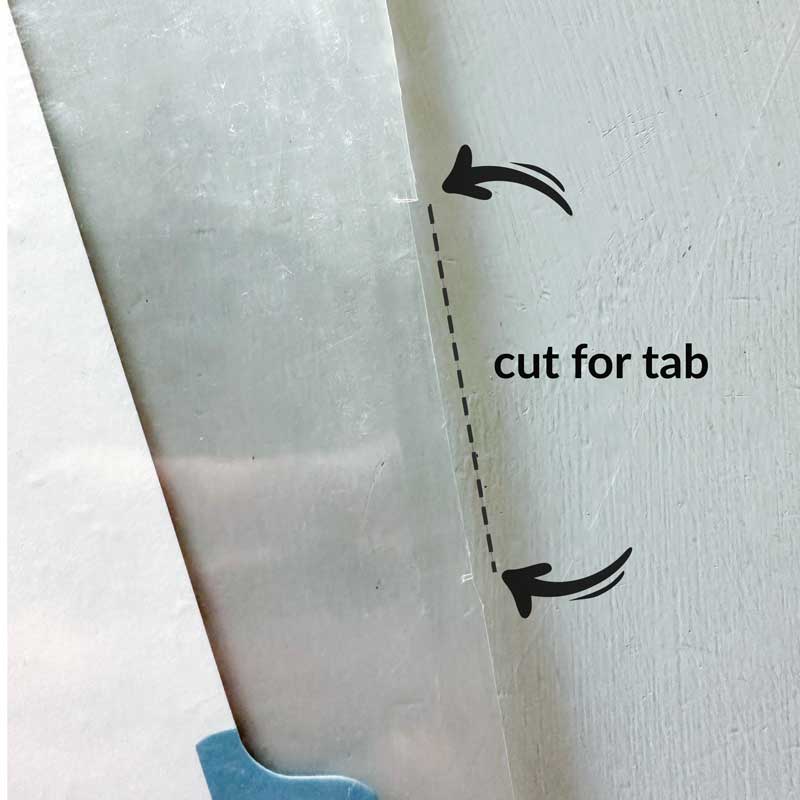
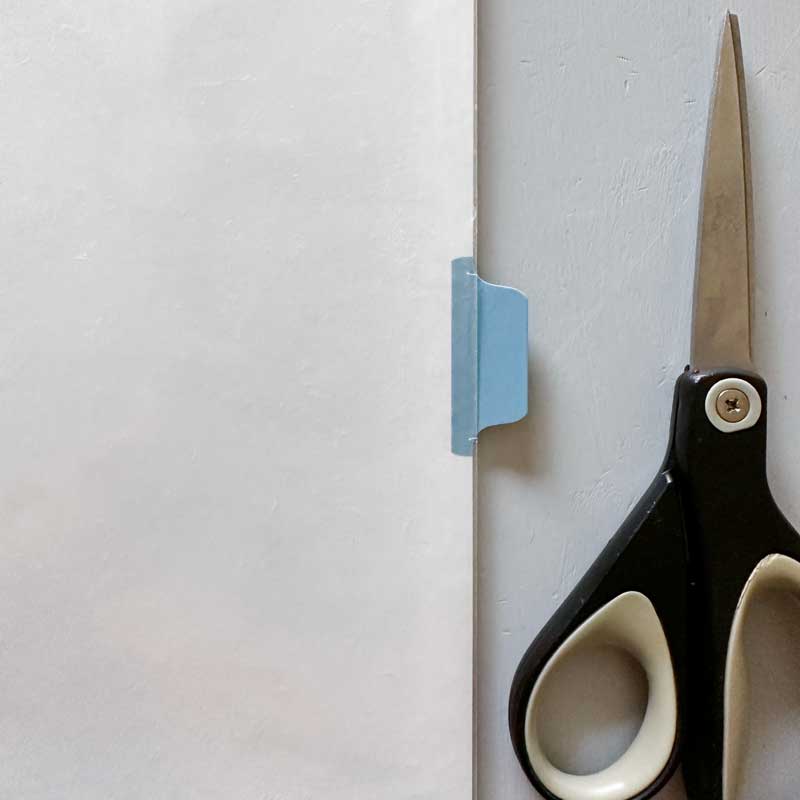
Mini Binder Considerations
As of today – I’ve been unable to locate mini binder sheet protected tabs for different categories. But I have a workaround for you.
- Take a mini binder sheet protector and line up your mini binder tab divider.
- With a scissor, make a small top and bottom slit where the tab will align and cut a very small seem of the plastic from top to bottom.
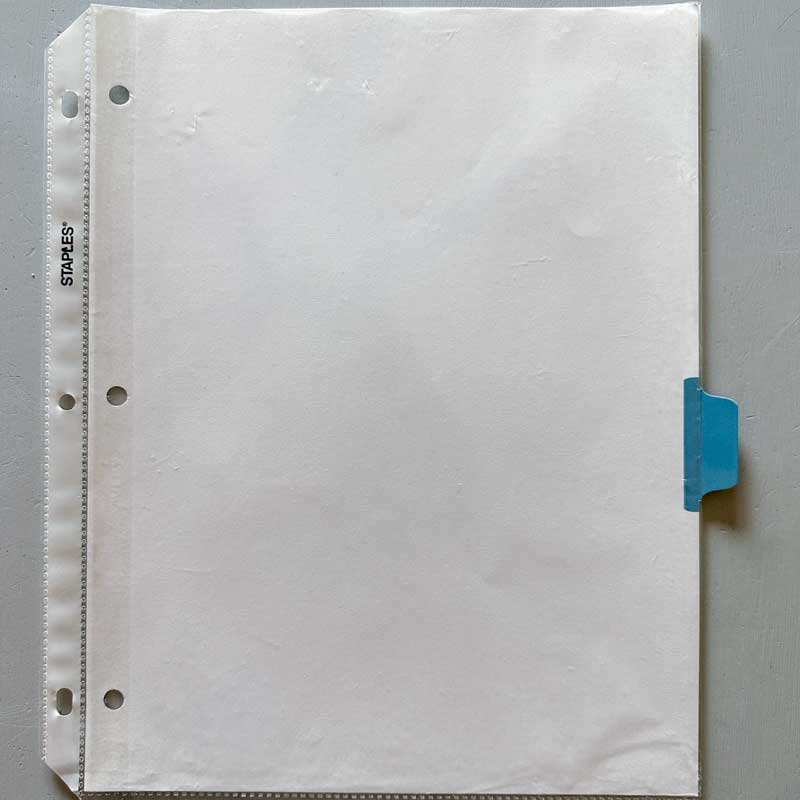
- Insert your mini binder tab divider inside the sheet protector.
- If you choose to use my printable cookbook dividers, insert the decorative divider inside the sheet protector in front of the mini divider tab. NOTE: be sure to follow my printing instructions for these dividers for a mini binder.
Insert Recipes Into Sheet Protectors
This is completely optional and if you’re frequently updating your cookbook or your cookbook is large – you may not want to fuss with this step. But for treasured family recipes that are still on recipe cards, I suggest you use these nice recipe card sheet protectors for full size recipe binders.
Extra Resources and Tips for Your Recipe Book Binder
Include Helpful Kitchen Charts and Guides
In addition to your recipes, consider adding helpful kitchen charts and guides to your binder. These can include measurement conversions, ingredient substitutions, and cooking times for various dishes. Having this information readily available will make your time in the kitchen even more efficient. You can purchase many of these printable inserts on Etsy or make up your own.
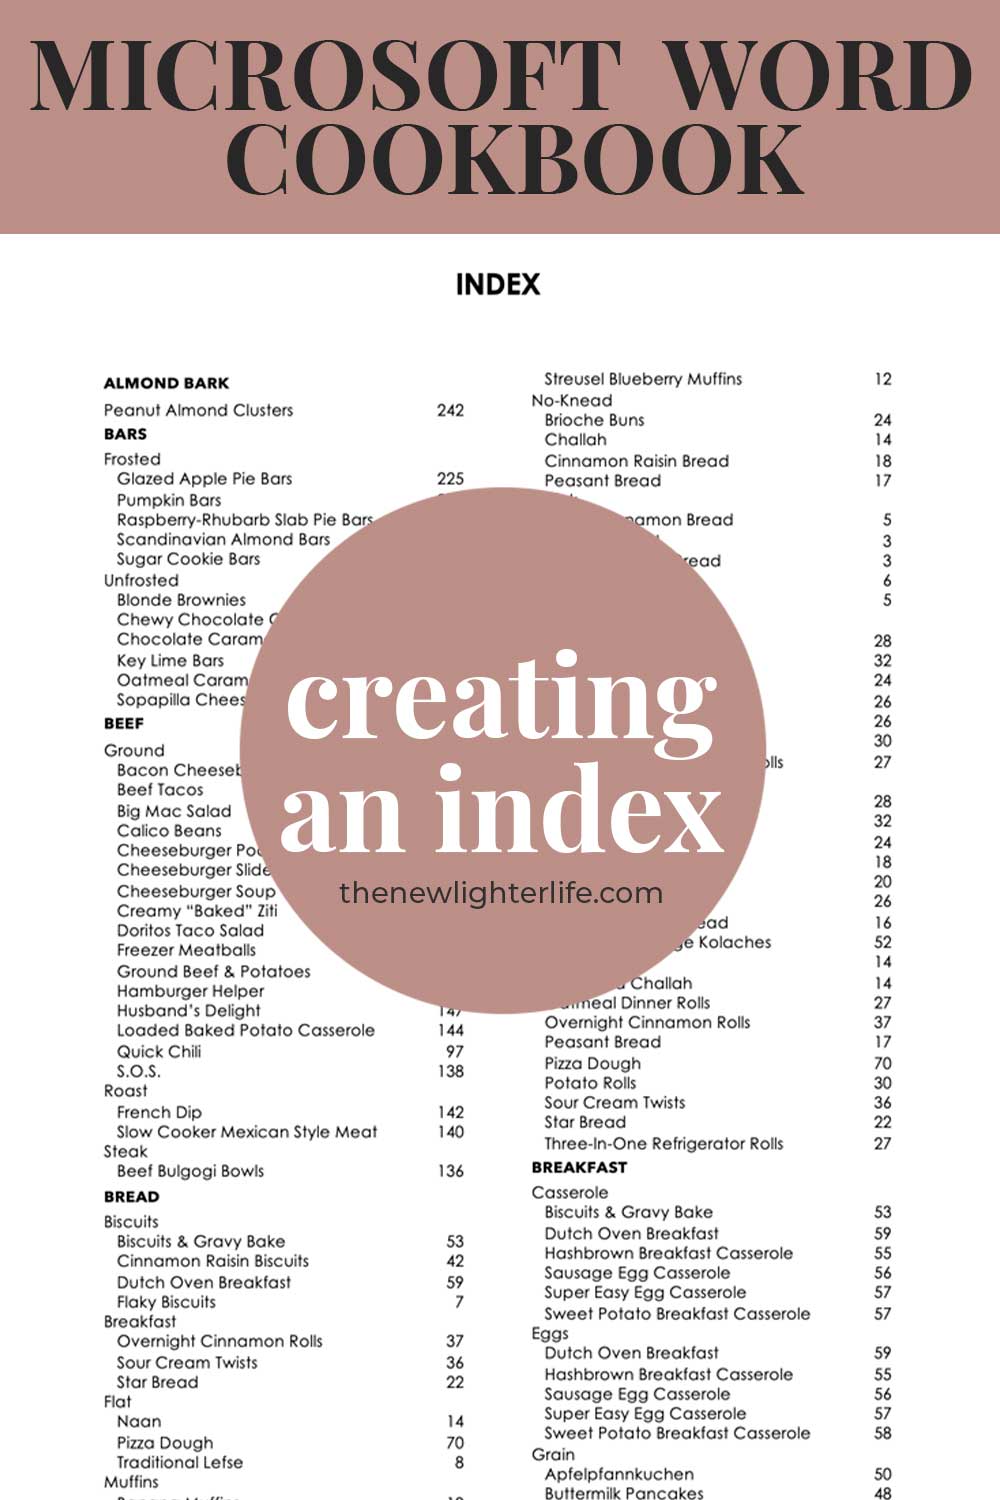
Create a Table of Contents and Recipe Index
A very helpful addition to your recipe binder is a table of contents. This can be a simple list of your recipes organized by category, making it even easier to find the recipe you’re looking for. Here is my detailed instructions on creating a Table of Contents for you cookbook.
A recipe index is quite a bit more complicated and I have not yet tackled an easy way to do this. If I figure out how to create a recipe index, I’ll update you. (fingers crossed)
Incorporate Meal Planning Printables
To make your recipe binder even more of a meal-planning hub, consider including meal planning printables. These can include weekly or monthly meal planners, grocery shopping lists, master meal lists (that I talked about here), and meal prep guides. By keeping all of this information in one place, you’ll simplify your meal planning process and save time in the kitchen.
Putting Your Binder to Use
Now that your recipe binder is complete, it’s time to put it to use! Whether you’re planning your weekly meals, trying out new recipes, or simply looking for inspiration, your recipe binder is invaluable resource in your kitchen.
Gifting Your Recipe Binder
I firmly believe that sharing recipes in a binder or printable cookbook is such a heartfelt and warm gift. Your personal recipe binder is a unique gift for friends, family members, newlyweds, or even as a housewarming present. Sharing your favorites along with cooking tips is a personal and meaningful gift to be cherished for years to come.
Maintaining and Updating Your Recipe Binder
To keep your recipe binder organized and up-to-date, edit and update it periodically. Remove recipes that you no longer make, tweak recipes as you make changes, and add new favorites as you discover them. This will keep your binder the valuable resource it should be
I also like to make notes on the recipes in my binder. This is extremely helpful for me to create my own recipes and put the final & best versions on my published recipes as well as my family cookbook that I print and bind.
Final Thoughts
Creating a recipe binder may seem like a daunting task, but I promise the time invested has paid dividends. With just a little time and effort, you’ll have a beautiful, organized, and functional tool to help you in the kitchen. Not only will it make meal planning a breeze, but it also creates a cherished collection of your favorite recipes and memories. So, gather your supplies, select your favorite recipes, and start creating your very own recipe binder today!
As an Amazon Associate, I earn from qualifying purchases at no extra cost to you. Thank you for your support!

One Comment