German Spritz Cookie Recipe
Are you ready to elevate your holiday baking game? Look no further than my classic German spritz cookie recipe! These buttery, melt-in-your-mouth cookies are a beloved Christmas tradition. This foolproof recipe creates beautiful, tender treats that everyone will love—pure and simple, with no decorations needed. Whether you’re a seasoned baker or a beginner, this post gives you everything to make perfect plain spritz cookies
All About the German Spritz Cookie
What are Spritz Cookies?
Spritz cookies are classic Christmas cookies known for their rich buttery texture and intricate shapes. The word “spritz” comes from the German word “spritzen,” meaning “to squirt.” Spritzgebäck is the traditional German name, referring to pressing dough through a cookie press into designs. They blend sugar cookies and shortbread, with an egg helping hold shapes perfectly.
The History of Spritz Cookies
Spritz cookies trace back to European traditions and came to the United States with German immigrants. They quickly became a holiday staple, now enjoyed worldwide as a symbol of Christmas baking.
Essential Equipment for Making Classic Spritz Cookies
You need the right tools for these delicate cookies.
- Cookie Press or Gun: This is essential. The OXO cookie press is user-friendly and highly rated. Gun-style presses work great too (and I use a very old version of this). Traditionally, a pastry bag with tip was used—keep dough unrefrigerated if piping for easier squeezing.
- Cookie Sheets: Half-sheet pans bake evenly and stack well (I LOVE USA Nonstick pans!).
- Silicone Baking Mats (Optional): High butter content means no greasing needed. Mats help prevent excessive browning and keep bottoms lighter.


Tips for a Perfect German Spritz Cookie
- Use softened (not melted) butter for better creaming and lighter texture.
- Mix dough just until combined to avoid toughness.
- Chill sheets before pressing to help shapes hold.
- Experiment with press disks—get creative with trees, wreaths, stars, and more!
- If dough softens too much, chill briefly.
- No press? Pipe with a large star tip, though shapes won’t be as precise.

Smooth or Rough Tops?
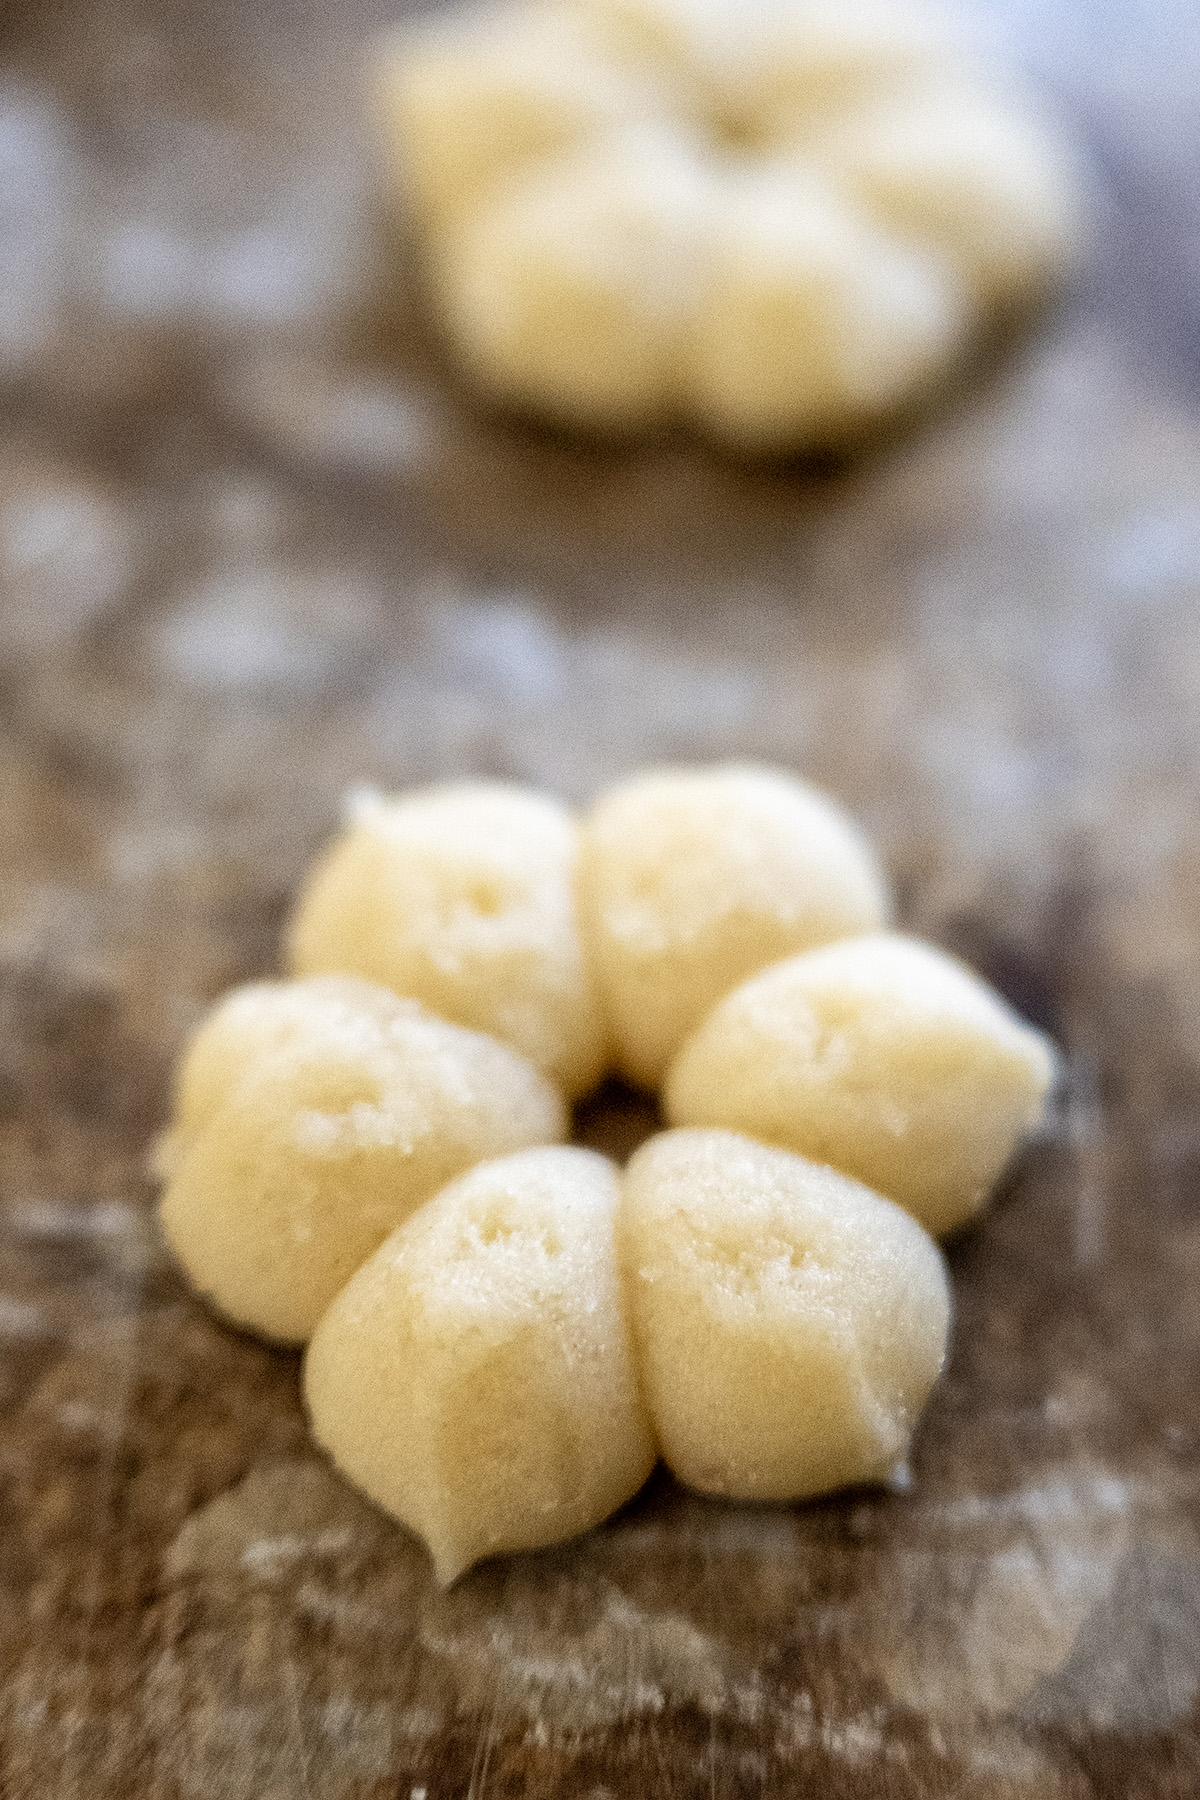
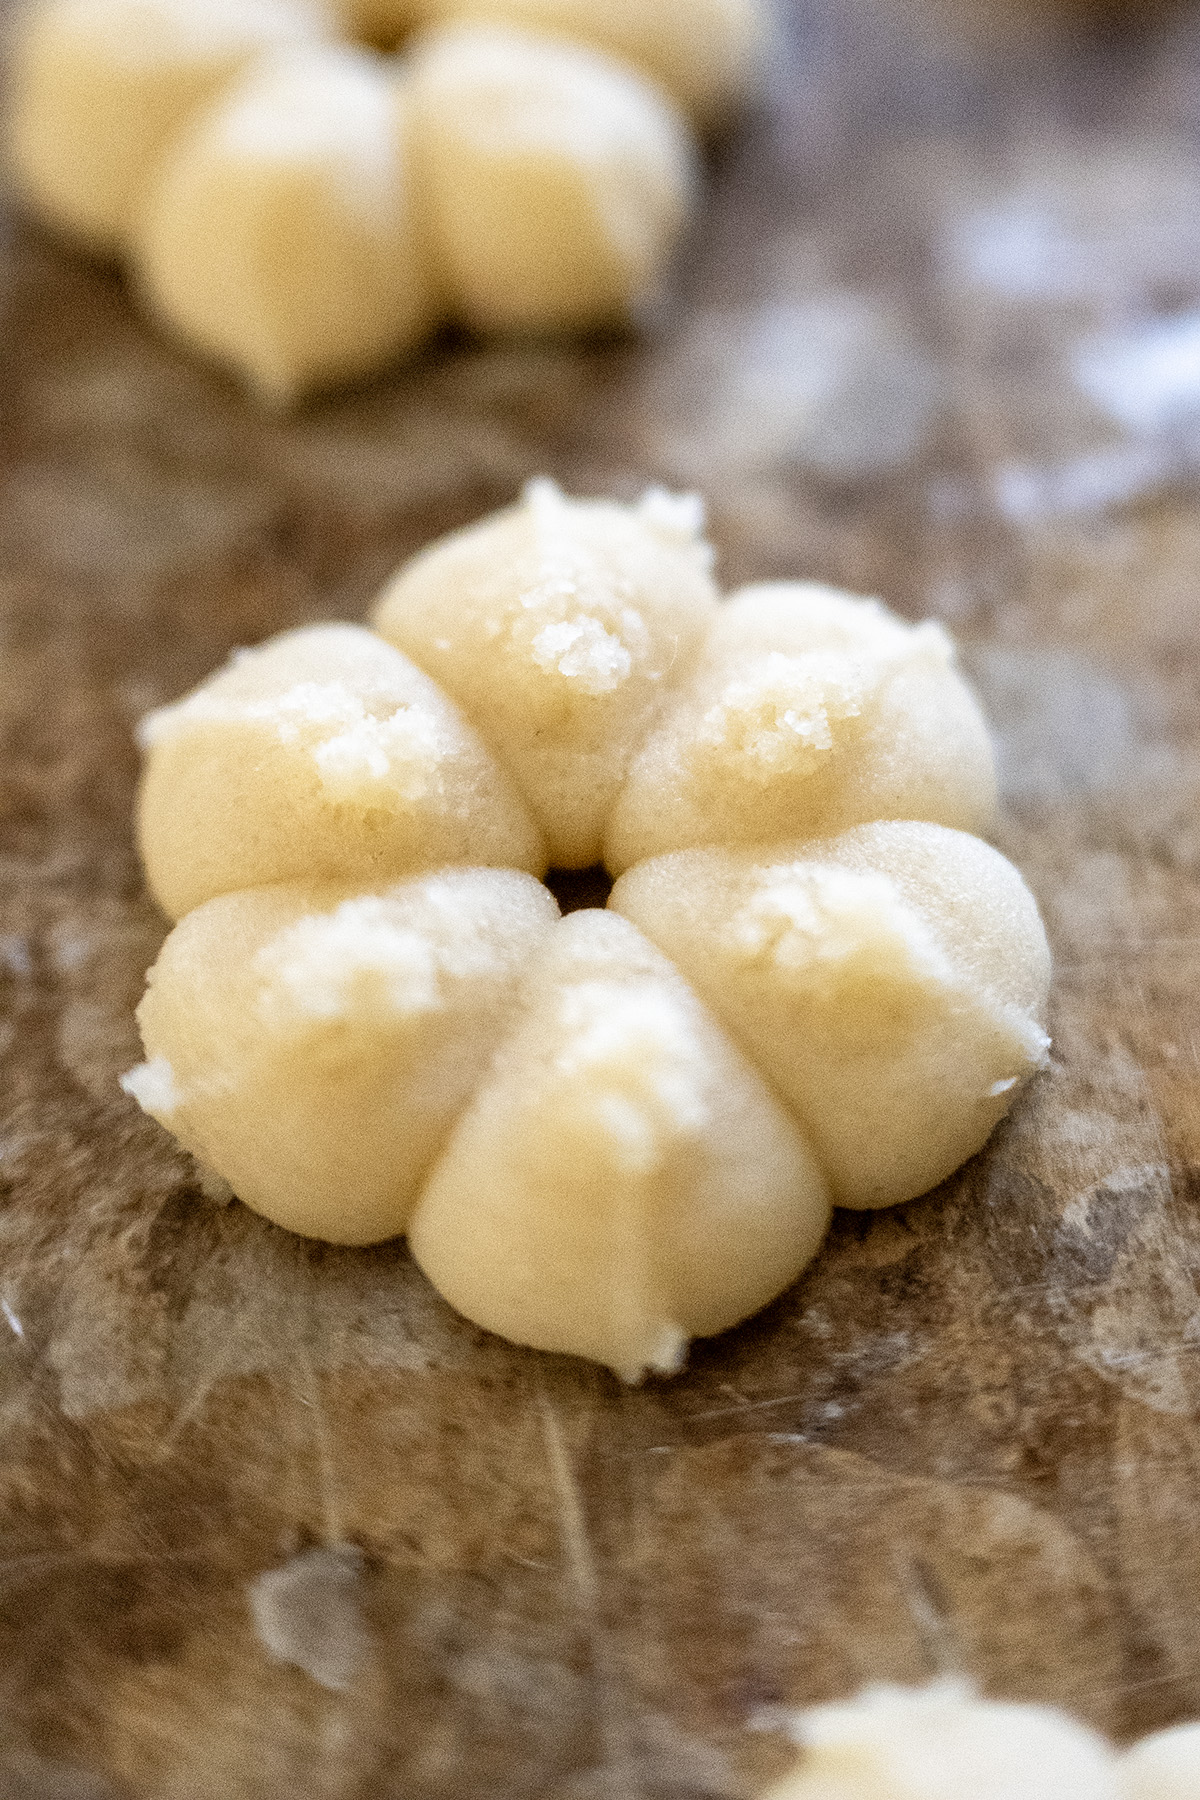
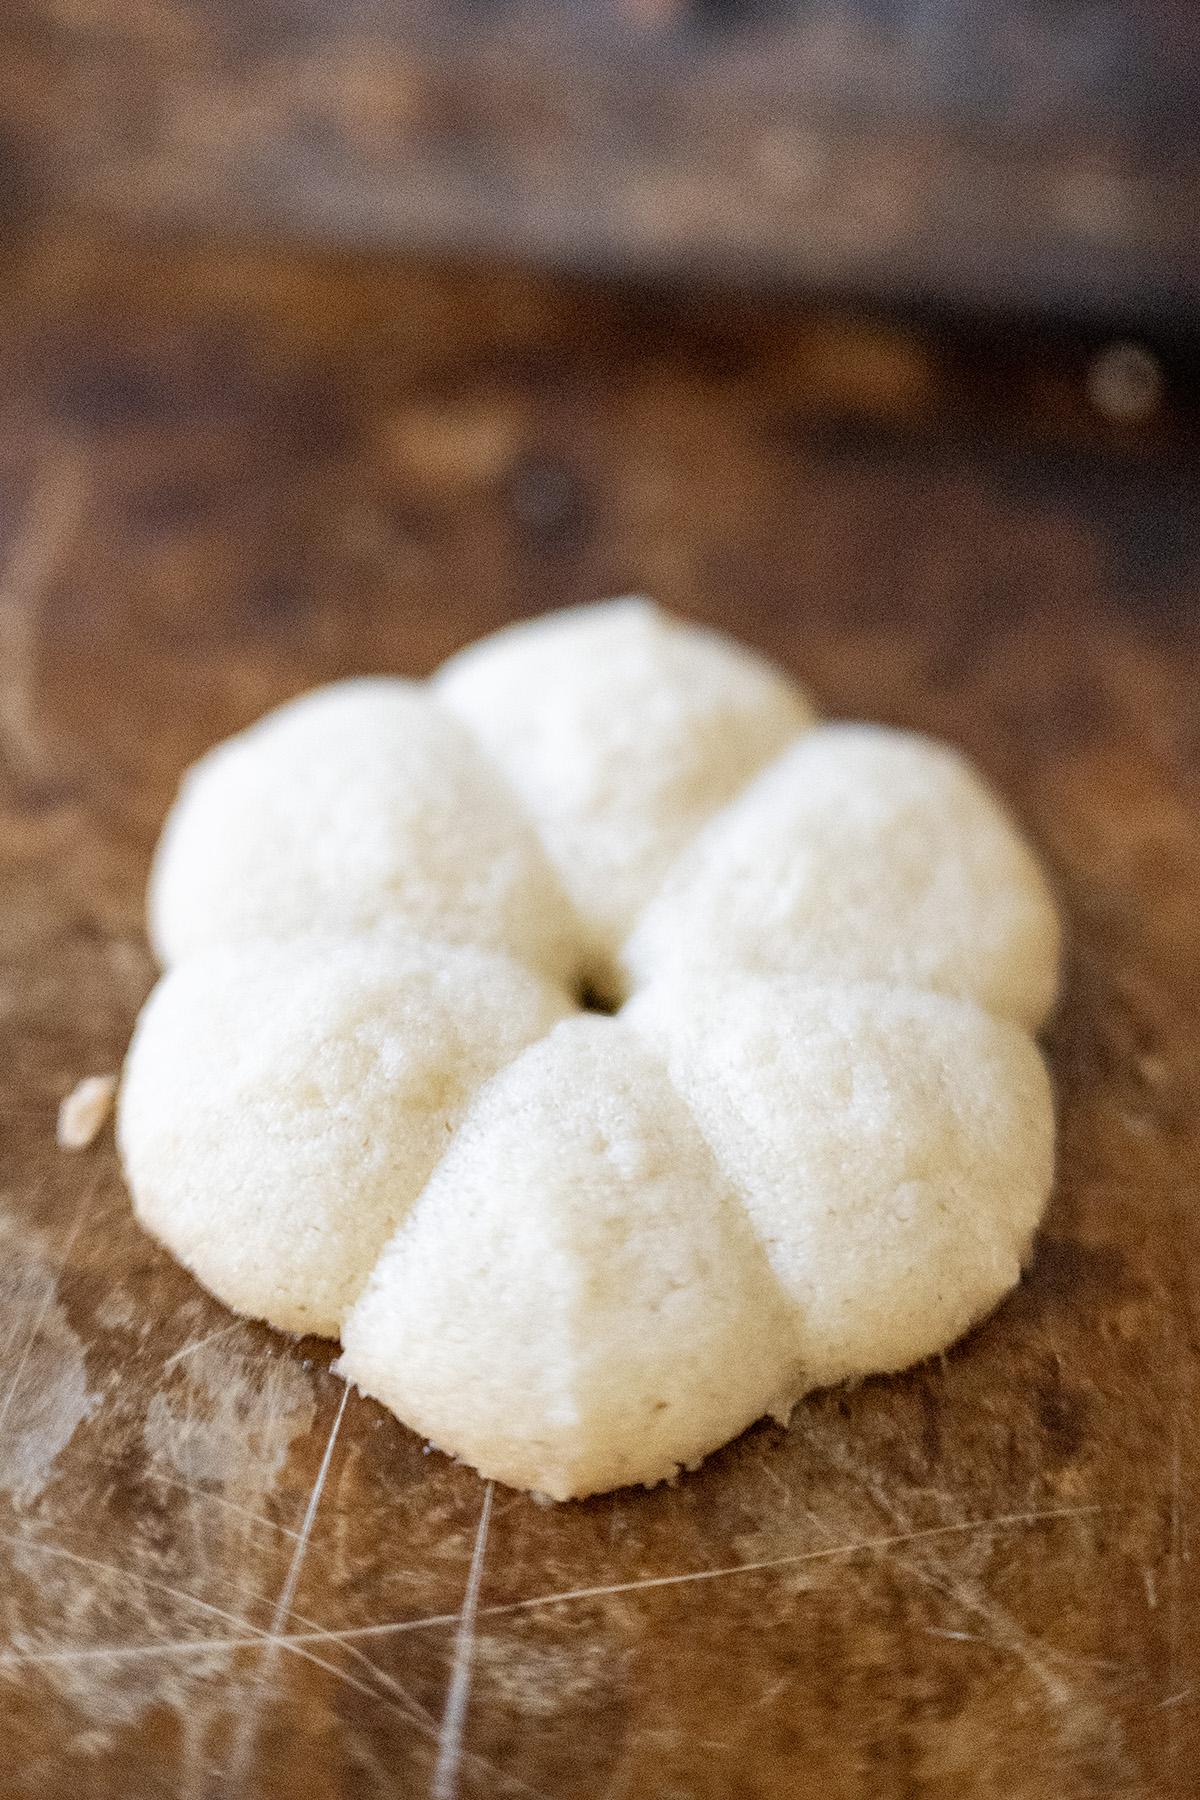
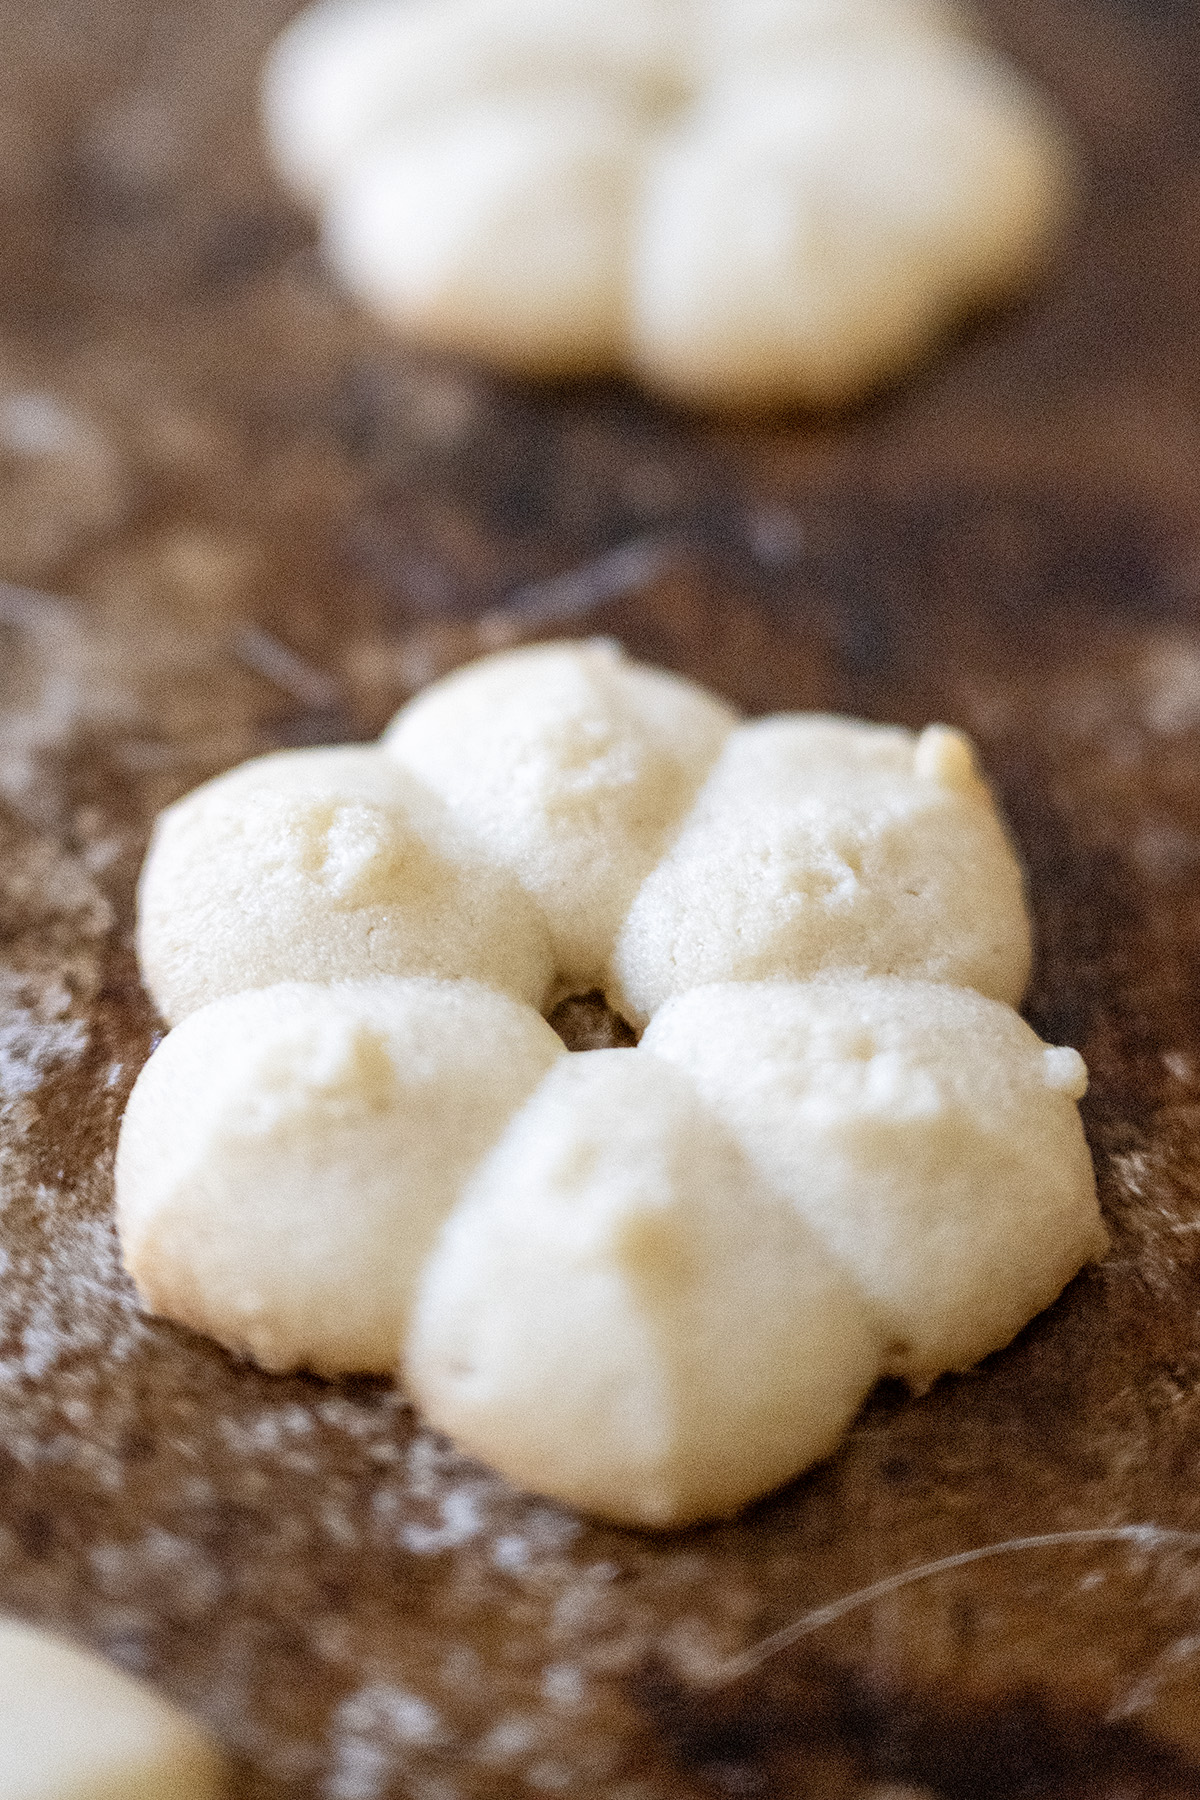
One of my favorite little tricks for achieving an even more elegant finish on classic spritz cookies is to gently dab the tops of the freshly pressed dough shapes with a clean fingertip (lightly dampened if needed) right after pressing them onto the sheet. This softens any ridged or peaked lines left by the cookie press disk, creating a smoother, more uniform surface that bakes up beautifully polished and professional-looking—perfect for keeping them plain and letting that buttery texture shine. It’s entirely optional, but I love the subtle difference it makes.
Here’s a side-by-side comparison: on the left, after a gentle dab for a sleeker loo and on the right, the pressed dough with its natural textured top before any dabbing (both shown pre-baking, as the smoothing carries through nicely after baking).
Storing and Serving Classic Spritz Cookies
TO STORE: Place in an airtight container at room temperature up to one week. For freezing, cool completely, then freeze in a safe container up to three months. Thaw at room temperature.
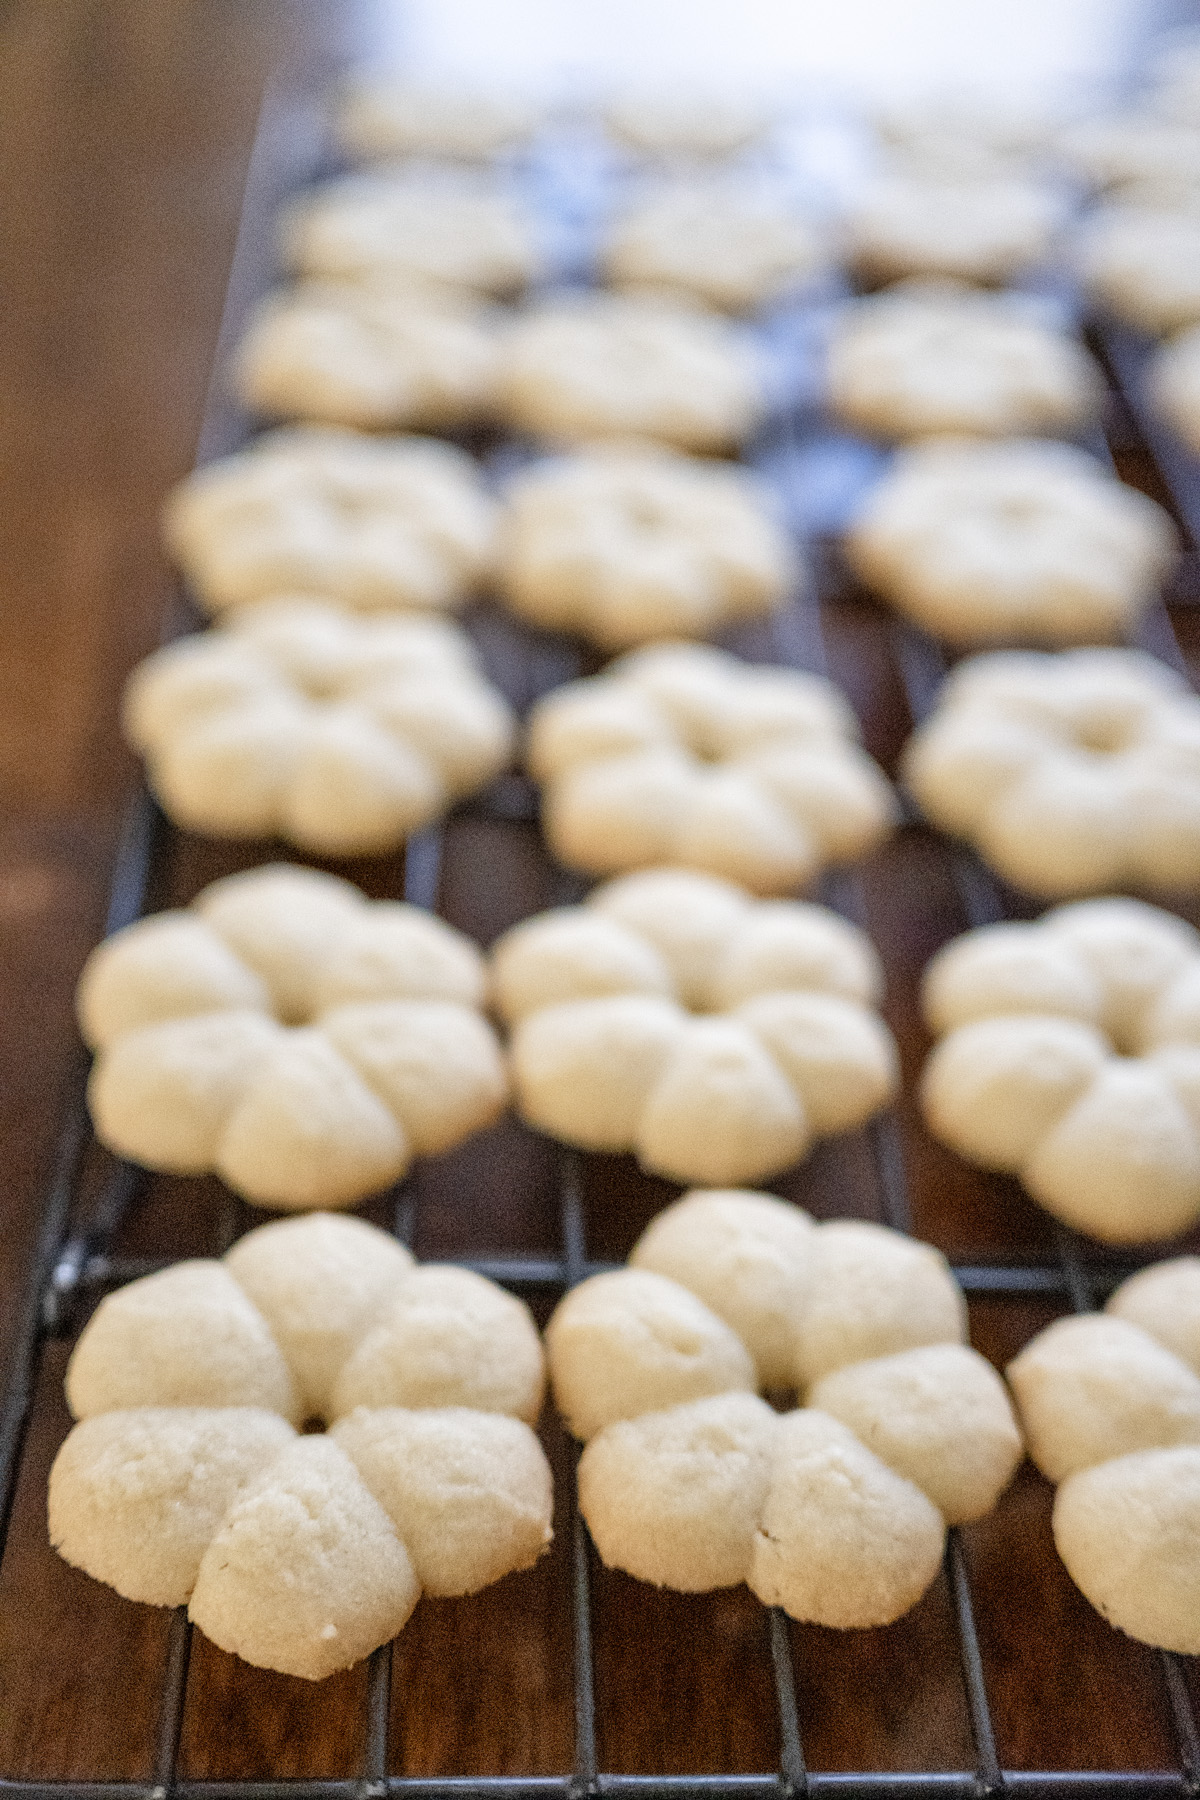
TO SERVE: These shine during holidays—plain and elegant. Enjoy at gatherings, gift to loved ones, or pair with hot cocoa by the fire. They add timeless charm to cookie platters.
Final Thoughts
This is the ultimate classic spritz cookie recipe—pure buttery perfection with that signature almond-vanilla flavor and no distractions. It’s timeless for a reason! I’m sticking to this version this year, but who knows… maybe next holiday season we’ll explore some fun twists. For now, gather your ingredients, preheat the oven, and bake up these delightful treats. They’ll bring joy to your Christmas.
Happy baking!
Ultimate German Spritz Cookie Recipe
Print Recipe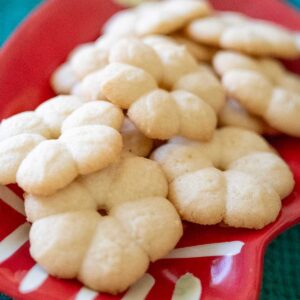
equipment (affiliate links
- kitchen scale for best accuracy
- pastry bag with star tip
Ingredients
Cookie
- 1 c. (226 g) salted butter softened to room temperature
- ¾ c. (150 g) granulated sugar
- 1 large egg room temperature
- 1 tsp vanilla extract
- ½ tsp almond extract
- 2¼ c. (280 g) flour
- ½ tsp salt
Instructions
- Preheat the oven: Set to 350°F (175°C). Position racks in the upper and lower thirds.
- Cream the butter and sugar: In a large bowl, beat the softened butter and sugar on medium-high speed until light and fluffy, about 3-4 minutes. This step is key for tender cookies!1 c. (226 g) salted butter¾ c. (150 g) granulated sugar
- Add the wet ingredients: Beat in the egg, vanilla extract, and almond extract until fully combined, scraping down the sides of the bowl as needed.1 large egg1 tsp vanilla extract½ tsp almond extract
- Mix in the dry ingredients: In a separate bowl, whisk together the flour and salt. Gradually add to the butter mixture on low speed, mixing just until combined. Do not overmix—the dough should be soft and pliable but not sticky. If tinting, add food coloring here and mix until uniform.2¼ c. (280 g) flour½ tsp salt
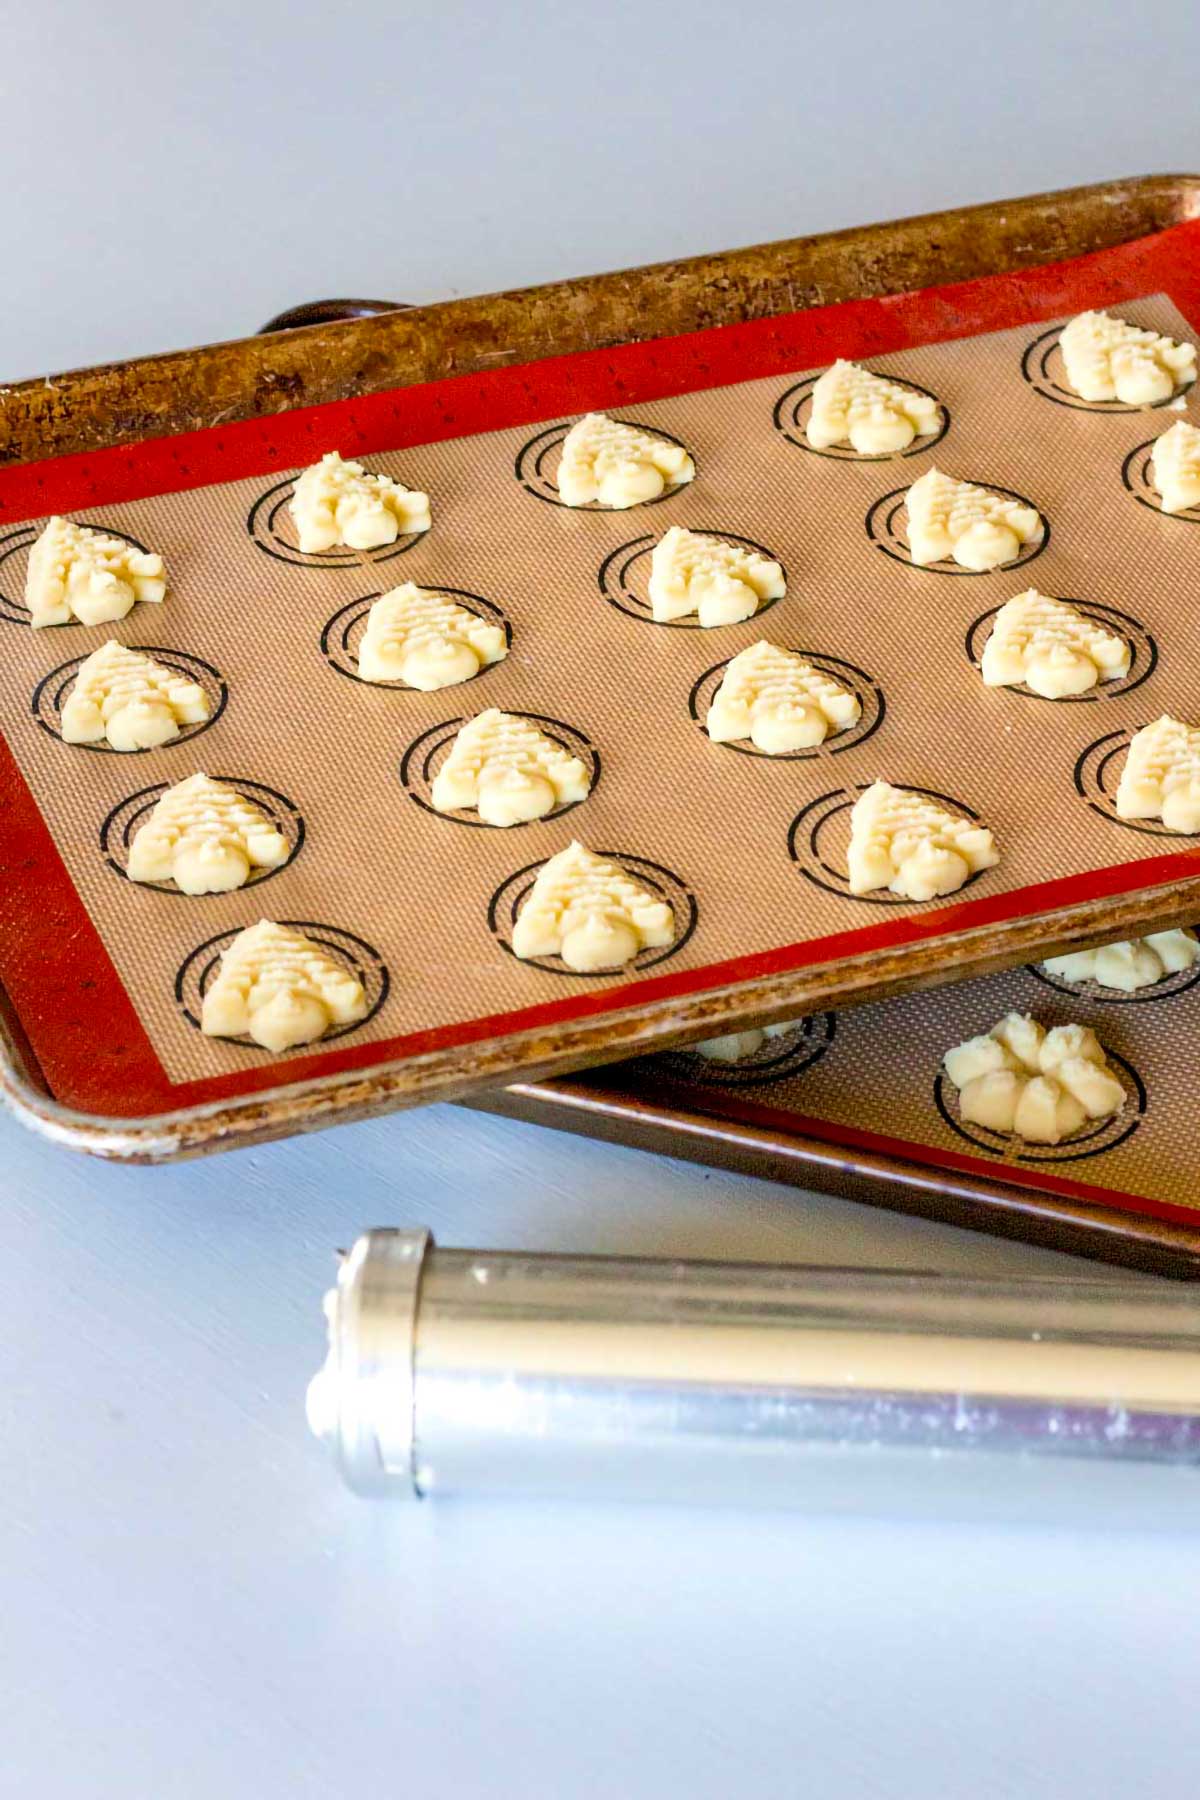
- Load the cookie press: Assemble your cookie press with the desired disk. Fill it with dough (don't overfill).
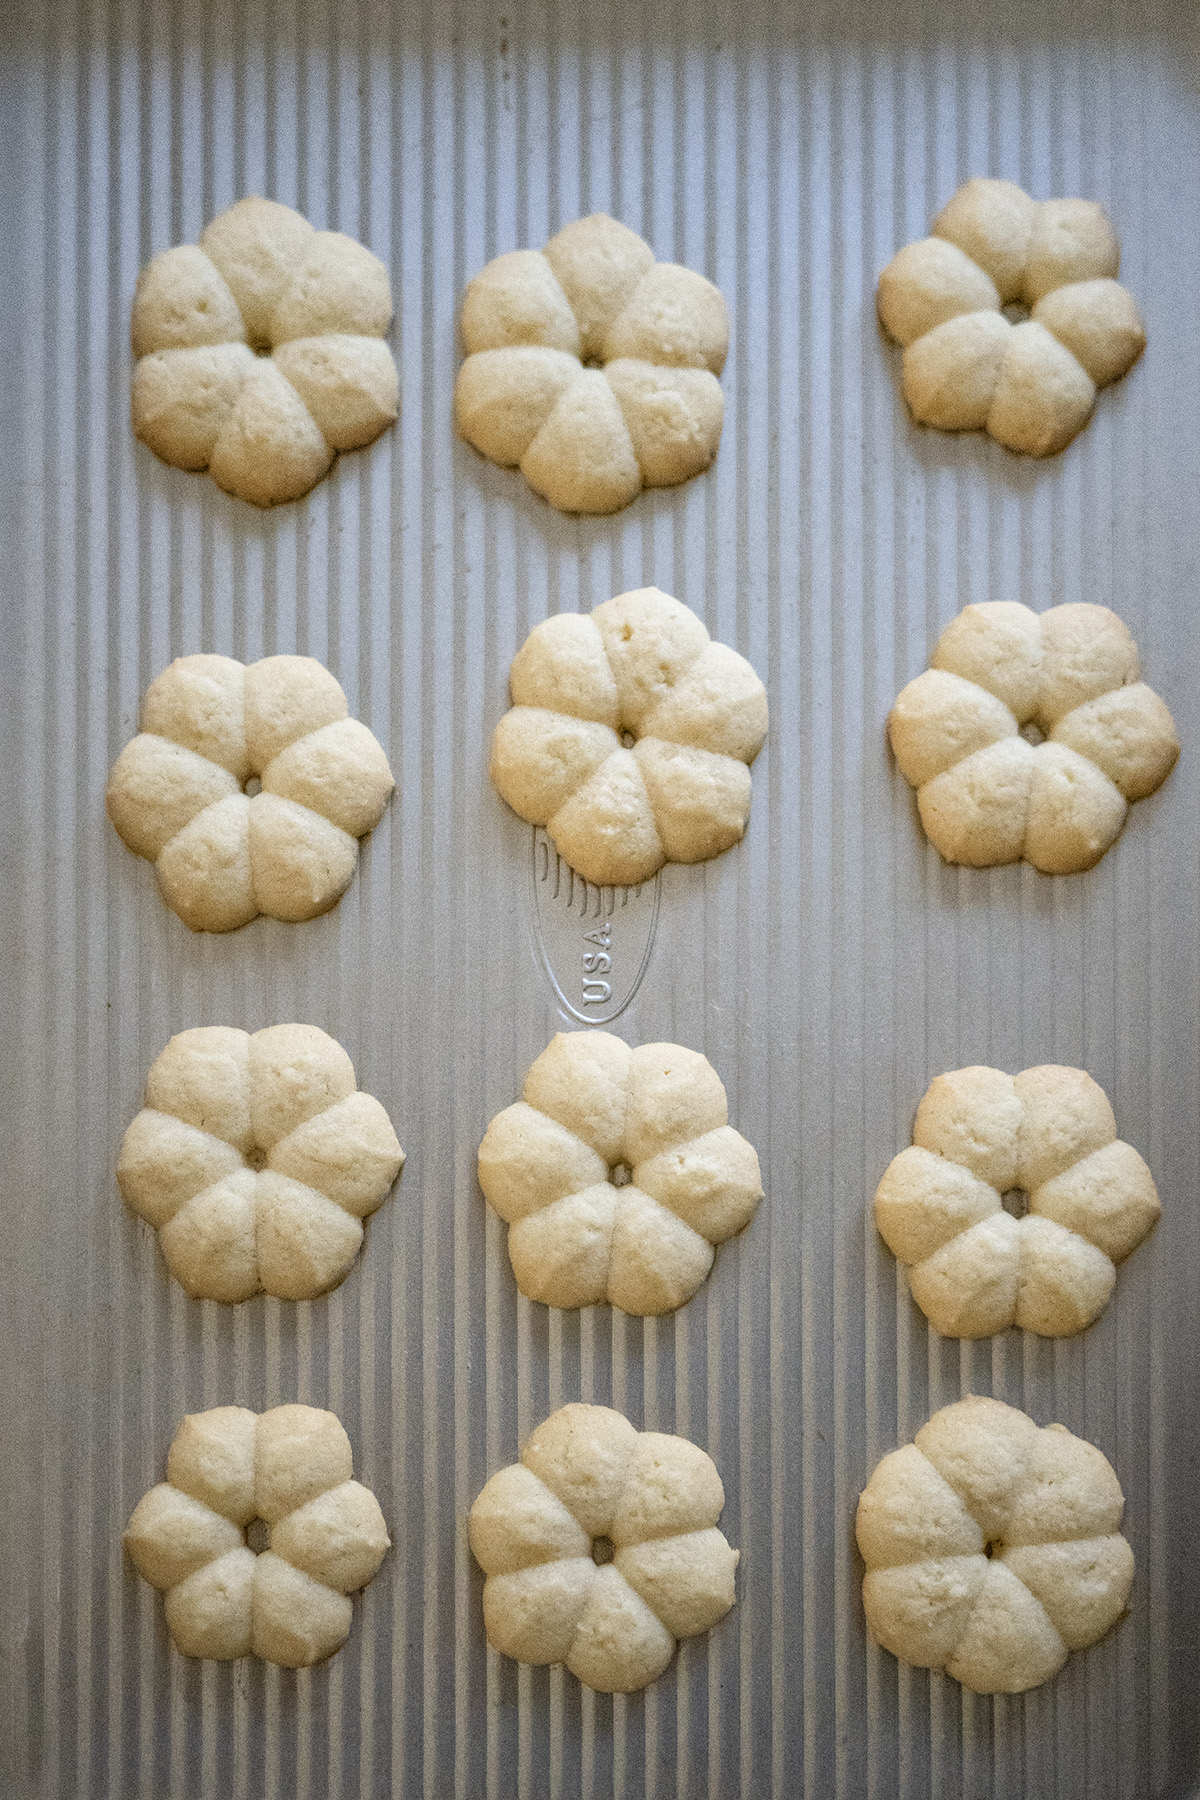
- Press the cookies: Hold the press perpendicular to an ungreased baking sheet and pump once to release a shape (practice on parchment if needed). Space shapes about 1 inch apart. Decorate with sprinkles if desired.
- Bake: Bake for 8-12 minutes, rotating sheets halfway, until the edges are very lightly golden (they should stay mostly pale for that classic look). Overbaking makes them crisp instead of tender.
- Cool: Let cookies cool on the sheet for 5 minutes, then transfer to a wire rack. They firm up as they cool.
Video
Notes
- Room temperature ingredients ensure smooth dough.
- If the dough is too soft and shapes don’t hold, chill it for 10-15 minutes.
- If shapes won’t stick to the pan, lightly mist the sheet with water or chill it briefly.
- No cookie press? Use a piping bag with a large star tip, but results won’t be as precise.
- Store in an airtight container for up to 1 week, or freeze baked cookies for up to 3 months.
As an Amazon Associate, I earn from qualifying purchases at no extra cost to you. Thank you for your support!


One Comment