Tender Potato Rolls ~ With Real Potatoes
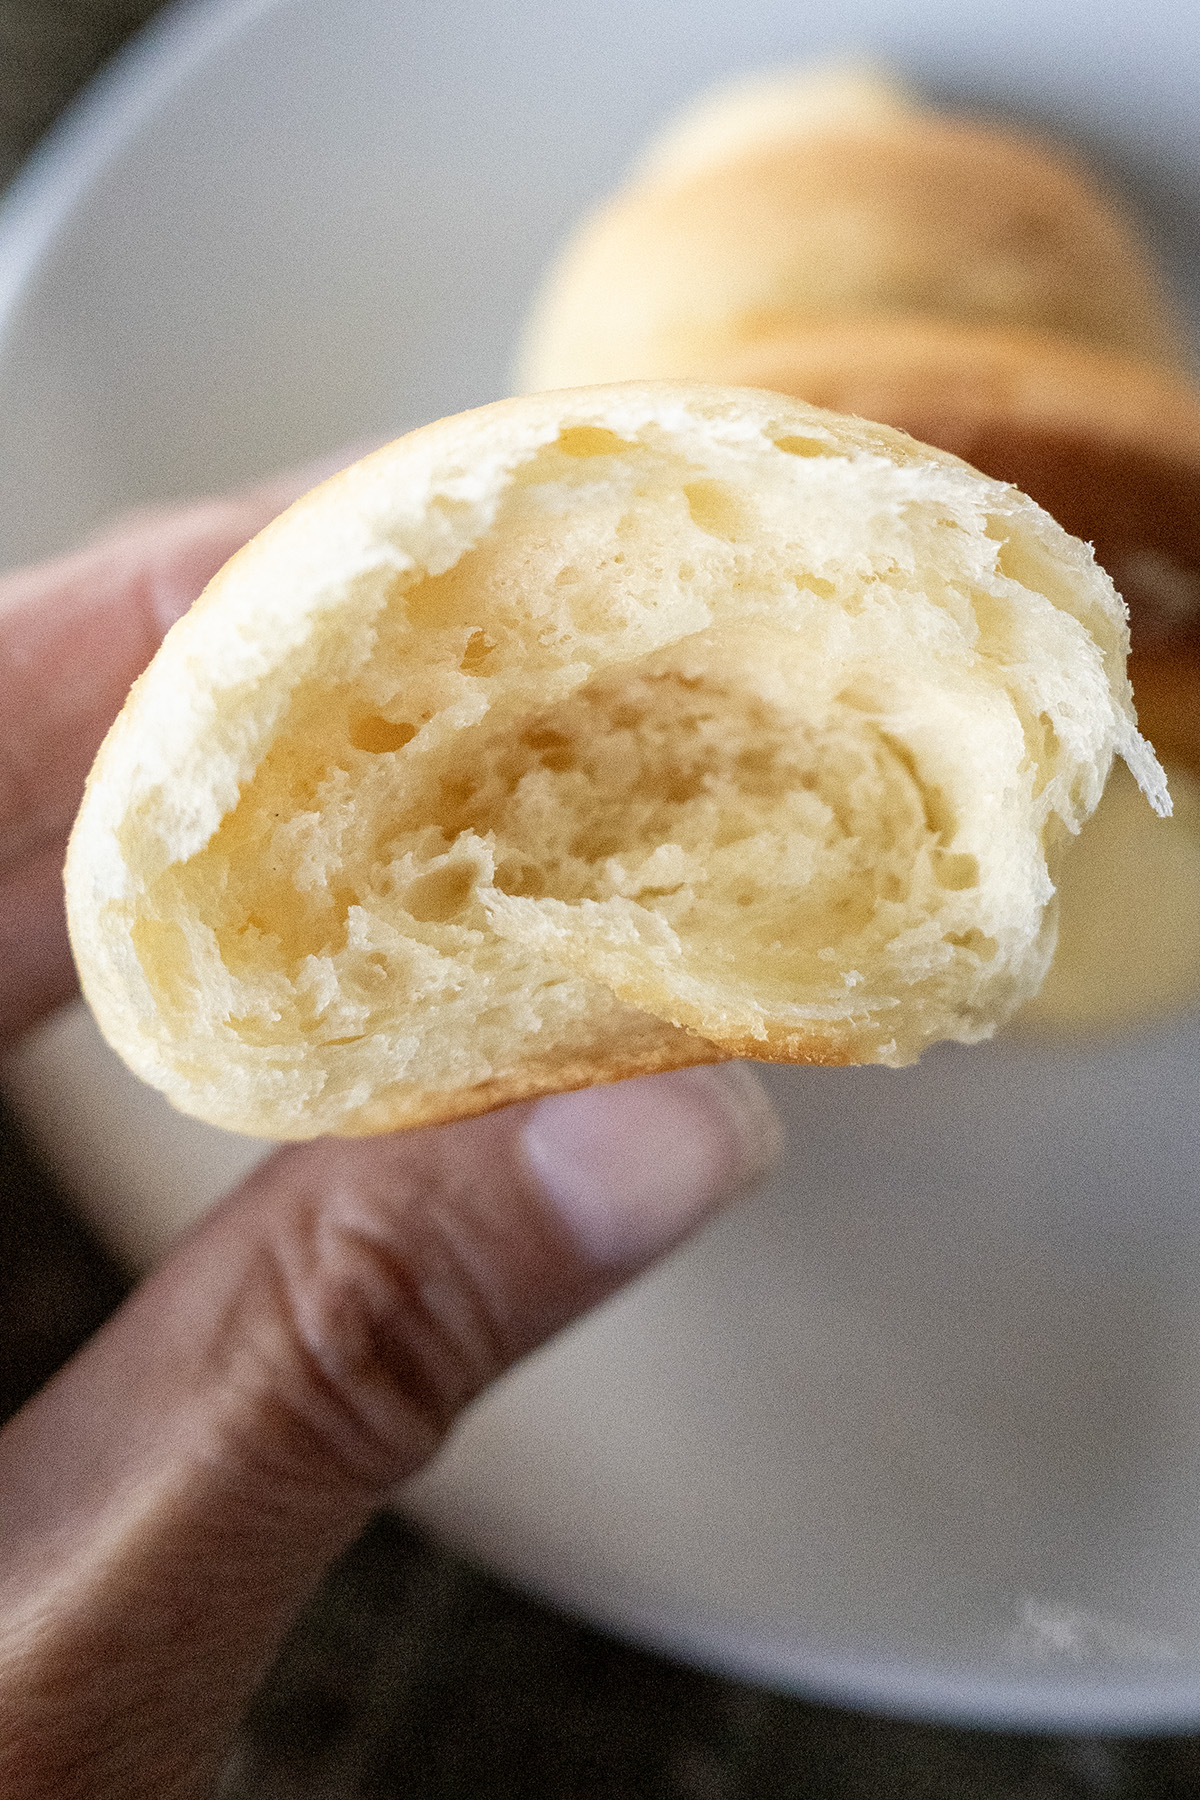
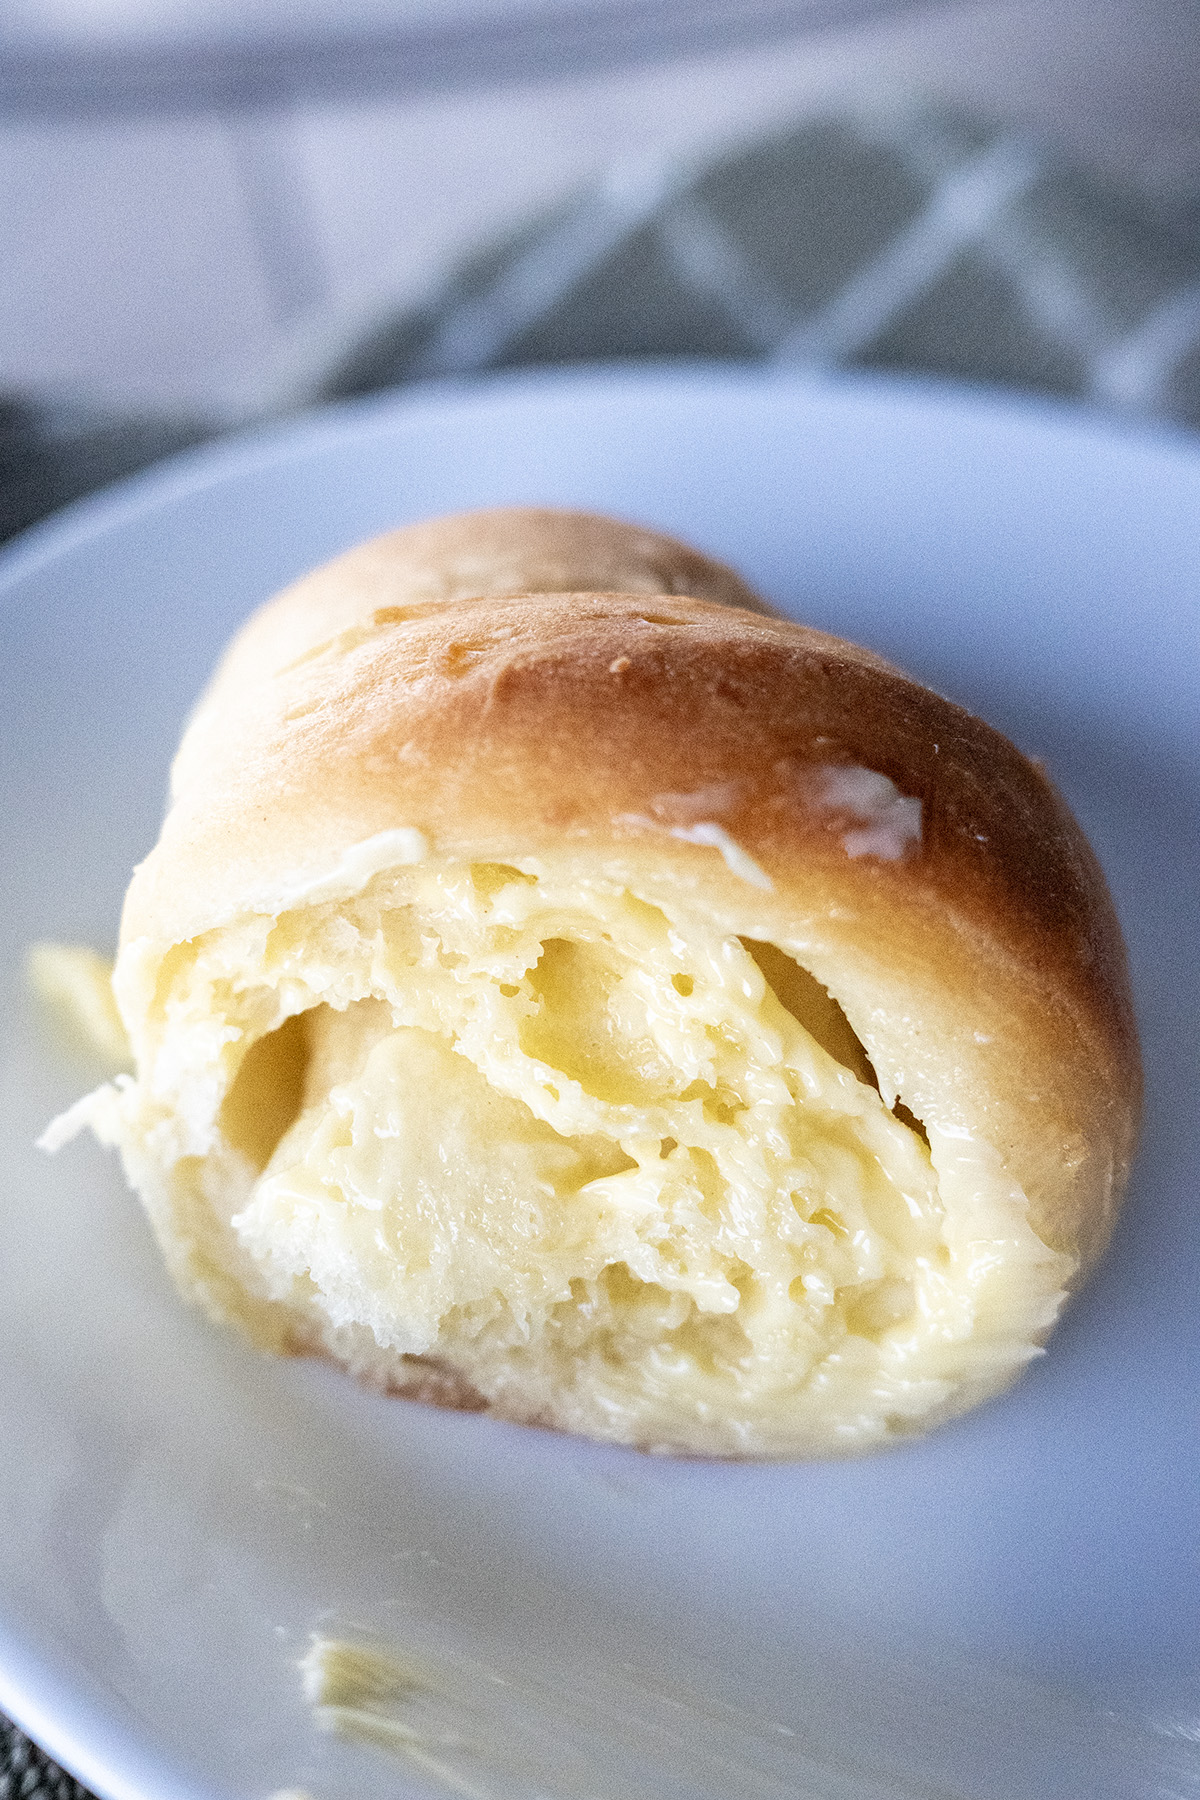
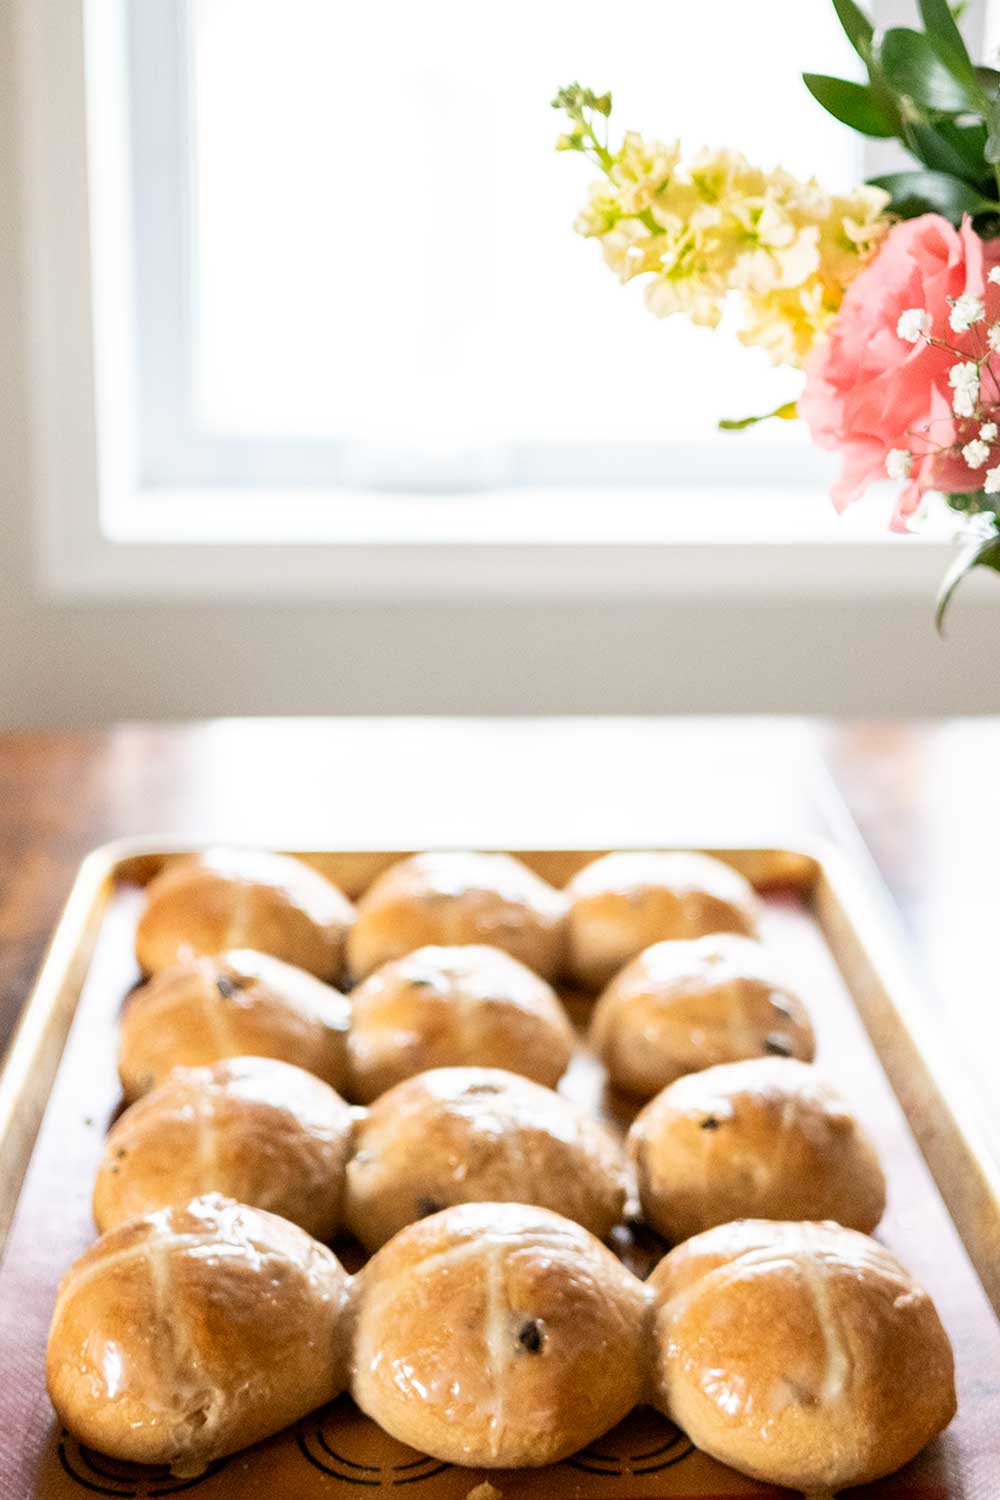
Welcome to my absolute favorite potato rolls recipe, upgraded with fresh, real potatoes for the softest, fluffiest, most flavorful dinner rolls you’ll ever taste! These homemade potato rolls are a holiday staple in our house, and after years of perfecting my recipe (and even making a sweet potato version—check out my Sweet Potato Rolls for a fun twist!), I’ve nailed this fresh-potato version that’s a total game-changer. They’re tender, buttery, and perfect for soaking up gravy or slathering with butter. Plus, they’re made with wholesome ingredients—no instant potato flakes! I now bake these exclusively on half-sheet pans (12 rolls each) — they come out perfectly round and tall every time! Let’s dive into why these rolls are so special and how to make them step-by-step.
Why You’ll Love These Potato Rolls
These potato rolls are a step above the rest, thanks to the magic of real mashed potatoes. For years I used a recipe that called for instant potato flakes. These rolls are softer, fluffier, and bursting with flavor. The starch in fresh potatoes creates an unbelievably tender crumb, and the process of making them from scratch feels so rewarding. They’re perfect for Thanksgiving, Christmas, or any special occasion, but honestly, they’re so good you’ll want to make them year-round!
If you love these, you’ll also adore my Sweet Potato Rolls, which use mashed sweet potatoes for a slightly sweet, vibrant twist. Both recipes are crowd-pleasers, but today, we’re focusing on the classic potato roll—let’s get baking!

Tools I LOVE for Making These Potato Rolls
Having the right tools makes baking these potato rolls so much easier and more enjoyable! Here are a few of my must-haves:
- Potato Ricer: My favorite tool for smooth, lump-free mashed potatoes that make these rolls so light and fluffy.
- Box Grater: A versatile option if you don’t have a ricer—it gets the job done!
- Kitchen Scale: Perfect for measuring some ingredients such as butter and riced potatoes with precision.
- Thermometer: A must-have to make sure your potato mixture is at the right temperature to add your yeast.
- Dough Scraper: I use this all the time to get all my dough out of the bowl.
- Bench Scraper: Needed to scrape up dough and work flour in (if kneading by hand)
- Silicone Pastry Brush: Easy to clean and perfect for brushing those delicious warm potato rolls with butter.
Affiliate links support my blog at no extra cost to you—thanks for checking them out!
How to Cook Potatoes for Baking
To get that silky, lump-free potato texture, start with properly cooked potatoes. Here are two foolproof methods:
- Stovetop Method:
- Peel potatoes and cut into 2-inch chunks.
- Place in a large pot, cover with cold water, and bring to a boil.
- Reduce to a simmer and cook for 15–20 minutes until fork-tender.
- Drain well and cool slightly before ricing.
- Pressure Cooker Method:
- Peel and cut potatoes into chunks (or leave whole if small).
- Add 1 cup water to the pressure cooker with a steamer basket or trivet.
- Cook on high pressure for 5 minutes, then quick-release.
- Drain and cool slightly before ricing. This method yields extra-fluffy potatoes!
Pro Tip: Weigh your riced potatoes to ensure you have exactly 1 cup (210g) for the recipe.


How to Rice Potatoes
Ricing potatoes creates the smooth, fluffy texture that makes these rolls so light. Here are my favorite methods:
- Potato Ricer (Best Option): Press cooked, still-hot potatoes” (hot potatoes rice much fluffier and with fewer lumps)
- Box Grater: Grate cooked potatoes on the finest side, then mash lightly with a fork for smoothness.
- Colander Method: Press potatoes through a sturdy colander using a spatula or spoon.
- Fork Method (Last Resort): Mash thoroughly with a fork, cooking potatoes longer in the milk later to ensure they’re soft.
What kind of potatoes should I use?
Best Choice: Russet
Russets are high in starch and low in moisture, making them ideal for mashing. They create a light, fluffy texture when cooked and riced, which is perfect for soft, airy potato rolls. Their low moisture content means they absorb butter and milk beautifully, enhancing the flavor of your rolls.
Second Choice: Yukon Gold Potatoes
Yukon Golds are slightly waxier but still have enough starch to work well. They’re naturally buttery in flavor, so they add richness to your rolls. You can also mix them with Russets for the best of both worlds.
Avoid: Waxy Potatoes (e.g., Red or New Potatoes)
Waxy potatoes are low in starch and high in moisture, which can make your riced potatoes gummy instead of fluffy. They’re better suited for roasting or potato salads. If waxy potatoes are all you have, use a potato ricer to help smooth them out, but the results may still be less ideal for this recipe.
Storage & Freezing
- Room Temperature: Store in an airtight container for up to 2 days.
- Refrigerator: Keep for up to 5 days; reheat before serving for that fresh-baked feel.
- Freezer: Freeze baked rolls for up to 1 month. Thaw at room temperature, then reheat at 300°F for 5–7 minutes and brush with butter.
For a stress-free holiday, check out my Thanksgiving Prep Guide for reheat instructions and more tips! We have personally found that fresh rolls are best though.
Why Fresh Potatoes?
Switching from instant potato flakes to fresh potatoes was a revelation! The natural starches create an ultra-soft texture, and the flavor is richer and more authentic. My family did a taste test, and these rolls beat my old recipe hands-down. If you’re curious about a twist on this recipe, my Sweet Potato Rolls add a subtle sweetness and gorgeous color—perfect for fall feasts!
Final Thoughts
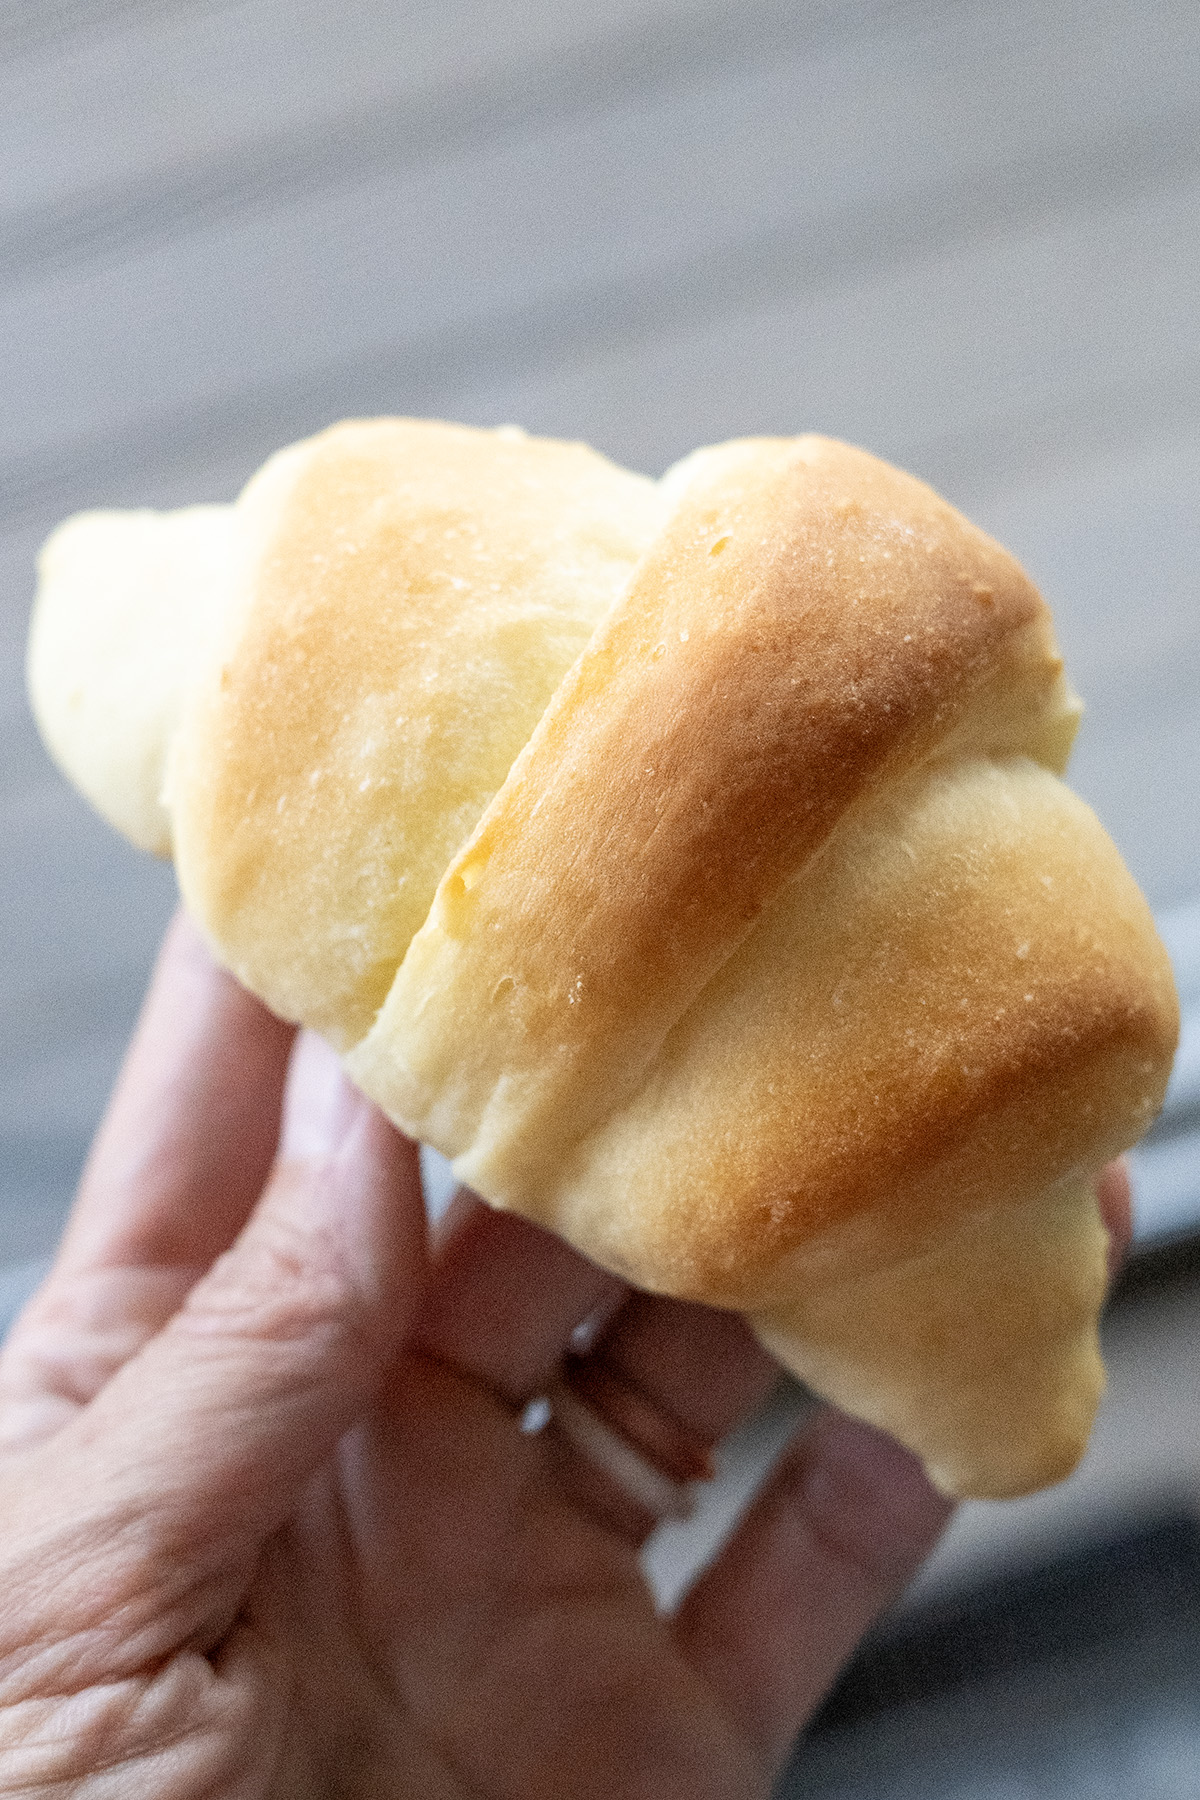
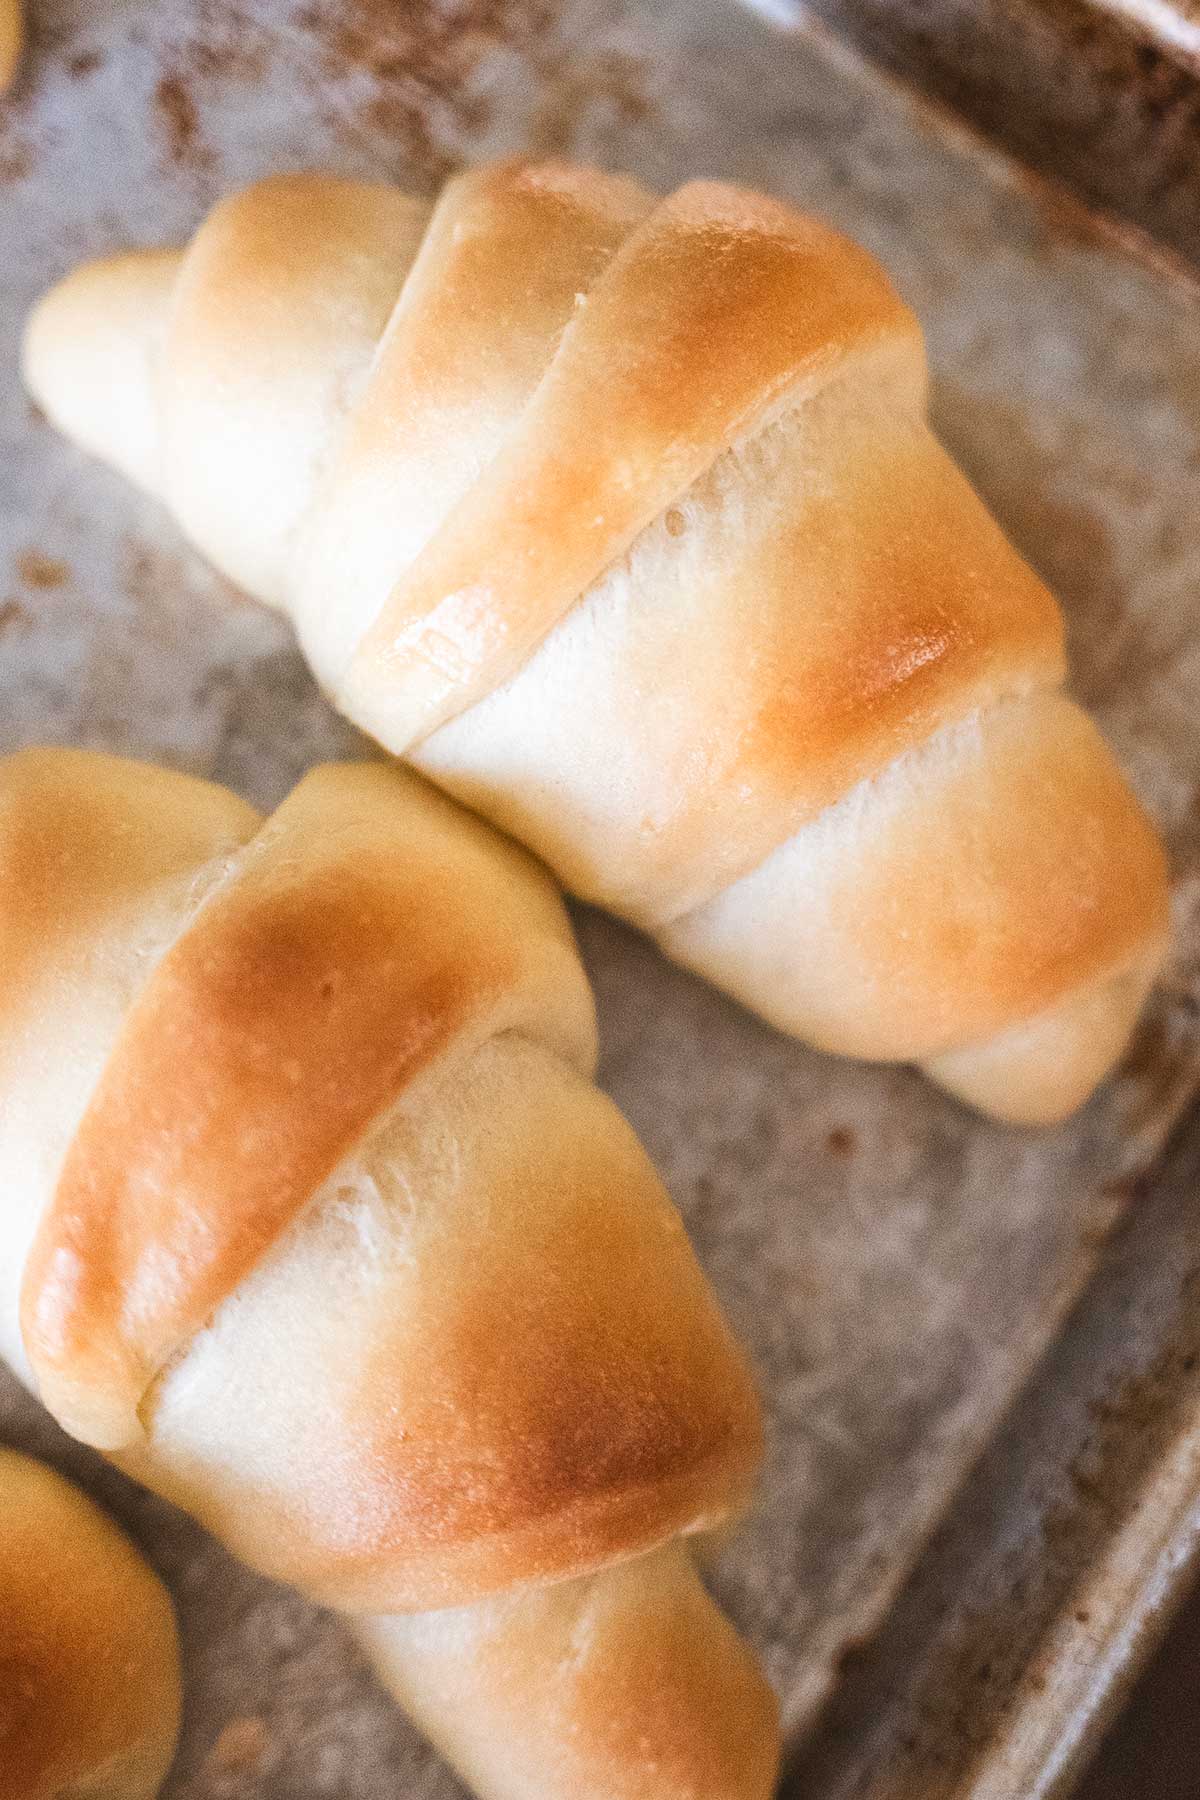
These potato rolls are more than just bread—they’re a labor of love that elevates any meal. Whether you’re shaping them into classic balls or elegant crescents, they’re sure to steal the show. Try them for your next holiday or Sunday dinner, and let me know in the comments how they turn out!
Happy baking!
Tender Potato Rolls ~ With Real Potatoes
Print Recipe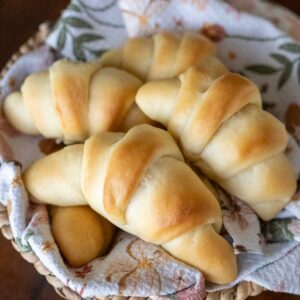
equipment (affiliate links
- Instant Pot for cooking potatoes
- thermometer for proofing yeast
- Mixing bowls or
- stand mixer with dough hook
- kitchen scale for precise measurements
- 2 Half sheet pans for non-touching rolls
Ingredients
- 1 c. (240 g) milk 2% or whole
- 1 c. (210 g) potatoes Russet or Yukon Gold, cooked & riced
- 1 ½ tsp active dry yeast or instant yeast
- 6 tbsp (85 g) salted butter softened
- 6 tbsp (75 g) granulated sugar
- 1 ½ tsp salt
- 2 large eggs room temperature
- 5 c. (625 g) unbleached all-purpose flour (RECOMMEND WEIGHING)
- ¼ c. (57 g) salted butter melted, for brushing
- + more butter for brushing after baking
Instructions
Cook the Potatoes:
- Stovetop: Peel and cut potatoes into 2-inch chunks. Place in a large pot, cover with cold water, and bring to a boil. Reduce to a simmer and cook 15–20 minutes until fork-tender. Drain and cool slightly.
- Pressure Cooker: Peel and cut potatoes into chunks (or leave whole if small). Add 1 cup water to the pressure cooker with a steamer basket or trivet. Cook on high pressure for 5 minutes, then quick-release. Drain and cool slightly.
Rice the Potatoes (210 g yield):
- Potato Ricer: Press cooked potatoes through a ricer into a bowl for a silky, lump-free texture.
- Box Grater: Grate cooled potatoes on the finest side, then mash lightly with a fork.
- Colander: Press potatoes through a sturdy colander using a spatula or spoon.
- Fork: Mash thoroughly; cook longer in milk later for softness.
Make, Shape, and Bake:
- In a medium saucepan, heat milk and riced potatoes over medium heat,to 90–110°F (32–43°C) for active dry yeast or 120-130°F (49-54°C) for instant yeast using a thermometer.1 c. (240 g) milk1 c. (210 g) potatoes
- Proof the Yeast: Stir yeast into the cooled potato-milk mixture. Stir in the yeast (it may not get very foamy because of the potato starch — that’s totally normal, just proceed).1 ½ tsp active dry yeast
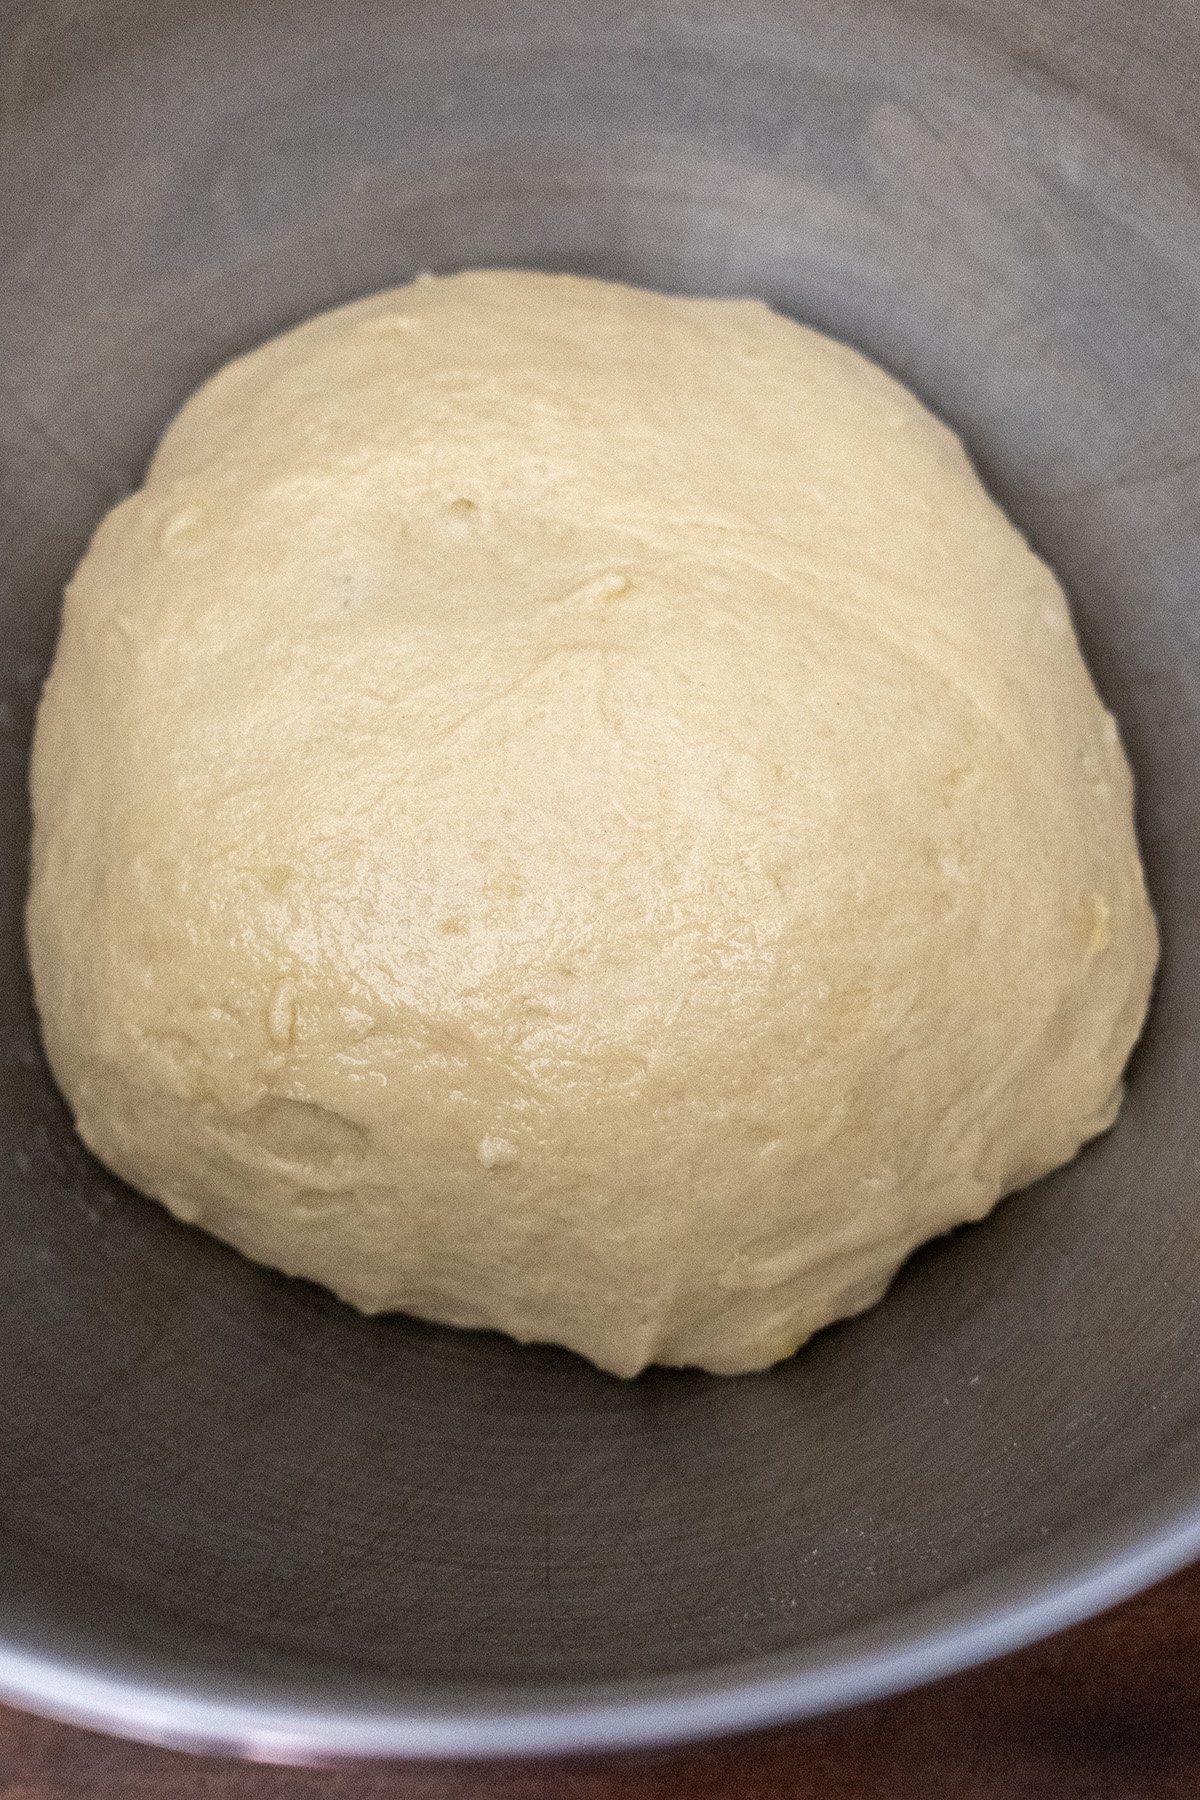
- Mix the Dough: In a large bowl or stand mixer, combine potato mixture, softened butter, sugar, salt, and eggs. Mix until smooth. Gradually add flour, mixing until a soft dough forms. Knead on a lightly floured surface or with a dough hook for 5–7 minutes, adding flour as needed for a smooth and slightly tacky dough.6 tbsp (85 g) salted butter6 tbsp (75 g) granulated sugar1 ½ tsp salt2 large eggs5 c. (625 g) unbleached all-purpose flour (RECOMMEND WEIGHING)
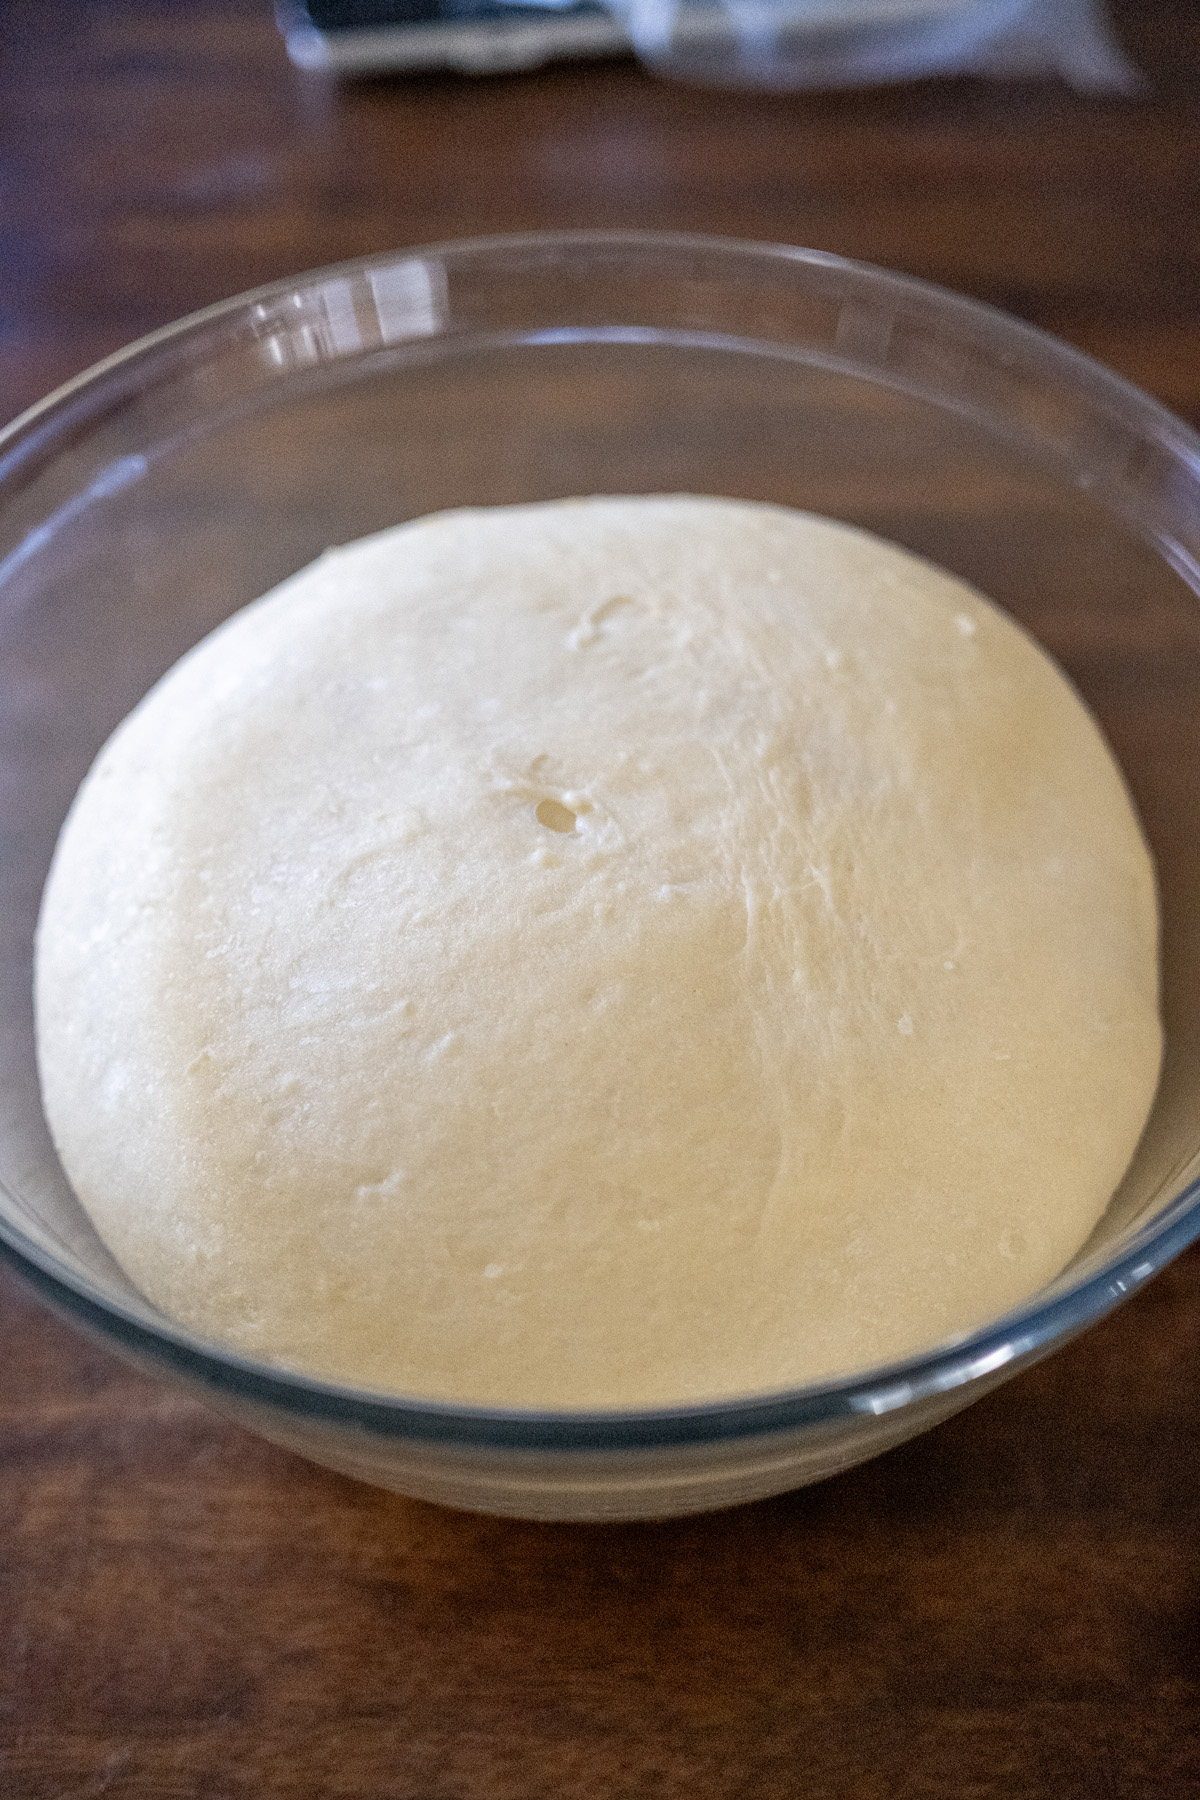
- First Rise: Place dough in a greased bowl, turn to coat, cover with a towel or plastic wrap, and let rise in a warm place until doubled, about 1 hour. (Try a turned-off oven with a pan of hot water.)
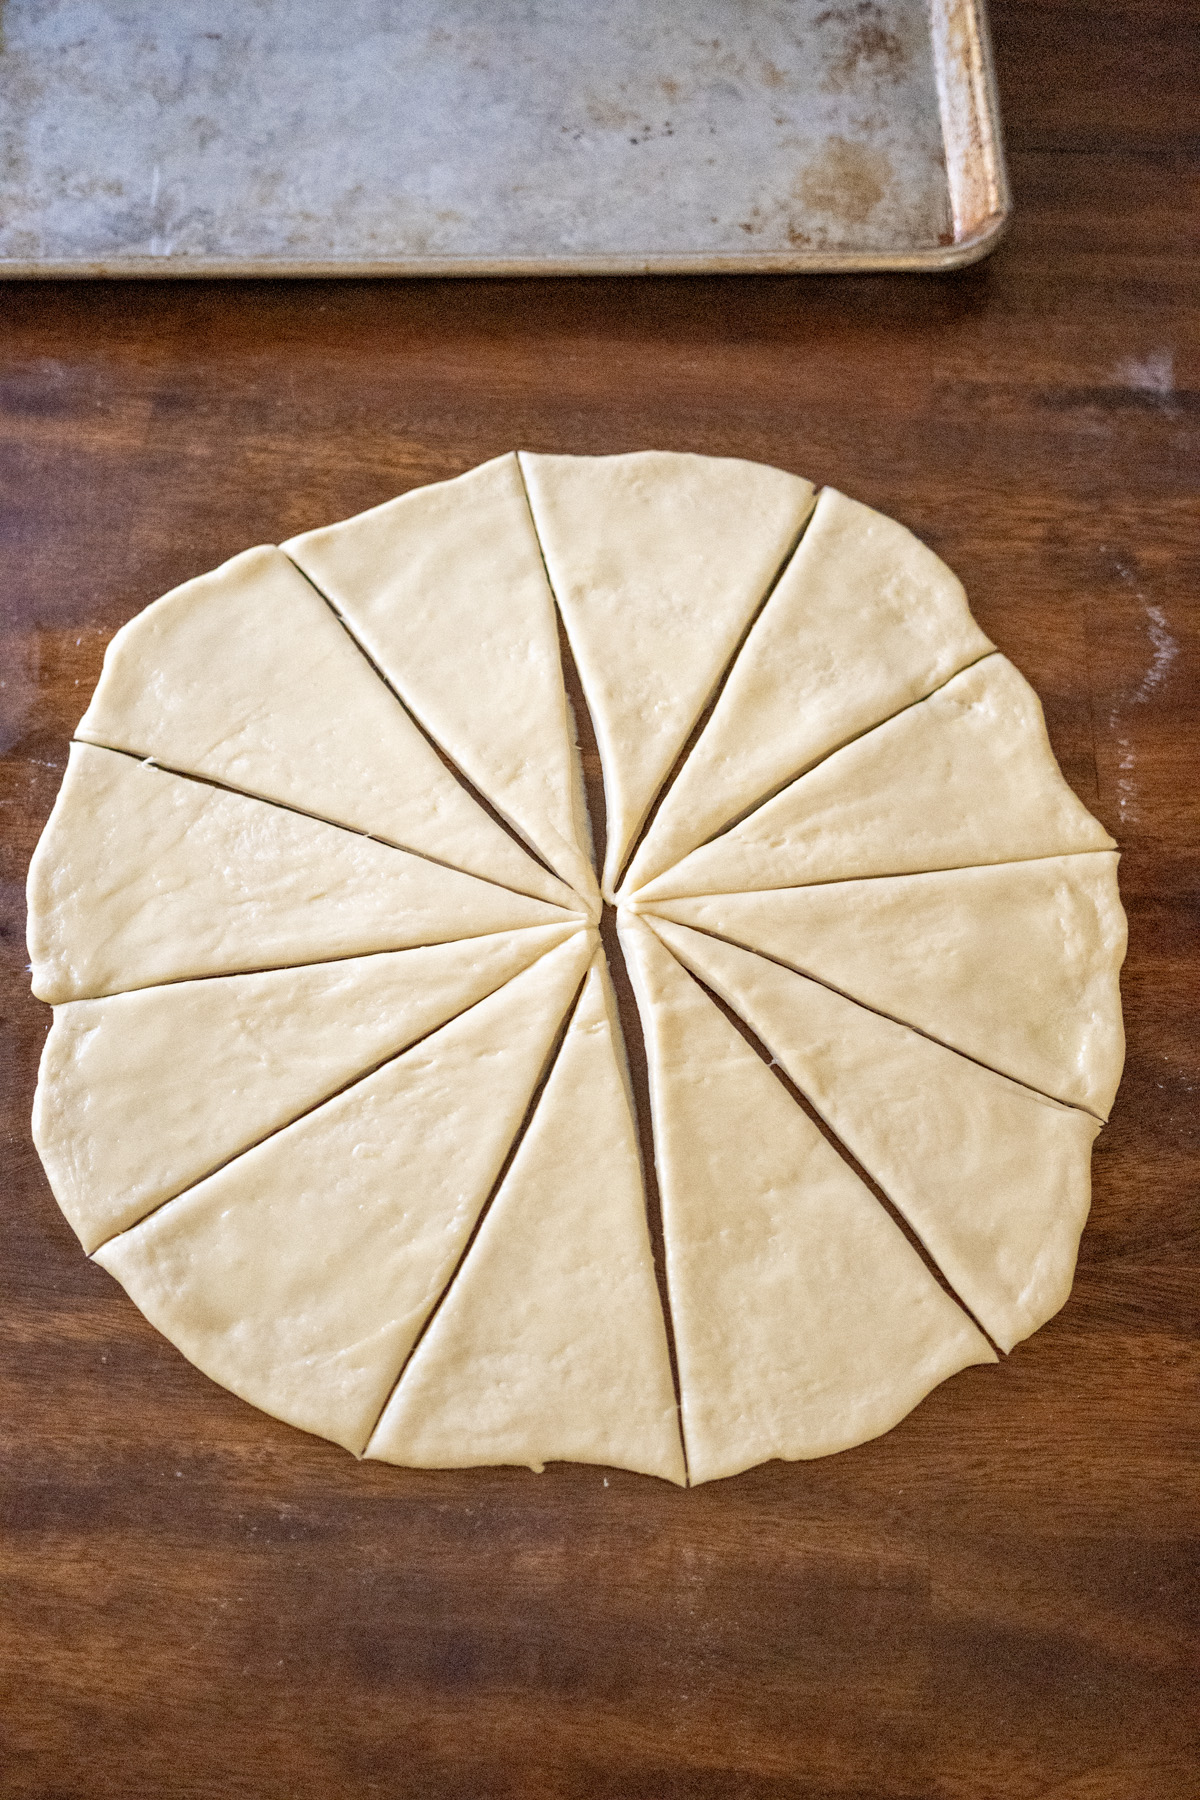
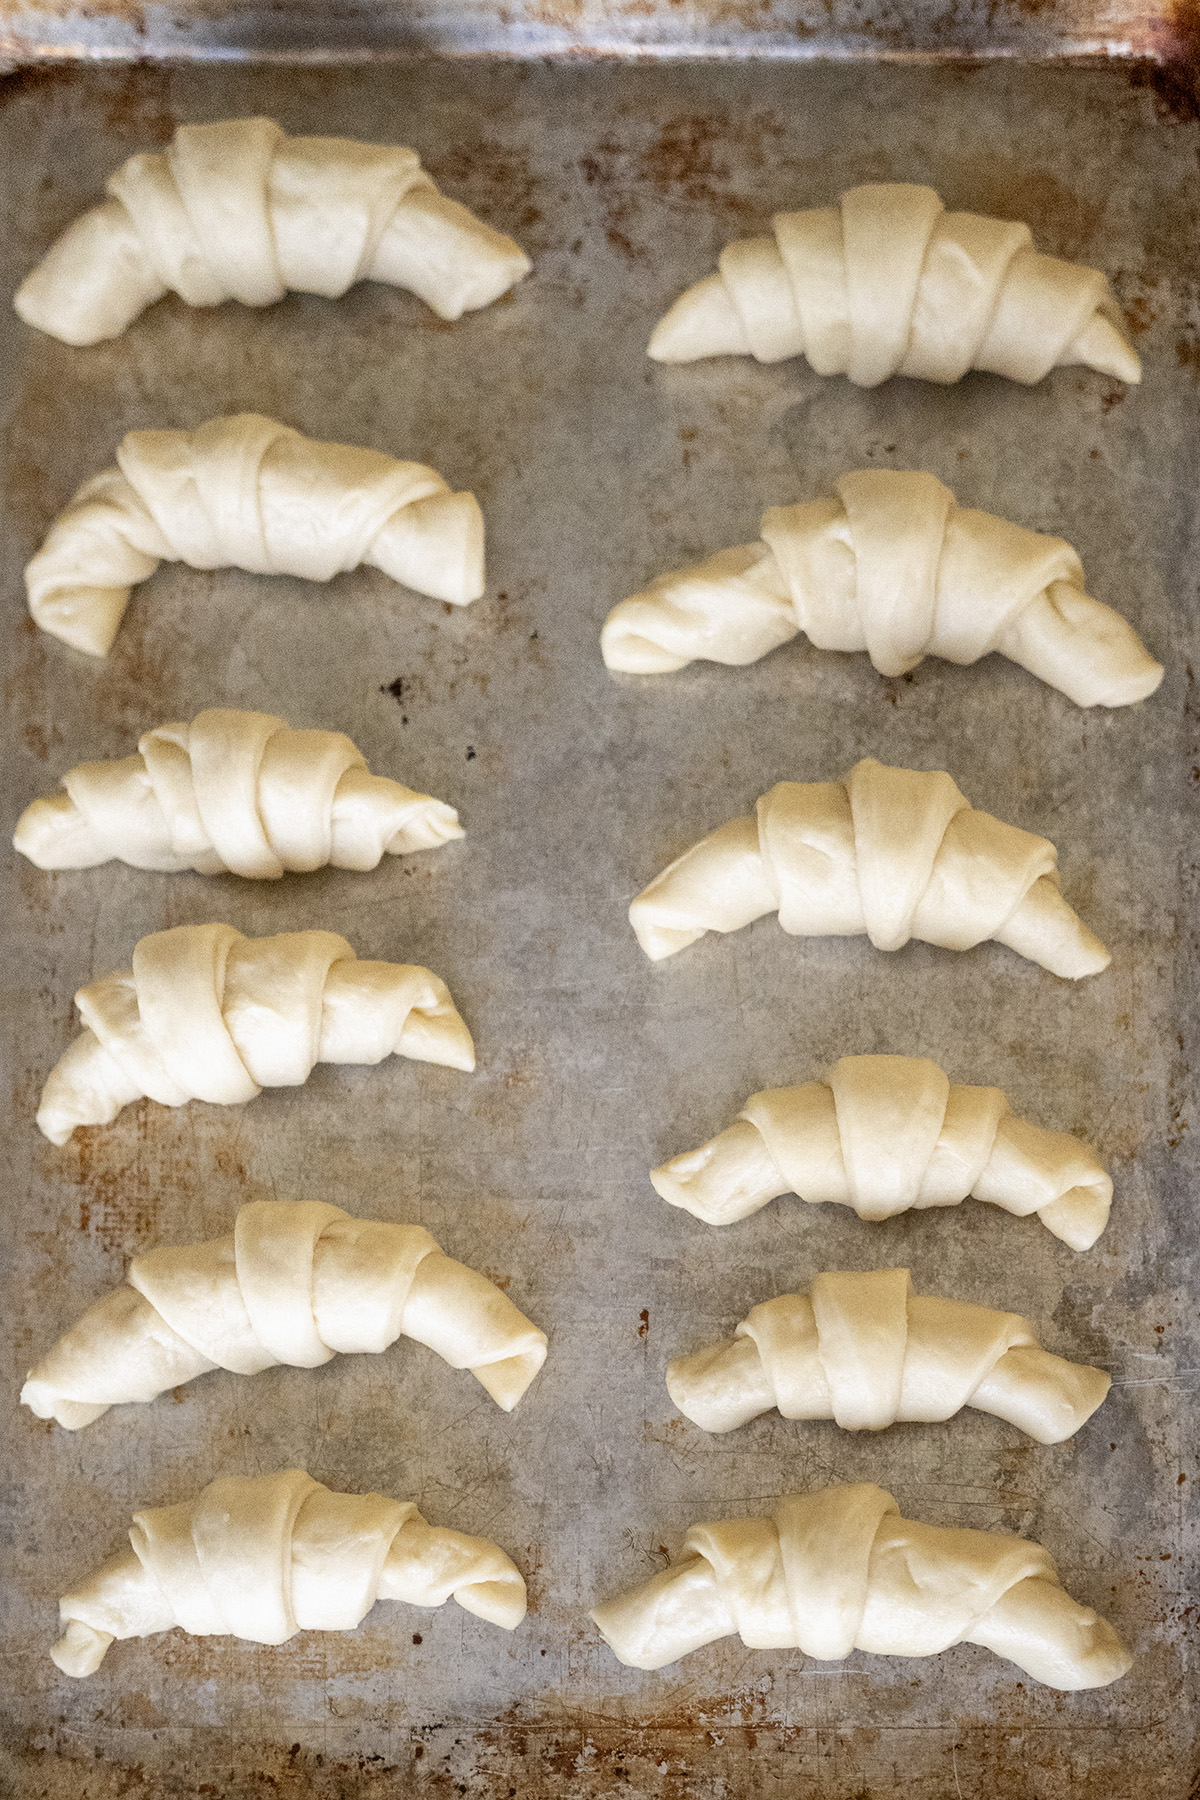
- Shape the Rolls: Punch down dough and divide into 24 equal pieces (use a kitchen scale). Shape into balls, knots, cloverleaf rolls, or crescents: For Crescents: Divide dough into 2 balls, rolling edges under to form smooth balls. On a lightly floured surface, roll one ball (smooth side down) into a ¼–½-inch thick circle (about 16 inches wide). Brush the rolled-out circle with some of the ¼ cup of melted butter. Cut into 4 quarters with a pizza cutter, then cut each quarter into 3 triangles (12 total). Roll each triangle from the wide end to the point, tucking the point under. Repeat with the second ball.¼ c. (57 g) salted butter
- Pan the Rolls: Place rolls on a greased half-sheet pan, points down for crescents. Cover loosely and let rise until puffy, about 1 hour.
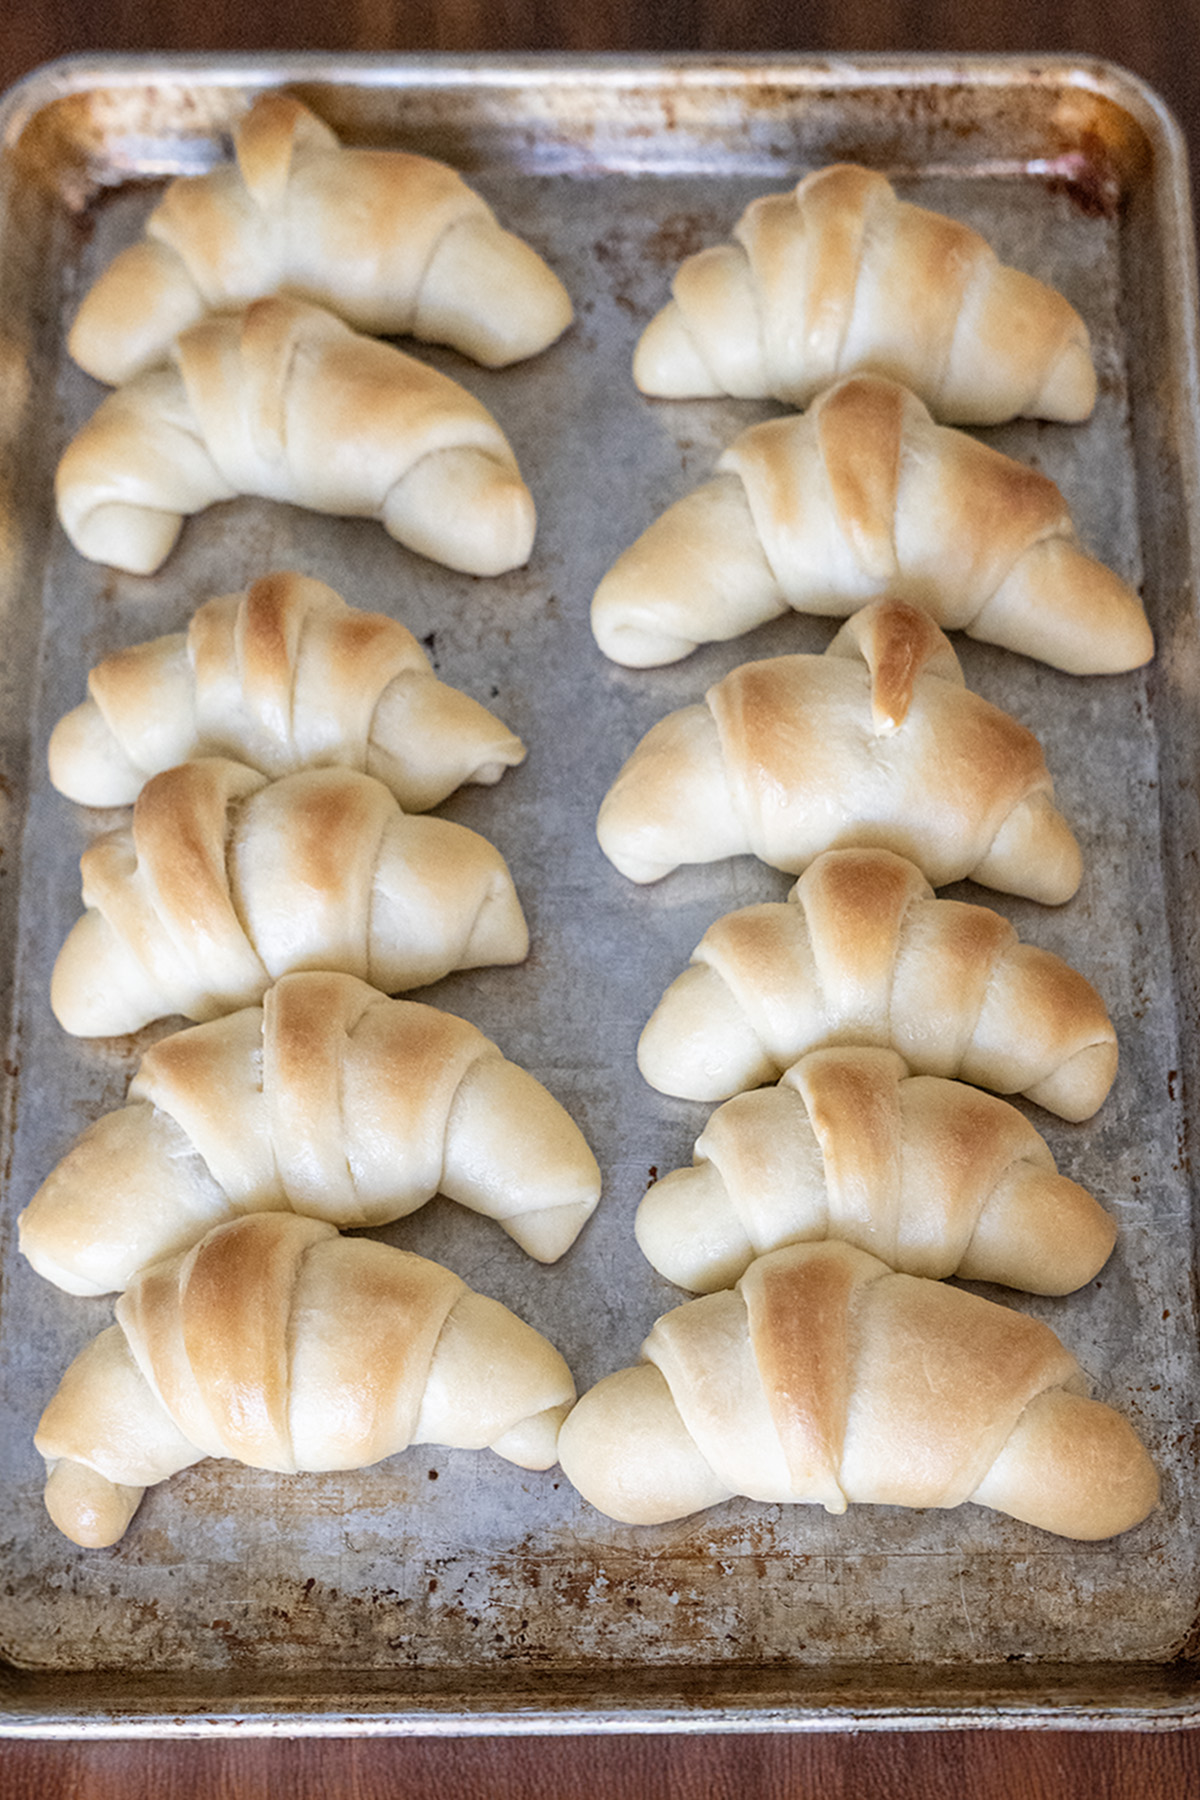
- Bake: Preheat oven to 350°F (175°C). Bake 20 minutes, rotating pans halfway, until golden brown and 190°F internally. Brush with melted butter immediately.+ more butter for brushing after baking
Video
Notes
- Storage: Store in an airtight container at room temperature for 2 days, refrigerate for 5 days, or freeze for 1 month. Thaw, reheat at 300°F for 5–7 minutes, and brush with butter.
- Make Ahead Options:
- After the first rise, cover the whole ball of dough tightly and refrigerate overnight. Next day: let dough sit at room temp 30–60 minutes, then shape, final rise 60–90 min, and bake.
- Shape the rolls, place 12 per greased half-sheet pan, cover tightly with plastic wrap, and refrigerate overnight. Next morning: let rolls sit at room temp 45–60 minutes until puffy, then bake.
- Freezing: Freeze baked rolls for 1 month. Thaw, reheat, and brush with butter.
As an Amazon Associate, I earn from qualifying purchases at no extra cost to you. Thank you for your support!


One Comment