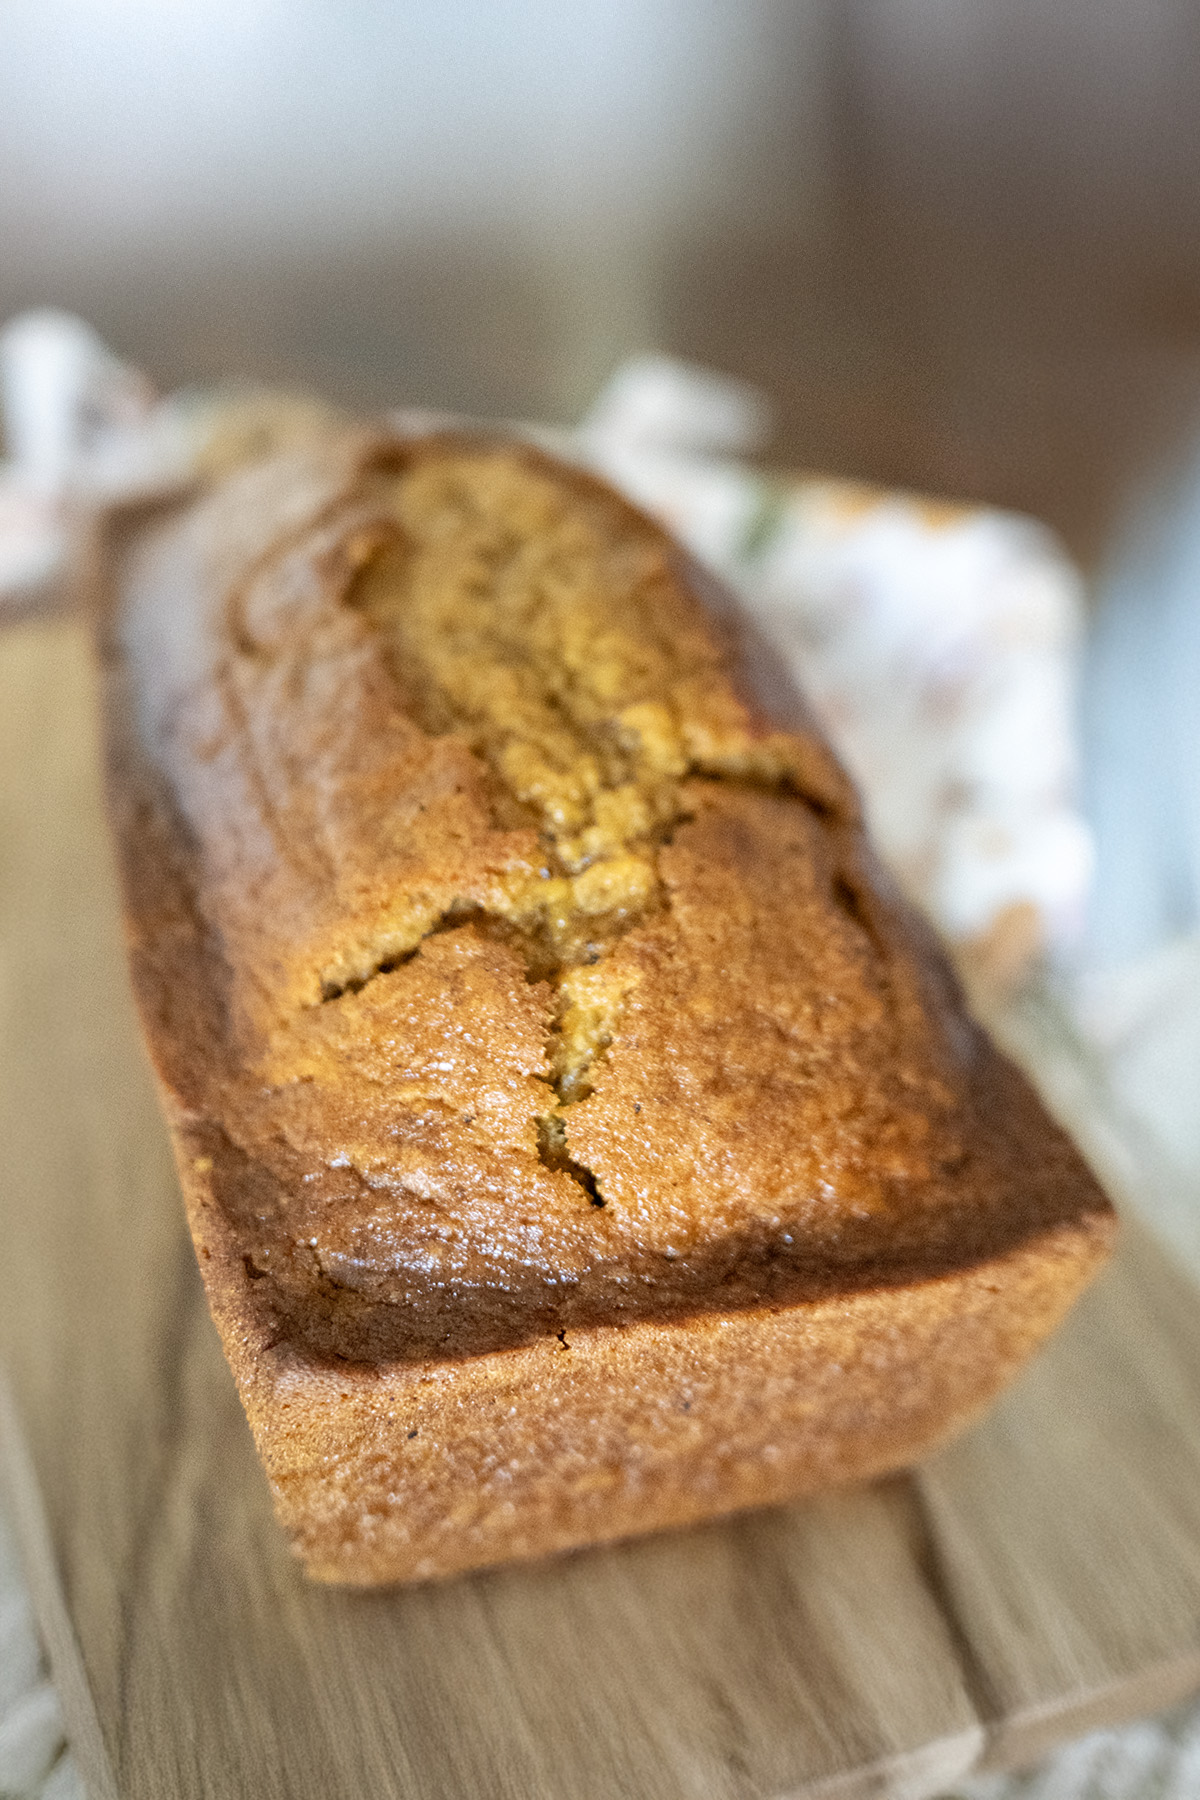
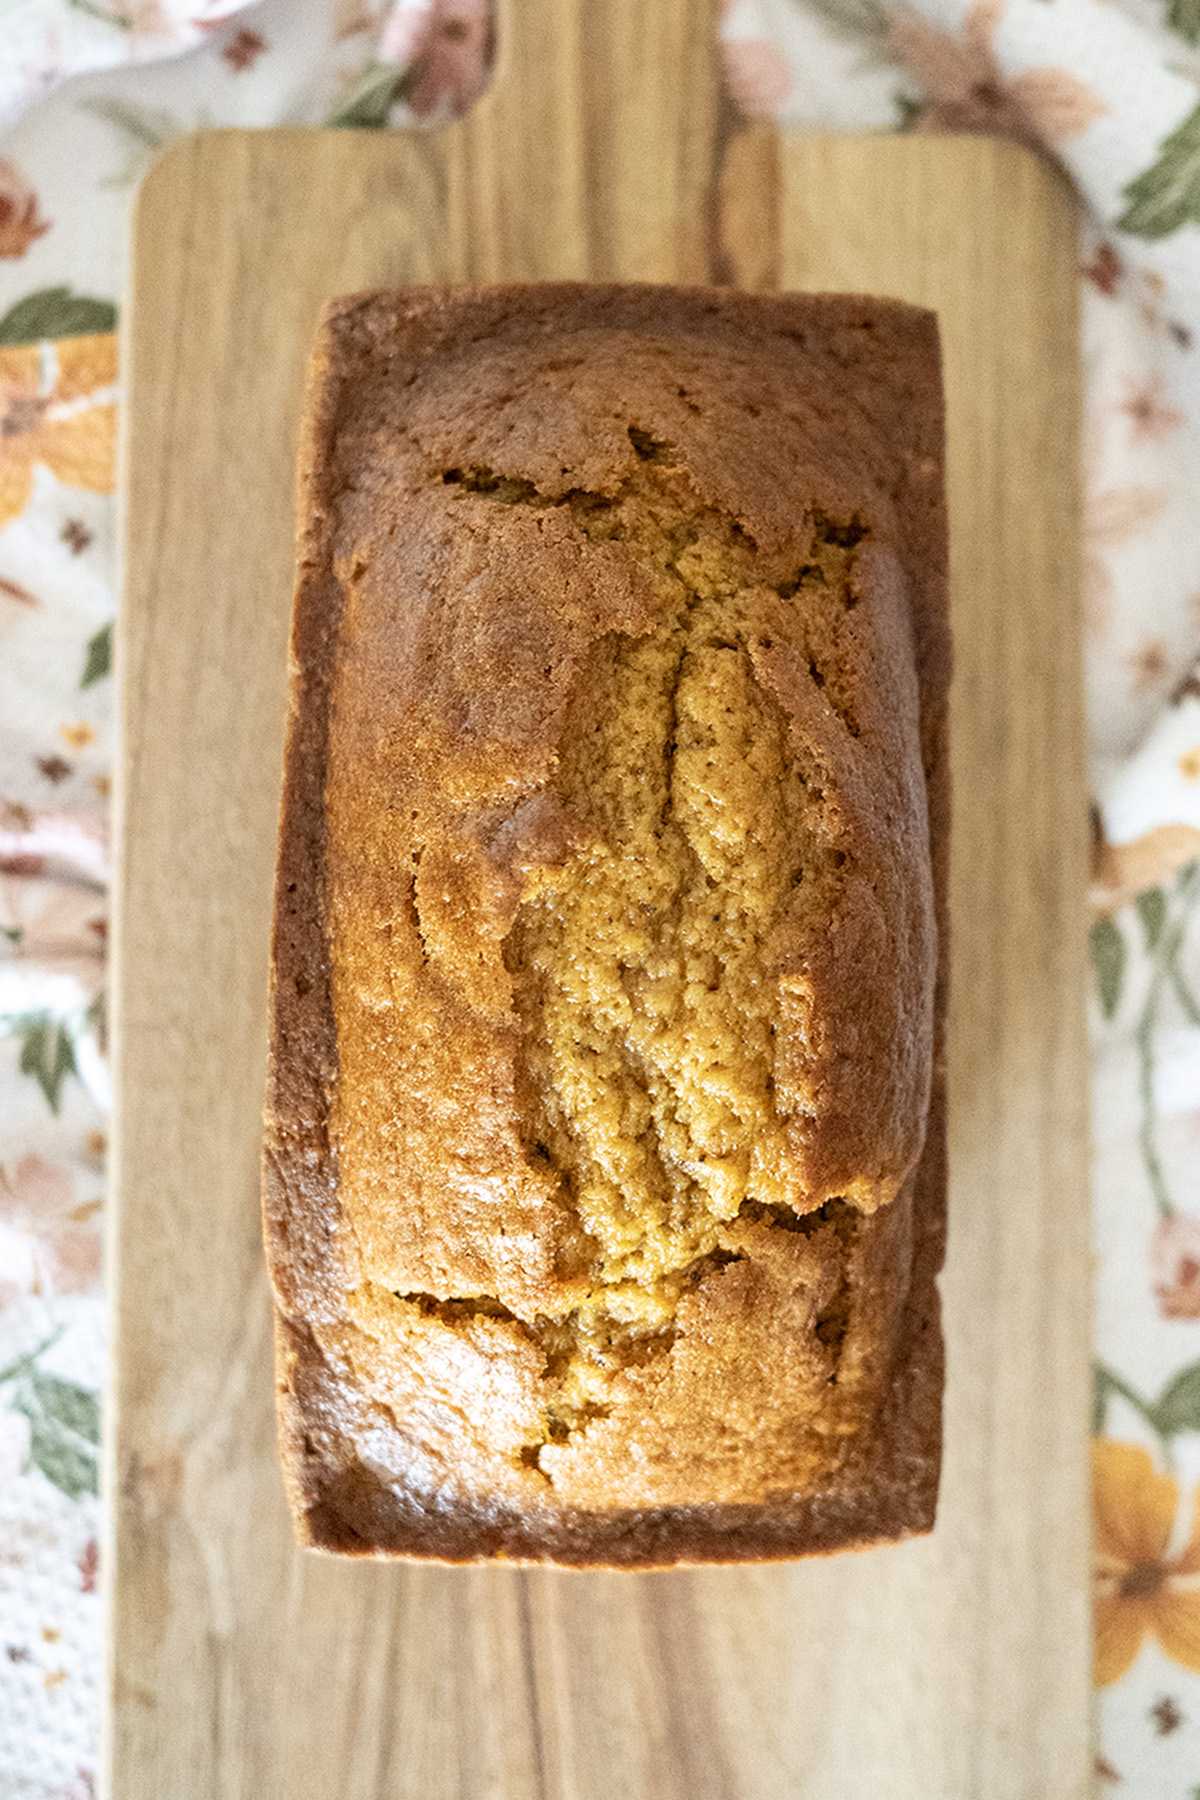
Grandma’s Pumpkin Spice Bread
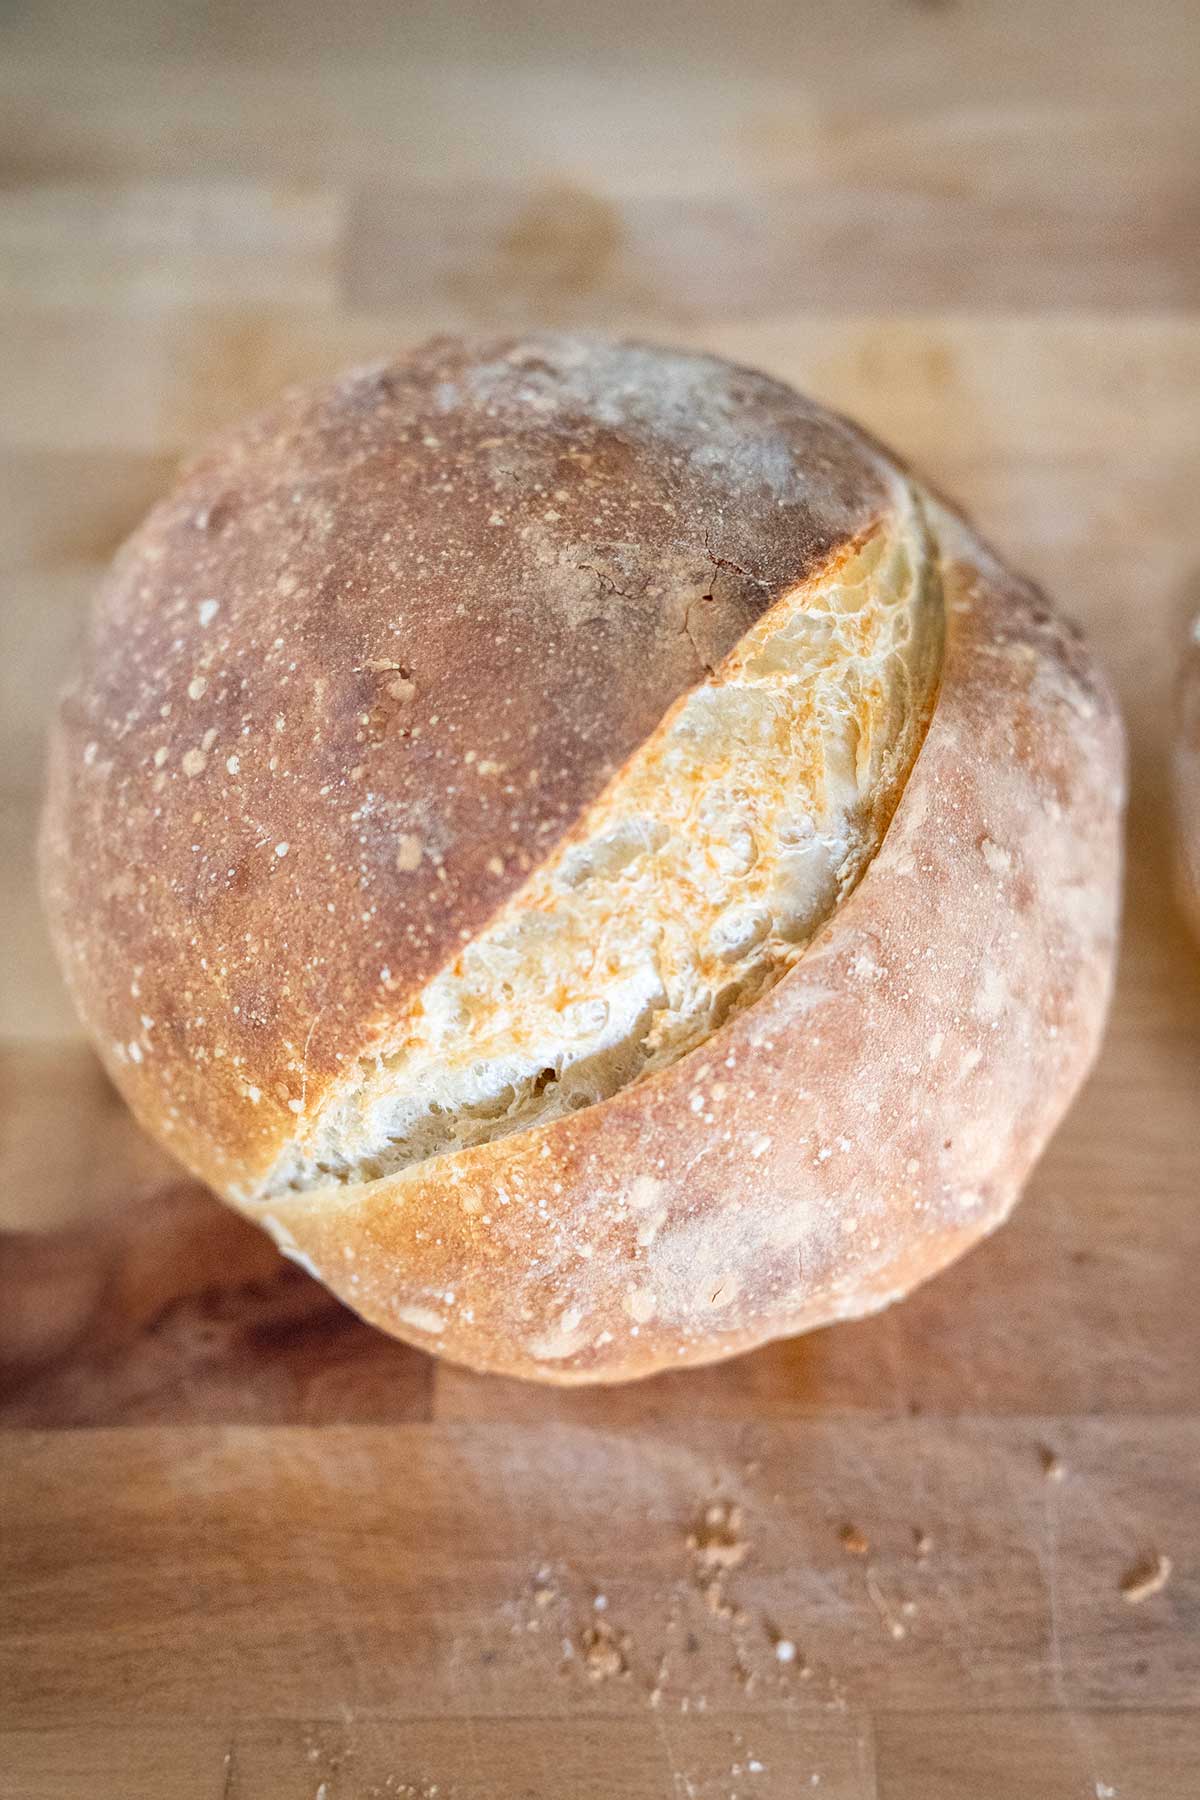
Nothing screams fall like a warm slice of Pumpkin Spice Bread fresh from the oven! This recipe is bursting with cozy flavors—cinnamon, nutmeg, cloves—and delivers a tender, moist loaf that’s the epitome of autumn comfort. Whether you’re sipping a pumpkin spice latte or curling up with a blanket, this bread is your perfect seasonal companion.
A Family Favorite for Over 20 Years
This recipe has been a staple in my kitchen for nearly two decades, and it’s hands-down the best pumpkin spice bread I’ve ever tasted. This recipes original name, “Grandma’s Pumpkin Spice Bread” might be a bit of a mystery—honestly, I’m not sure if it came from my grandma or someone else’s! The recipe card was old, tattered, and well-loved when I got it, so it’s a classic in my book. Let’s just say it’s got that timeless, passed-down vibe we all adore.
Before we dive into the recipe, are you as obsessed with pumpkin as I am? If so, you’ll love these other pumpkin goodies:
Fun Fact: Did you know canned pumpkin is often made from squash? I spill all the detail in my post about preserving blue hubbard squash.
The RV Days: Where It All Began
I first shared this recipe back in 2012, when my husband, our four young kids, and I were living full-time in an RV. Talk about an adventure! Baking in that tiny RV oven was a challenge, to say the least. I even experimented with baking quick bread in a crockpot (yes, really!). While it was a fun hack at the time, I’ll be honest—crockpot bread isn’t my thing anymore. The tops always came out soggy, and since we’re settled in a home with a proper oven, I’m sticking to traditional baking. No offense to crockpot fans out there! If you’ve cracked the code, drop your tips in the comments.
Why You’ll Love this Recipe for Pumpkin Spice Bread
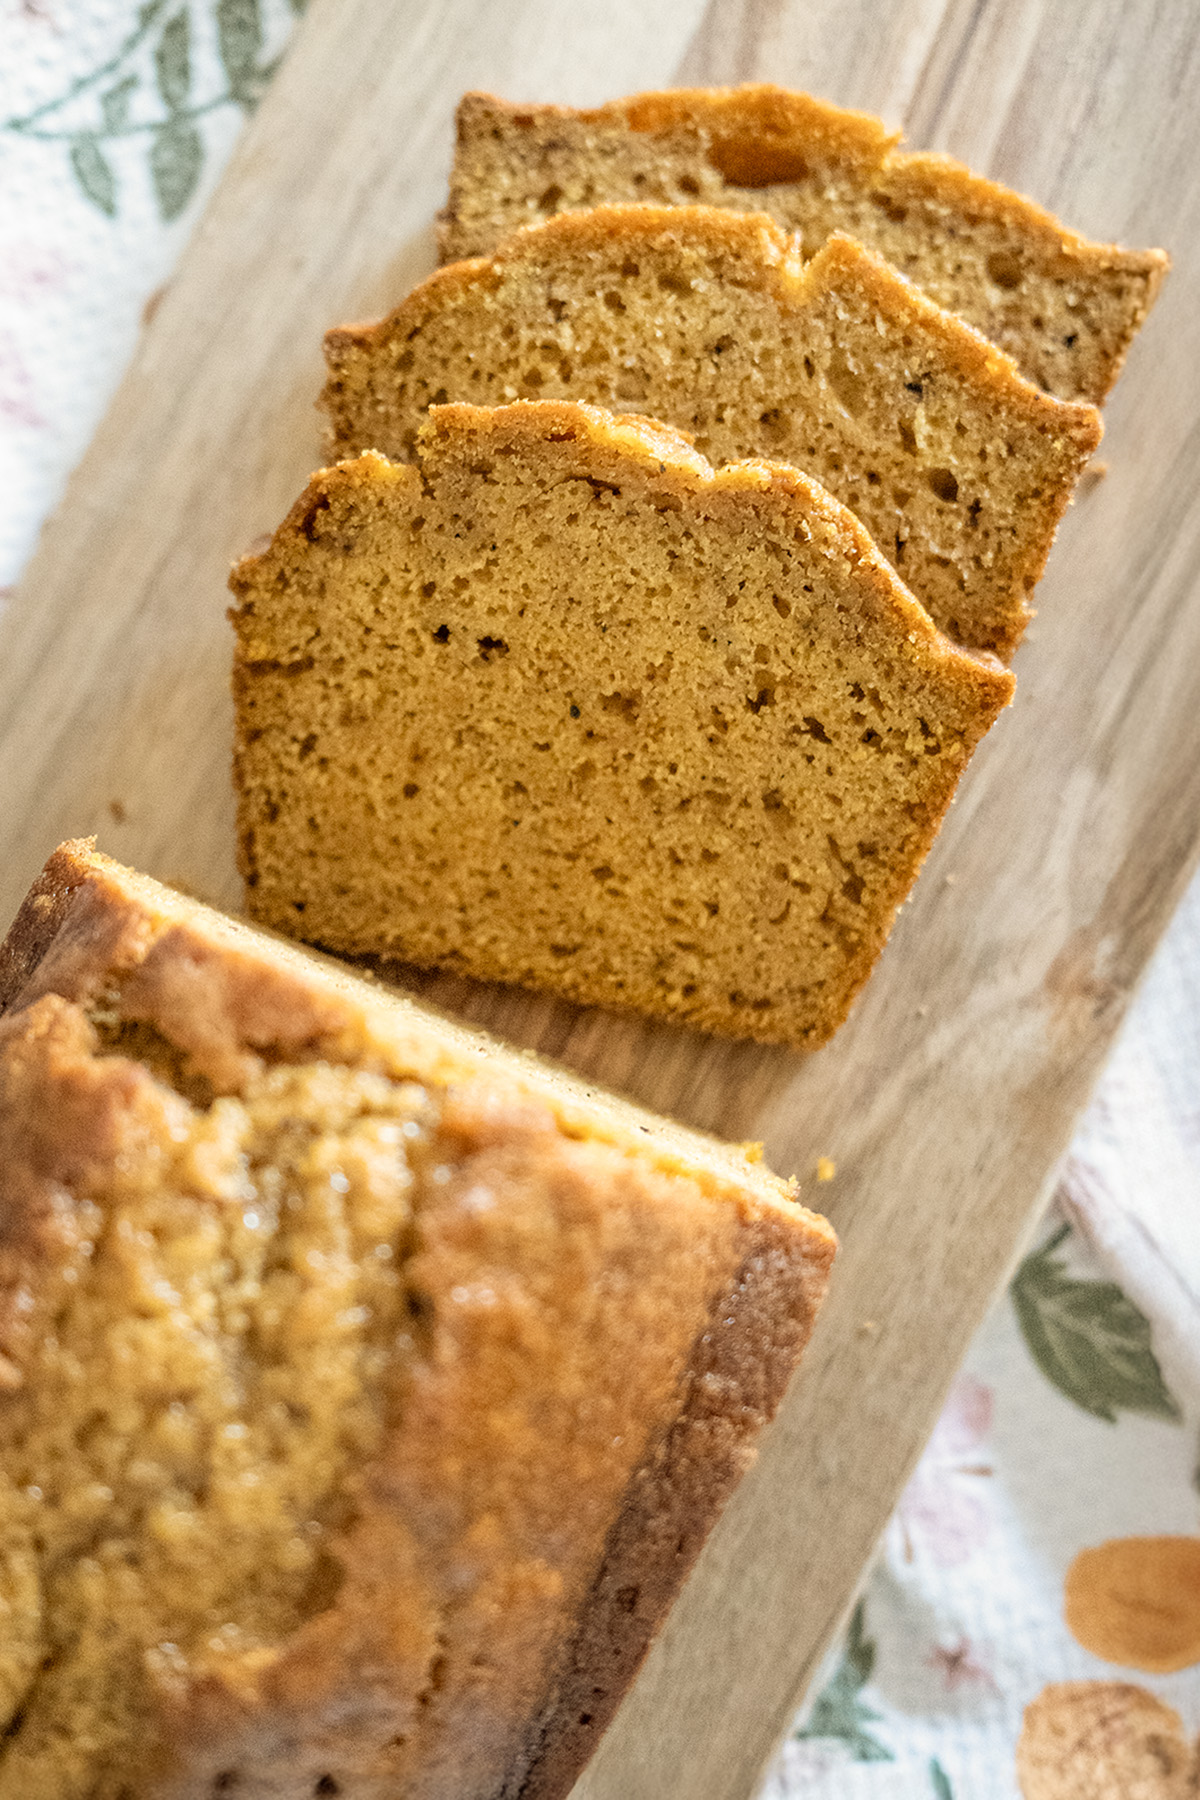
This pumpkin spice bread is everything you want in a fall treat: soft, spiced, and just sweet enough. Swapping oil for melted butter gives it a richer, more indulgent flavor, and precise measurements ensure foolproof results every time. Plus, it’s versatile—you can bake it as a standard loaf, mini loaves, or even a longer, slimmer loaf for perfect slices.
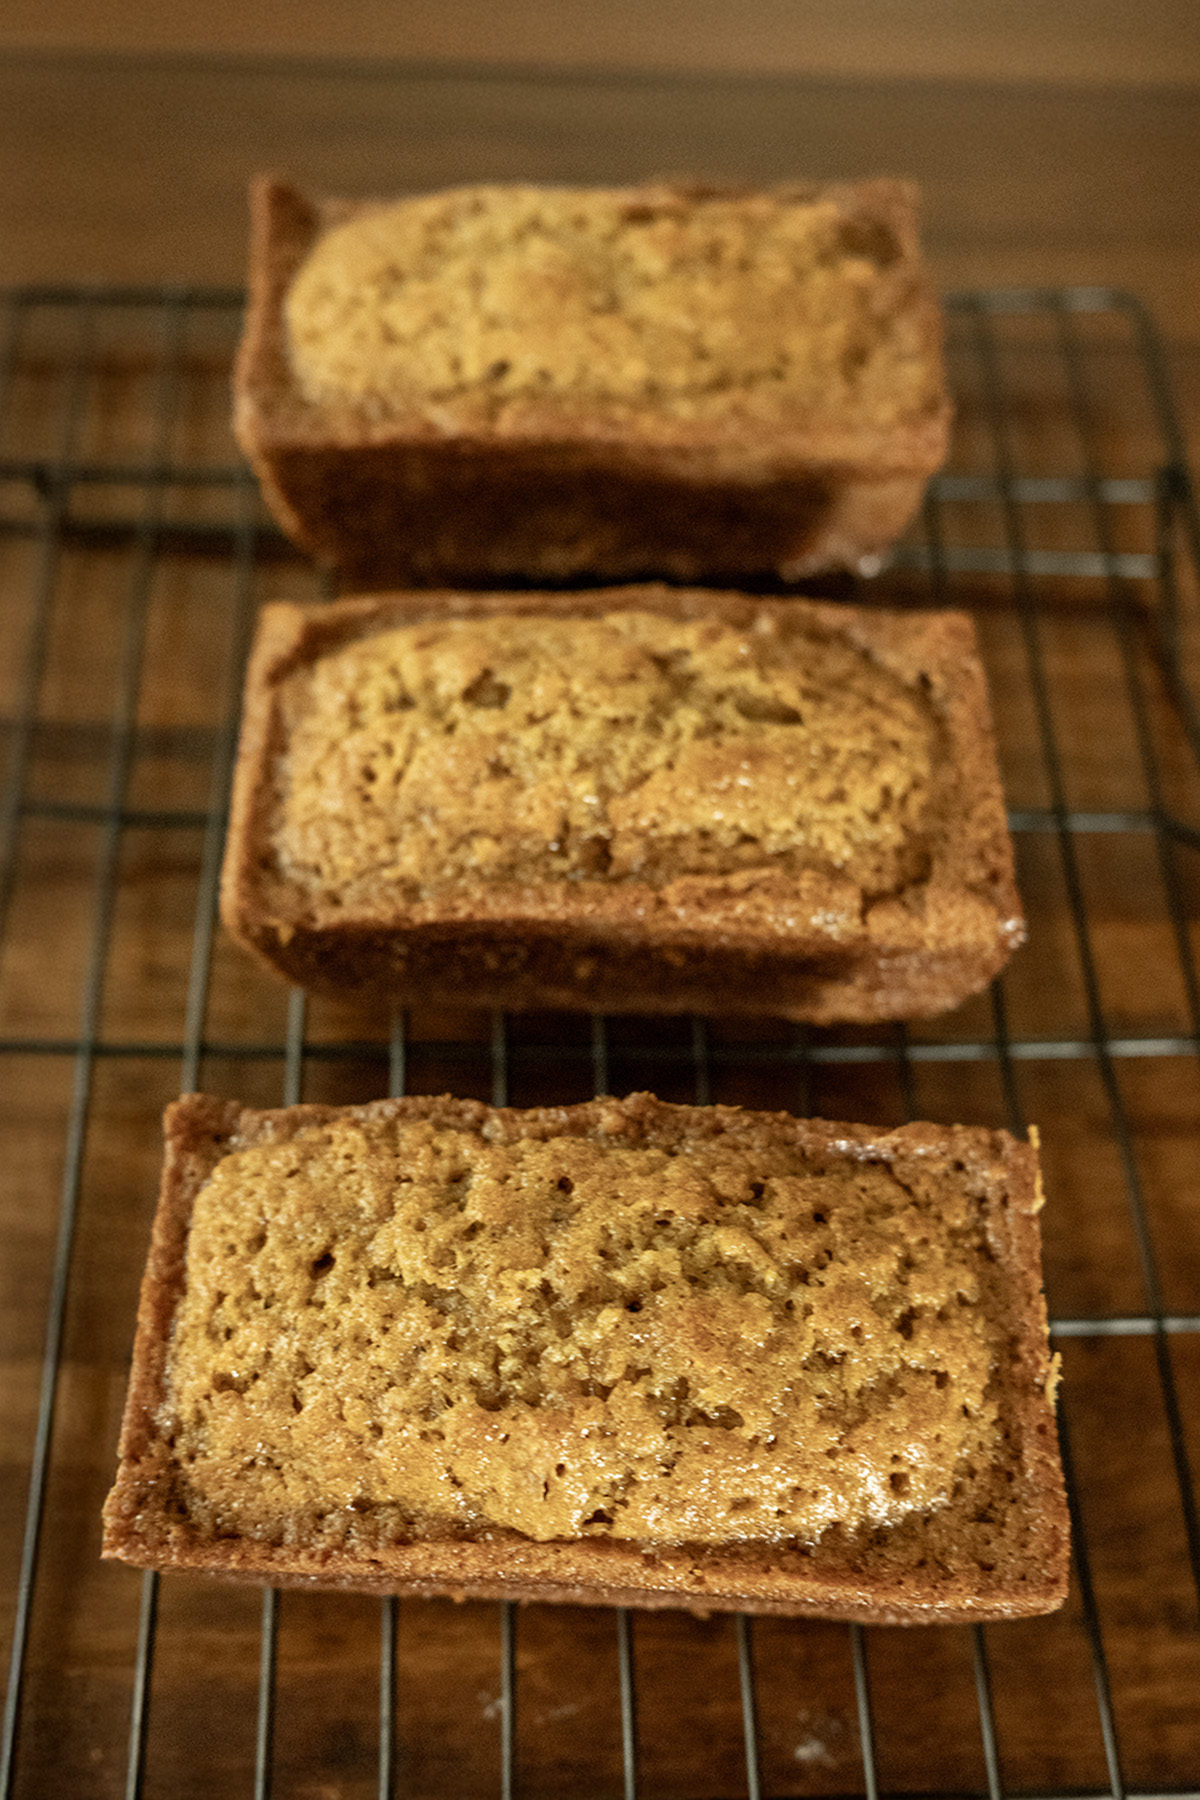
Bread Pan Size Tips
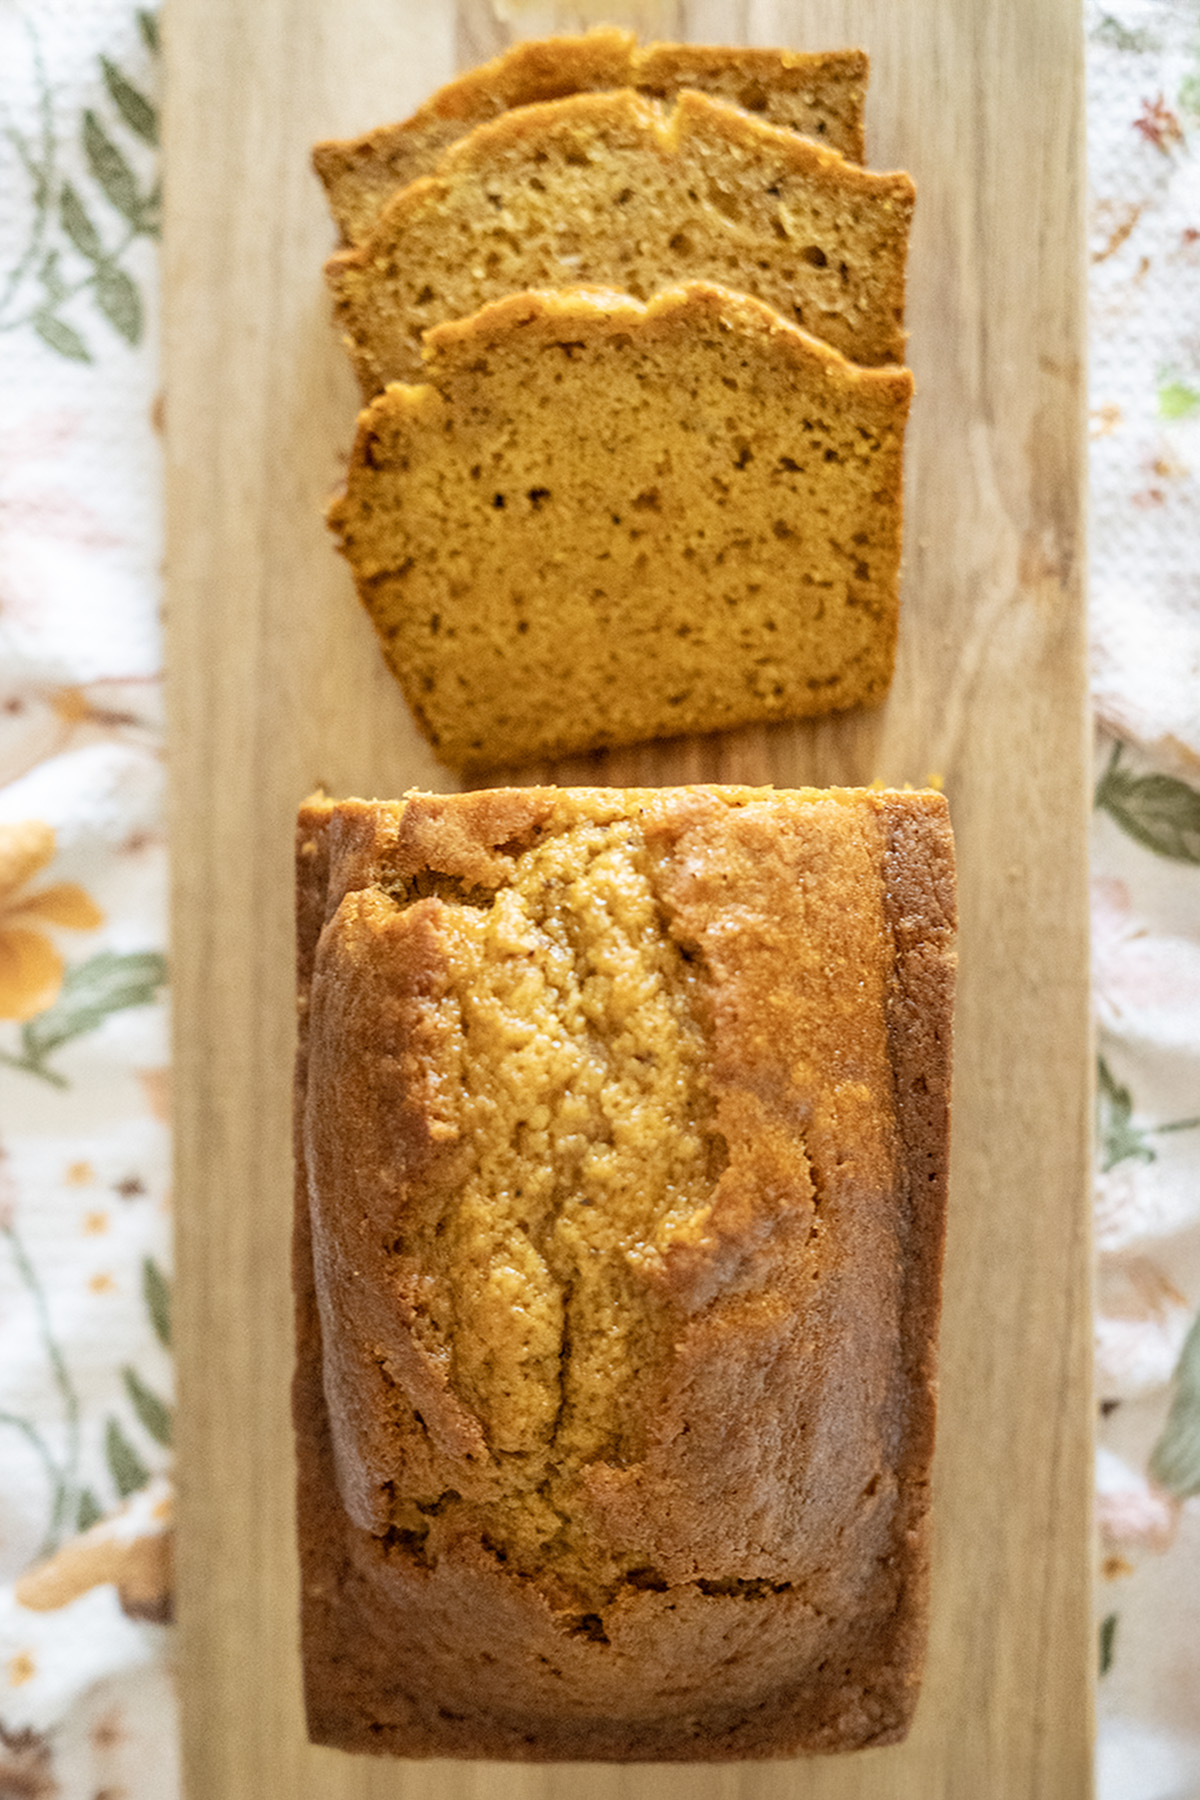
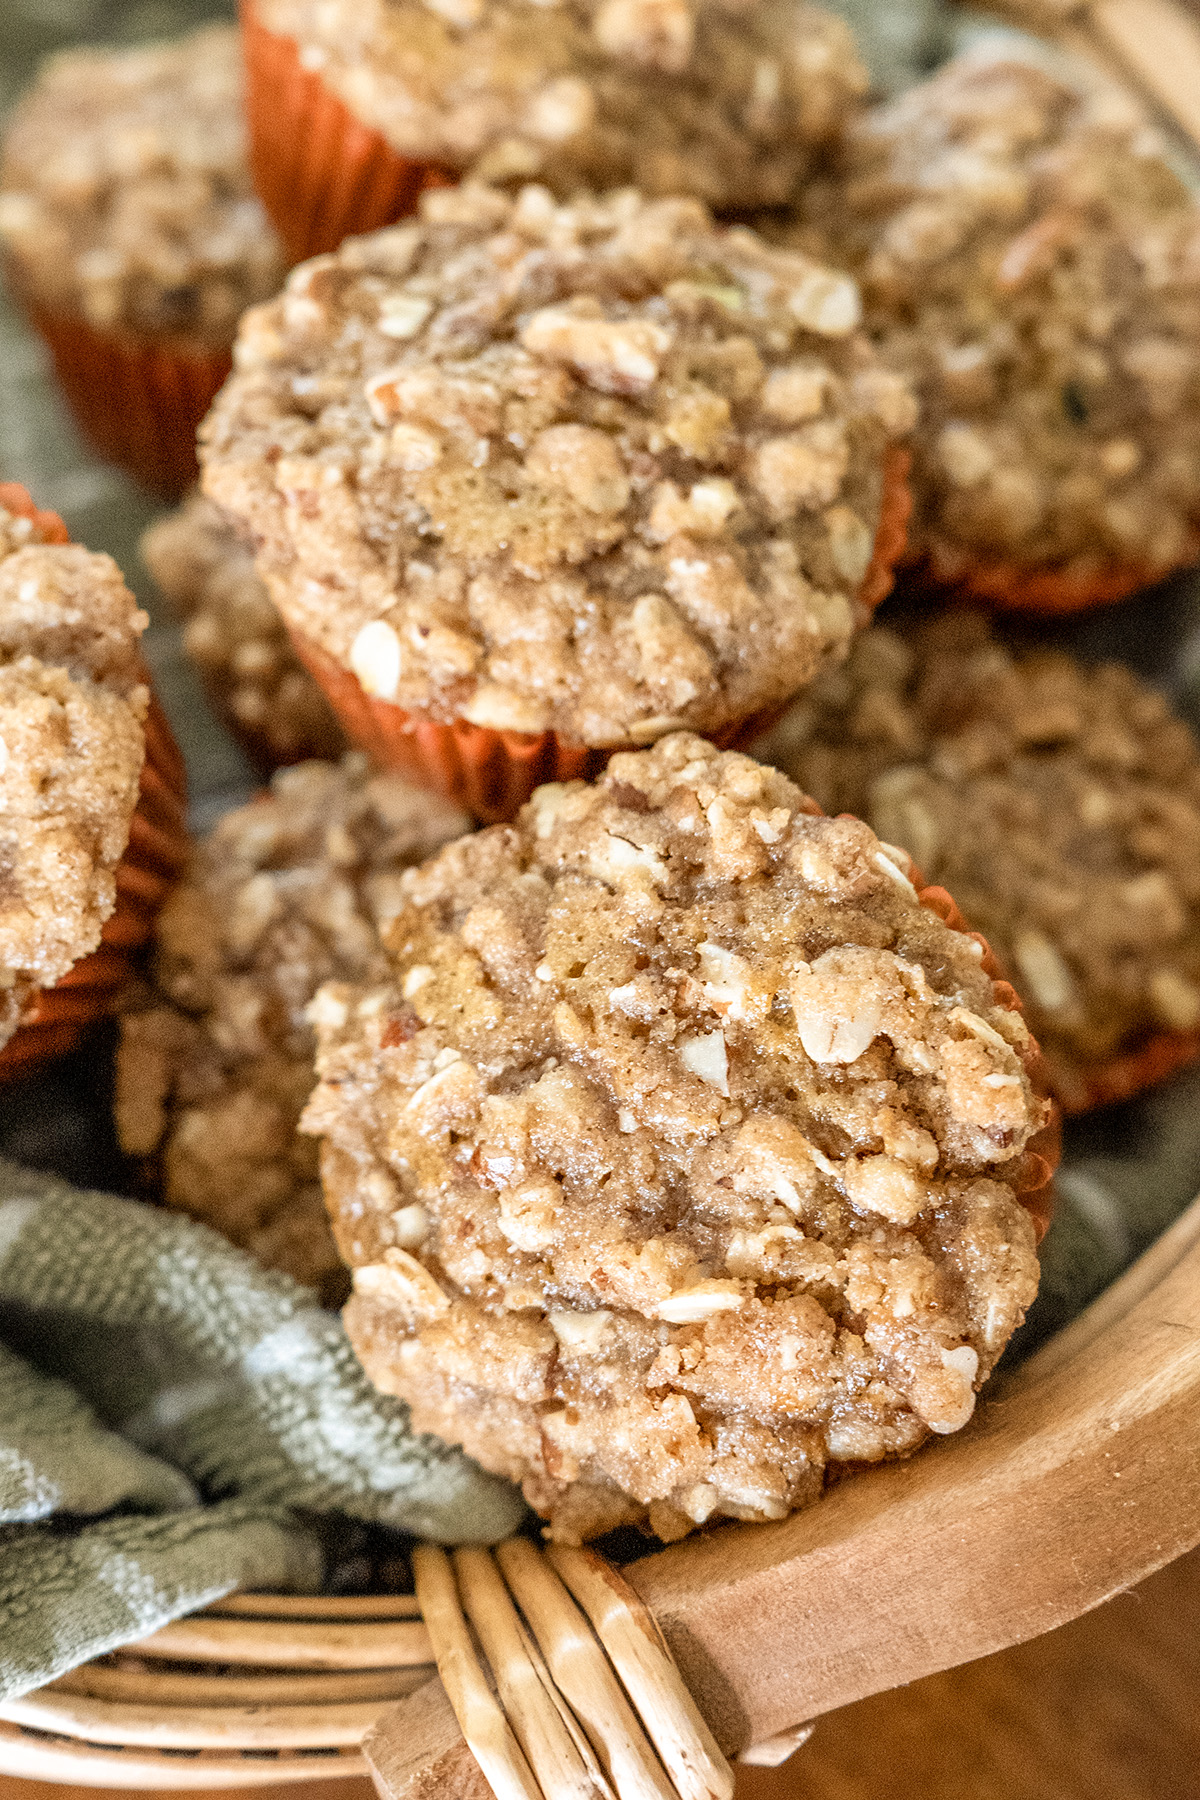
This recipe yields one 9×5-inch standard loaf, 3-4 mini loaves. My personal favorite is the mini loaves which cut into the perfect single serving slices and their ideal for sharing (or hoarding, no judgement). For storage, I use bread bags to keep the loaf fresh for days.

Incorporating My DIY Pumpkin Pie Spice Substitute
Love the idea of a custom spice blend? You can elevate this bread by using my DIY pumpkin pie spice substitute (featured in my latest post)! Simply replace the individual spices (¾ tsp cinnamon, ¾ tsp nutmeg, ½ tsp cloves, ¼ tsp ginger) with 2 teaspoons of the substitute blend, then add ½ teaspoon nutmeg and ⅓ teaspoon cloves to maintain the bread’s robust flavor. This blend, made from 1 tablespoon cinnamon, 1 teaspoon ginger, ½ teaspoon nutmeg, ½ teaspoon cloves, and optional ¼ teaspoon allspice (whisked together and stored in an airtight jar), brings a fresh, consistent flavor to every loaf. Try it and let me know how it transforms your bake!
Final Thoughts
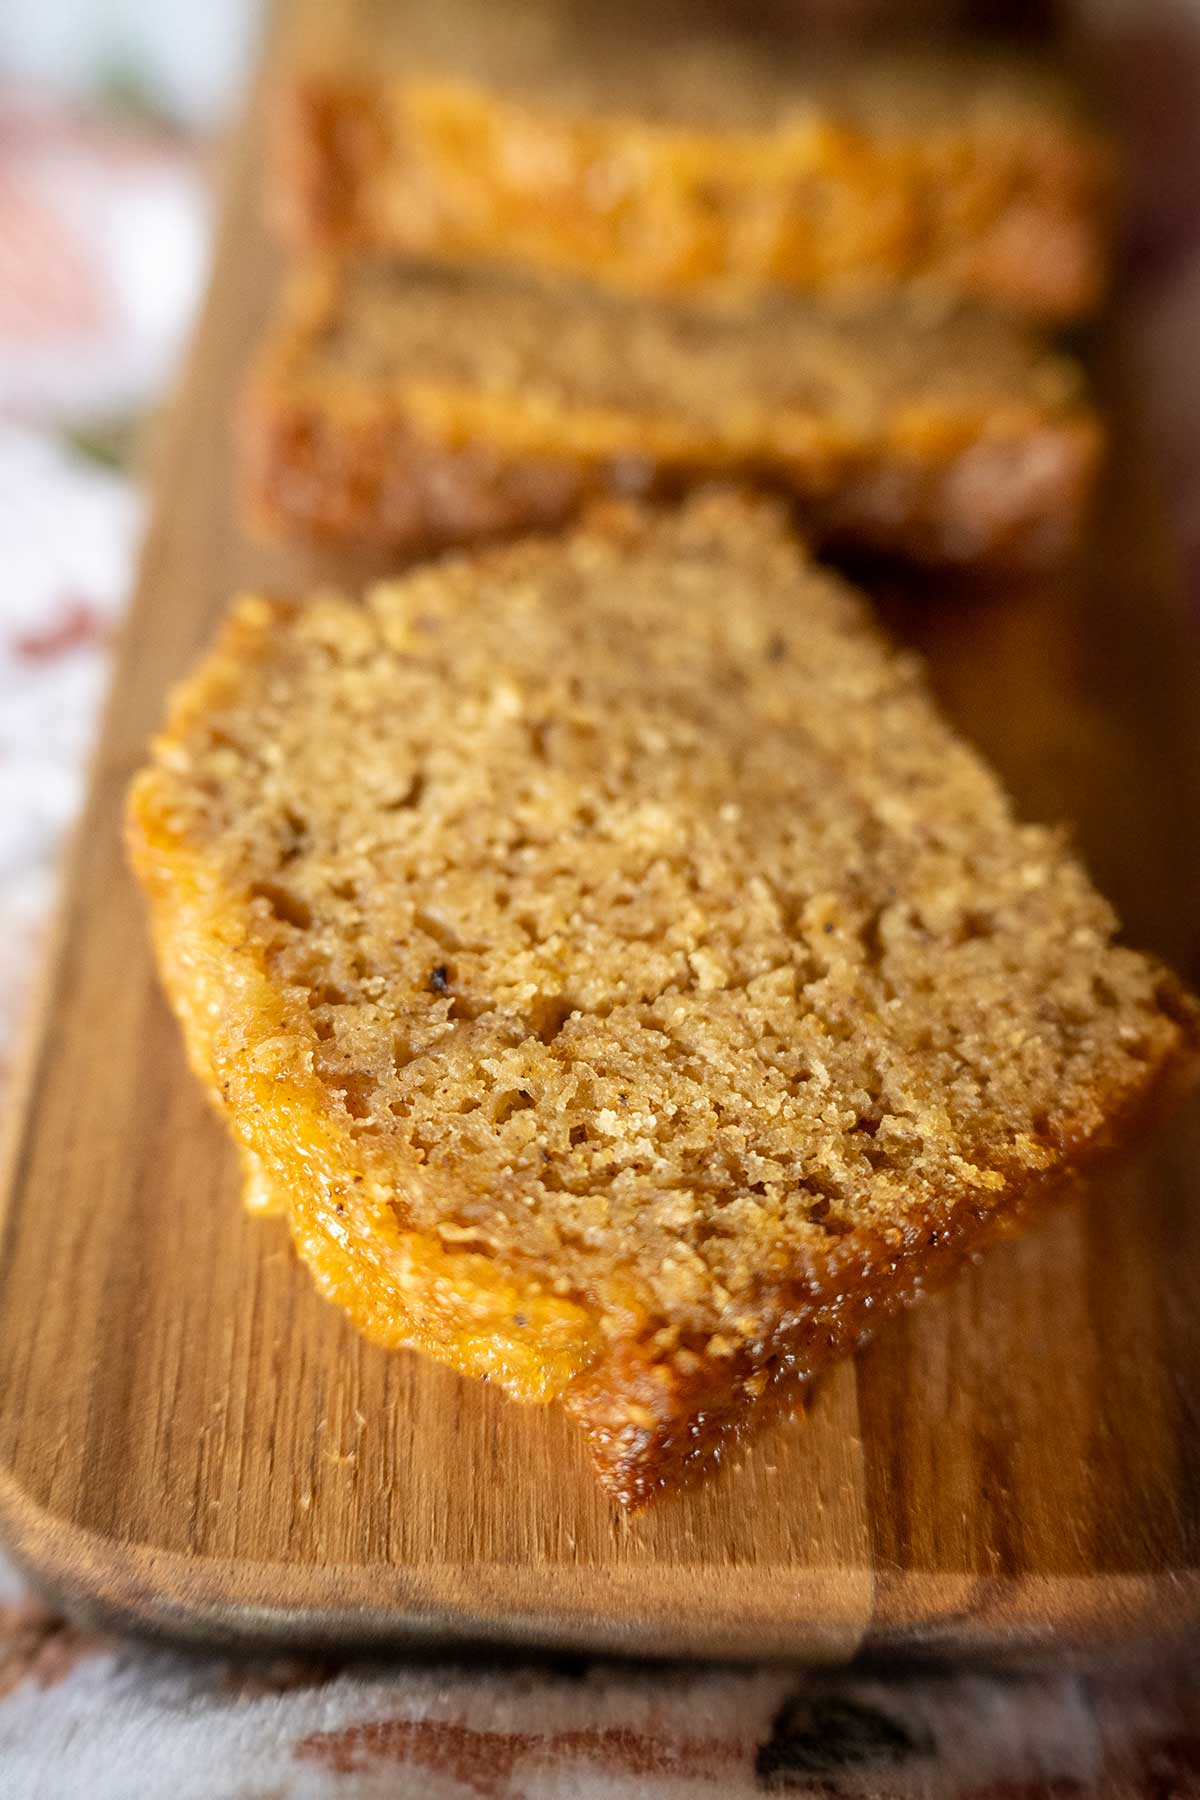
There’s something magical about the smell of pumpkin spice bread baking—it’s like a hug from fall itself. Whether you’re sharing slices with loved ones or sneaking a piece with your morning coffee, this recipe is sure to become a tradition in your home, just like it is in mine. So grab your loaf pan, crank up the cozy vibes, and let’s make some autumn memories. Happy baking!
Perfect Pumpkin Spice Bread
Print Recipe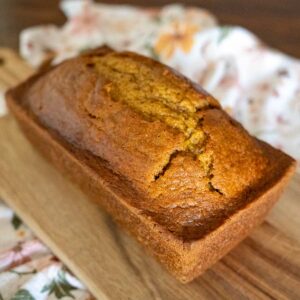
equipment (affiliate links
Ingredients
- 1 c. (240 g) pumpkin puree
- 2 large eggs beaten
- ½ c. (113 g) salted butter melted and cooled
- ½ c. (120 g) water
- 2 c. (250 g) unbleached all-purpose flour (RECOMMEND WEIGHING)
- 1 ¼ c. (250 g) granulated sugar
- 1 tsp. baking soda
- ¼ tsp. baking powder
- ¾ tsp. ground cinnamon
- ¾ tsp. ground nutmeg
- ½ tsp. ground cloves
- ¼ tsp. ground ginger
- ½ tsp. salt
Instructions
- Preheat the Oven: Preheat oven to 375°F (190°C) with the rack in the center.
- Prepare the Pan(s): Grease a 8½x4½ -inch loaf pan with non-stick cooking spray. For mini loaf pans, prepare 3-4 pans similarly.
- Mix Wet Ingredients: In a large mixing bowl, whisk together the pumpkin puree, beaten eggs, melted and cooled butter, and water until smooth and fully combined.1 c. (240 g) pumpkin puree2 large eggs½ c. (113 g) salted butter½ c. (120 g) water
- Combine Dry Ingredients: In a separate medium bowl, whisk together flour, granulated sugar, baking soda, baking powder, ground cinnamon, ground nutmeg, ground cloves, ground ginger, and salt until evenly mixed.2 c. (250 g) unbleached all-purpose flour (RECOMMEND WEIGHING)1 ¼ c. (250 g) granulated sugar1 tsp. baking soda¼ tsp. baking powder¾ tsp. ground cinnamon¾ tsp. ground nutmeg½ tsp. ground cloves¼ tsp. ground ginger½ tsp. salt
- Combine the Wet & Dry Mixtures: Gradually add the dry ingredients to the wet ingredients, stirring with a whisk or spatula until just combined. Do not overmix; a few small lumps are okay.
- Fill the Pan(s): Pour the batter evenly into the prepared pans, filling about ¾ full. Smooth the top(s) with a spatula and run a knife along the center length for a domed top.
- Bake: For a standard loaf, bake at 375°F (190°C) for 25 minutes and reduce the oven to 350ªF (175°C) for an additional 30-40 minutes. For mini loaves, bake at 375°F (190°C) for 15 minutes and reduce the oven to 350°F (175°C) for an additional 10-15 minutes. Bread is done when a toothpick or cake tester inserted into the center comes out clean or with a few moist crumbs.
- Cool: Remove pan(s) from the oven and place on a cooling rack for 10-15 minutes. Gently remove bread from pan(s). Transfer to the cooling rack to cool completely, about 2 hours.
- Serve: For best slicing, wrap cooled bread tightly in plastic wrap or place in an airtight container and let rest for 4-6 hours (or overnight). Slice with a serrated knife. Serve plain or with butter.
- Storage: Store at room temperature in an airtight container for up to 3 days. Refrigerate for up to 1 week or freeze (wrapped tightly in plastic and foil) for up to 3 months. Thaw at room temperature before serving.
Video
Notes
- Butter Swap: Melted butter adds depth compared to oil. Cool it slightly for best results.
- Pan Size Matters: Stick to recommended sizes for even baking. Check doneness early to avoid over-baking.
- Spice it Up: Feel free to add a pinch of ginger or allspice for extra warmth, but the current blend is perfect as is!
As an Amazon Associate, I earn from qualifying purchases at no extra cost to you. Thank you for your support!


Thank you, thank you, thank you!! I don’t know why I didn’t think of searching for how to do quick breads in the crock pot! We can’t use our RV stove/oven because I’m so sick that the propane makes me very ill, so we’ve been trying to work around baking since May.
We tried microwave chocolate chip cookies last night, but they were more like blops of half-cooked dough. 🙂 But the kids gobbled them anyway. 🙂
We use our crock pot a LOT; sometimes don’t even let it cool down or wash between! 🙂 (Eg. Cook chicken on bone in crock all night for good stock & chicken for fajitas or whatever; in morning take out most of chicken & some of the broth to use later, leave crock on & add sauteed veggies etc. for soup; eat hot soup for lunch. 🙂 )
Thanks again!
Christa
You are very welcome Christa! I hadn’t known it was possible until very recently either. My friend, Alicia, got a toaster oven that she put in place of her microwave. Is that an option for you? Or I thought about doing a convection/microwave combo. I think Wal-Mart has them for about $250…not cheap…but when you’re talking about baking cookies, it may just be worth it.
I am finding out that the crockpot is way more useful in the camper. I’ve always cooked my applesauce on the stovetop but today made it in the crockpot instead. Easy peasy!
Any chance you’re missing some ingredients in your recipe–flour?
Ack!!! You bet I am! It needs 1 2/3 cup flour. I’ll update the recipe.
the updated recipe says 2-2/3 cup of flour but in the comments/reply you say 1-2/3 cups. I’m confused, which is it?
So sorry for my mistake! It should be 1 2/3 cup flour. I’ve corrected the recipe.