Irresistible No-Bake Peanut Butter Bars
Get ready to fall in love with these No-Bake Peanut Butter Bars—a dreamy dessert that’s rich, sweet, and oh-so-easy to make! With a velvety peanut butter base and a smooth chocolate topping, they’re the ultimate treat for any occasion, from cozy nights in to potluck parties. Best of all, they come together in just 15 minutes (plus chill time) and are totally customizable. I’ve got a foolproof trick for using healthier natural peanut butter to nail that perfect creamy texture every time. Let’s dive into this irresistible no-bake delight!
Why You’ll Love These Peanut Butter Bars
- Quick prep: Ready to chill in 15 minutes, with a texture that’s creamy yet firm.
- No baking required: Perfect for hot days or when you want a fuss-free dessert.
- Simple ingredients: Likely already in your pantry.
- Customizable: Easily adapt for gluten-free, nut-free, or extra-flavorful variations.
Tips for Success
- Peanut Butter Choice: I always only use Kirkland’s natural peanut butter. Just make sure you stir it well. Also that tablespoon of milk to prevent a crumbly base. If using regular peanut butter (like Jif or Skippy), you might skip the milk or use less.
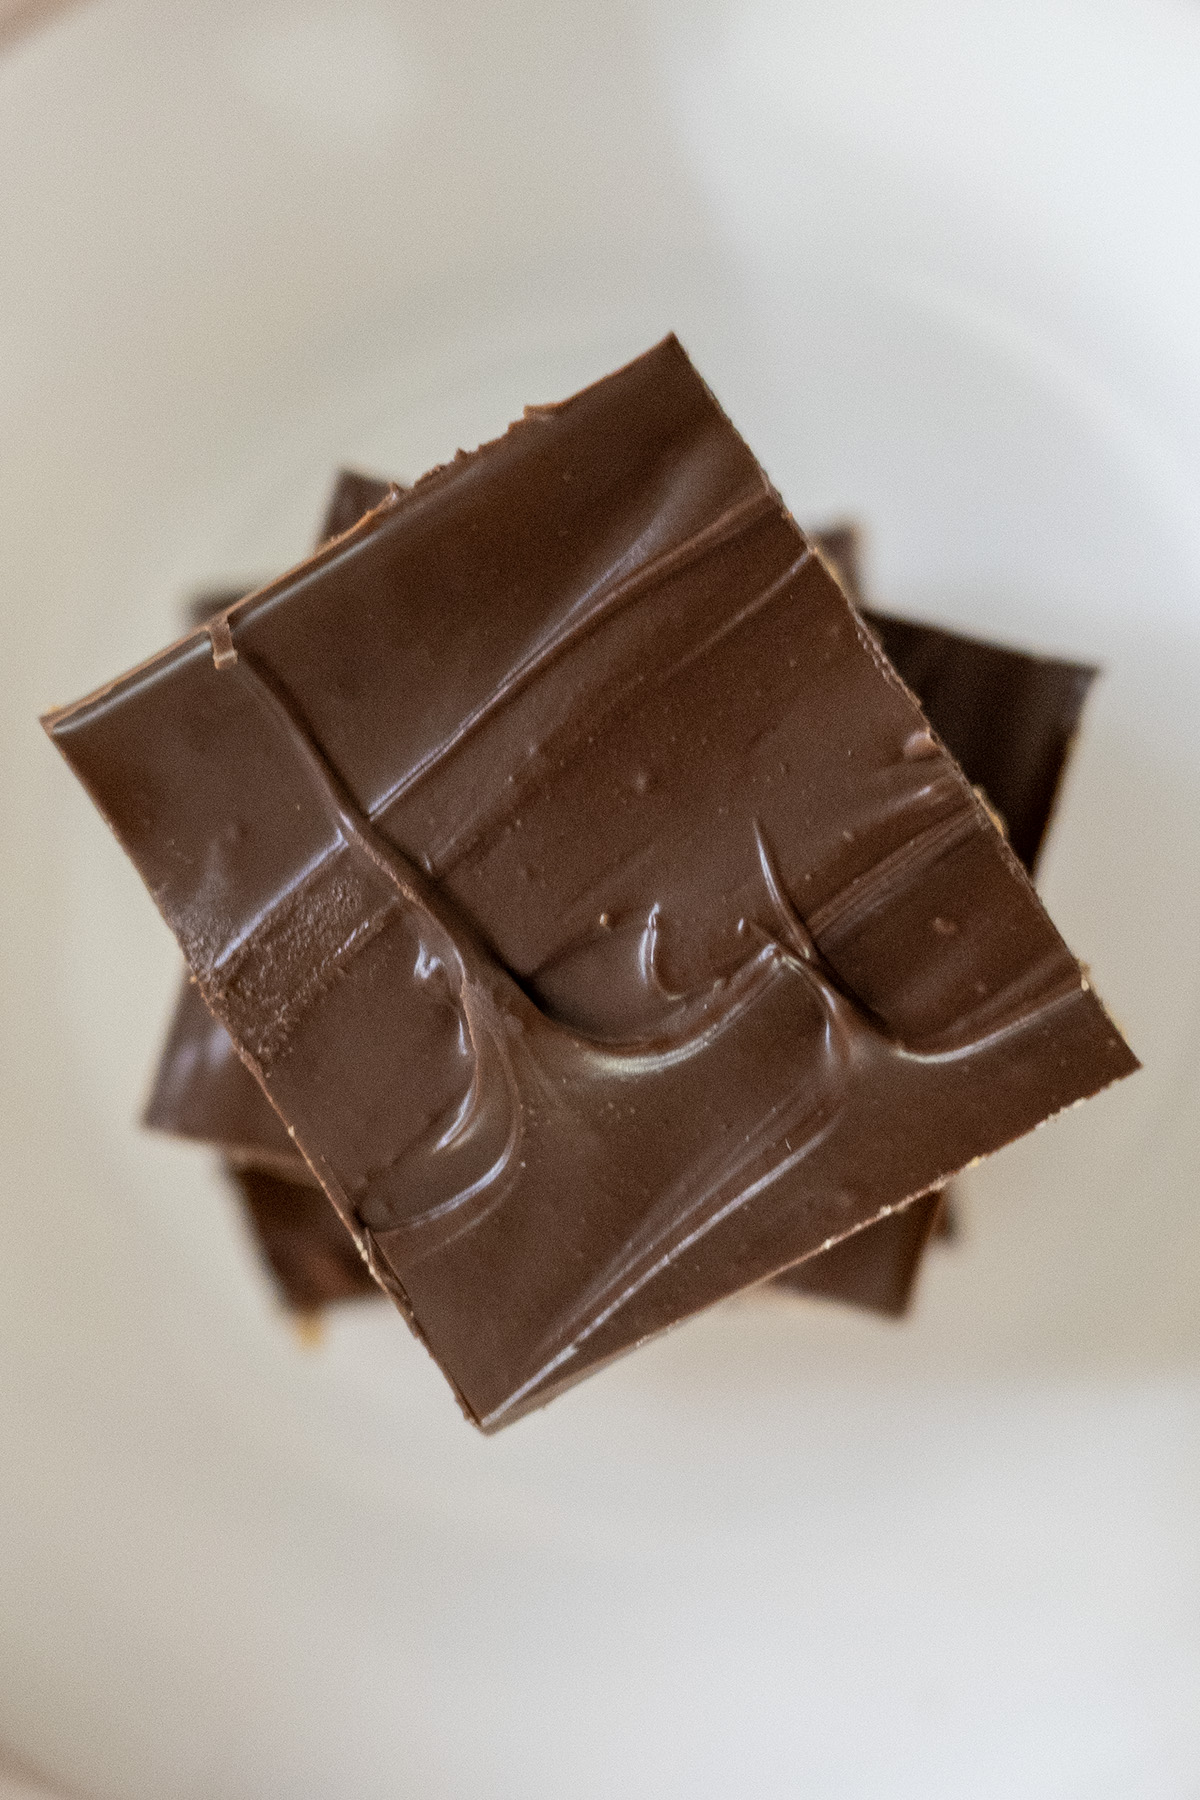
- Variations: Sprinkle sea salt on the chocolate for a sweet-salty kick, or mix in ½ cup chopped peanuts or mini chocolate chips into the base for extra crunch.
- Gluten-Free Option: Swap graham cracker crumbs for gluten-free versions.
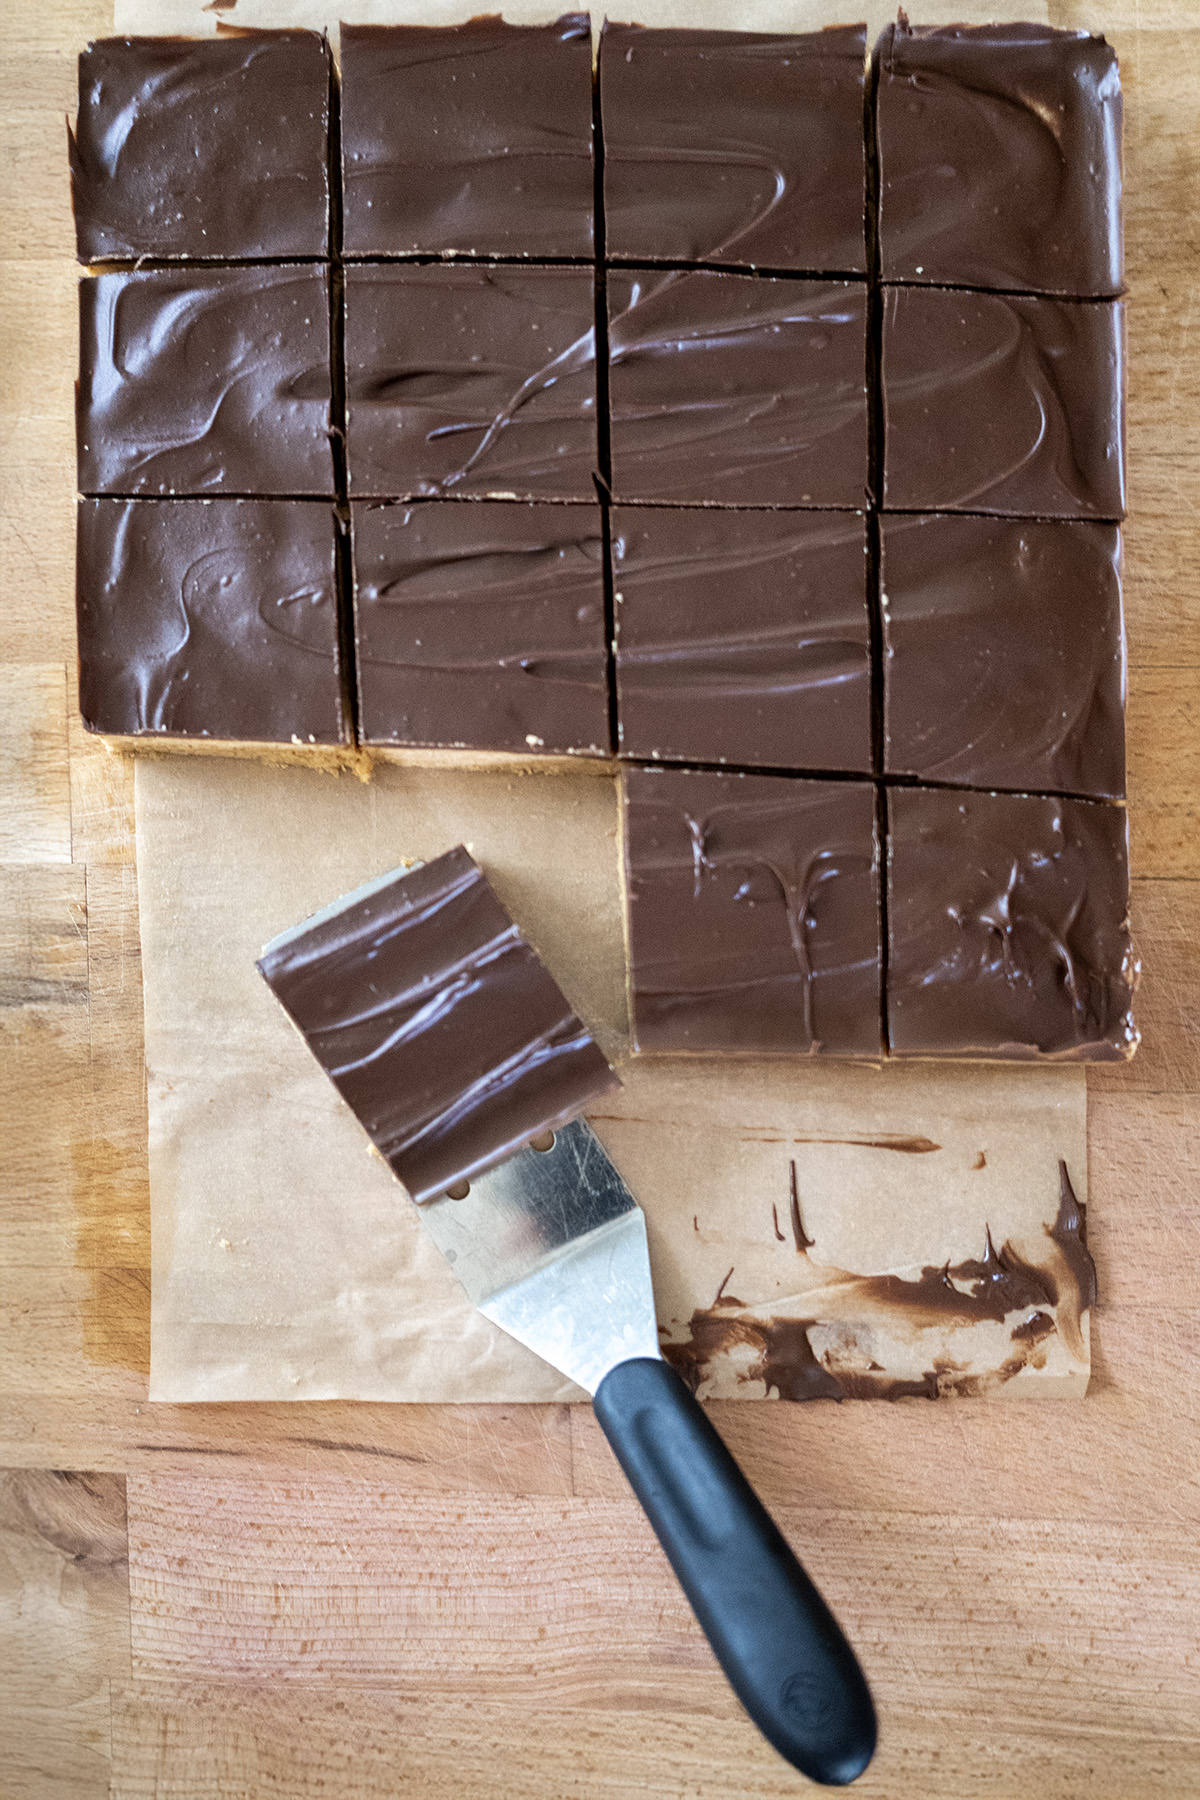
- Cutting Cleanly: Chill thoroughly and use a warm knife for perfect squares.
Storage
Store these bars in an airtight container in the fridge for up to 1 week or freeze for up to 3 months. If stacking, place parchment paper between layers to avoid sticking. They’re delicious chilled but soften slightly at room temperature for a creamier bite.
Why This Recipe Works
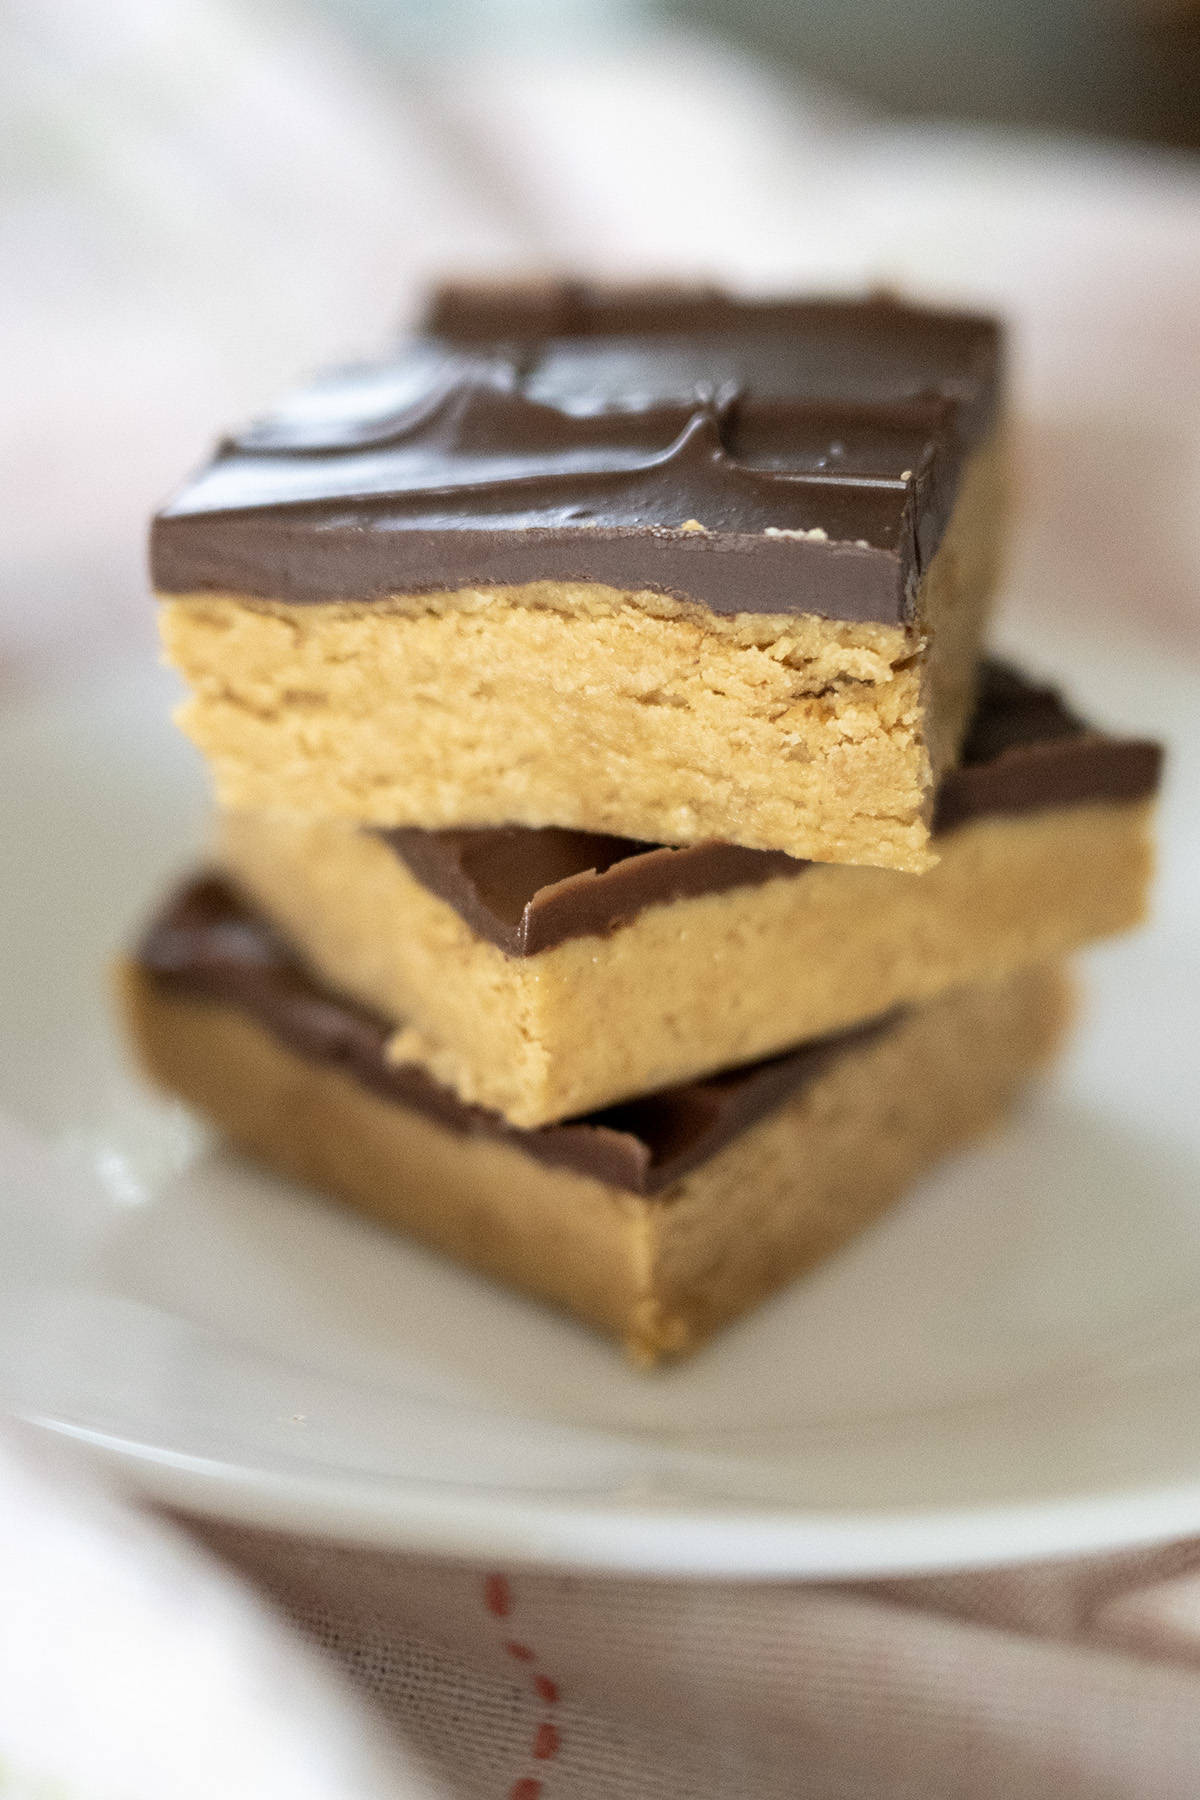
The balance of creamy peanut butter, sweet powdered sugar, and crunchy graham cracker crumbs creates a decadent yet sturdy base. The milk addition (my secret tweak after a crumbly first try!) ensures the layer holds together beautifully, especially with natural peanut butter. The chocolate-peanut butter topping adds a glossy finish that’s rich but not overpowering. It’s a dessert that feels indulgent yet is so easy to whip up!

More No-Bake Desserts to Try
Craving more no-bake goodness? Here are two other easy, delicious treats to satisfy your sweet tooth:
- Key Lime Pie: This tangy, creamy pie features a zesty lime filling in a buttery graham cracker crust, chilled to perfection. It’s a refreshing, tropical dessert that’s ideal for summer or any time you want a burst of citrus flavor.
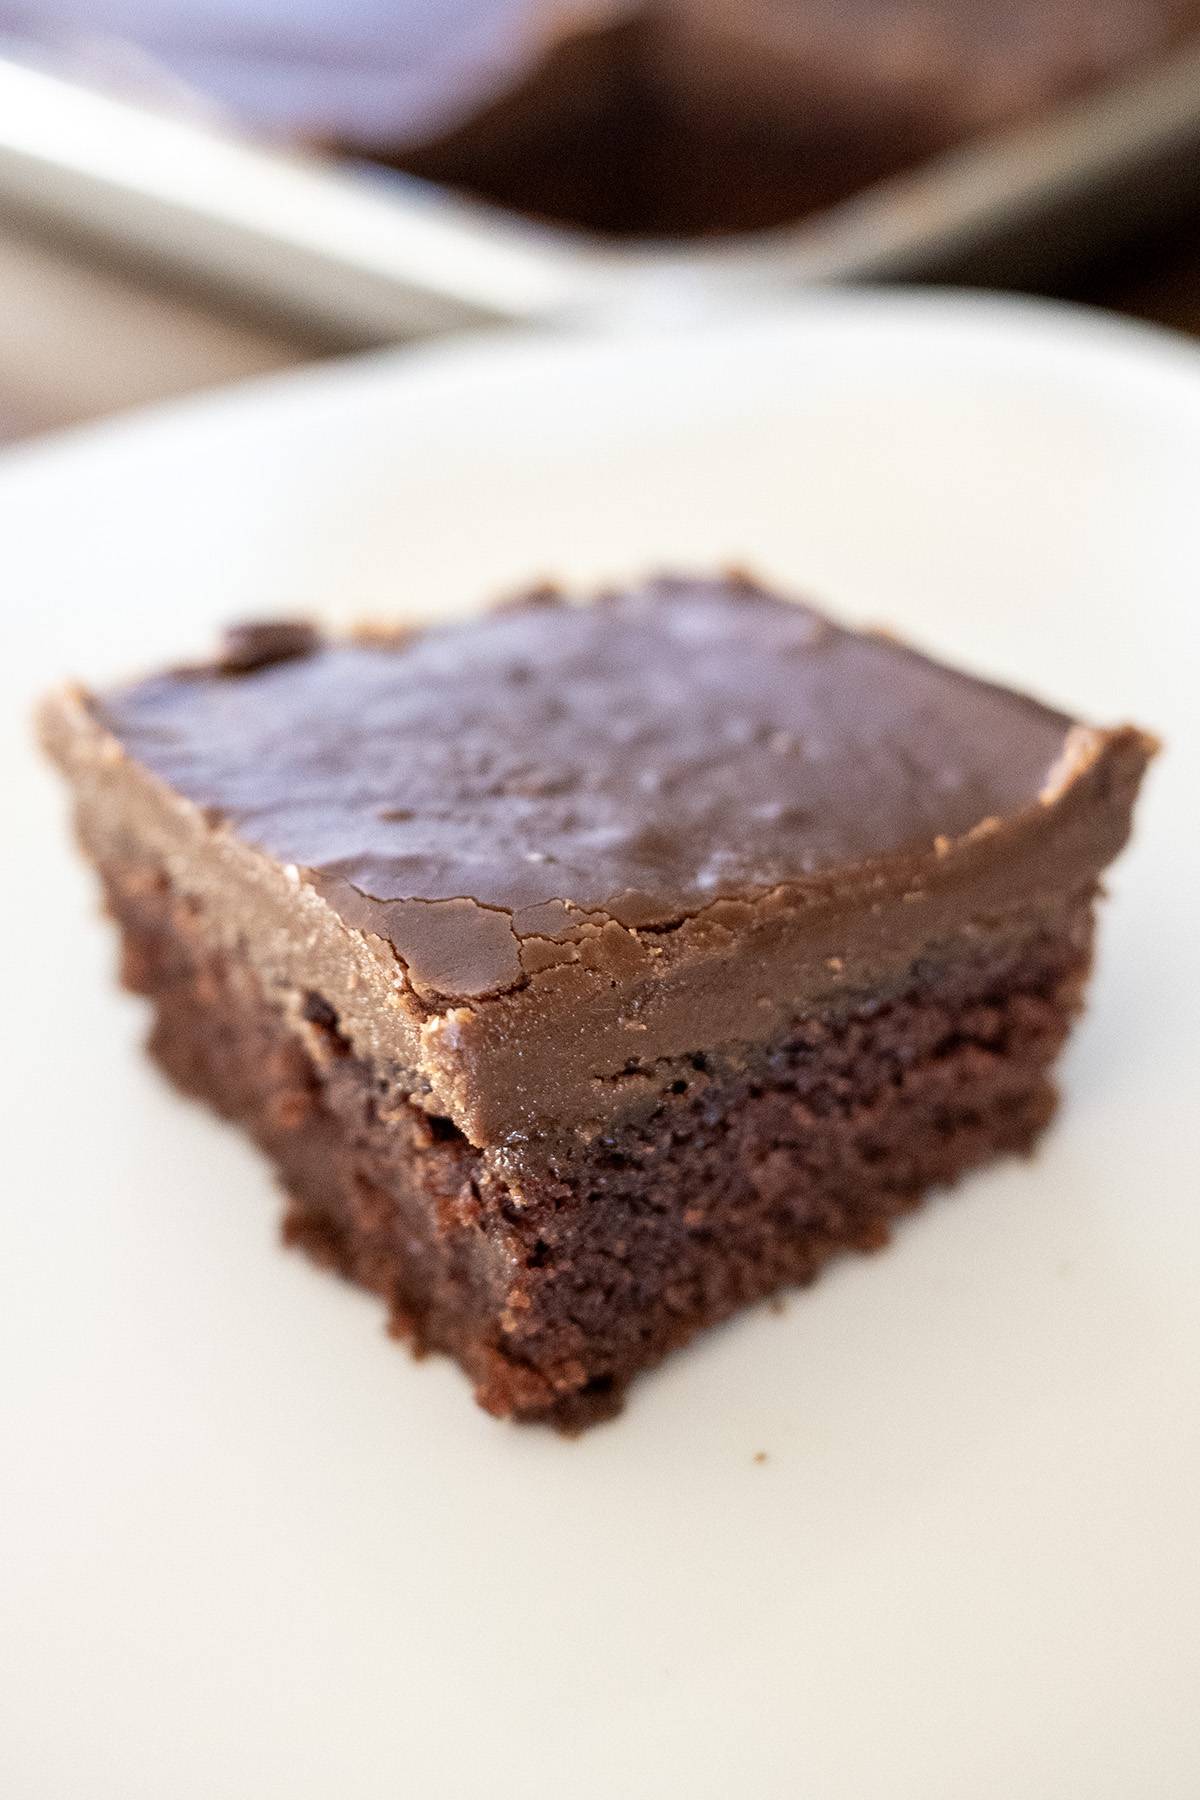
- No-Bake Chocolate Cookies: These rich, chocolatey cookies are made with just a few ingredients cooked in a sauce pan. My version is peanut butter-free and so delicious and fudgy. Perfect for chocolate lovers and quick to whip up for last-minute cravings!
- Peanut Butter Balls with Rice Krispies: We ALWAYS have these around the Holidays but they are such a delightful little treat any time of the year. Cookies include Rice Krispies and can be dipped in chocolate, or rolled in an icing and covered with shredded coconut. Our families favorite no-bake treat!
Final Thoughts
These no-bake peanut butter bars are a lifesaver when you need a quick, crowd-pleasing dessert. The texture is perfectly creamy and cohesive, even with natural peanut butter. Whether you’re a peanut butter fanatic or just need an easy treat, these bars deliver big on flavor with minimal effort. Try them out, and let me know how they turn out—or share your own twists in the comments below!
Happy no-baking!
No-Bake Peanut Butter Bars
Print Recipe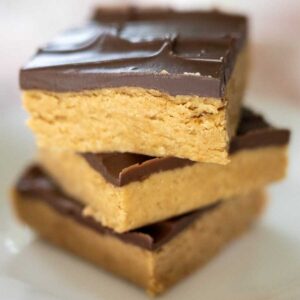
equipment (affiliate links
Ingredients
Peanut Butter Base
- 1 ¼ c. (125 g) graham crackers finely crushed (8-10 full sheets)
- ¾ c. (170 g) salted butter melted
- 1 c. (250 g) creamy peanut butter
- 1 tsp. vanilla extract
- 1 ½ c. (180 g) powdered sugar
- 1 tbsp. milk + more if needed (see notes)
Chocolate Topping
- 1 c. (175 g) semi-sweet chocolate chips
- 2 tbsp. (32 g) creamy peanut butter
Instructions
- Prep the Pan: Line an 8×8-inch or 9×9-inch baking dish with parchment paper, leaving an overhang for easy removal, or lightly grease the pan.
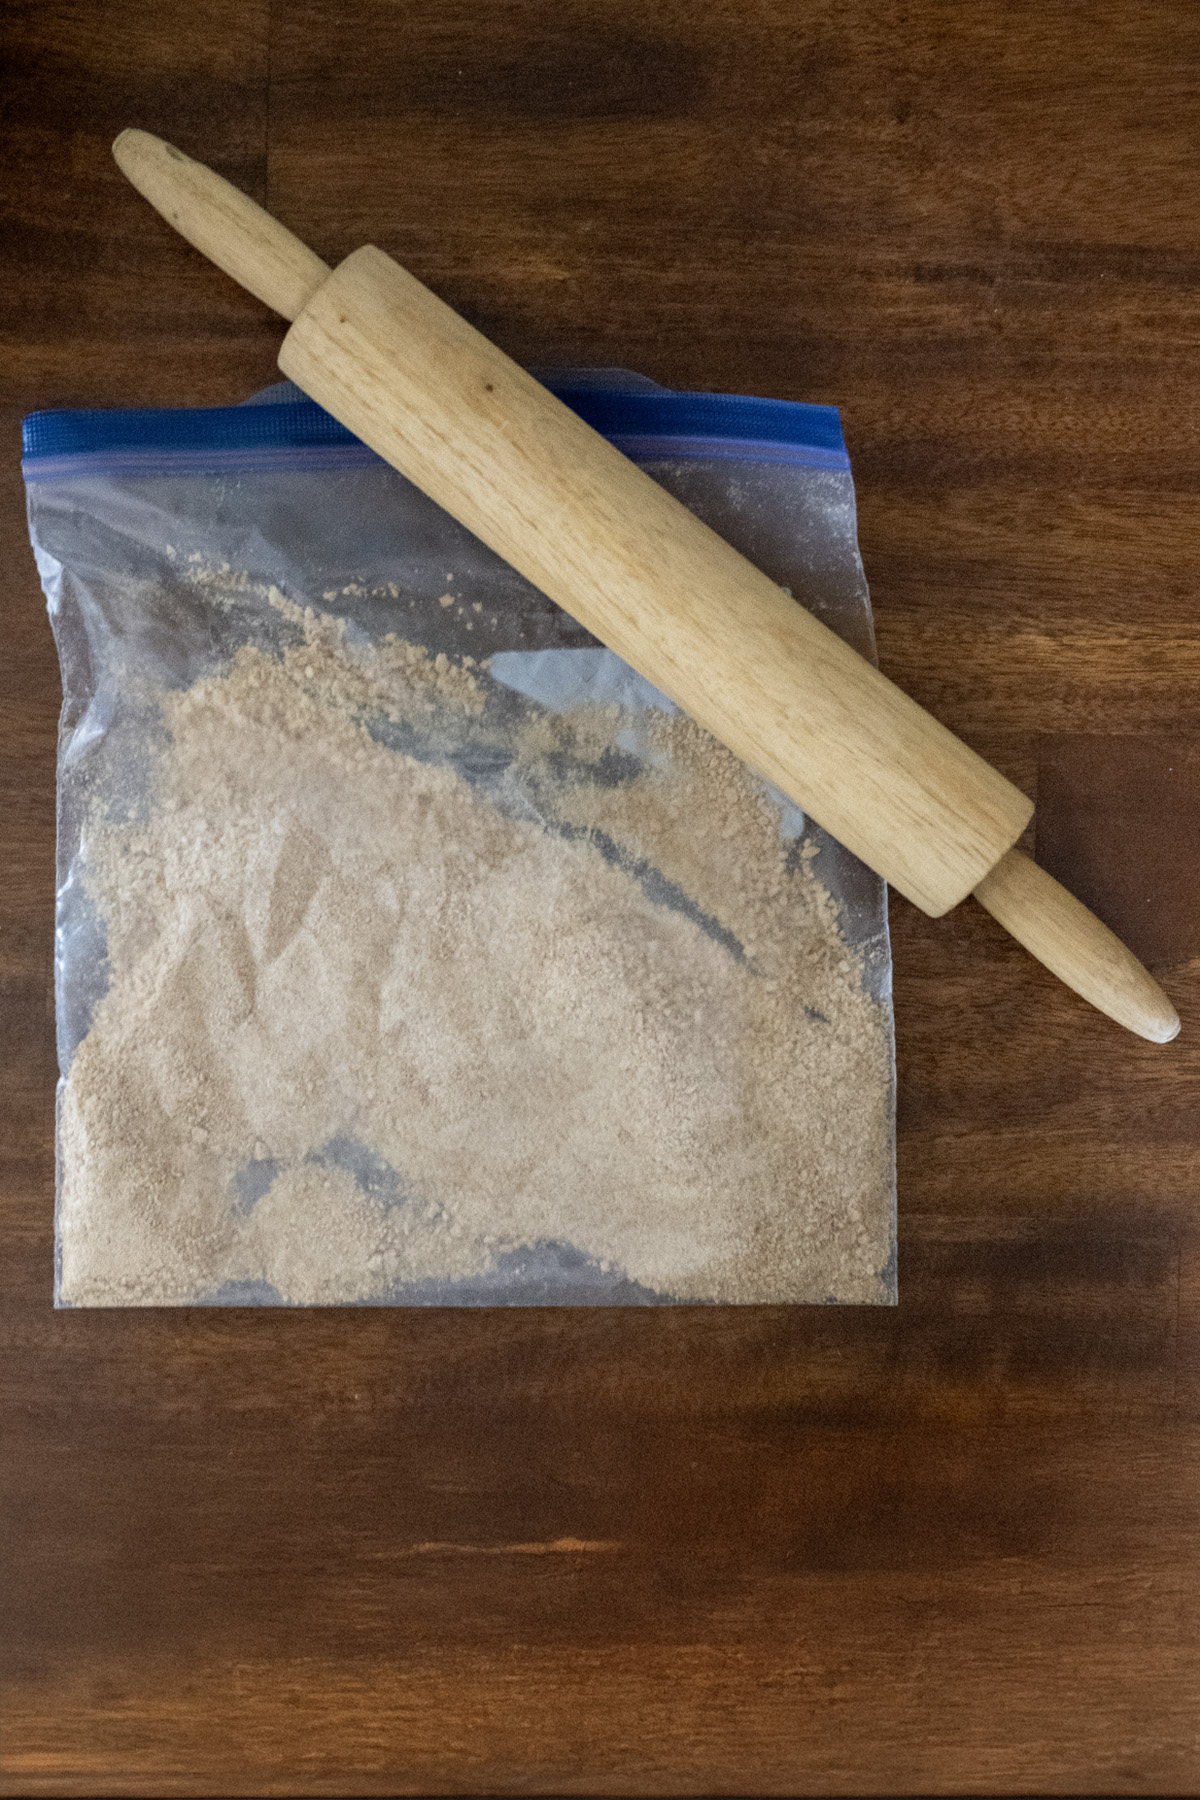
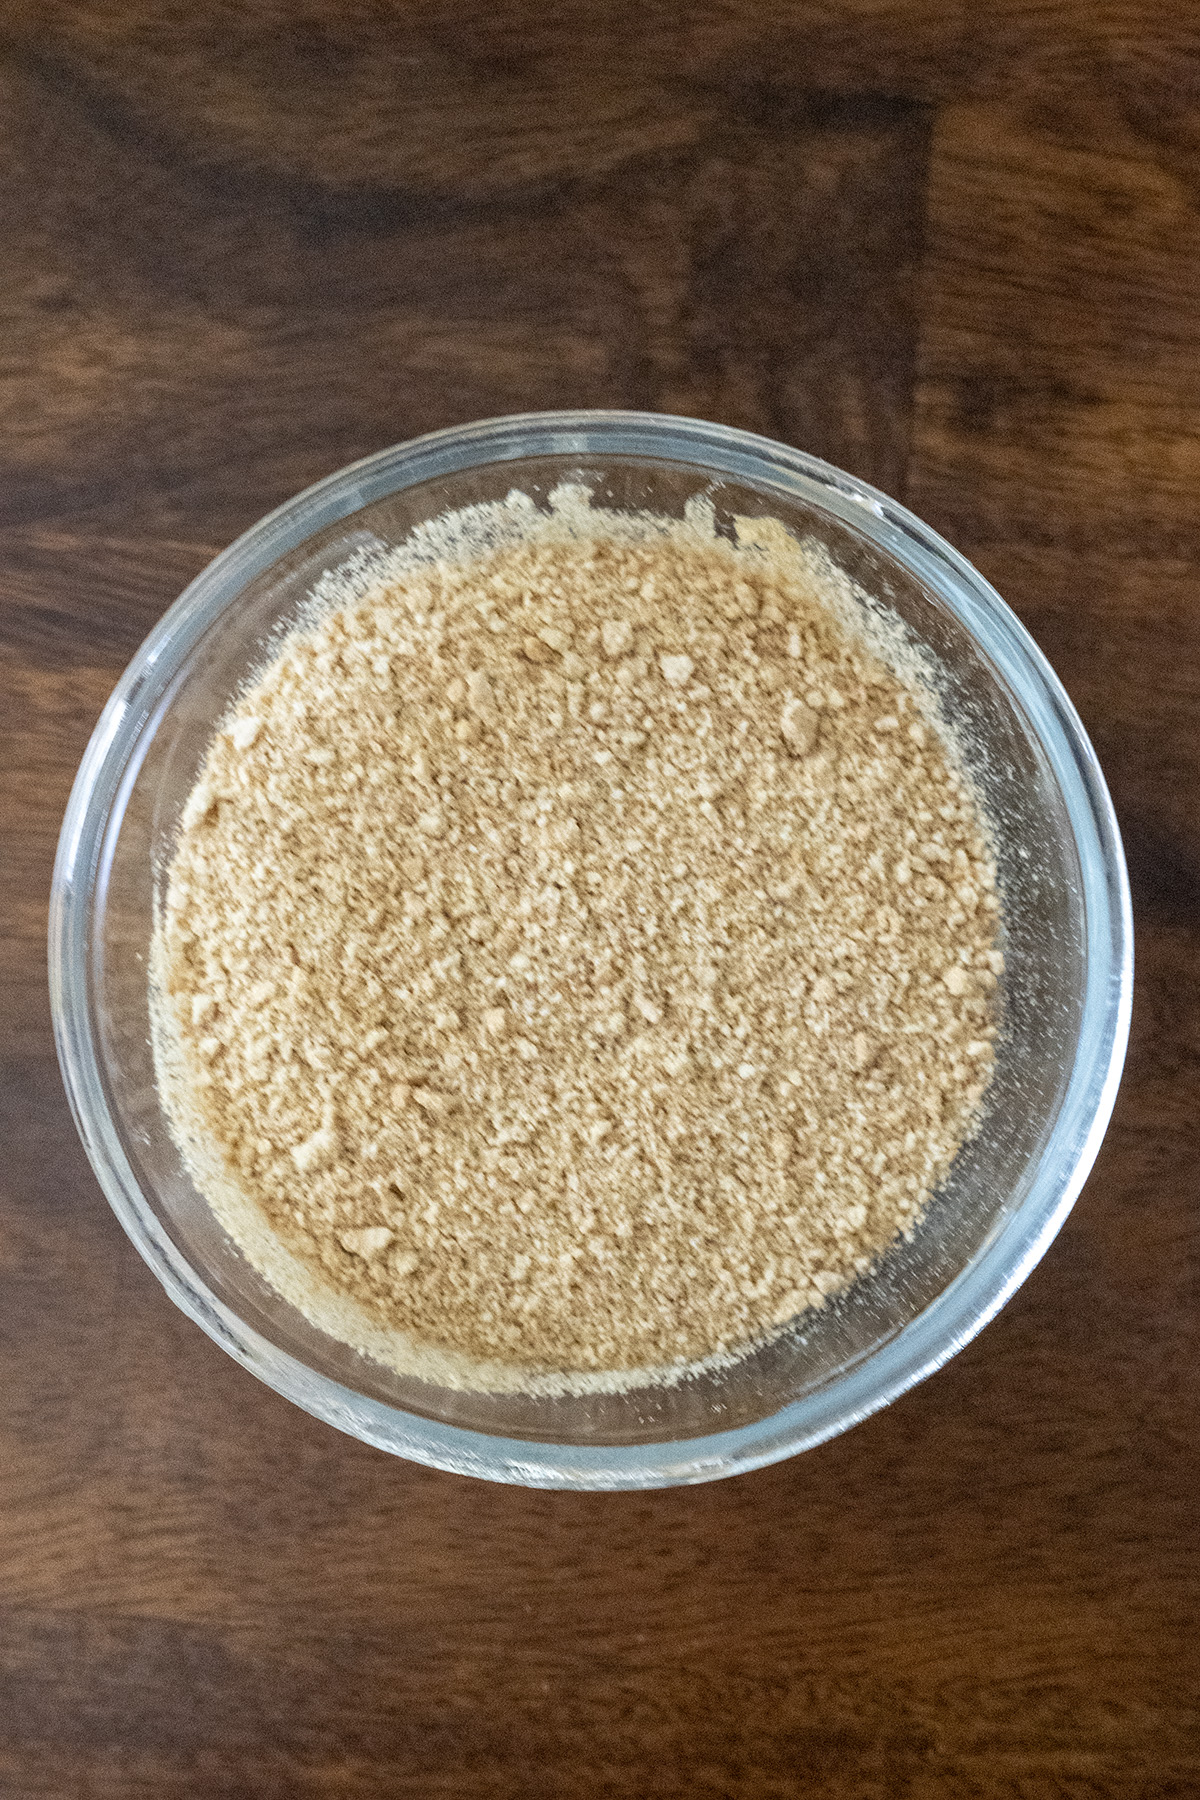
- Crush Graham Crackers: With a ziplock bag and a rolling pin (or a food processor) crush the graham crackers so they resemble coarse crumbs1 ¼ c. (125 g) graham crackers
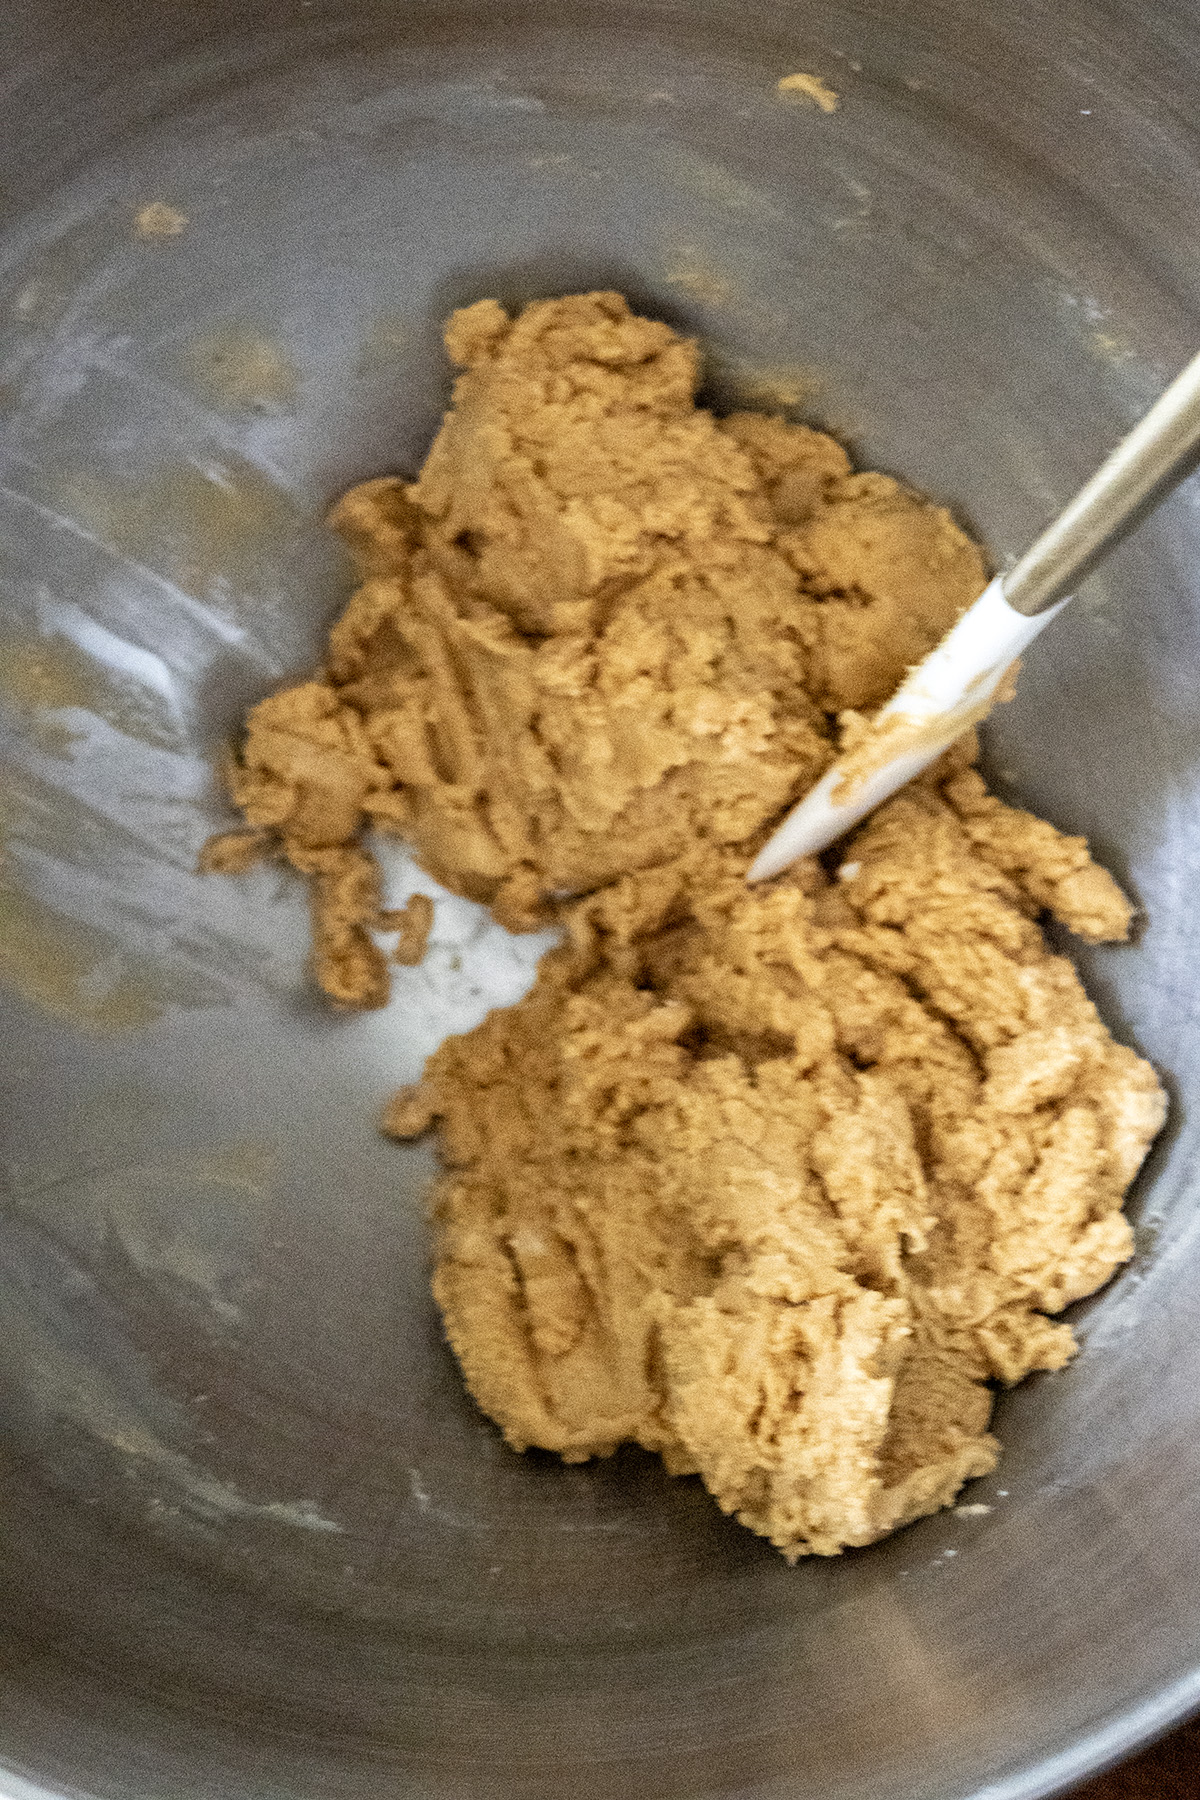
- Make the Peanut Butter Base: In a large bowl, mix the melted butter, peanut butter, and vanilla extract until smooth. Gradually stir in the powdered sugar until fully combined. Fold in the graham cracker crumbs, and add milk. Mix until the base holds together without crumbling when pressed. If base is crumbly, add up to 1 more tablespoon of milk¾ c. (170 g) salted butter1 c. (250 g) creamy peanut butter1 tsp. vanilla extract1 ½ c. (180 g) powdered sugar1 tbsp. milk
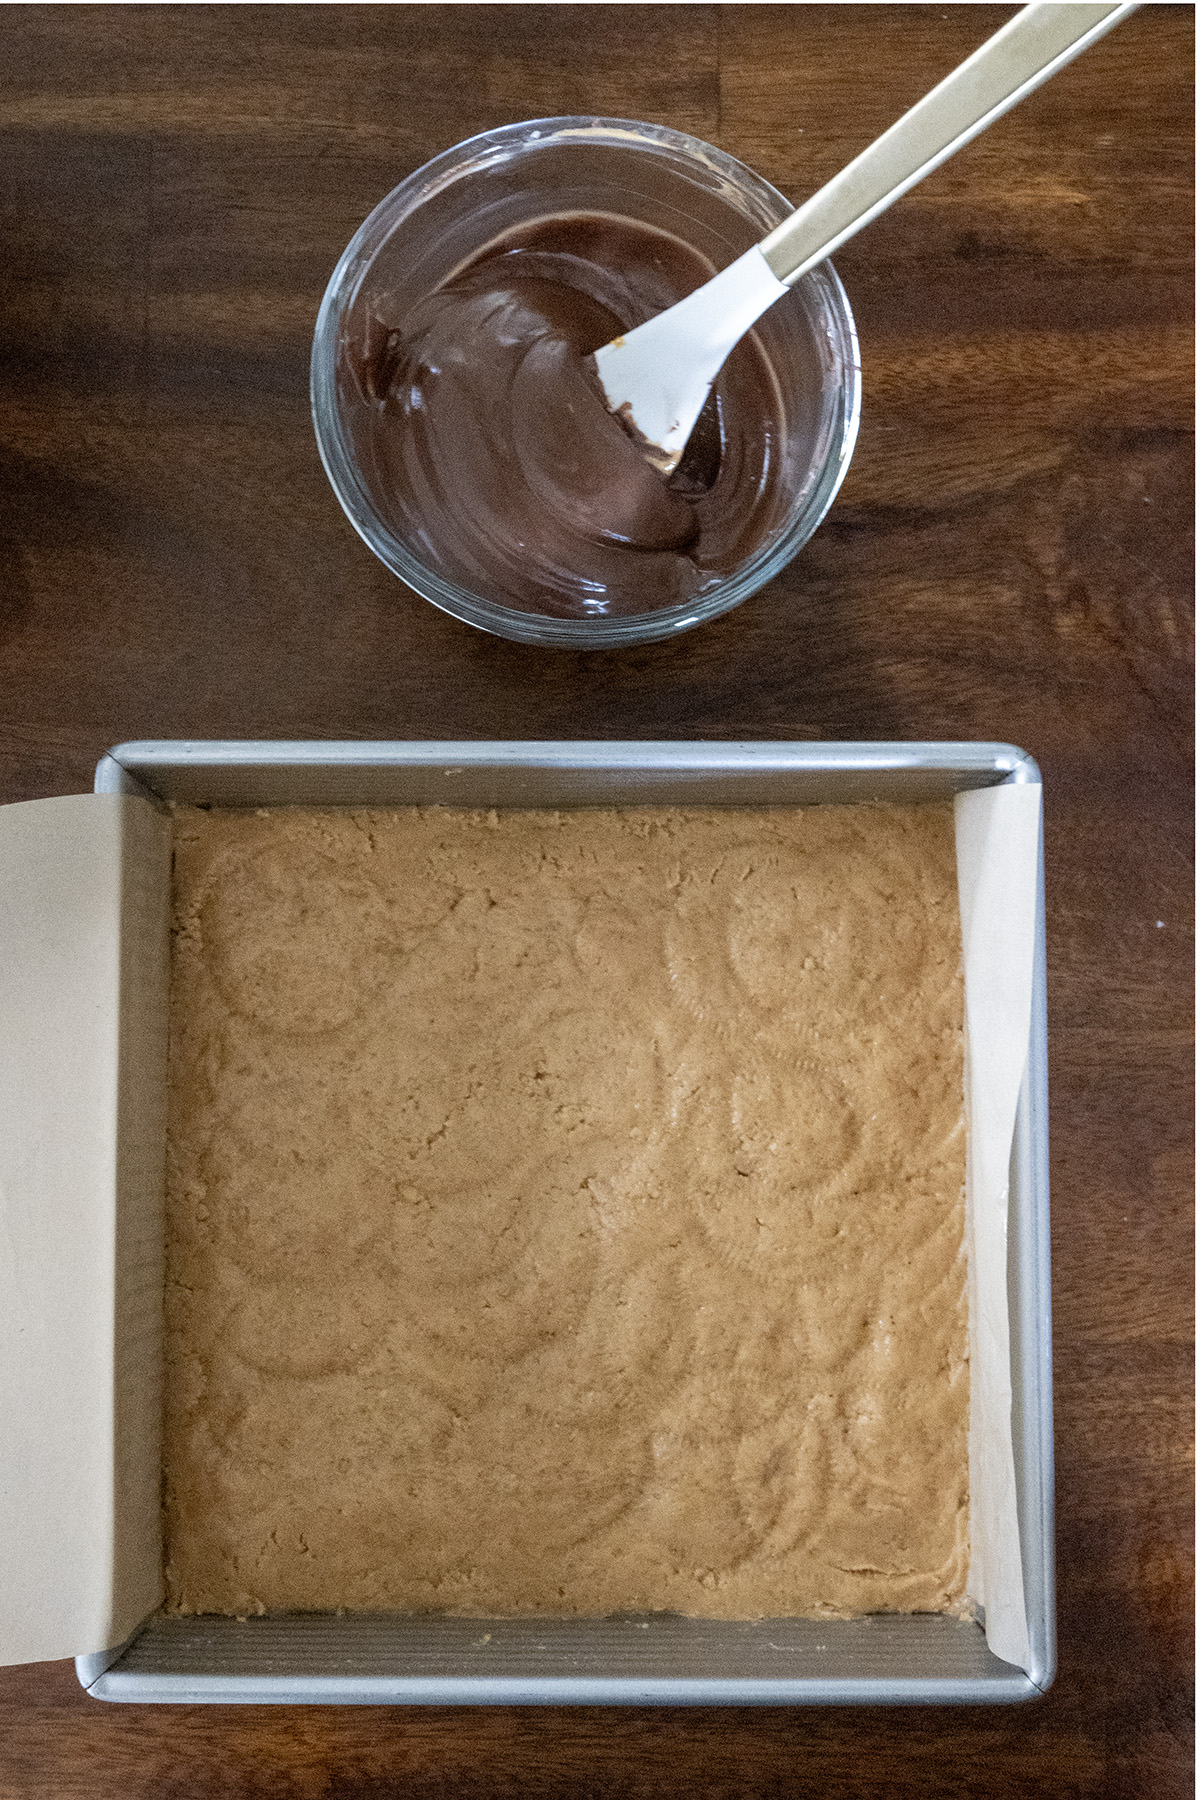
- Press into Pan: Transfer the mixture to the prepared pan and press it evenly with a spatula or your hands for a smooth, compact layer.
- Prepare the Chocolate Topping: In a microwave-safe bowl, combine the chocolate chips and peanut butter. Microwave in 20-second intervals, stirring between each, until melted and smooth (about 60–90 seconds total).1 c. (175 g) semi-sweet chocolate chips2 tbsp. (32 g) creamy peanut butter
- Spread and Chill: Pour the chocolate mixture over the peanut butter base and spread evenly. Refrigerate for at least 2 hours (or freeze for 45 minutes) until set.
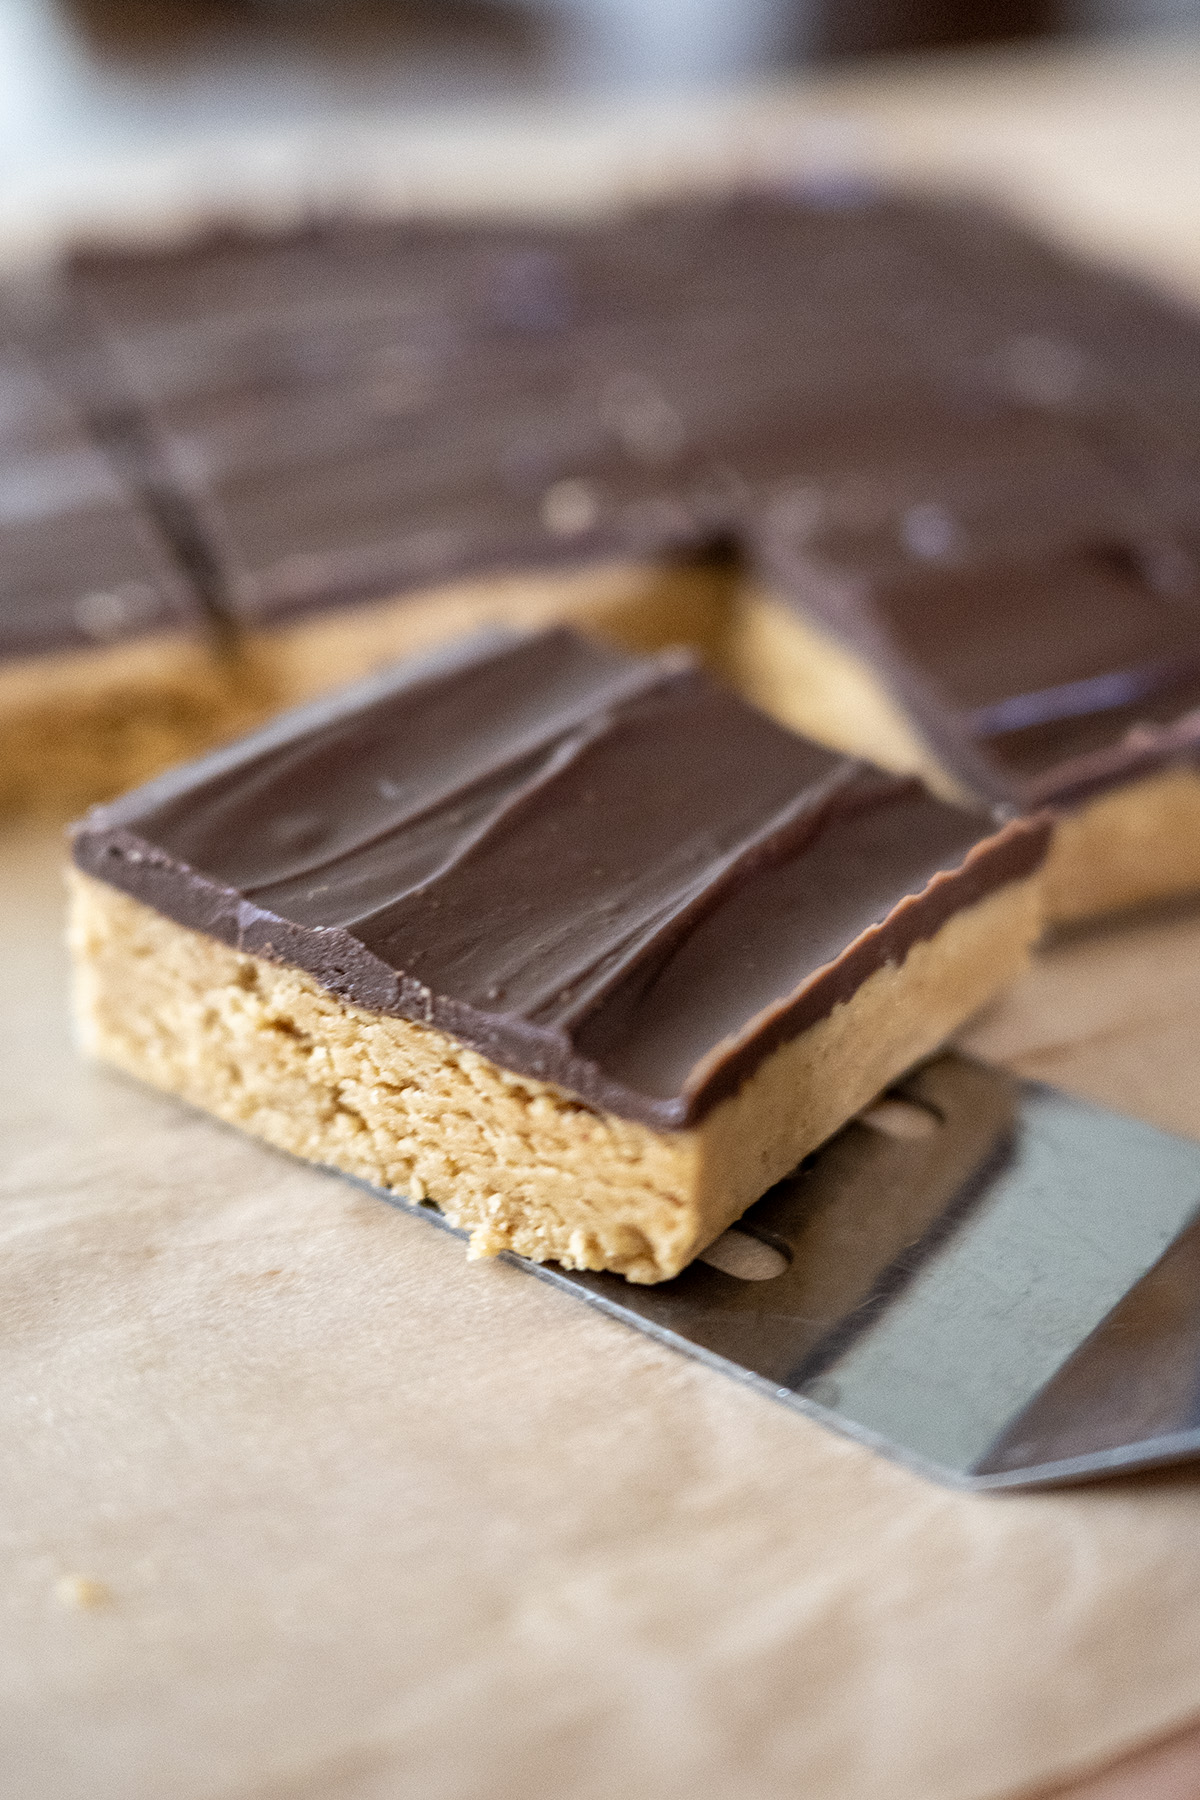
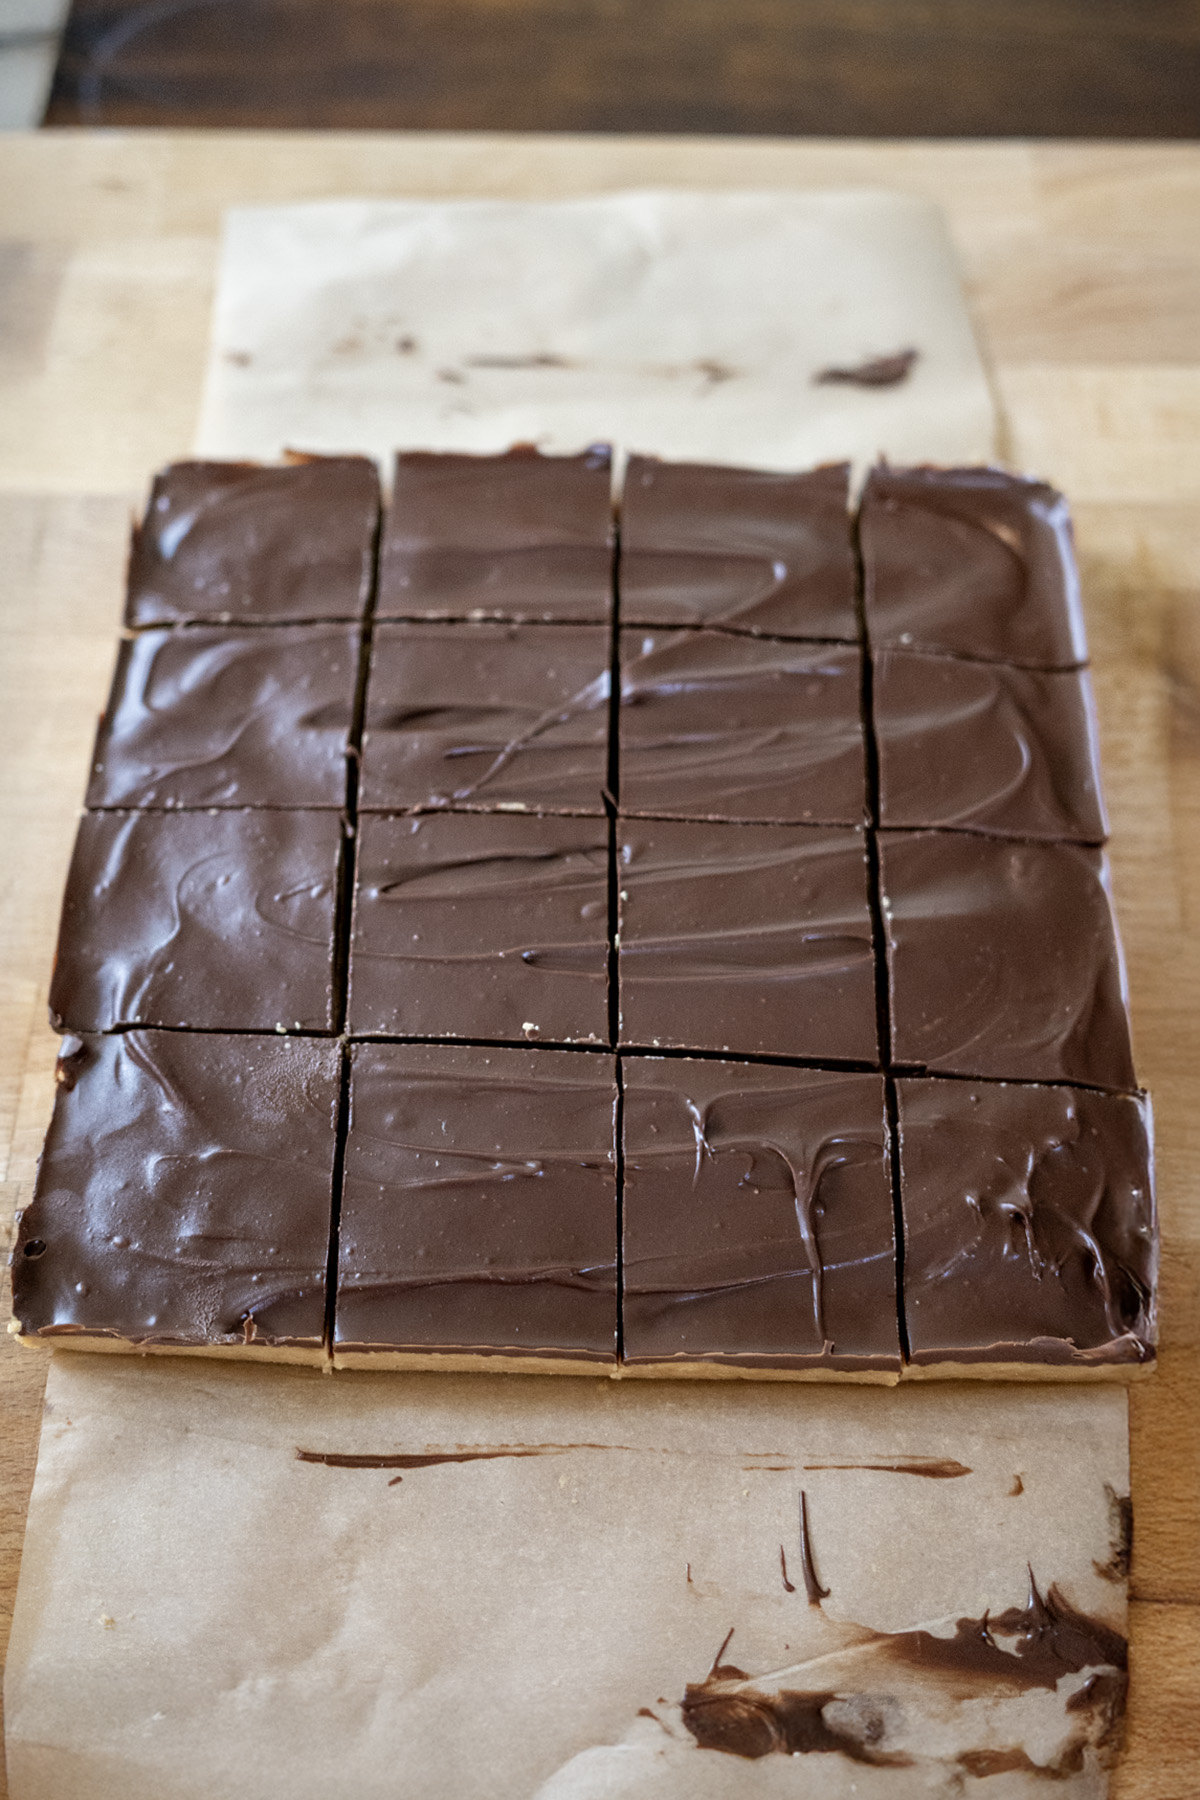
- Cut and Serve: Lift the bars out using the parchment or cut directly in the pan into 16 squares. For clean slices, warm your knife under hot water and wipe dry before cutting.
Video
Notes
- Peanut Butter Tip: Using natural peanut butter like Kirkland’s? Stir it well and add the 1 tablespoon of milk for a creamy, non-crumbly base. Regular peanut butter (like Jif) may not need the milk. If the peanut butter mixture (before adding graham crackers) is shaggy, add milk 1 tablespoon at a time until it’s smooth and creamy
- Variations: Sprinkle sea salt on the chocolate for a sweet-salty twist.
- Gluten-Free Option: Use gluten-free graham cracker crumbs.
- Storage: Store in an airtight container in the fridge for up to 1 week or freeze for up to 3 months. Use parchment between layers to prevent them from sticking together.
As an Amazon Associate, I earn from qualifying purchases at no extra cost to you. Thank you for your support!


these are AH-MAZING! taste just like a Reece’s peanut butter cup