How to Shape Bread Dough Beautifully
There’s something deeply satisfying about pulling a beautifully shaped loaf or batch of rolls from the oven. Our guide on how to shape bread dough beautifully will help transform your baking from good to stunning. Shaping bread dough isn’t just about aesthetics—it also affects texture, crumb structure, and baking consistency. Whether you’re a beginner or a seasoned home baker, these general tips for shaping yeast-based loaves and rolls will help you create bakery-worthy results every time.
Why Shaping Matters
Shaping bread dough creates structure and tension, which helps the dough hold its form during the final rise and baking. Proper shaping ensures even crumb, a good rise, and that signature crusty exterior. For rolls, it’s about uniformity and presentation; for loaves, it’s about achieving that perfect oval, boule, or batard. Let’s dive into the steps and tips for how to shape bread dough beautifully.
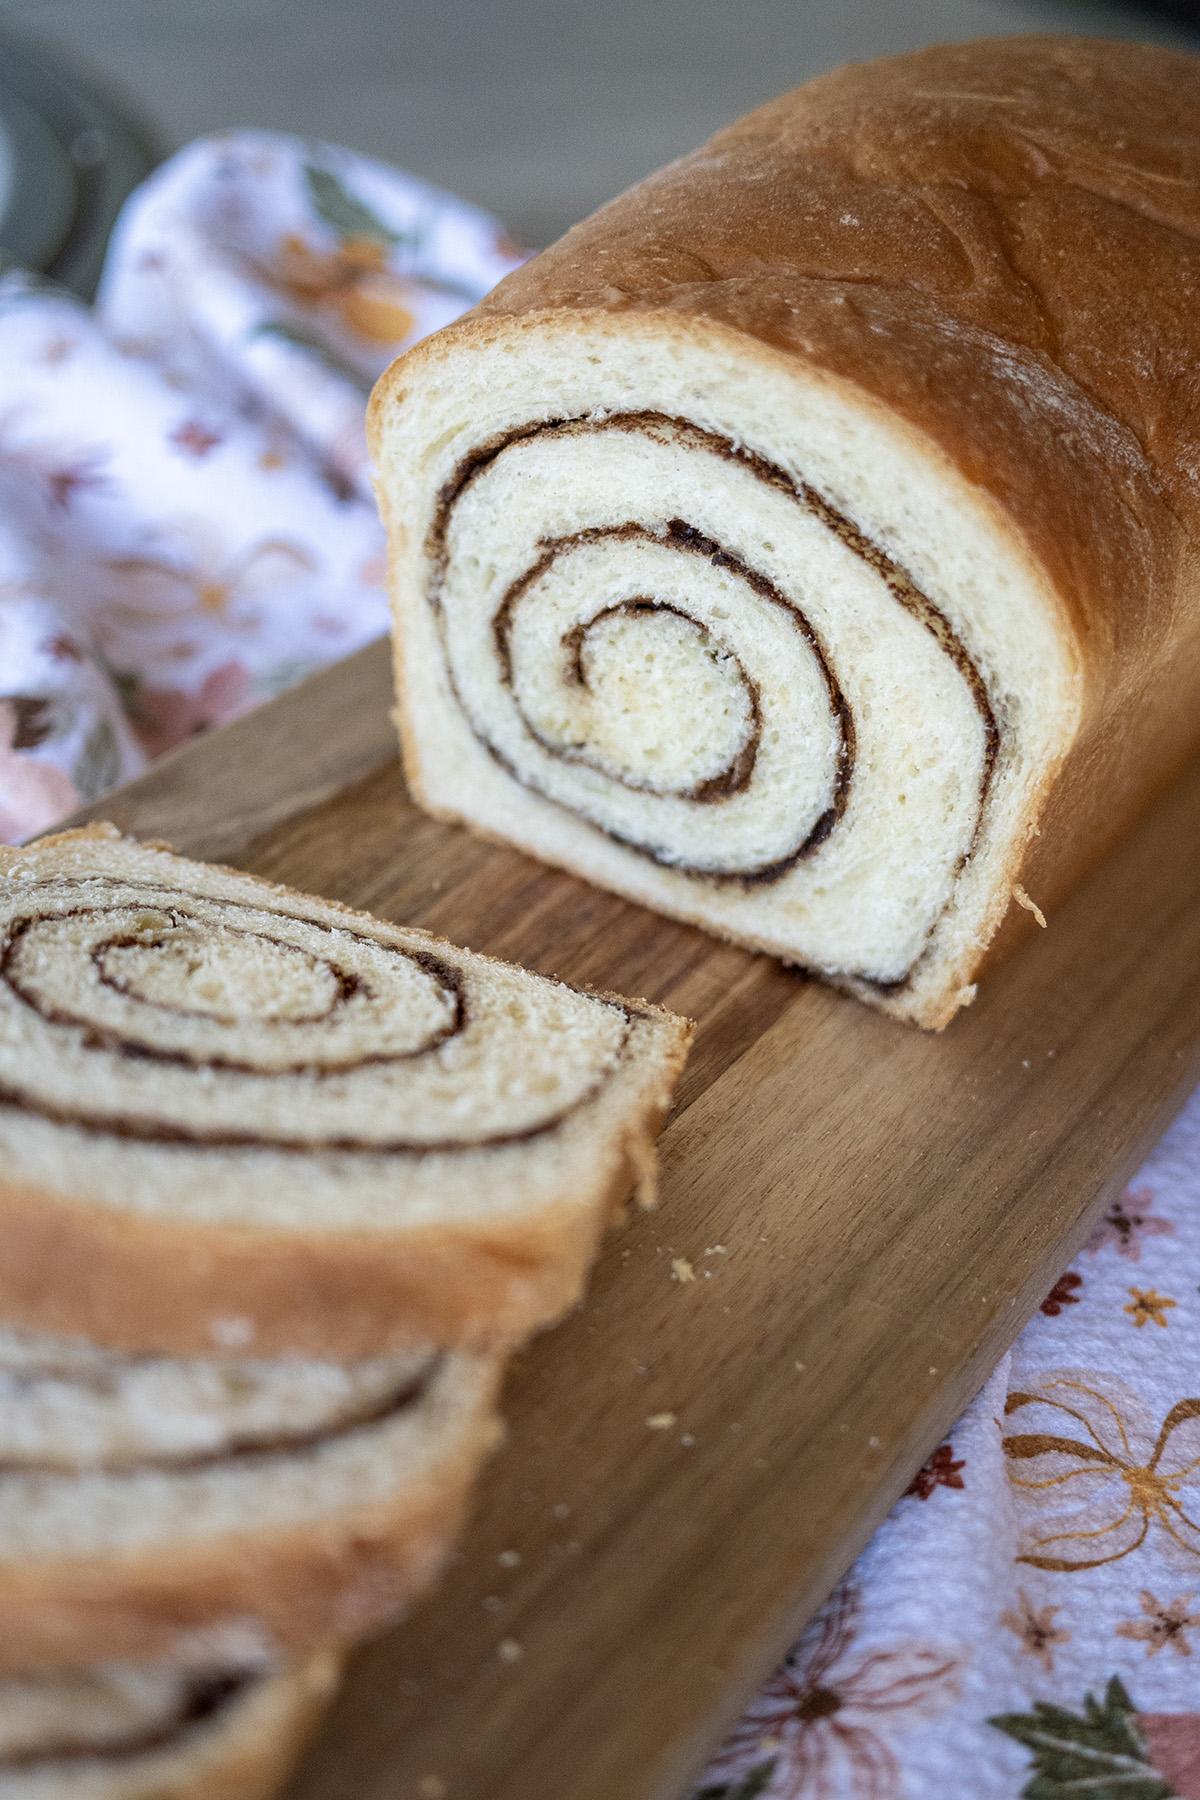
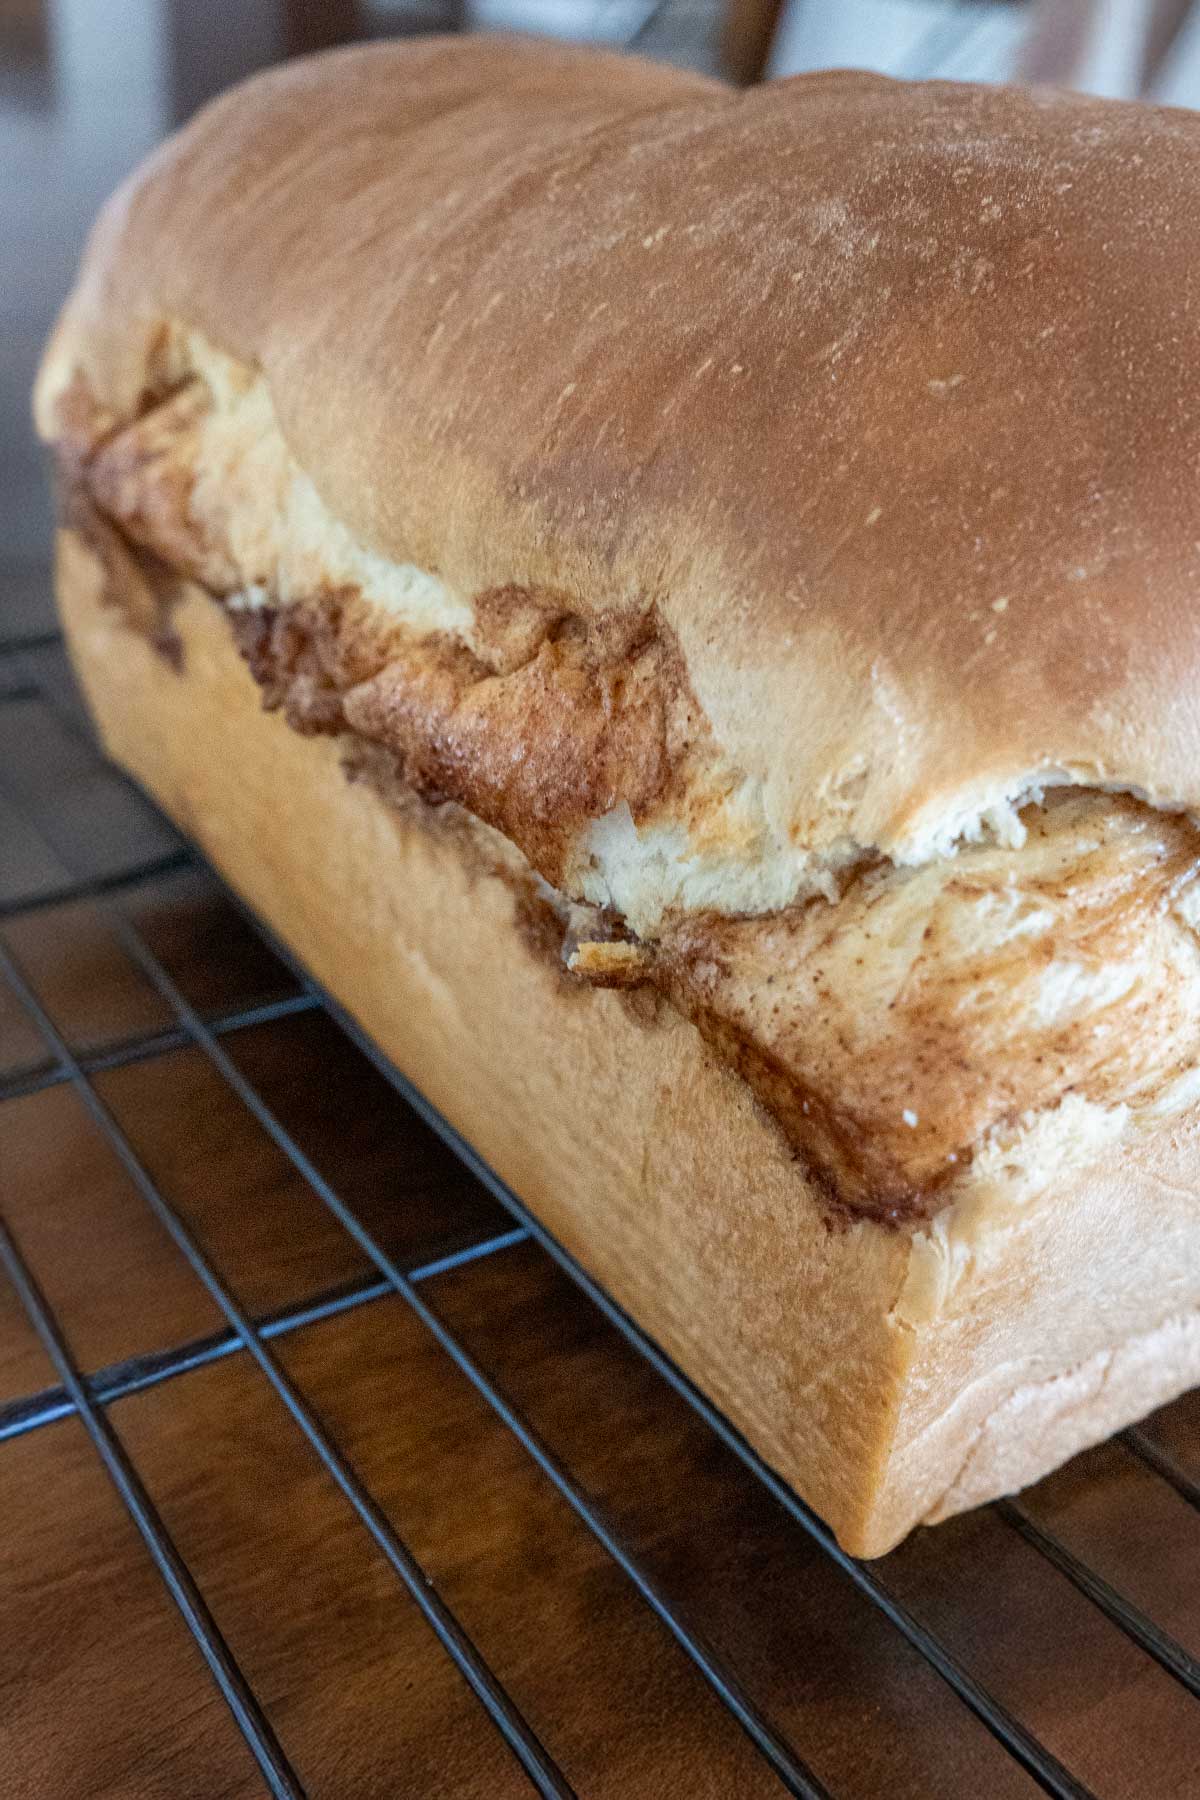
Swirl loaves can be a little tricky, NOT applying surface tension while rolling our cinnamon swirl bread is essential for that beautiful swirl.
General Tips for Shaping Bread Dough
- Start with Properly Proofed Dough: Before shaping, ensure your dough has completed its bulk fermentation (first rise). It should feel soft, slightly puffy, and spring back slowly when poked. Over-proofed dough can be sluggish and hard to shape, while under-proofed dough may resist stretching. Aim for dough that’s relaxed but still has some elasticity.
- Handle Dough Gently: Avoid knocking out too much air when shaping, as those precious gas bubbles contribute to an airy crumb. Use a light touch, and let the dough’s natural structure guide your movements. If the dough feels resistant, let it rest for 5–10 minutes to relax the gluten.
- Use Minimal Flour: Dust your work surface and hands lightly with flour to prevent sticking, but don’t overdo it. Too much flour can make the dough slippery, preventing it from sealing properly during shaping. A slightly tacky surface helps create the tension needed for a well-formed loaf.
- Create Surface Tension: The key to a beautifully shaped loaf or roll is surface tension. This tight “skin” on the dough’s surface helps it hold its shape and rise upward rather than spreading out. Pull the dough toward you across the work surface or fold it tightly to build this tension.
- Shape According to Your Goal: Different shapes suit different breads. Boules (round loaves) are great for rustic breads, batards (oval loaves) work for sandwich loaves, and rolls can be shaped into knots, spirals, or simple rounds. Choose a shape that complements your recipe and baking vessel.
- Use a Bench Scraper: A bench scraper is your best friend for shaping. It helps lift sticky dough off the counter, divide portions evenly, and create clean edges when folding or shaping. Keep it handy for precision.
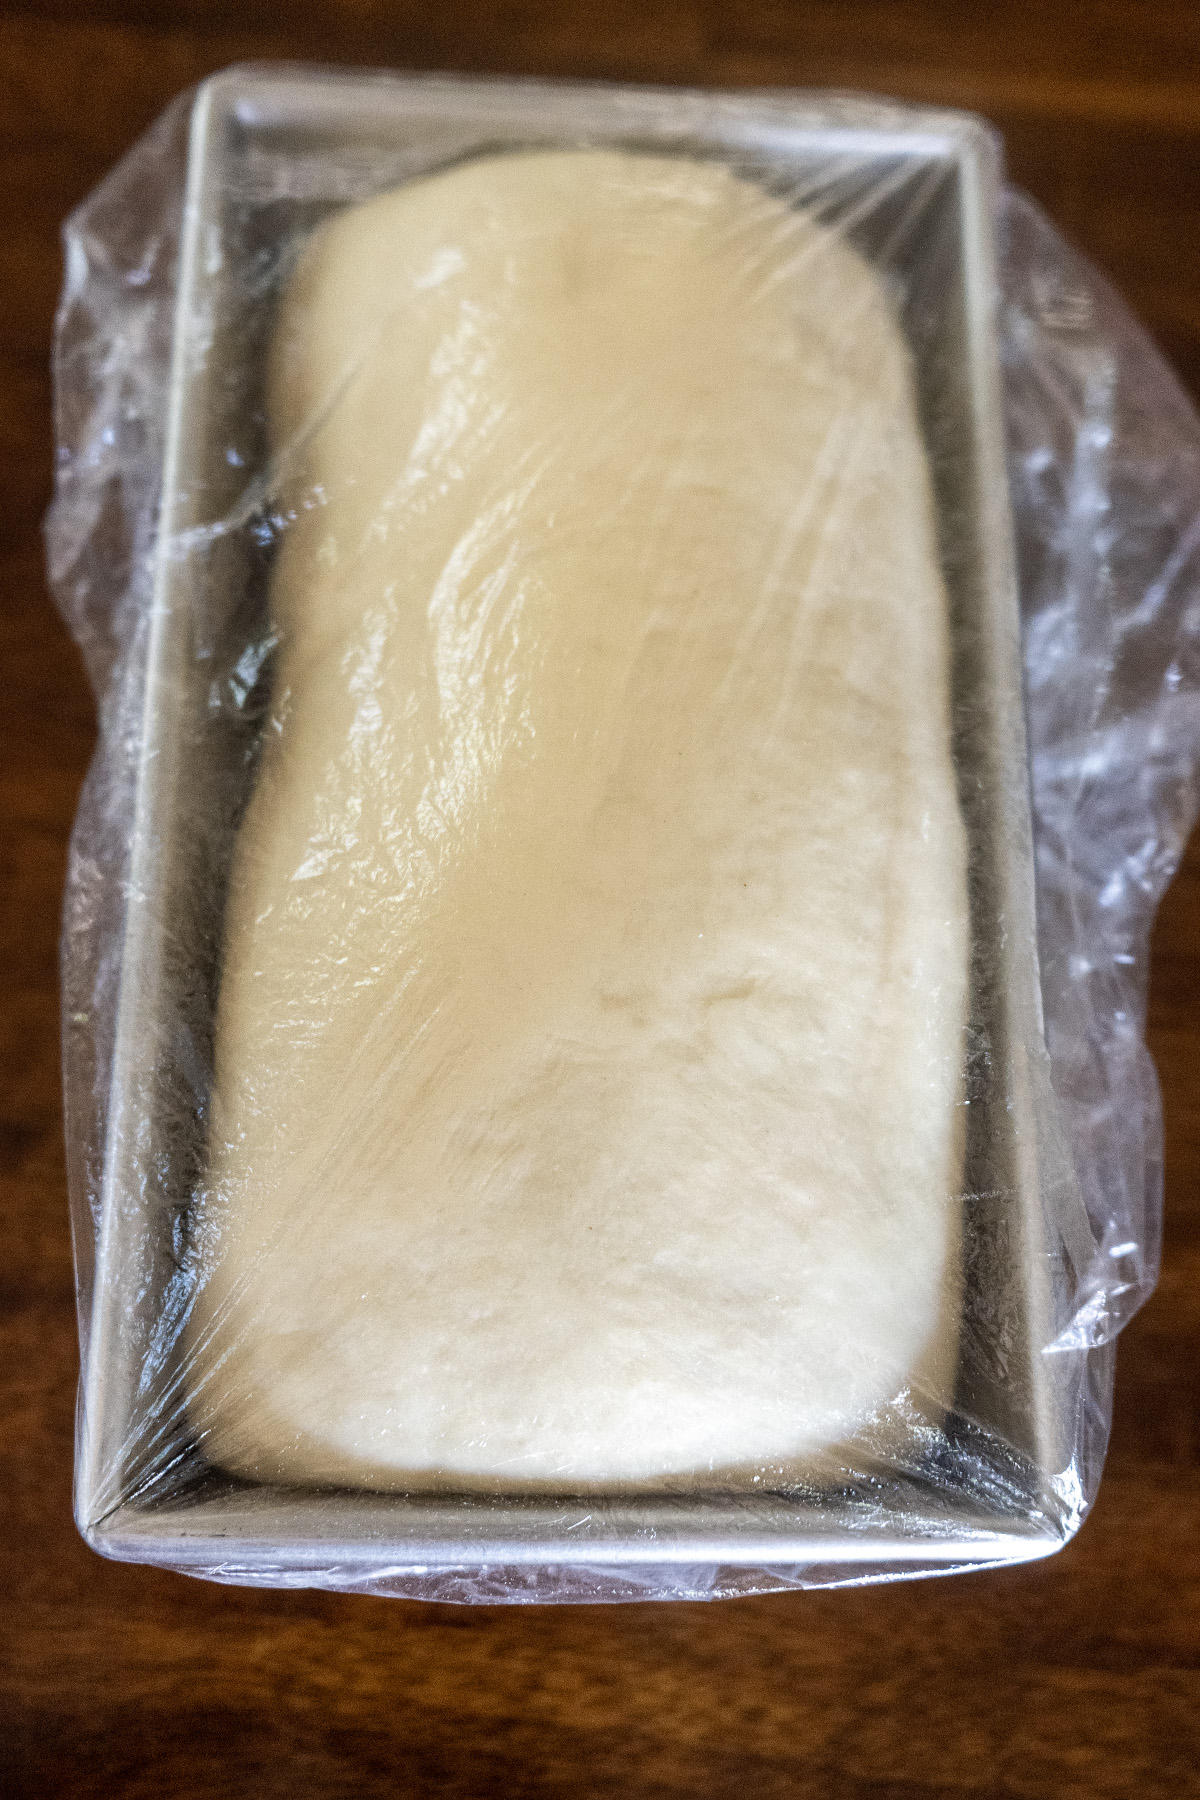
- Let the Dough Rest After Shaping: After shaping, place your loaf or rolls in a proofing basket (banneton), on a baking sheet, or in a loaf pan for their final rise. Cover with a damp cloth or plastic wrap to prevent drying. This rest allows the dough to relax into its shape and rise evenly.
Shaping Techniques for Common Yeast Loaves
Of all bread shapes, loaves are the most challenging. Here are our best tips on how to shape bread dough beautifully for the perfect loaf.
Boule (Round Loaf)
- Lightly flatten your dough into a rough circle.
- Fold the edges toward the center, working your way around the dough to form a loose ball.
- Flip the dough seam-side down.
- Cup your hands around the dough and gently pull it toward you across the counter, rotating slightly with each pull. This tightens the surface.
- Place seam-side up in a floured banneton or seam-side down on a parchment-lined baking sheet for the final rise.
Check out our no-knead bread recipe for a boule loaf favorite.

Batard (Oval Loaf)
- Flatten the dough into a rectangle.
- Fold the top third down and the bottom third up, like a letter.
- Press the seam gently to seal.
- Fold the dough in half lengthwise, pinching the seam tightly to seal.
- Roll gently with your hands to elongate and taper the ends.
- Place seam-side up in a banneton or seam-side down on a baking sheet.
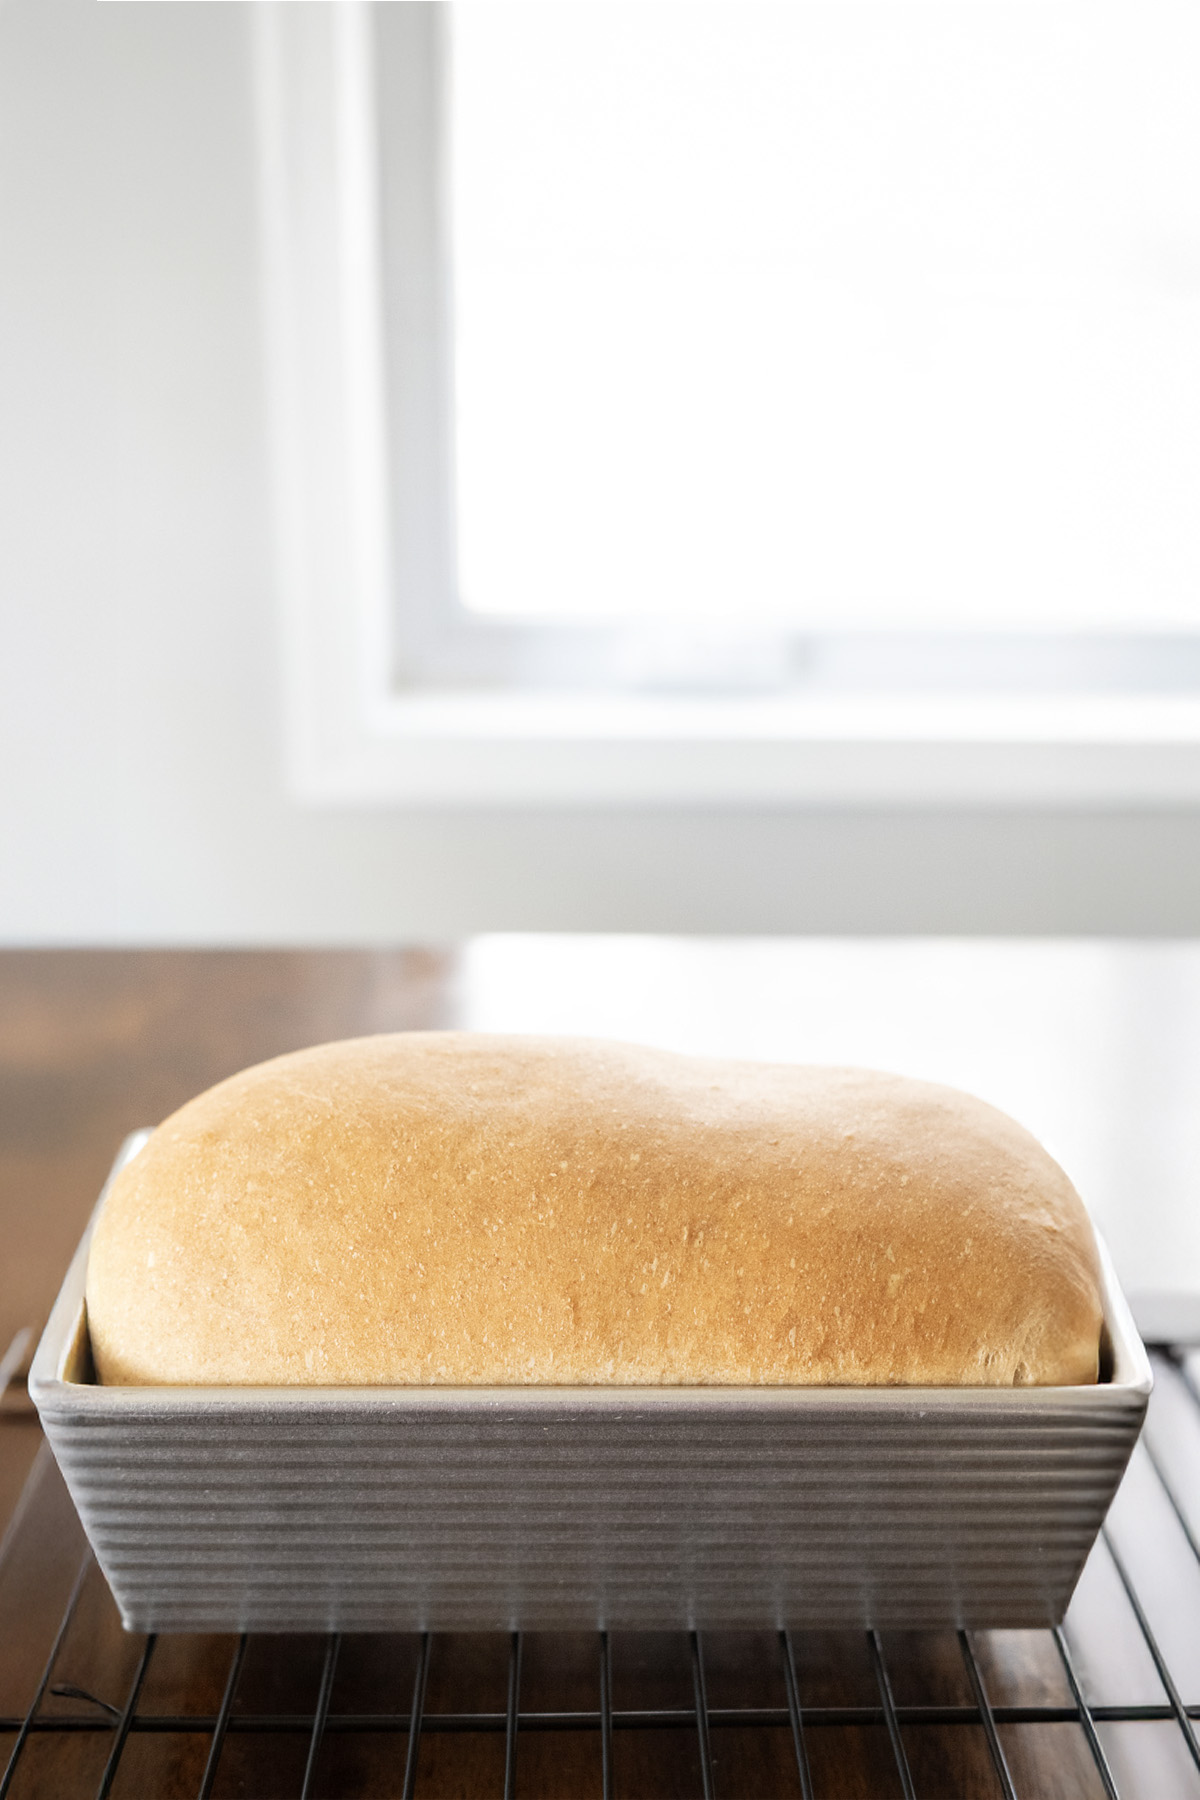
Sandwich Loaf (Pan Loaf)
- Flatten the dough into a rectangle roughly the width of your loaf pan.
- Roll the dough tightly from one short end to form a cylinder.
- Pinch the seam and ends to seal.
- Place seam-side down in a greased loaf pan for the final rise.
We have plenty of sandwhich loaf bread, our favorites are white sandwich bread, honey wheat bread, and oatmeal bread.
Shaping Techniques for Rolls
Round Rolls
- Divide the dough into equal portions (use a scale for precision).
- Take one piece and fold the edges toward the center to form a small ball.
- Flip seam-side down. Cup your hand loosely over the dough, fingers lightly touching the counter, and drag the dough in a circular motion across the surface. This creates surface tension, giving the roll a smooth, taut exterior.
- Place on a parchment-lined baking sheet, leaving space for rising.
For our favorite round roll recipes check out our oatmeal dinner rolls, garlic rosemary rolls, or 4-H dinner rolls.
Knotted Rolls
- Roll a piece of dough into a long rope, about 8–10 inches.
- Tie a simple knot, tucking the ends underneath or leaving them for a rustic look.
- Place on a baking sheet for proofing.
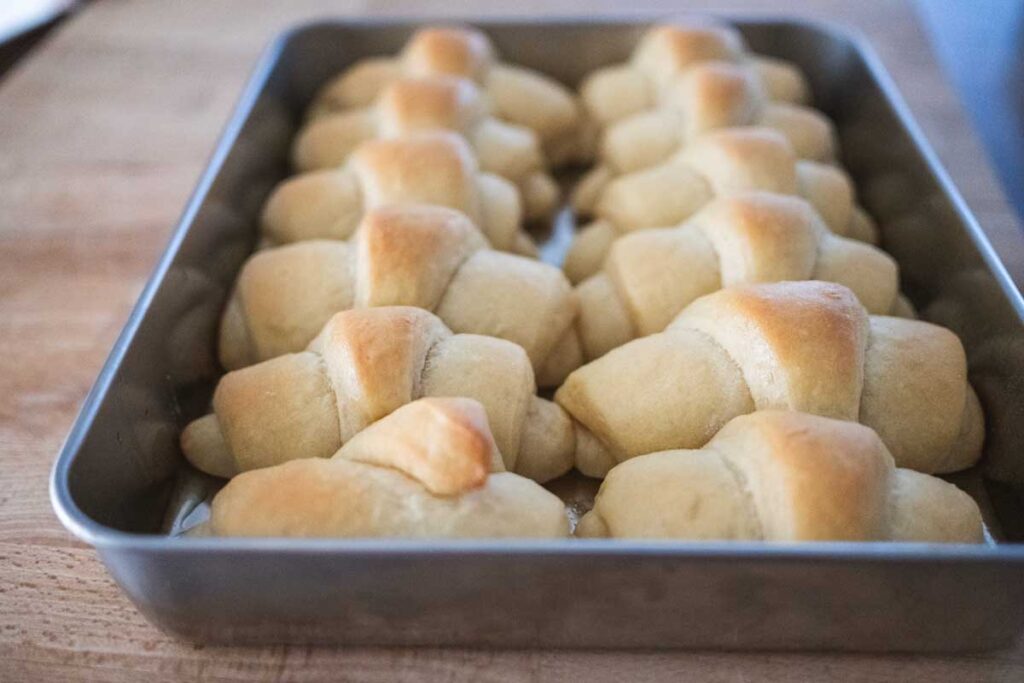
Crescent Rolls
- Roll dough into a thin, circle.
- Cut the circle into 8-12 wedges, like a pizza.
- Starting from the wide end of each wedge, roll tightly toward the point to form a crescent shape.
- Place on a baking sheet with point side down, curving the ends slightly to enhance the crescent shape.
Check out homemade potato rolls for a delicious and gorgeous roll that is perfect for special occasions.
Pro Tips for Picture-Perfect Bread
- Practice Makes Perfect: Shaping takes practice, so don’t be discouraged if your first loaves aren’t flawless. Watch videos or observe other bakers to refine your technique.
- Score Your Loaves: Score the dough with a sharp blade or lame if the recipe calls for scoring. This controls where the bread expands and adds a decorative touch.
- Use a Proofing Basket: For free-form loaves, a banneton helps maintain shape and adds beautiful flour patterns.
- Keep Portions Even for Rolls: Weigh your dough pieces to ensure uniform rolls that bake evenly.
- Bake with Steam: For a crisp, glossy crust, bake loaves in a preheated Dutch oven or roaster. Or you may add steam to your oven by placing a pan of hot water on the bottom rack.
- Cool Properly: Let your bread cool on a wire rack to avoid a soggy bottom and ensure the structure sets.
Troubleshooting Common Shaping Issues
- Dough Spreads Out: This indicates insufficient surface tension. Try shaping more tightly or ensuring proper gluten development during kneading.
- Uneven Crumb: Over-handling or uneven shaping can compress the dough unevenly. Handle gently and shape uniformly.
- Rolls Unravel: Ensure seams are pinched tightly, especially for knots or spirals.
- Loaf Doesn’t Rise Upward: Check that your dough isn’t over-proofed, and create more surface tension during shaping.
Final Thoughts on How To Shape Bread Dough Beautifully
Shaping bread dough is both an art and a skill that comes with practice and patience. By mastering surface tension, choosing the right shape for your bread, and handling the dough with care, you’ll create loaves and rolls that look as good as they taste. Experiment with different shapes, watch your dough transform in the oven, and enjoy the pride of presenting your stunning homemade bread.
Happy baking!
As an Amazon Associate, I earn from qualifying purchases at no extra cost to you. Thank you for your support!