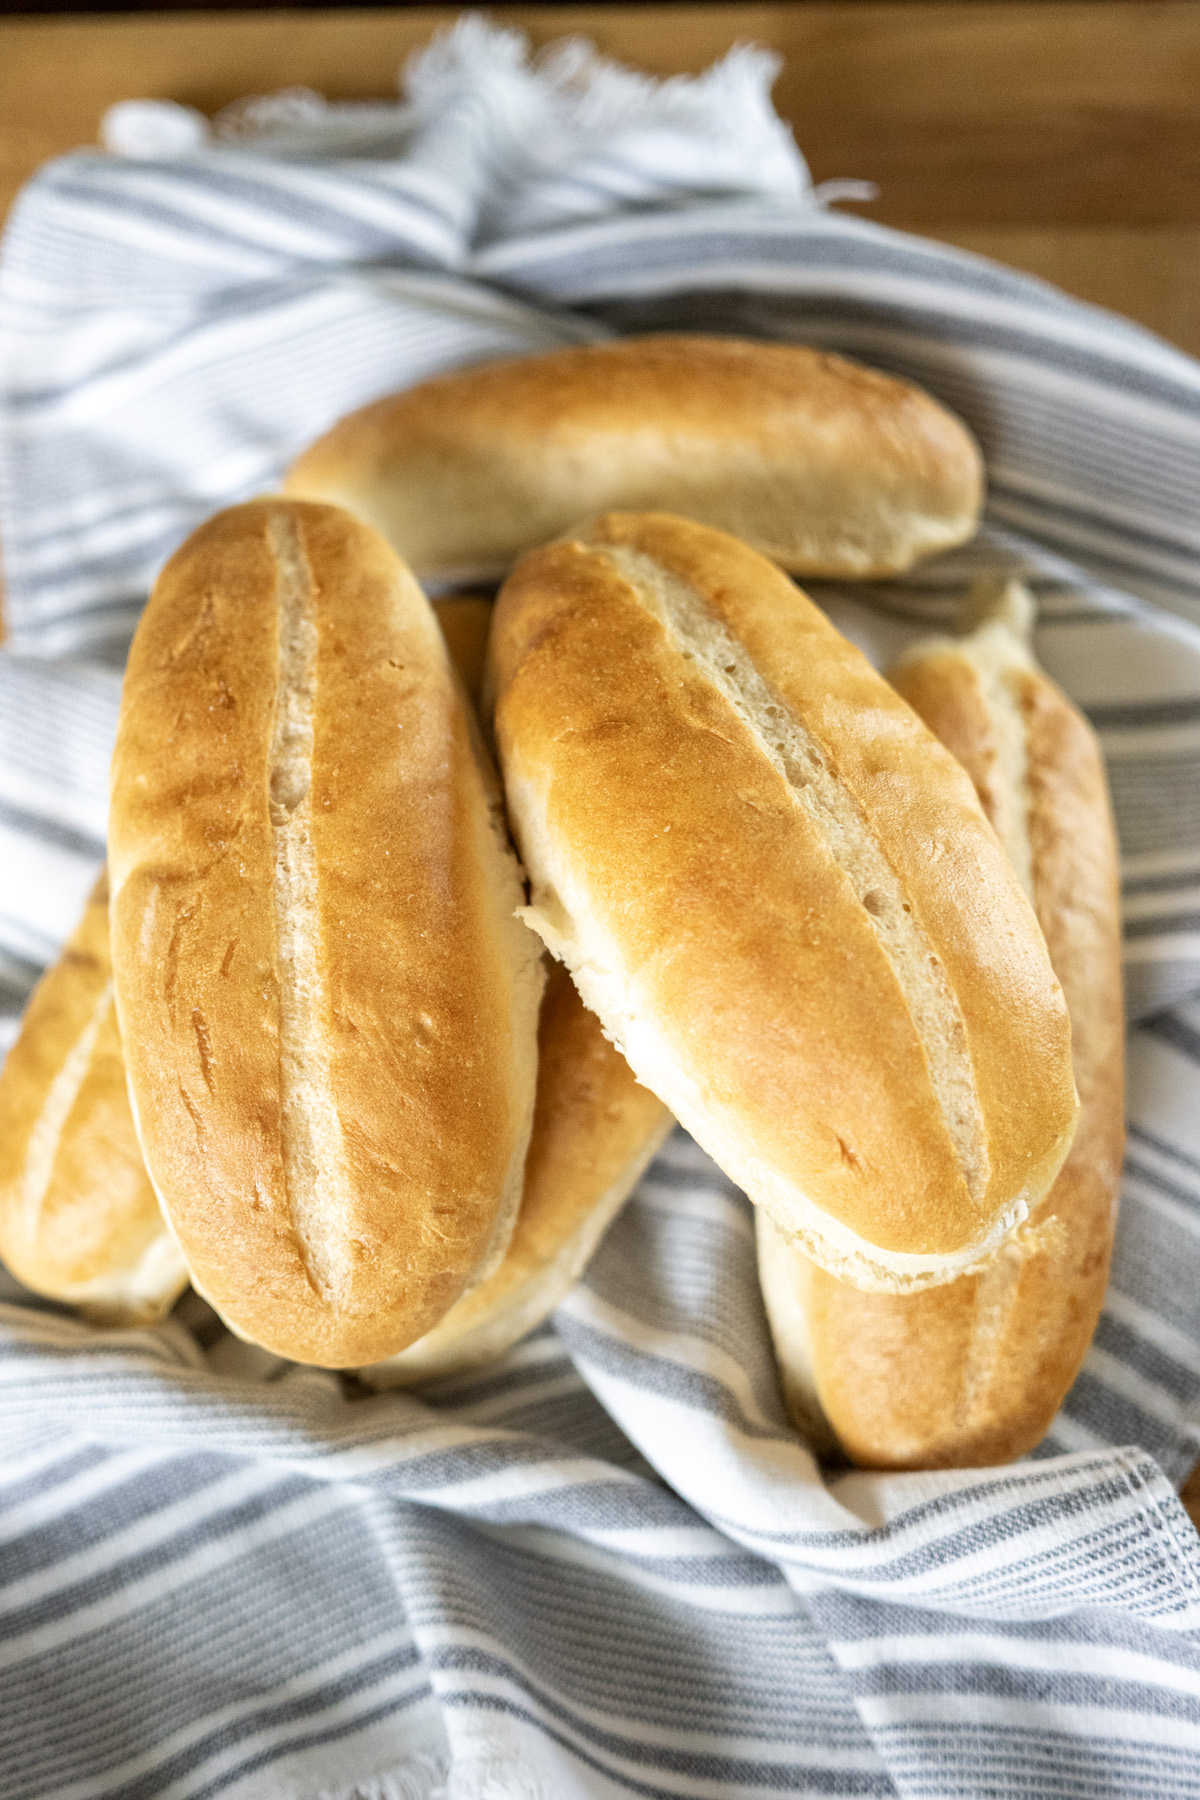
Easy Hoagie Roll Recipe
Nothing beats the smell of freshly baked bread, and this Easy Hoagie Roll Recipe delivers soft, versatile rolls perfect for your favorite sandwiches. Whether you’re craving a classic French dip, a hearty sub sandwich, or a grilled Philly cheesesteak, these homemade hoagie rolls are sturdy enough to hold all your fillings while offering a delightful texture. With the option to make them crusty or soft, this recipe is beginner-friendly and uses simple pantry staples. Let’s dive into how to make these delicious rolls in just about 2 ½ hours!

Why You Must Make This Easy Hoagie Roll Recipe
This recipe is all about flexibility and ease. With precise measurements you’ll get consistent results every time. You can choose a crusty exterior for a French dip sandwich that soaks up juices or a soft roll for a classic Italian sub. The rolls are shaped into perfect ovals, and using an optional metal baguette pans helps maintain their elongated hoagie shape during baking. Plus, the active prep time is only 20 minutes, making this a great recipe while you’re making dinner.
Crusty or Soft: You Choose!
Here’s where the fun begins! These hoagie rolls can go two ways, depending on your sandwich vibes:
- Crusty Rolls: Brush with an egg wash and bake with steam (using a pan of hot water or a quick spritz in the oven). This creates a thin, crisp crust that’s perfect for soaking up juices without falling apart. Ideal for French dip or Philly cheesesteak sandwiches!
- Soft Rolls: Skip the egg wash and steam for a tender, pillowy crust that’s oh-so-satisfying in a classic sub. These are your go-to for Italian sandwiches or veggie-packed creations.
The secret to that crusty texture? Steam keeps the dough’s surface moist early in baking, letting it expand for a crisp, golden finish. No steam, and you’ll get a softer, thicker crust—both are delicious, so it’s all about what you’re craving!
Serving Suggestions to Inspire Your Sandwiches
These hoagie rolls are the ultimate sandwich canvas, ready to shine with your favorite fillings. Here are some ideas to get you started:
- French Dip Sandwiches: Stuff with thinly sliced roast beef and melted provolone. Dip into savory beef broth for a cozy, flavorful bite—the crusty rolls hold up like a dream!
- Italian Sub Sandwiches: Pile on salami, ham, pepperoni, lettuce, tomatoes, onions, and a drizzle of Italian dressing. Soft rolls make every bite of this classic sub pure bliss.
- Philly Cheesesteak: Load with grilled steak, sautéed peppers, onions, and gooey cheese whiz or provolone. Crusty or soft, these rolls handle the hearty filling with ease.
- Meatball Subs: Spoon in warm meatballs, marinara sauce, and melted mozzarella, then bake until bubbly. The rolls’ sturdiness keeps everything together, no mess!
- Veggie Delight: Spread with hummus, then layer roasted veggies, avocado, sprouts, and feta for a fresh, wholesome sandwich. Soft rolls complement the lighter flavors perfectly.
How to Shape Perfect Hoagie Rolls
Let’s talk about shaping these hoagie rolls to get that classic, sandwich-ready look! Here’s how to shape your hoagie rolls in just a few easy steps!
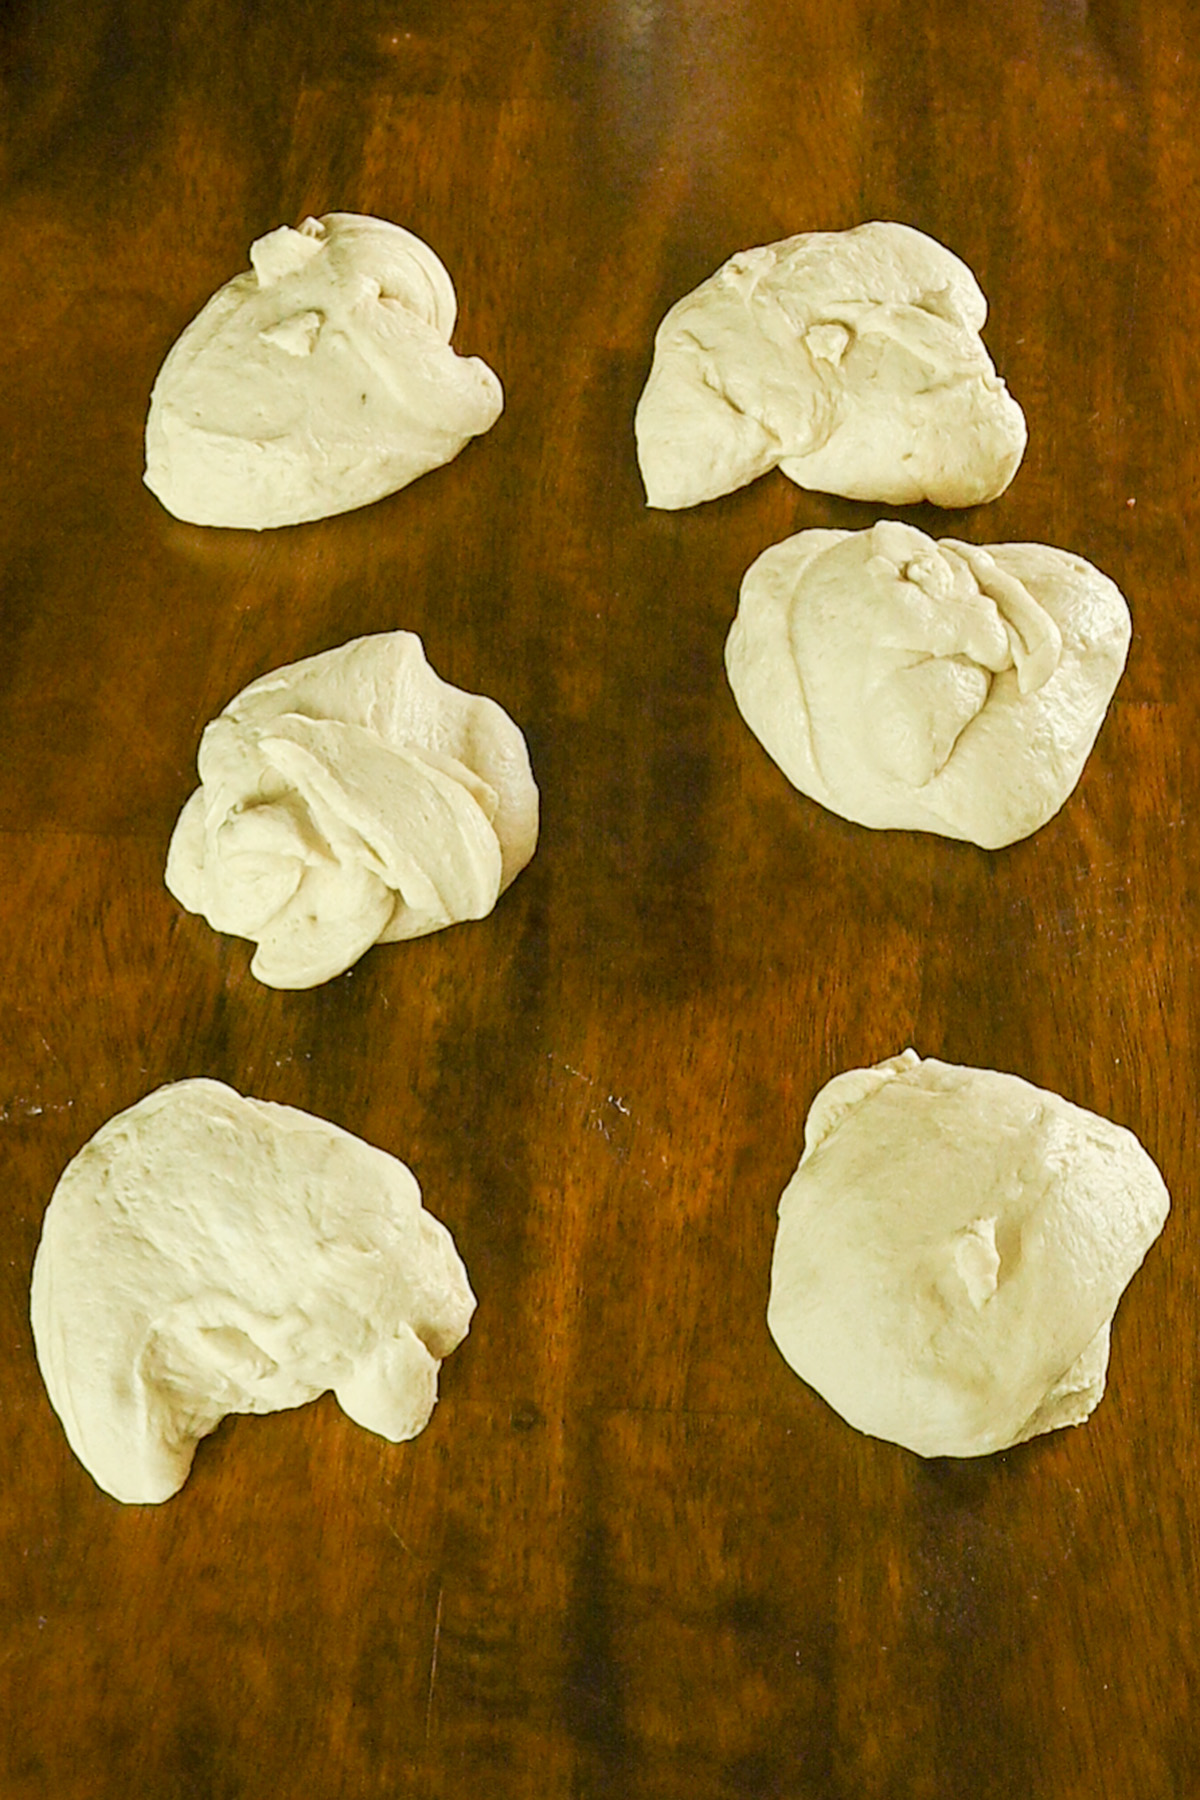
- Punch Down the Dough: After the first rise (when your dough has doubled in size), gently punch it down to release the air. This preps the dough for shaping and makes it easier to handle.
- Divide into Equal Pieces: Turn the dough onto a lightly floured surface and divide it into 6 equal pieces, about 120–130 g each. I love using a kitchen scale for precision—it ensures all your rolls are the same size for even baking!
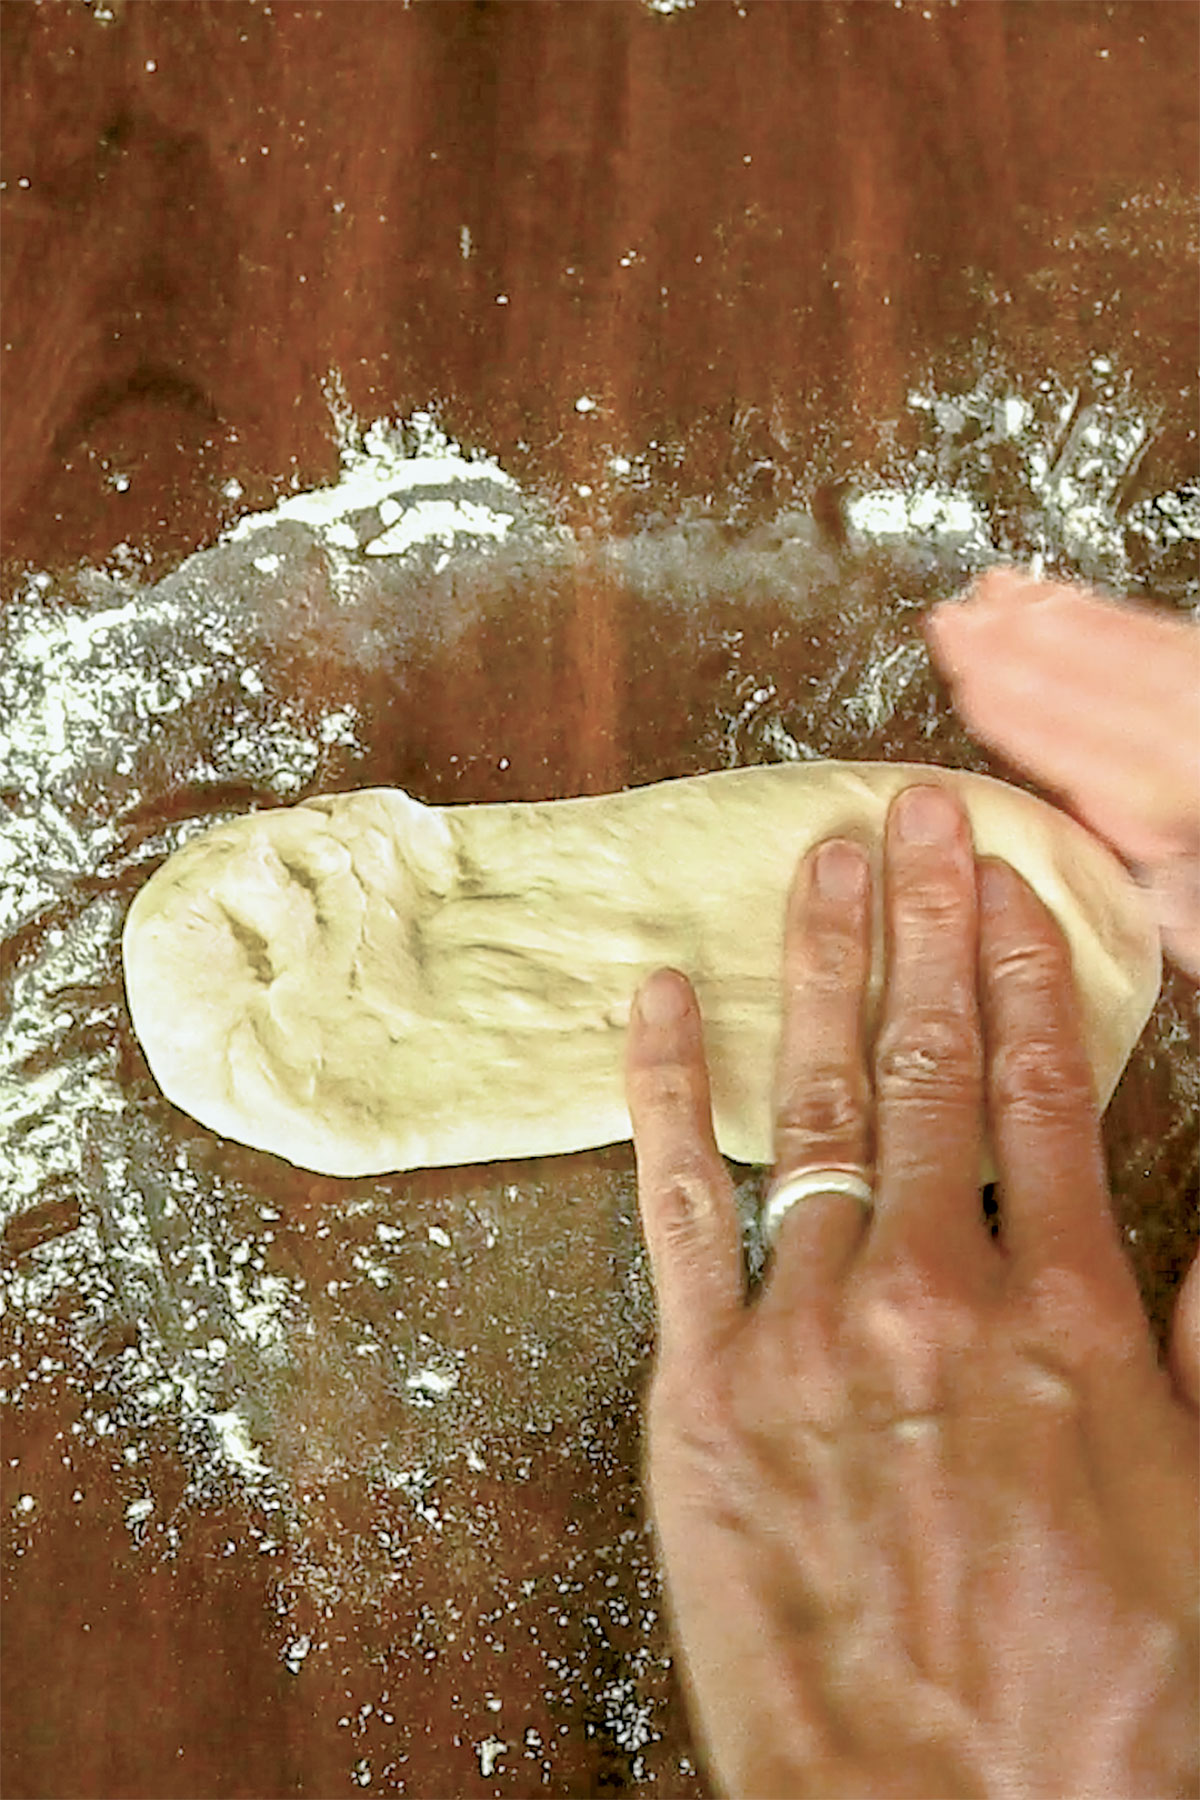
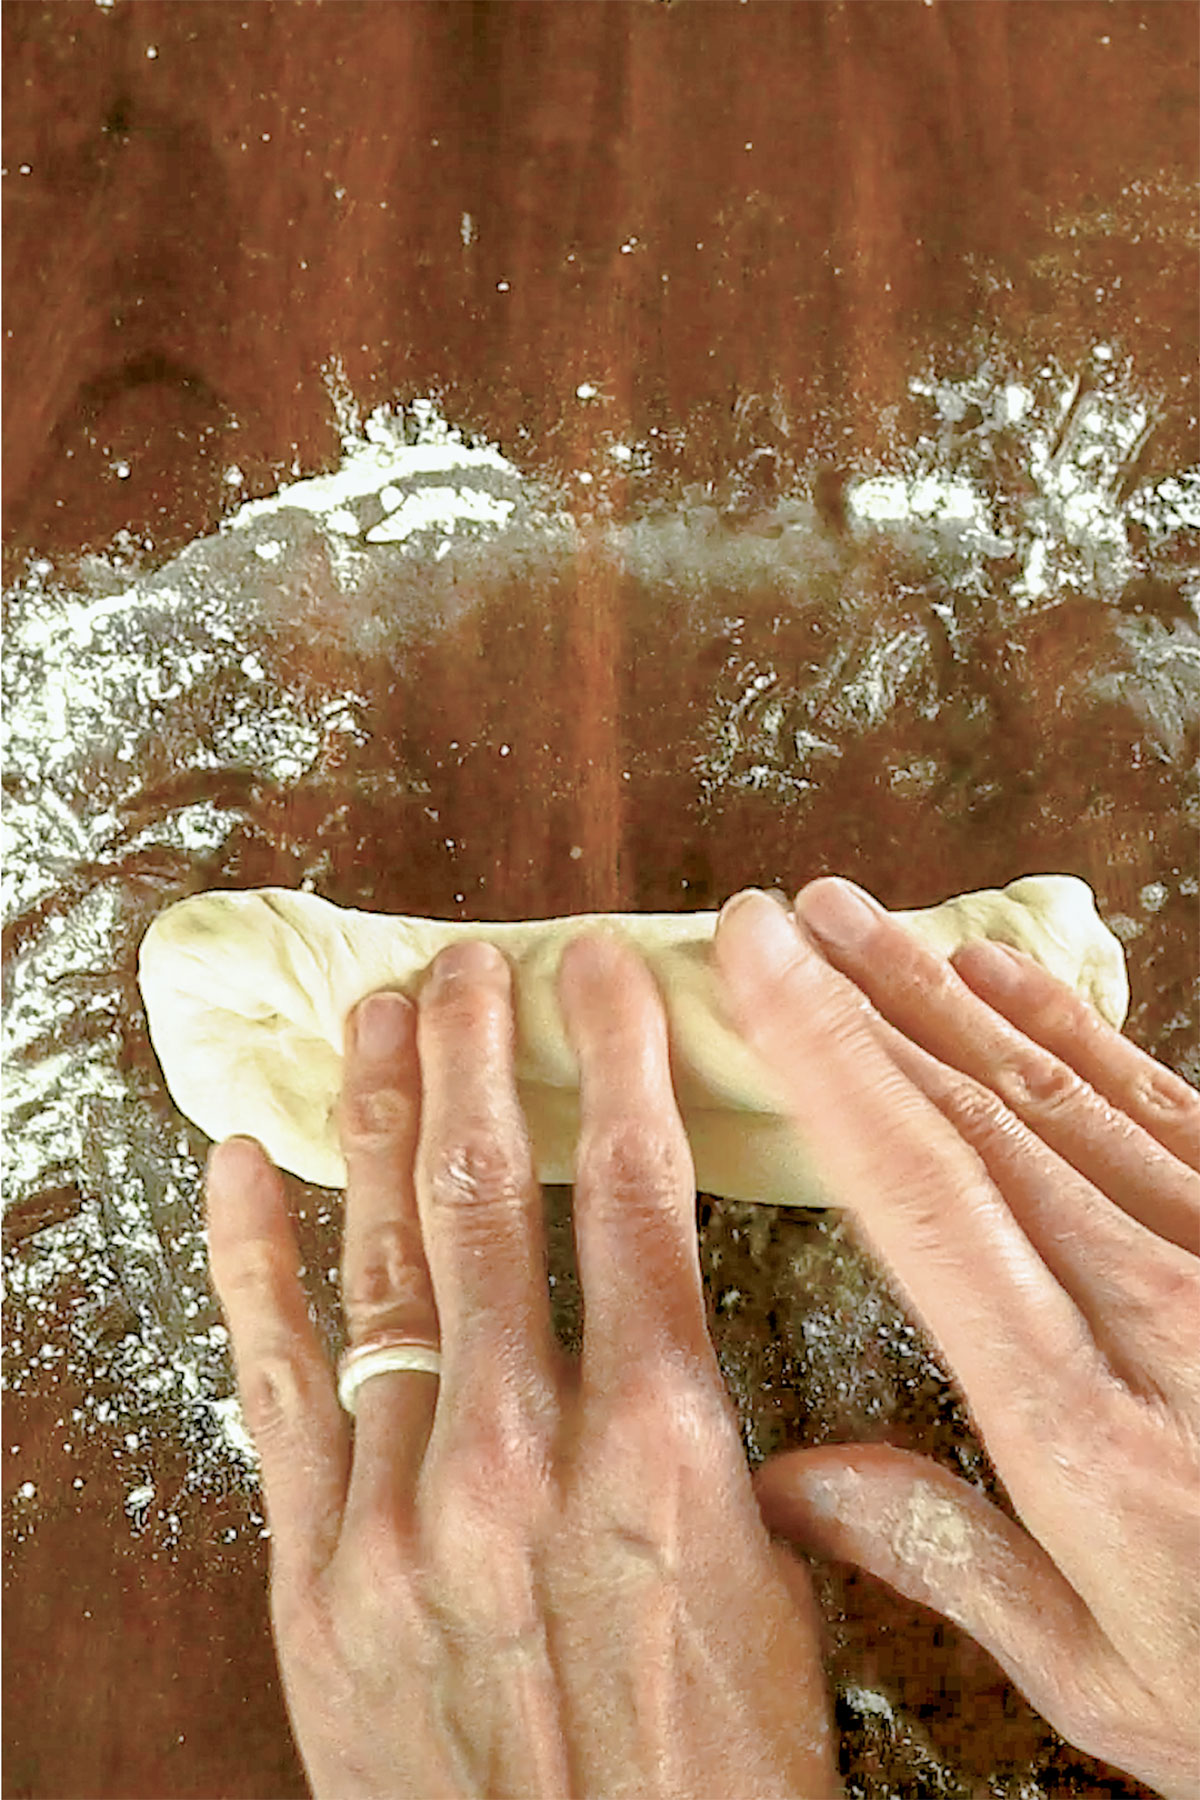
- Flatten into Rectangles: Take one piece of dough and gently flatten it with your hands into a small rectangle, about 4–5 inches long. Don’t stress about perfection; just aim for an even shape.
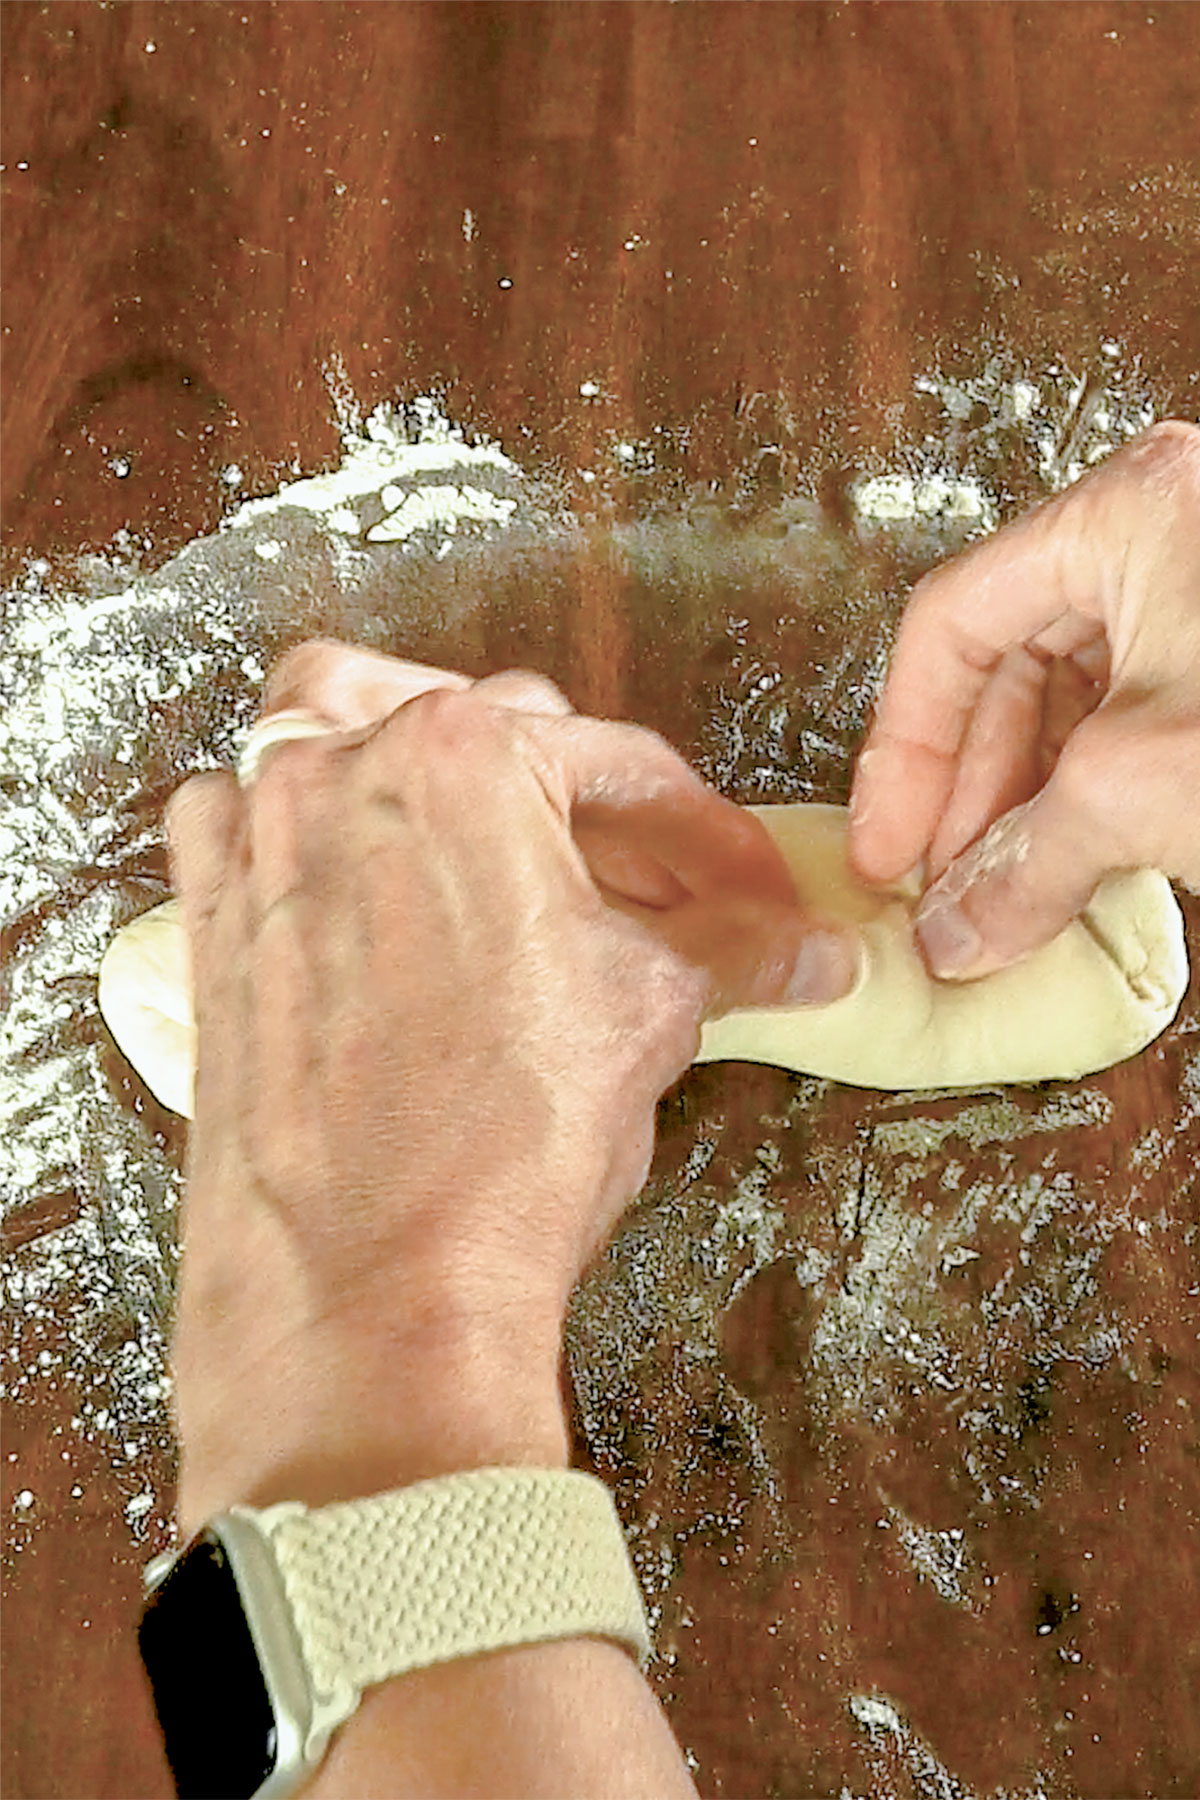
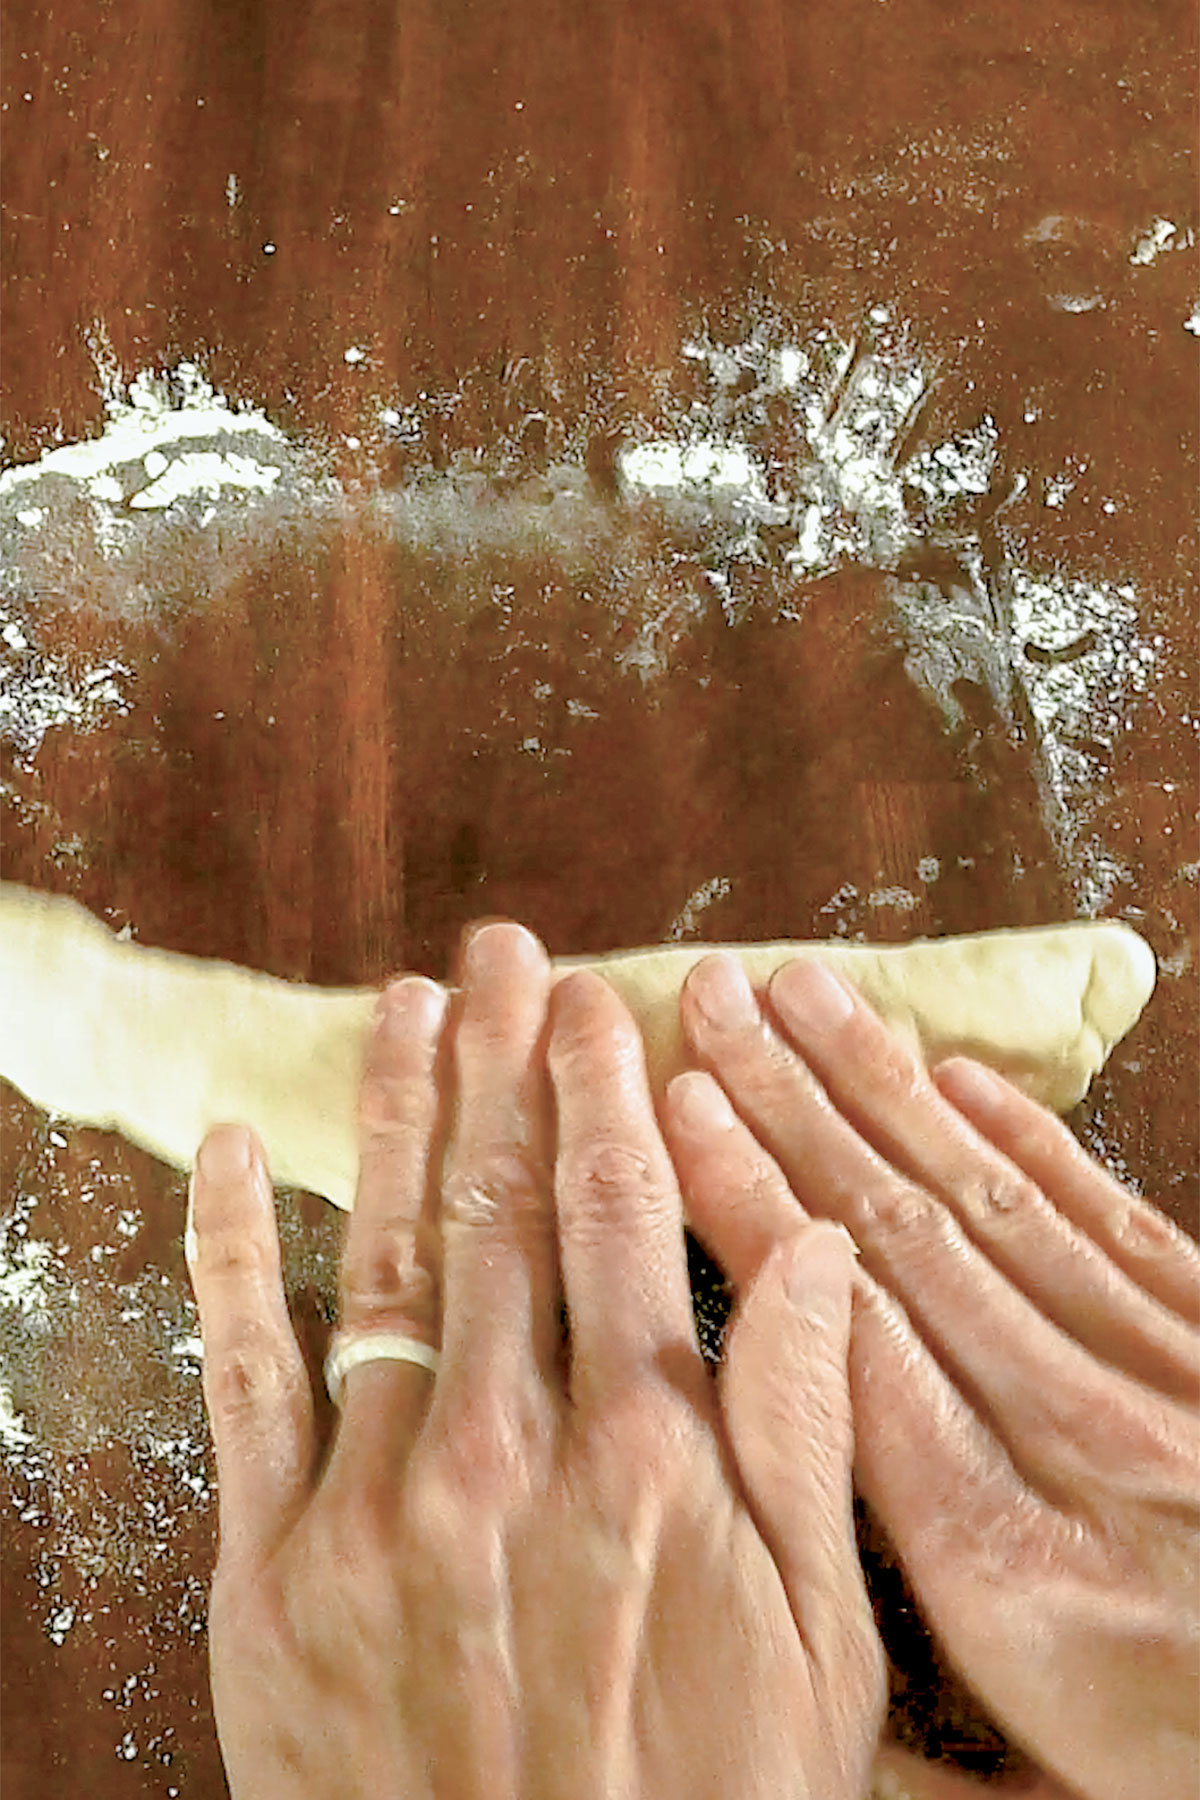
- Fold and Roll: Fold the long edges of the rectangle toward the center, like you’re wrapping a gift. Then, roll the dough tightly into a log, starting from one short end. This creates a smooth, taut surface that helps the rolls hold their shape.
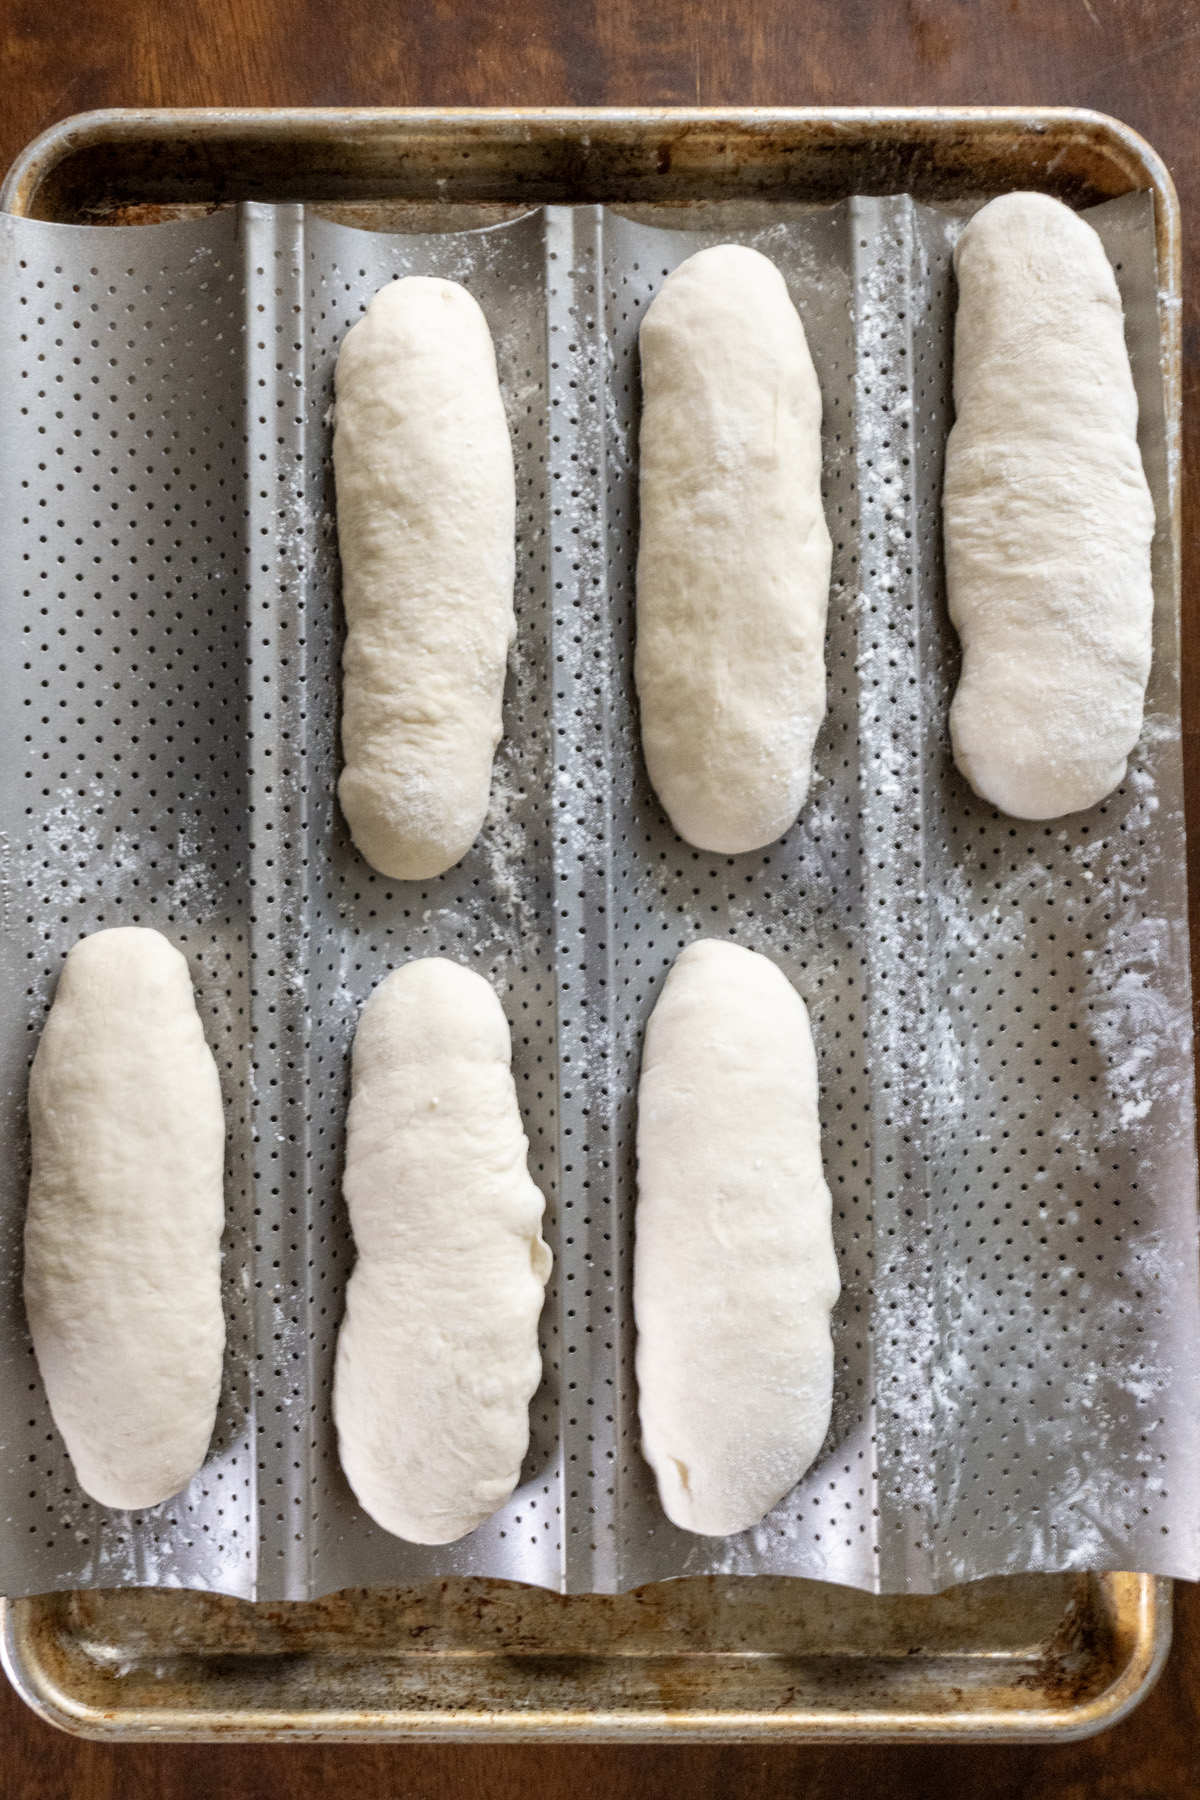
- Pinch the Seam: Once rolled, pinch the seam tightly to seal it. This keeps the roll nice and tidy during baking. You can also gently tuck the ends under for a slightly tapered, bakery-style look.
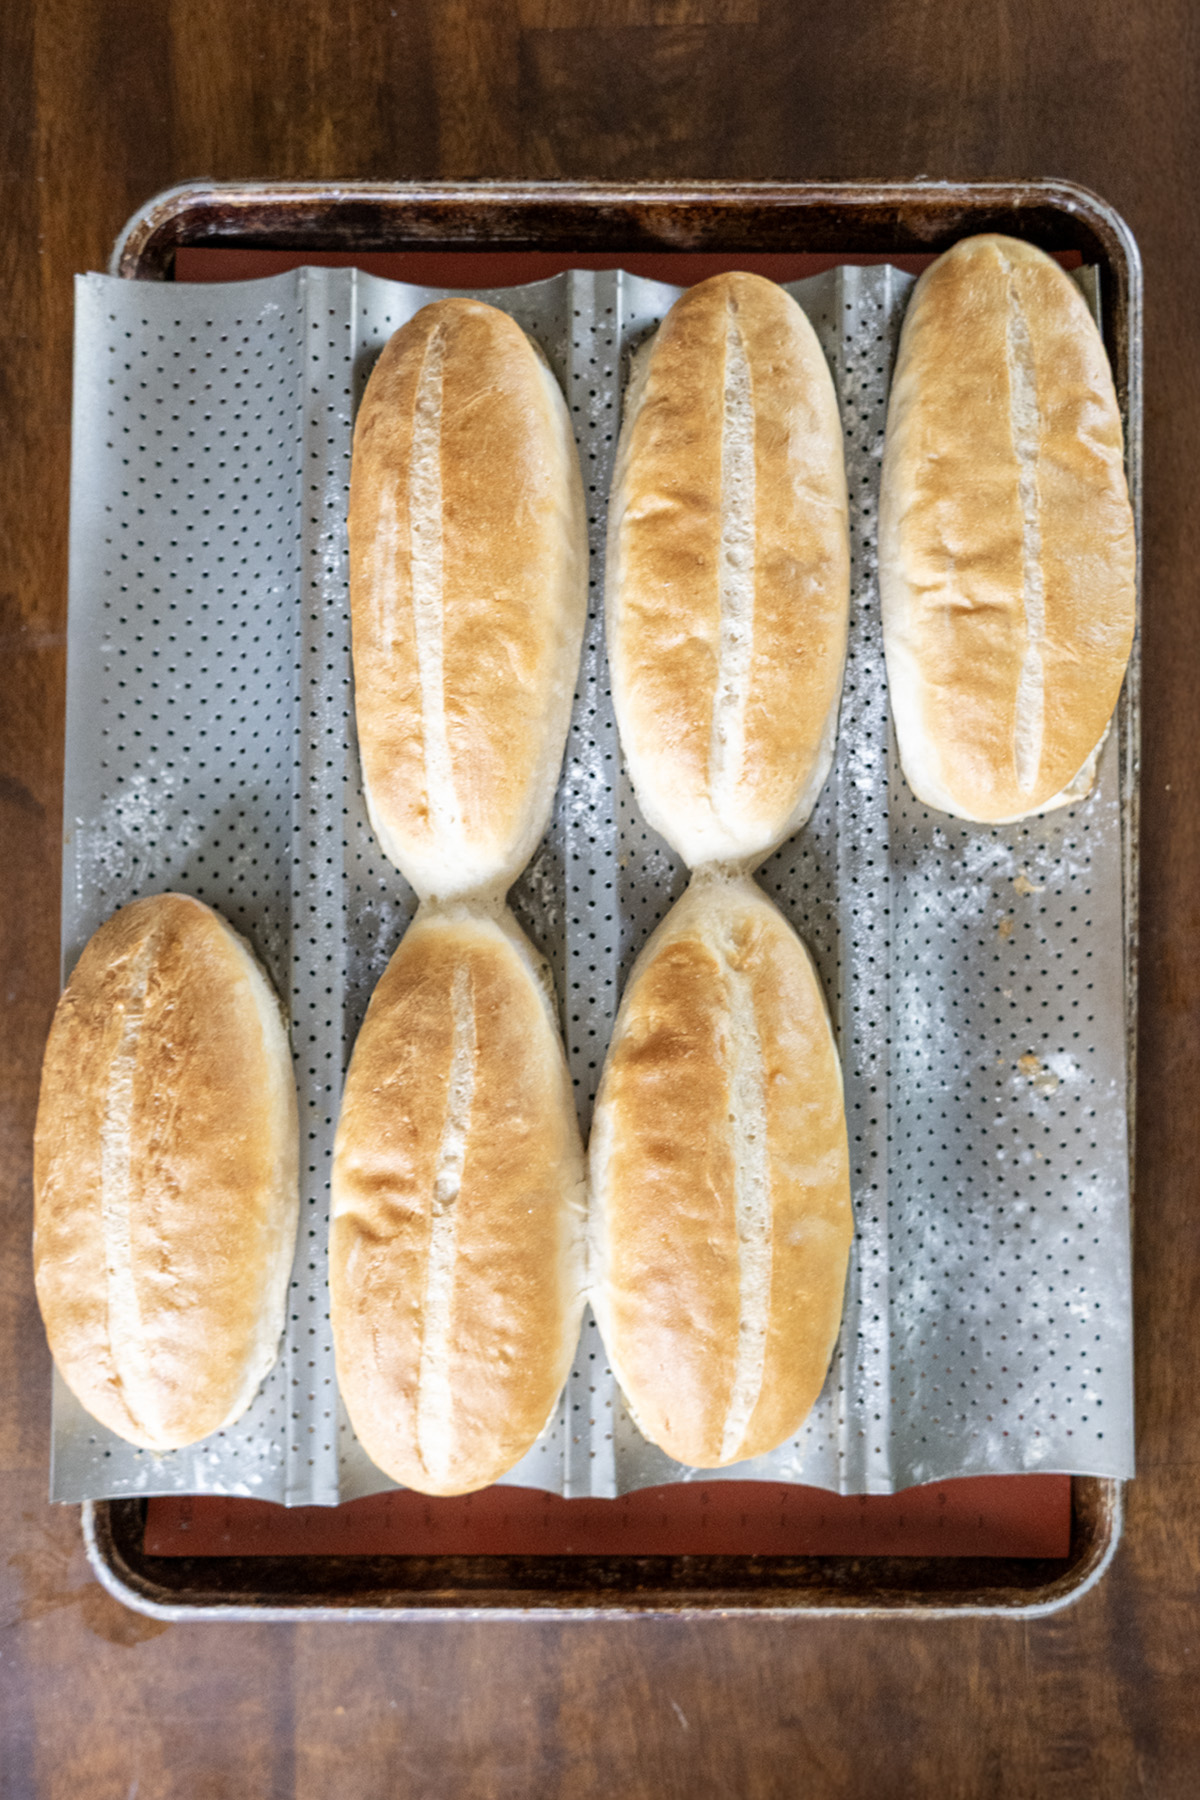
- Place on Tray or Sheet: Place the rolls seam-side down on a prepared baking sheet, spacing them 2 inches apart to give them room to puff up. For that pro-level hoagie shape, I love using a metal baguette pan (totally optional!)—its curved slots cradle the dough, keeping the rolls long and uniform, perfect for sandwiches like meatball subs or veggie delights. No tray? Your baking sheet will work beautifully!
These steps make shaping a breeze, and before you know it, you’ll have gorgeous hoagie rolls ready for their second rise.

Baking Tips for Hoagie Roll Success
Because I want your baking experience to be as joyful as mine, here are my top tips for nailing these rolls:
- Crusty Rolls: Use steam (240 ml hot water in a pan or a spritz of 10–15 ml water) and the egg wash for that crisp, shiny crust. Spritzing the rolls before baking adds extra crunch!
- Soft Rolls: Skip the steam and egg wash for a tender crust. For an extra-soft touch, brush with 15 ml melted butter right after baking.
- Perfect Shaping: A metal baguette pan (optional) keeps the rolls elongated and uniform, giving that pro-bakery look. No tray? A baking sheet works great—just space the rolls 5 cm apart.
- Storage: Keep rolls in an airtight container at room temperature for up to 2 days or freeze for 1 month. Reheat at 350°F (175°C) for 5–7 minutes to revive that fresh-baked vibe.
- Make Ahead: Shape the rolls, cover, and refrigerate overnight after the first rise. Let them rise at room temperature for 45 minutes before baking—perfect for planning ahead!
- Flour Check: Humidity can change things up. Start with 480 g flour and only add more (up to 510 g) if the dough feels too sticky. You want it soft and just a tad tacky.
Let’s Bake Some Sandwich Magic!
Ready to transform your sandwich game? This Easy Hoagie Roll Recipe is your ticket to homemade hoagie rolls that rival any deli. Whether you’re building a French dip, a meatball sub, or a veggie masterpiece, these rolls are ready to shine. Grab your ingredients, preheat that oven, and let’s bake something amazing! What sandwich will you make first? Drop a comment below—I’d love to hear your plans!
Easy Hoagie Roll Recipe
Print Recipe
EQUIPMENT (affiliate links)
Ingredients
- 1 ½ c. warm water, 90-110°F 360g
- 2 ¼ tsp active dry yeast
- 1 Tbsp granulated sugar
- 4 c. all-purpose flour, spooned & leveled 480-510g, start with 480g
- 1 ½ tsp salt
- 1 Tbsp olive oil for greasing
Egg Wash – Optional
- 1 large egg white
- 1 Tbsp water 15g
Instructions
- In a small bowl, combine warm water, sugar, and yeast. Stir and let sit 5-10 minutes until foamy.
- To a large mixing bowl or stand mixer bowl, add 4 cups flour, salt, and proofed yeast. Stir until a shaggy dough forms. Add up to ¼ cup more flour, 1 Tbsp at a time, if too sticky.
- Knead on a floured surface for 8-10 minutes (or 5-7 minutes in a stand mixer) until smooth and elastic.
- Place dough in a greased bowl, cover, and let rise in a warm place (75-85°F) for 1-½ hours, until doubled.
- Punch down dough and divide into 6 equal pieces. Shape into ovals: flatten, fold edges in, roll tightly, and pinch seams. Place seam-side down on a parchment-lined baking sheet or metal baguette tray, 2 inches apart.
- Cover and let rise 30-45 minutes, until puffy.
- Preheat oven to 425°F. For crusty rolls, place an empty oven-safe pan on the bottom rack.
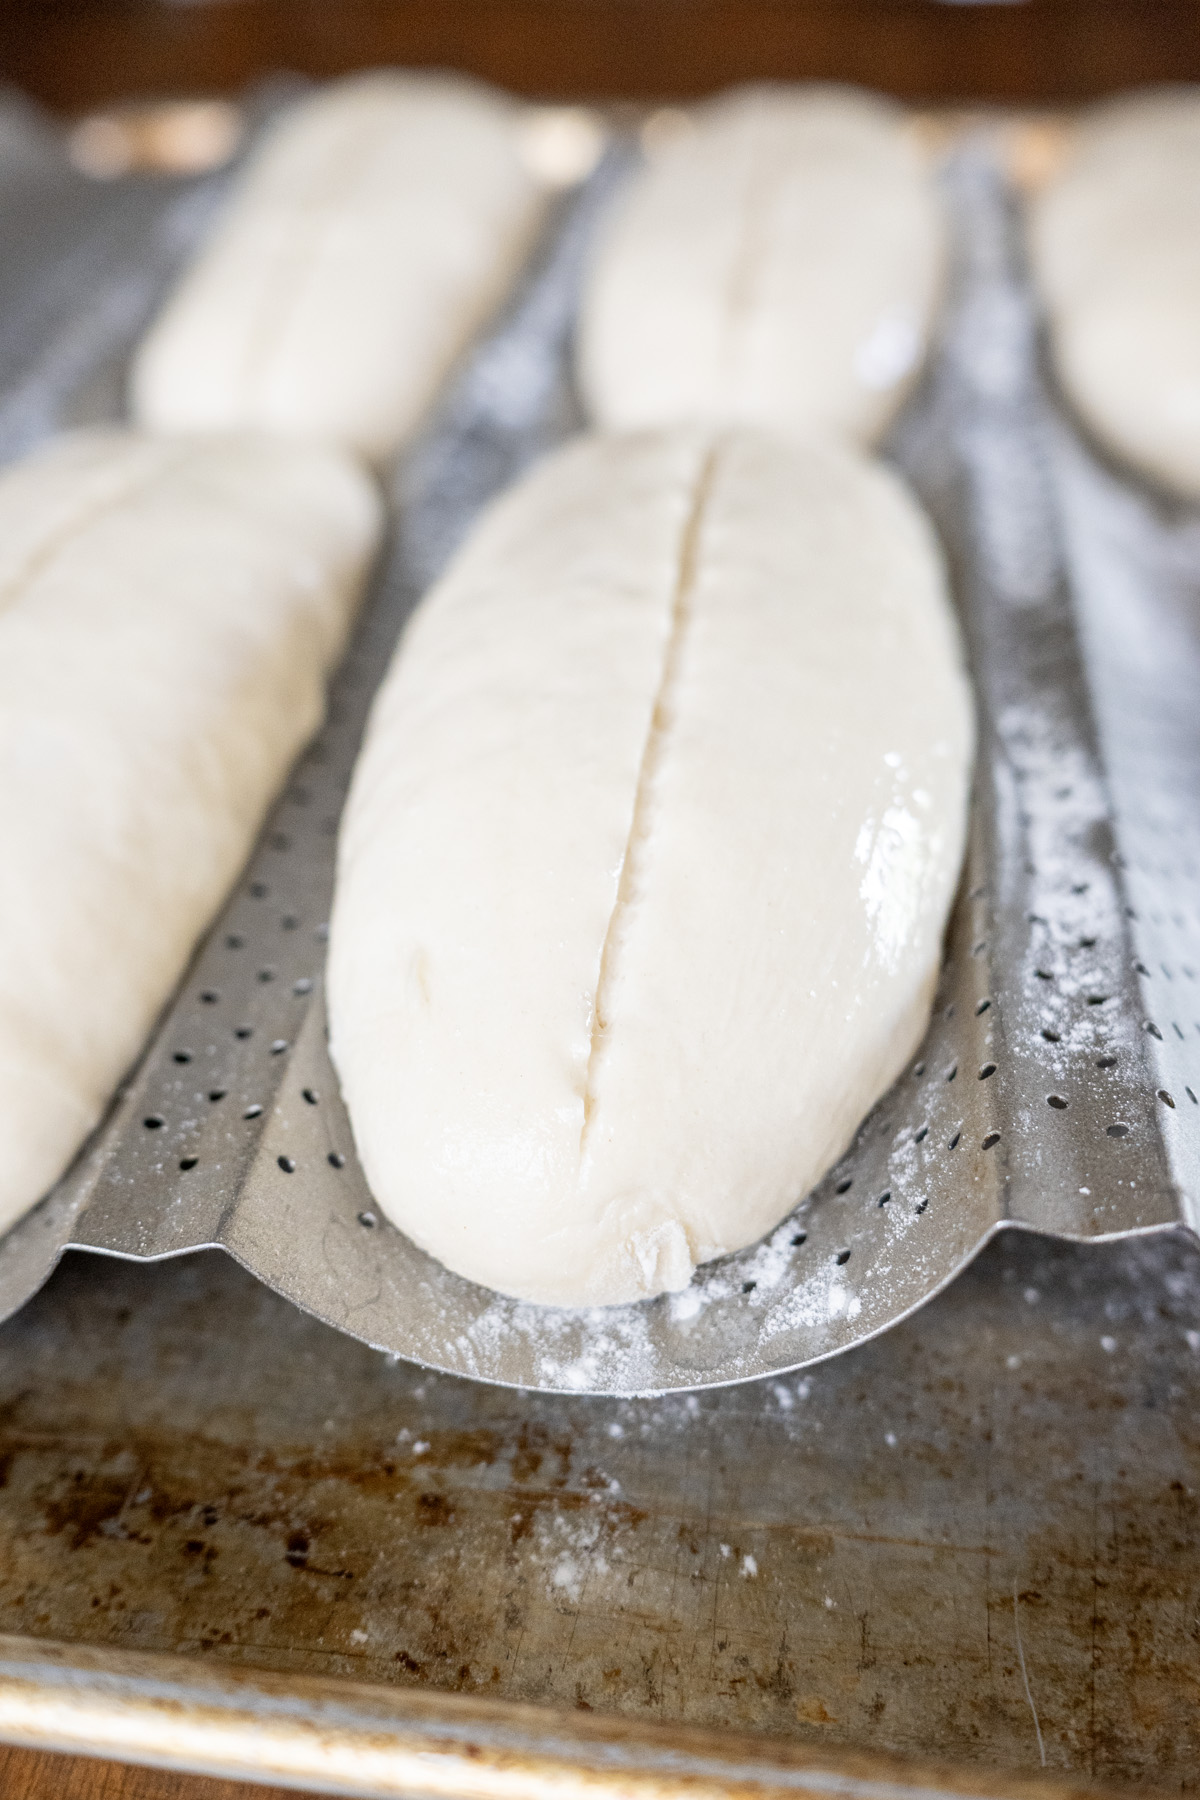
- For soft rolls: Brush with egg white mixed with 1 Tbsp water. Score each roll with a shallow slash lengthwise. For soft rolls: Skip egg wash and scoring.
- For crusty rolls: Pour 1 cup hot water into the heated pan or spritz oven with 1-2 tsp water. Bake 20-25 minutes, rotating halfway, until golden and hollow-sounding (~190°F). For soft rolls: Bake without steam 18-22 minutes, until lightly golden.
- Cool on a wire rack for 10 minutes before slicing.
Notes
- Crusty Rolls: Steam and egg wash create a crisp crust. For soft rolls, skip both and optionally brush with 1 Tbsp melted butter after baking.
- Baking Tray: A metal baguette tray (optional) ensures uniform hoagie shapes.
- Storage: Store in an airtight container at room temperature for 2 days or freeze for 1 month. Reheat at 350°F for 5-7 minutes.
- Make ahead: Shape rolls, cover, and refrigerate overnight after first rise. Let rise 45 minutes at room temperature before baking.
Video
As an Amazon Associate, I earn from qualifying purchases at no extra cost to you. Thank you for your support!
This hoagie roll is perfection! It’s crispy, chewy and soft in every bite. Brushed with melted butter and a sprinkling of kosher salt…Chefs Kiss! I will no longer be buying my rolls at the local bakery!!
I tried this recipe and it called fir 4 cups if flour, but I did almost 4 c of bread flour and they turned out a little to chewy then I tried all purpose flour and they turned out very hard , to hard to eat. I don’t understand I follow the recipe and it did not work
Hi Lucinda, I’m so sorry to hear the recipe didn’t work out for you both times! It sounds like there might be a problem with too much flour or an issue with proofing the yeast. I’ve been converting all my recipes to weighing because it produces much more consistent results versus measuring.
Did you weigh your flour or measure it? And if you measured the flour, did you spoon it into the measuring cup and level it? Or scoop your measuring cup into the flour and measure that way? If you scooped the flour, much more flour will pack into the measuring cup than needed for the hoagie dough.
The only other thought I have is that there may be an issue with the yeast activation. Did you proof the yeast and see bubbles before you added the remaining ingredients?