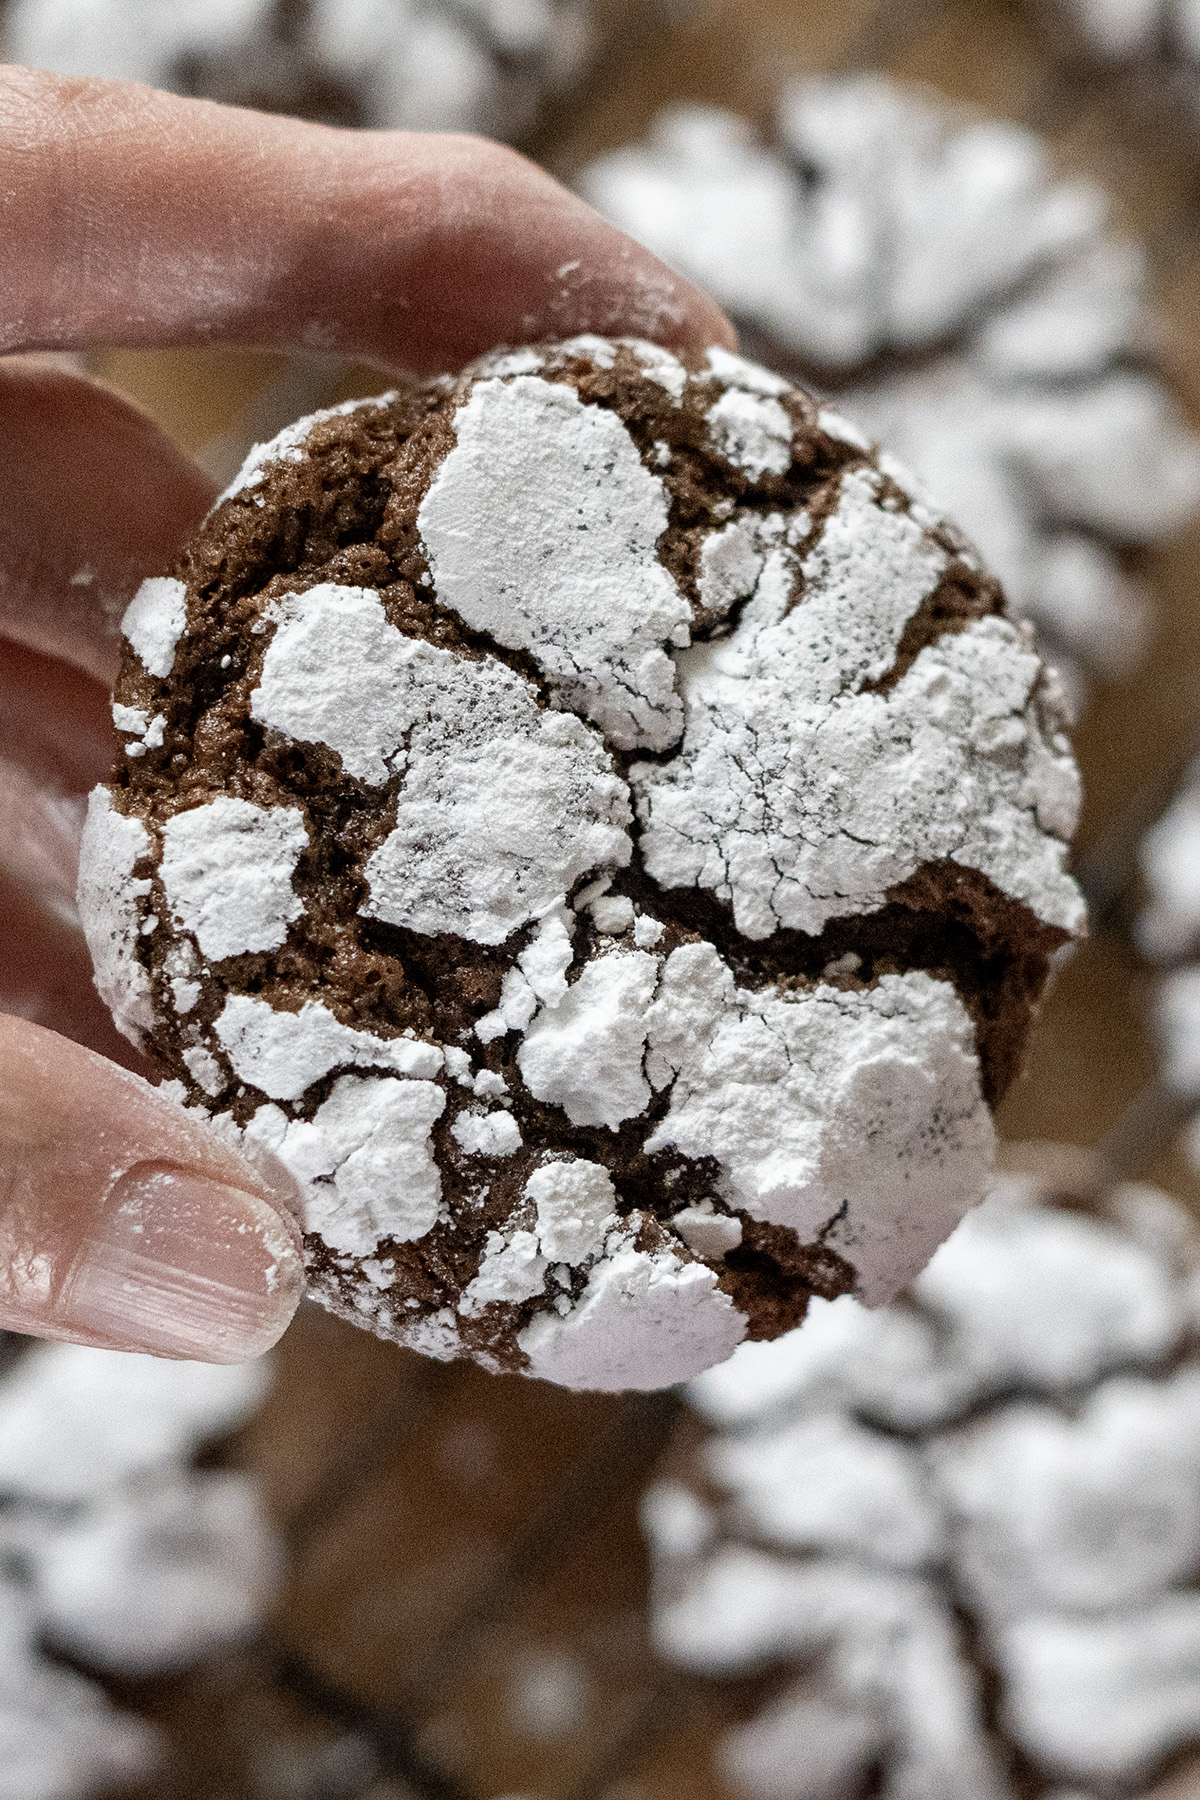
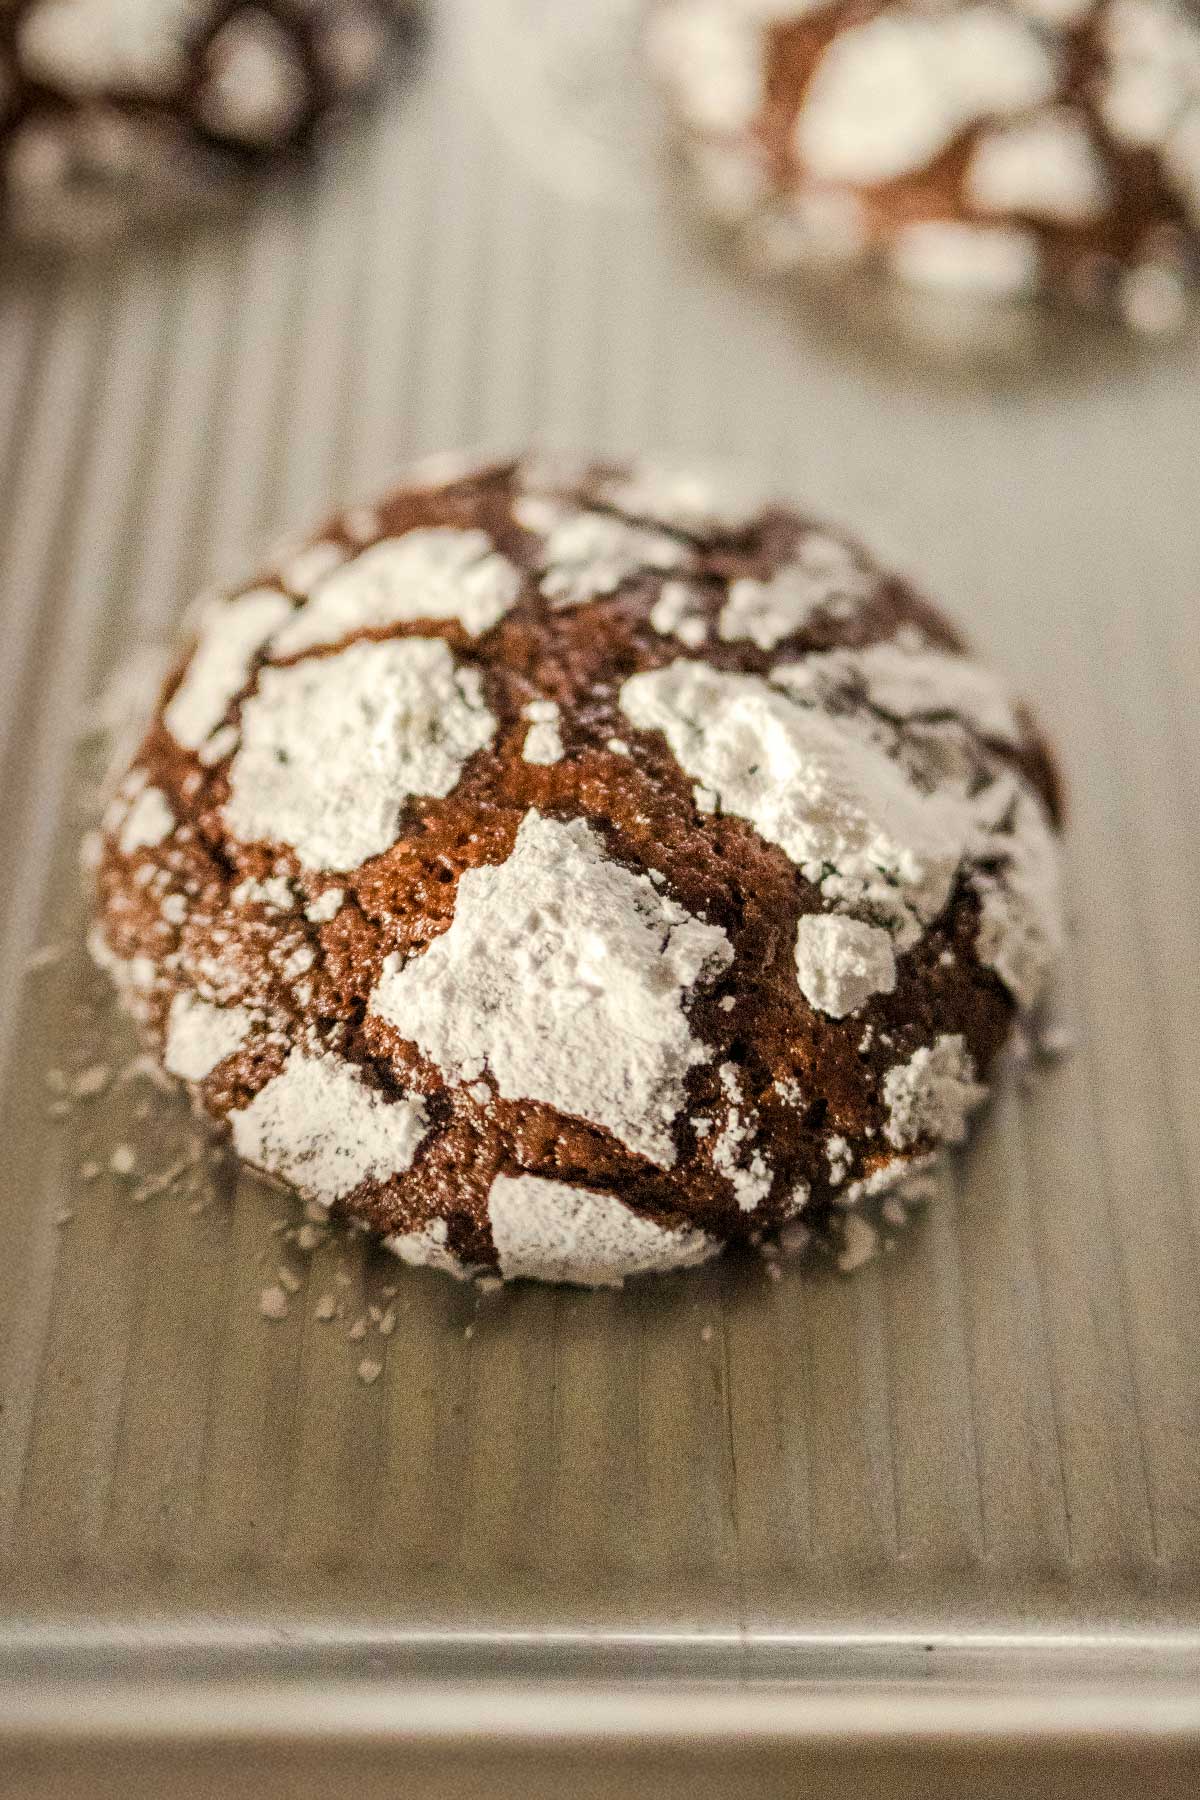
Double Chocolate Crinkle Cookies
If you’re looking for the most insanely fudgy, deeply chocolatey crinkle cookies — but you don’t want to buy expensive unsweetened baking chocolate — I’ve got you! After tons of testing, I swapped the unsweetened chocolate squares for bloomed cocoa powder + a tiny bit of extra butter, and the results are actually better than the classic version. Richer flavor, softer centers, perfect cracks, and way more budget-friendly. This is now my family’s new forever recipe!
Your Grandma’s Recipe – but Elevated
I took the vintage Betty Crocker crinkle and made the upgrades we all love:
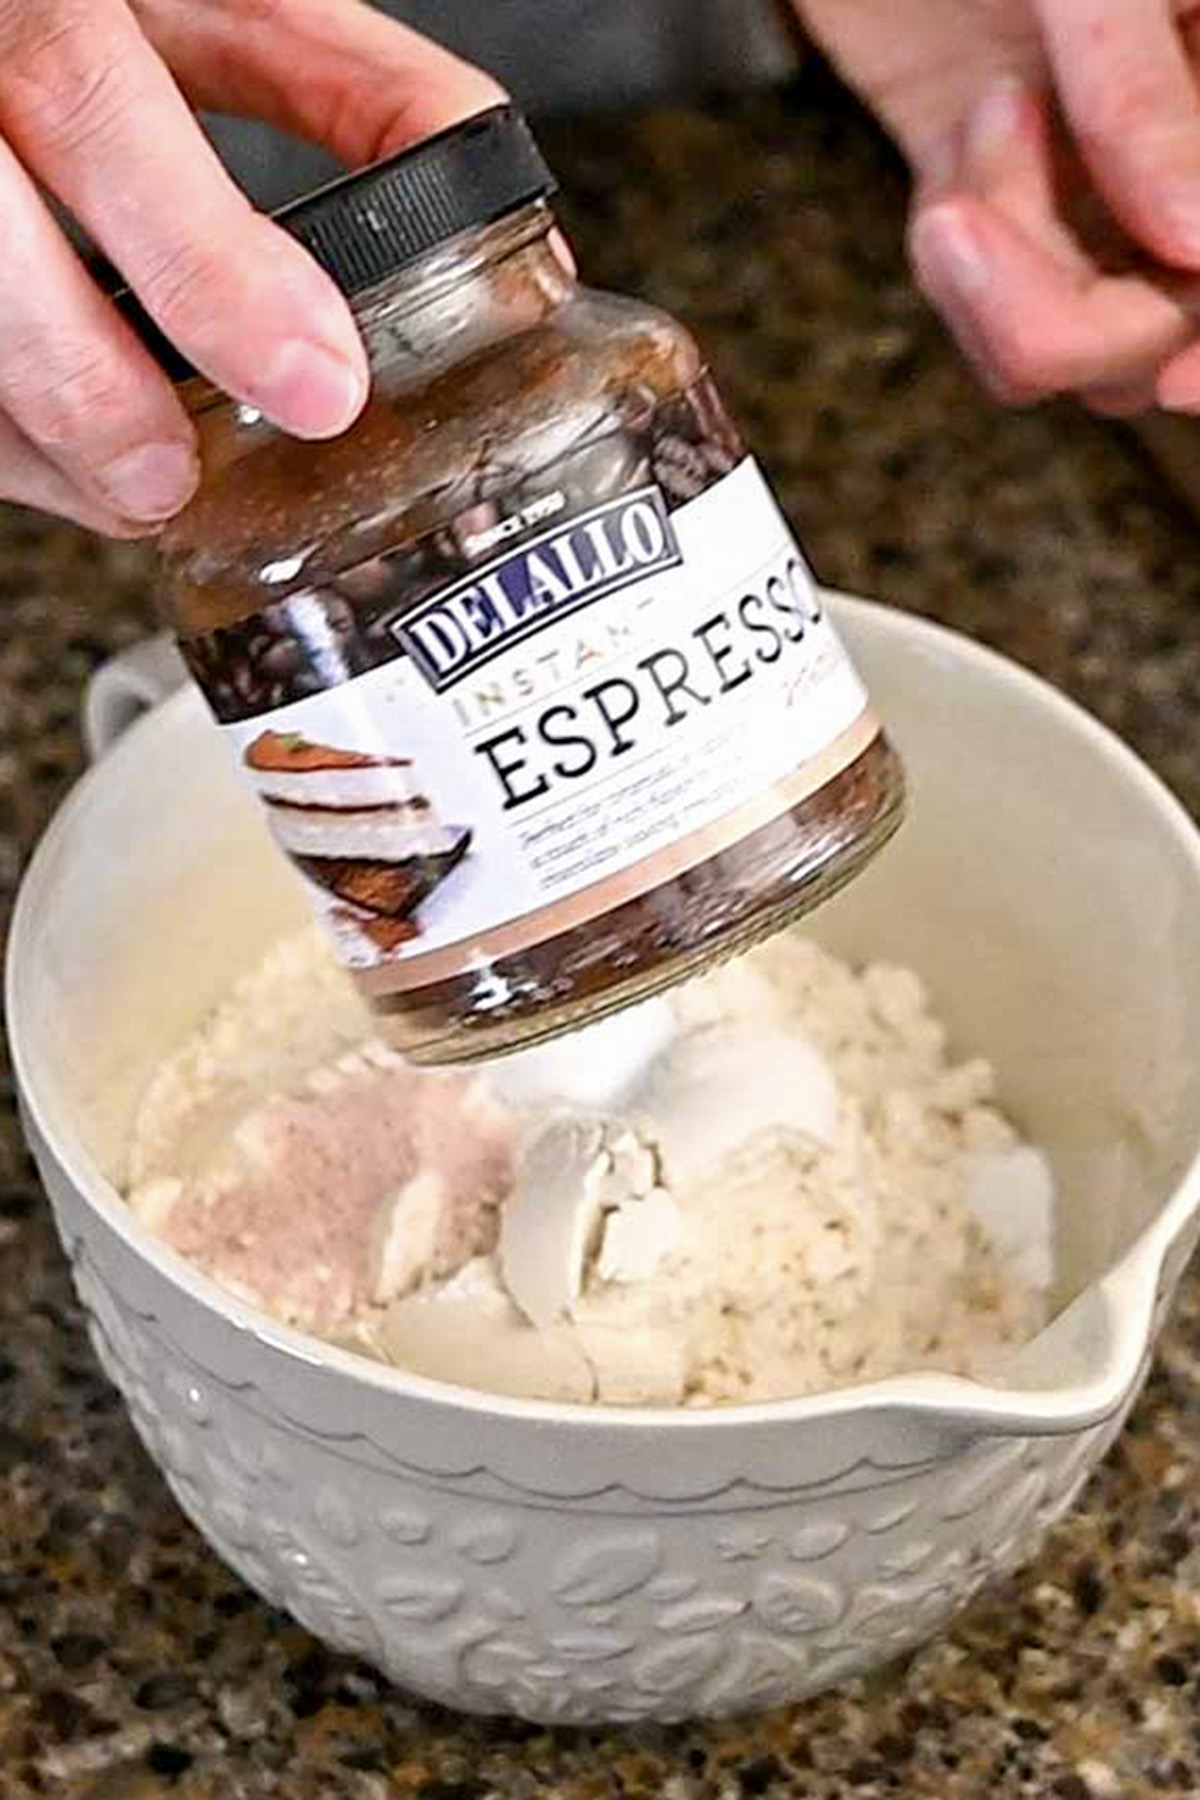
- Espresso powder for deeper chocolate notes
- Mini chocolate chips scattered throughout
- Double sugar coating (granulated → powdered) for the prettiest cracks
- And now → using bloomed cocoa powder instead of more expensive unsweetened chocolate bars
Why You’ll Love These Double Chocolate Crinkle Cookies
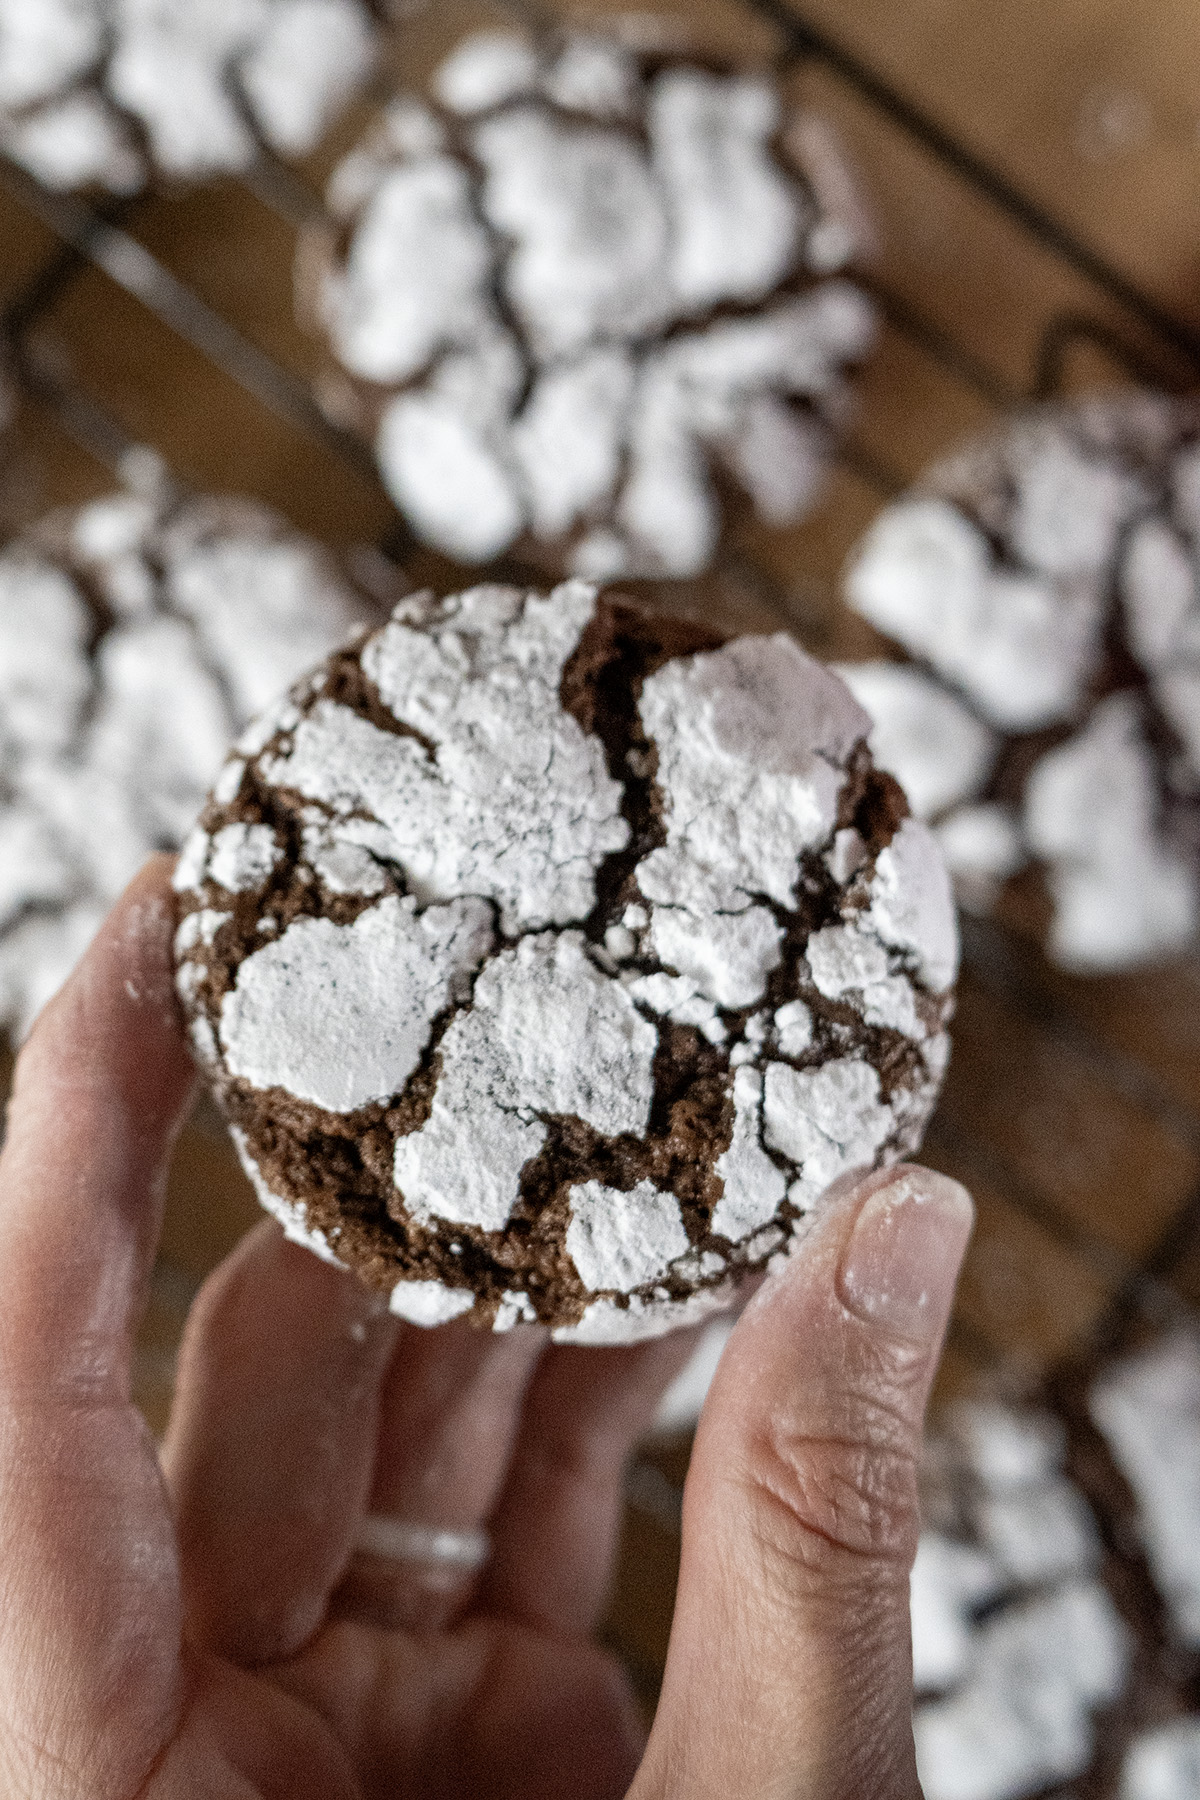
The combination of melted unsweetened chocolate, mini chocolate chips, and a hint of espresso powder gives these cookies a depth of flavor that’s rich and irresistible. The dual sugar coating creates a visually striking crinkle effect that’s as delicious as it is beautiful. Whether you’re making these for a holiday celebration or just to treat yourself, these Double Chocolate Crinkle Cookies are guaranteed to impress! Enjoy every fudgy, chocolate-filled bite!
Tools I use to Make These Cookies
Having the right tools can make baking these Double Chocolate Crinkle Cookies even easier and more enjoyable. Here are some of my go-to kitchen tools that I used for this recipe:
- KitchenAid Paddle Attachment – Works great for mixing against the sides of the KitchenAid Bowl.
- Cookie Scoop (#40 size) – Ensures your cookies are all the same size for even baking.
- Cookie Scoop Set – This is another option that has a better value than buying cookie scoops individually.
- Oil Sprayer – Great for spraying on pans (for other recipes) and keeping hands oiled for shaping into balls.
- Unbleached Parchment Paper Sheets – A must-have for baking these cookies (so they do not stick)
- Large Cutting Board – (not an affiliate link) Great for creating extra workspace, especially if you have a small kitchen. I’ve had this for over 10 years and use it many times each week.
- Cooling Racks – Helps the cookies cool evenly without getting soggy bottoms.
- Stainless Steel Pans with Lids – Perfect for storing baked cookies.
I’ve linked my favorite versions of these tools above. If you’re looking to upgrade your baking setup, these are tried-and-true options. Plus, purchasing through these affiliate links helps support my blog—thank you!
Tips for PERFECT Cookies
Rolling the Dough:
- Keep It Cold: The dough will be sticky, so ensure it’s thoroughly chilled before handling. You’ll need to chill your batter for at least 4 hours chilling overnight produces extra firm dough.
- Oiled Hands: Lightly oil your hands if needed to roll the dough smoothly without sticking.
- Vanilla Extract: Use pure vanilla extract rather than imitation for a deeper, more natural flavor.
- Uniform Cookie Sizes: Use a cookie scoop for consistent sizing, ensuring even baking. A #2 scoop (2 tablespoons) works perfectly for this recipe.
- Experiment with Add-ins:
- For a twist, try adding a handful of chopped nuts (like pecans or walnuts) or a sprinkle of flaky sea salt on top of the cookies just after you remove them from the oven.
- Add a Christmas touch by mixing in holiday-colored sprinkles or rolling the cookies in colored sugar before the powdered sugar for a fun variation.
Baking Tips:
- Parchment Paper is Key: Parchment paper allows the cookies to spread evenly and ensures the sugar coating doesn’t stick, unlike silicone liners.
- Don’t Overbake: For the best fudgy texture, remove the cookies while the centers are still slightly soft.
- Humidity Adjustments: If you live in a high-humidity area, you might need to bake the cookies for an additional 1–2 minutes to ensure they set properly.
- Baking at High-Altitudes: For high-altitude baking, reduce the baking powder slightly and add an extra tablespoon of flour if needed.
- Watch the Oven Closely: These cookies can go from perfect to overbaked quickly. Start checking at the 10-minute mark. The centers should look slightly underbaked—they’ll firm up as they cool. I bake mine 11 minutes exactly and they turn out perfect every time, but make adjustments depending on your preferences.
Storage Tips:
Storing Baked Cookies:
- Room Temperature:
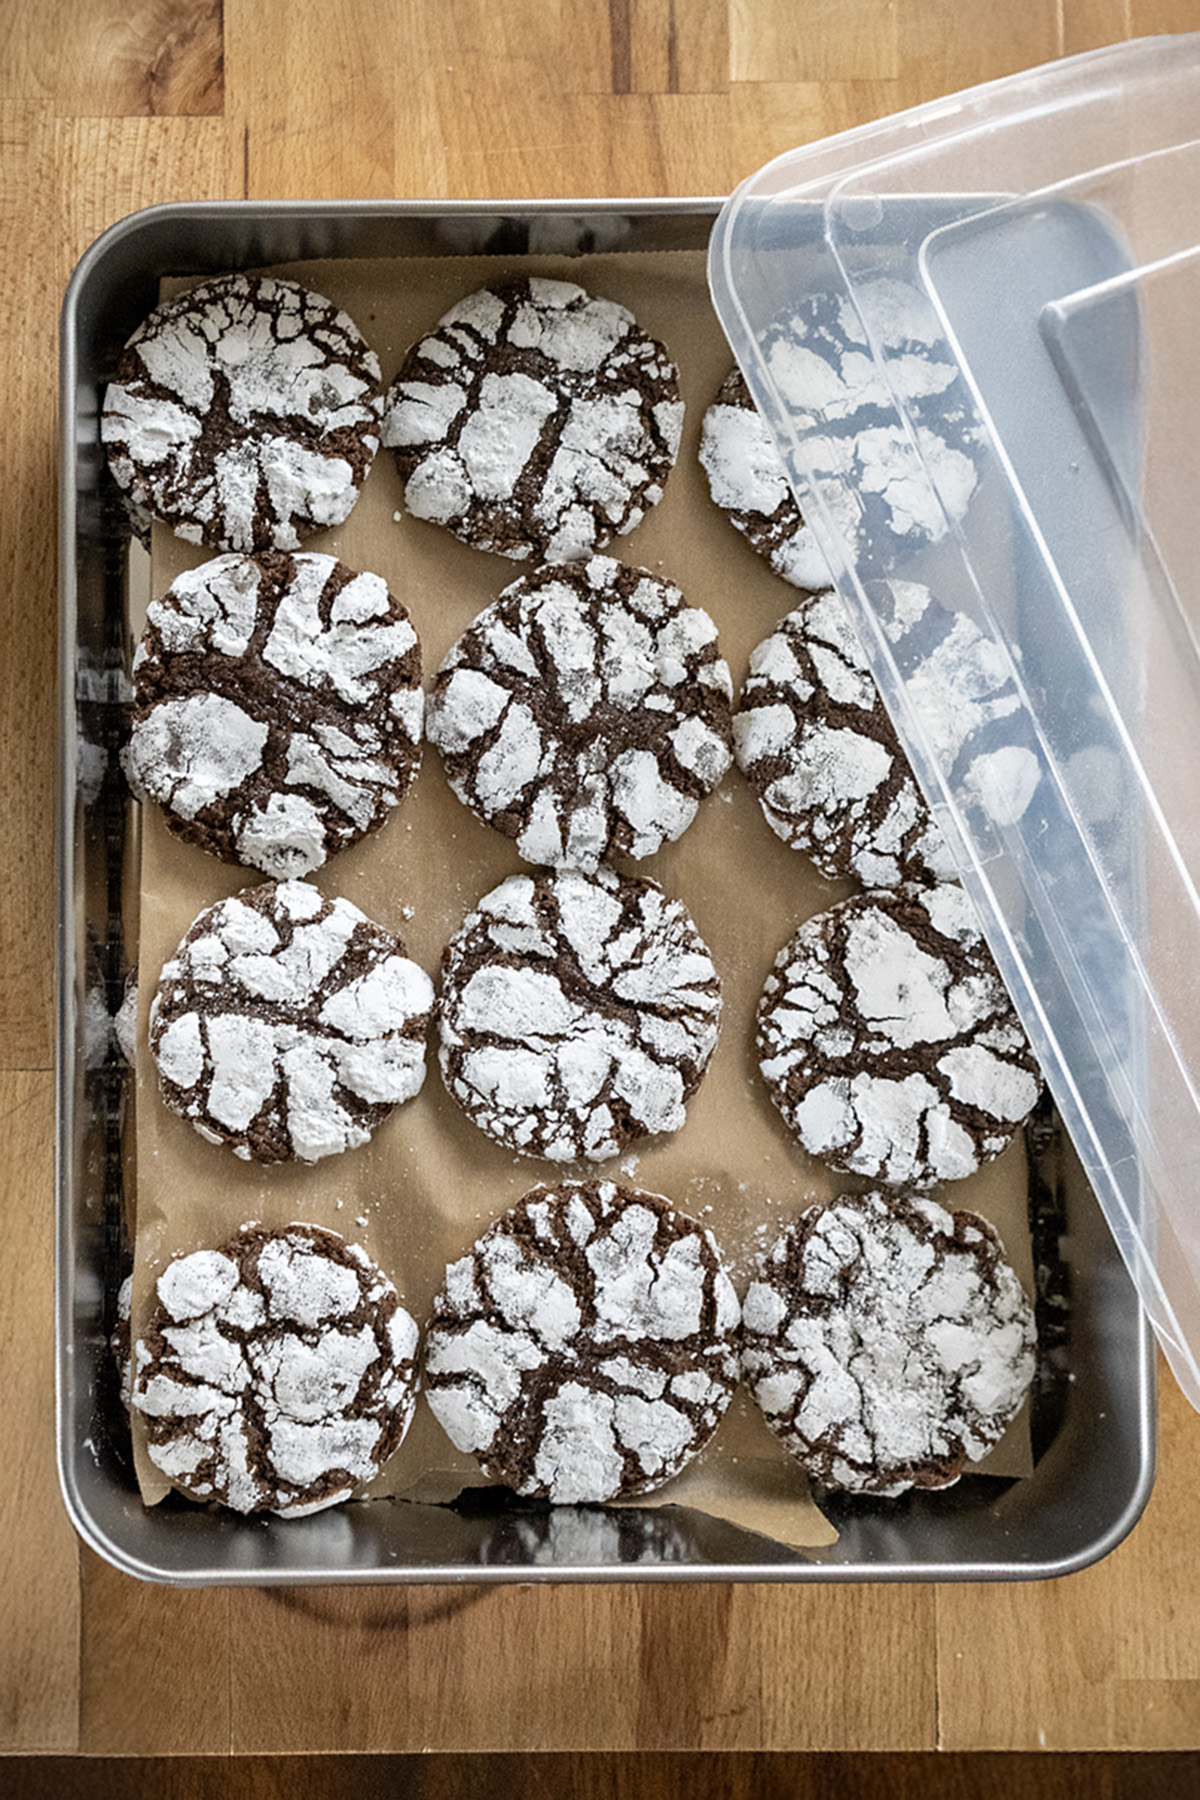
- Container: Store the cookies in an airtight container to maintain their softness and prevent them from drying out.
- Layering: Place parchment or wax paper between layers of cookies to keep them from sticking together.
- Duration: Cookies will stay fresh at room temperature for up to 4 days.
- Freezing: These cookies freeze beautifully!
- Cool Completely: Allow the cookies to cool completely before freezing to prevent condensation and ice crystals.
- Layering: Use a freezer-safe container or resealable freezer bags. Place parchment paper between layers of cookies to prevent them from sticking together.
- Freeze Duration: Cookies can be frozen for up to 3 months.
- Thawing: I like to eat them straight out of the freezer but if you’d like to thaw them, let them sit for at room temperature for 30–60 minutes before serving.
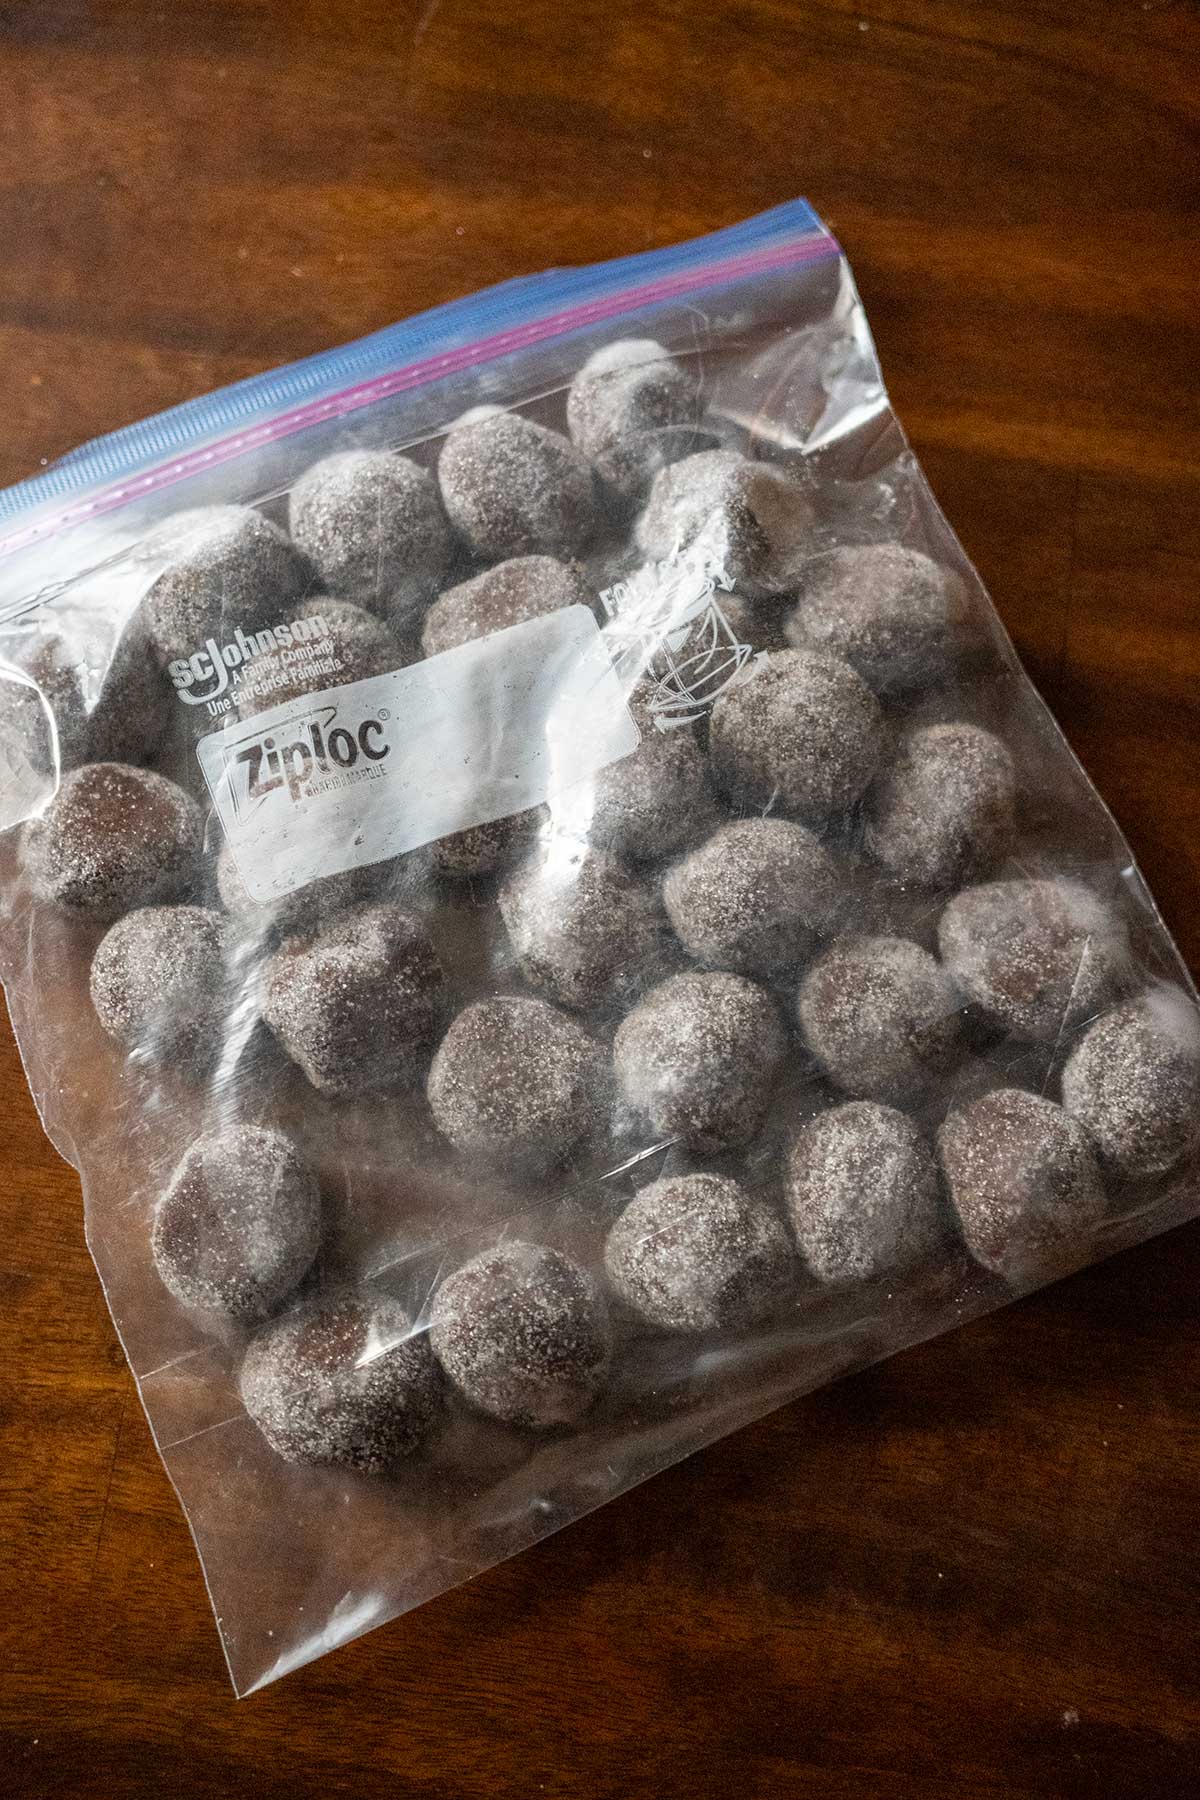
Storing Cookie Dough:
For fresh-baked cookies anytime, freeze the dough instead of the baked cookies.
- Scoop and Prep: After chilling, scoop the dough into balls and coat them with granulated sugar (skip the powdered sugar at this stage).
- Flash Freeze: Arrange the dough balls on a baking sheet lined with parchment paper and freeze until firm.
- Store: Transfer the frozen dough balls to a freezer-safe bag or container. Label with the baking instructions.
- Freeze Duration: Dough balls can be frozen for up to 3 months.
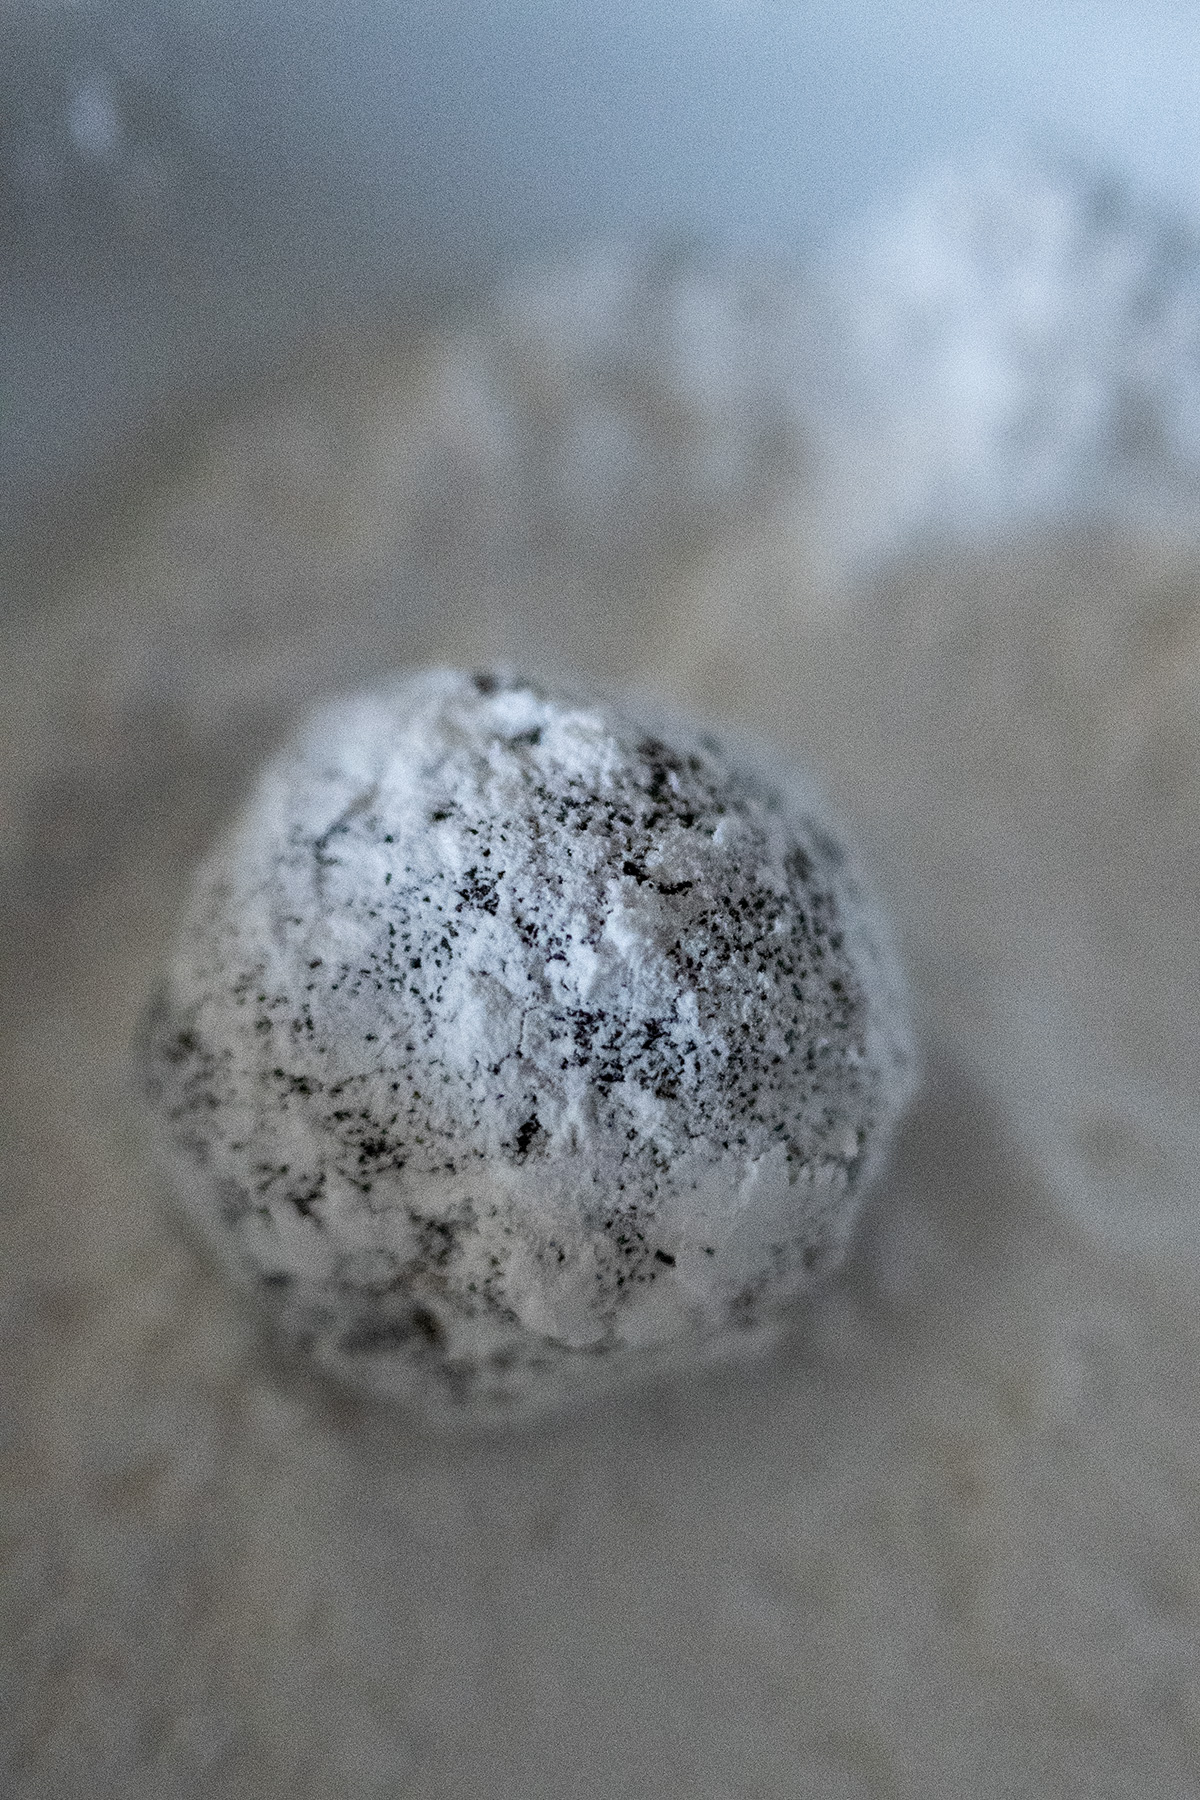
- Thaw Before Baking: Roll in powdered sugar and let dough thaw before baking. Just before placing them in the oven, lightly press down with the palm of your hand or the crackle effect will be less pronounced (this is only applicable to dough that’s been frozen).
Recipe for Double Chocolate Crinkle Cookies
If you made it through all that, bravo! 😊 Here is the printable version of the recipe for you.
Super Fudgy Double Chocolate Crinkle Cookies
Print Recipe
equipment (affiliate links
- kitchen scale recommended
- parchment paper sheets required if not using a non-stick pan
Ingredients
- ¾ c. (170 g) butter
- ¾ c. (75 g) unsweetened natural cocoa powder not Dutch-processed
- 1 tsp espresso powder optional but highly recommended
- 2 c. (400 g) granulated sugar
- 4 large eggs room temperature
- 2 tsp vanilla extract
- 2 c. (250 g) unbleached all purpose flour (RECOMMEND WEIGHING)
- 2 tsp baking powder
- ½ tsp salt
- 1 c. (180 g) mini semi-sweet chocolate chips
Coating:
- ¼ c. (50 g) granulated sugar for first coating
- ½ c. (60 g) powdered sugar for second coating
Instructions
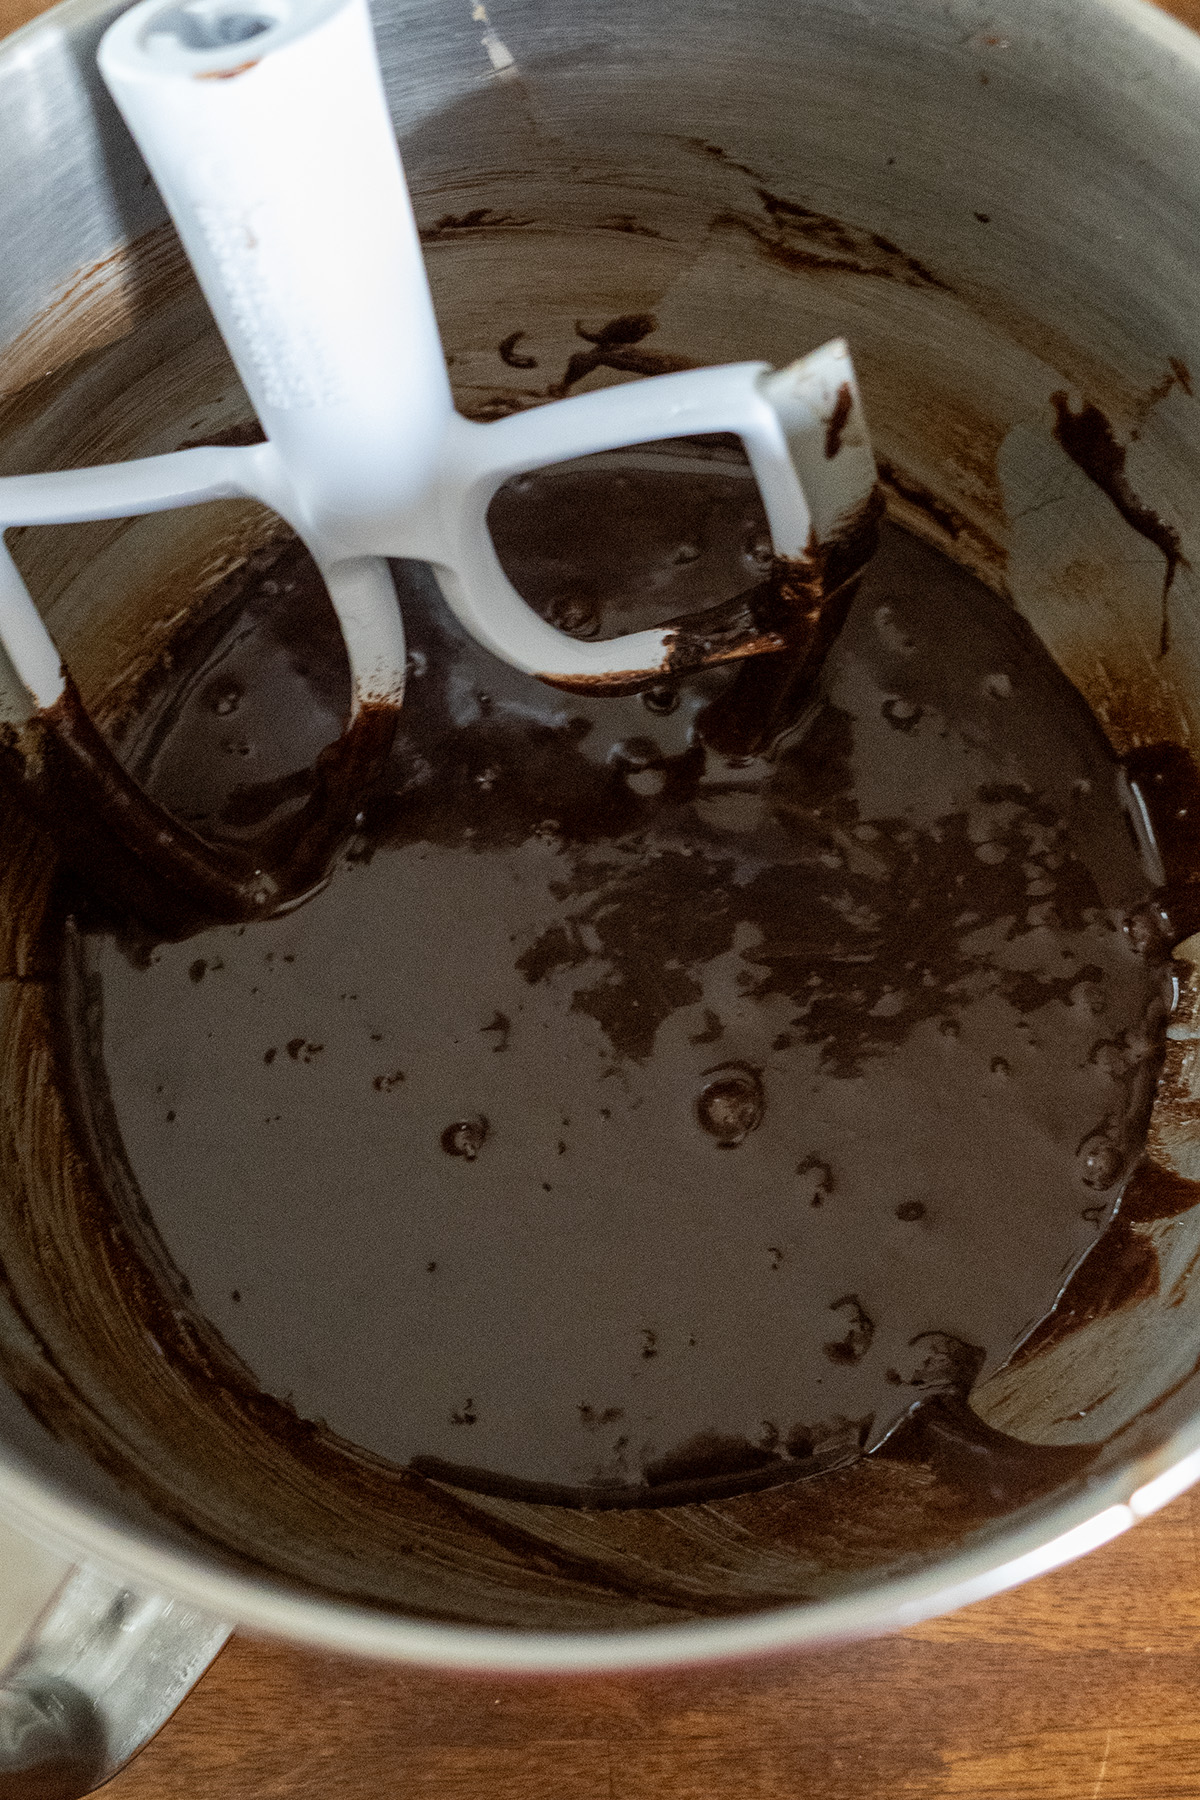
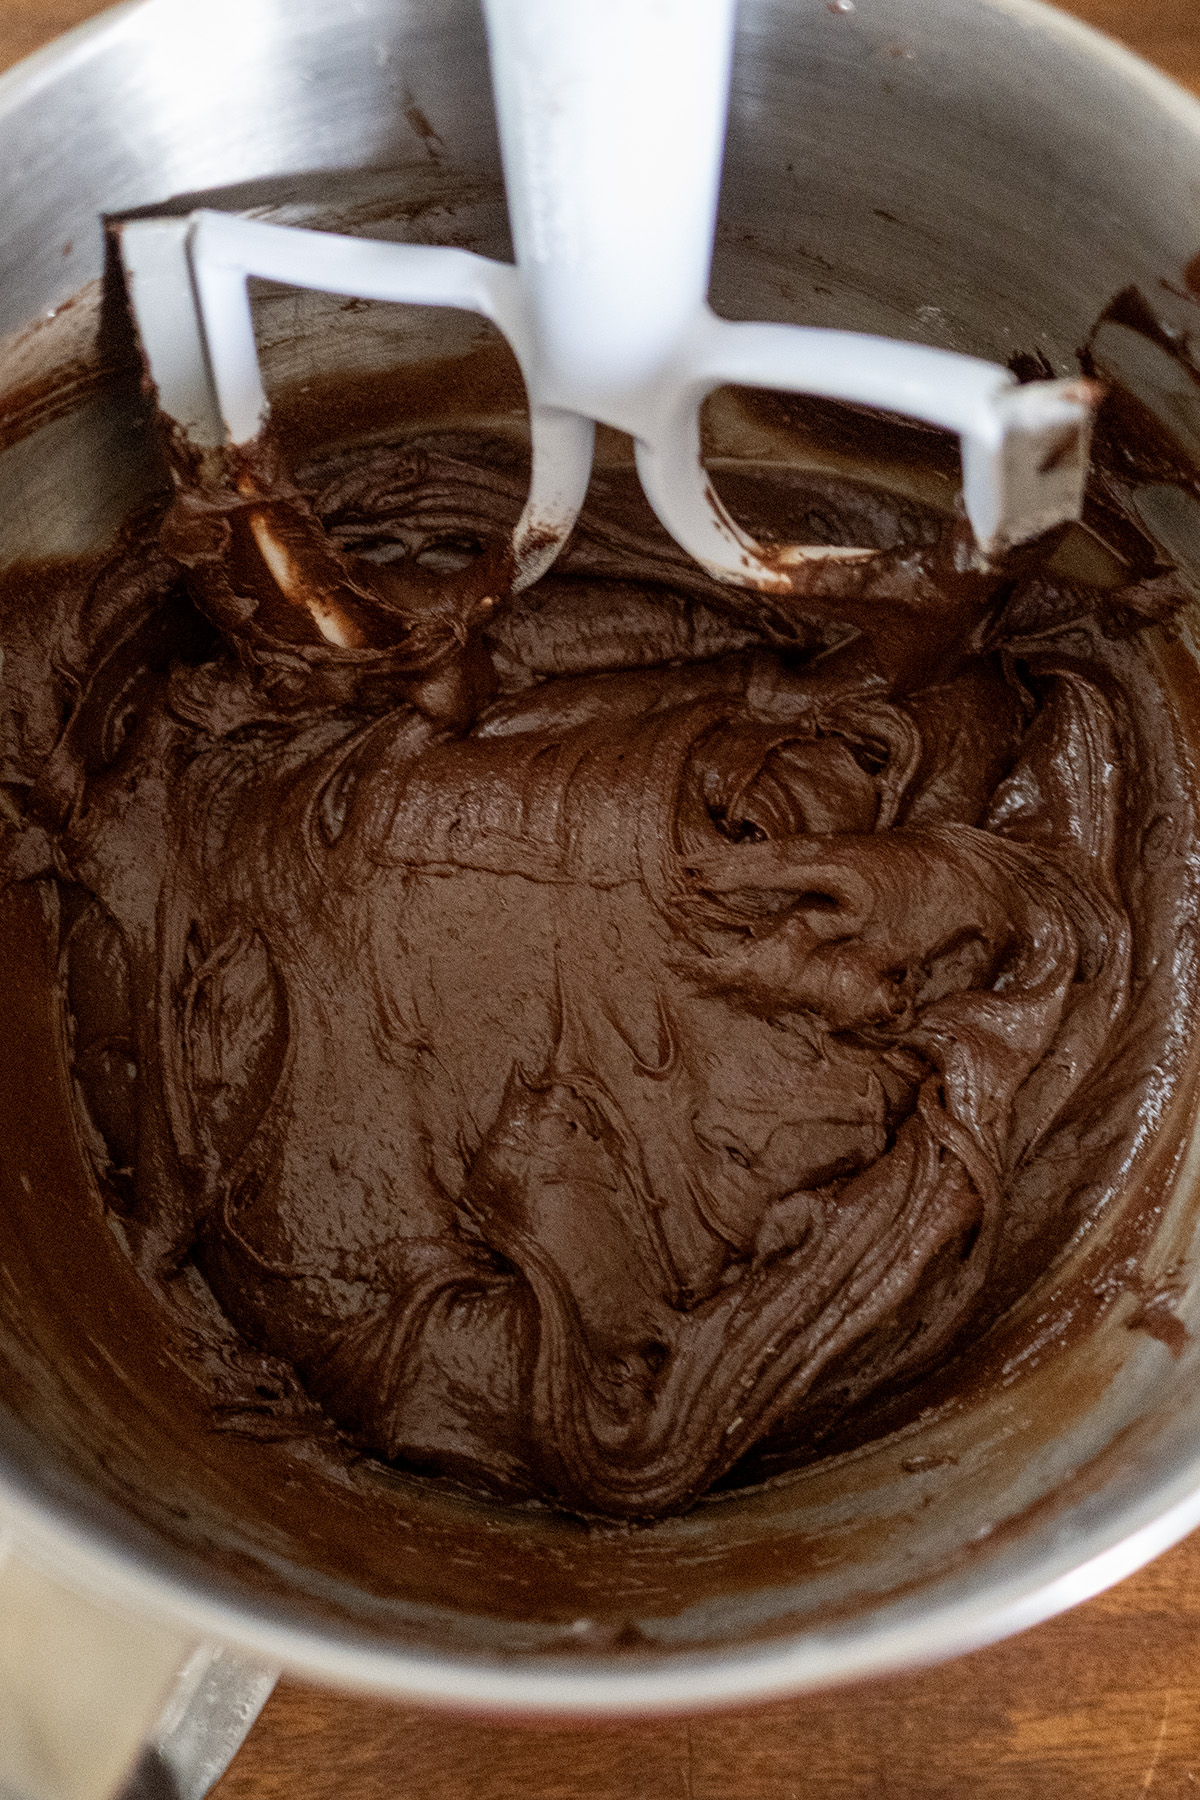
- To bloom the cocoa powder, melt the butter in a medium saucepan over medium-low heat (or microwave). As soon as it’s melted, remove from heat and vigorously whisk in the cocoa powder and espresso powder for about 60 seconds until thick and glossy.¾ c. (170 g) butter¾ c. (75 g) unsweetened natural cocoa powder1 tsp espresso powder
- To a large mixing bowl, add 2 cups of granulated sugar. Transfer the cooling chocolate mixture and beat for 2-3 minutes.2 c. (400 g) granulated sugar
- Once the mixture is just slightly warm, add eggs one at a time, beating well after each, then mix in the vanilla.4 large eggs2 tsp vanilla extract
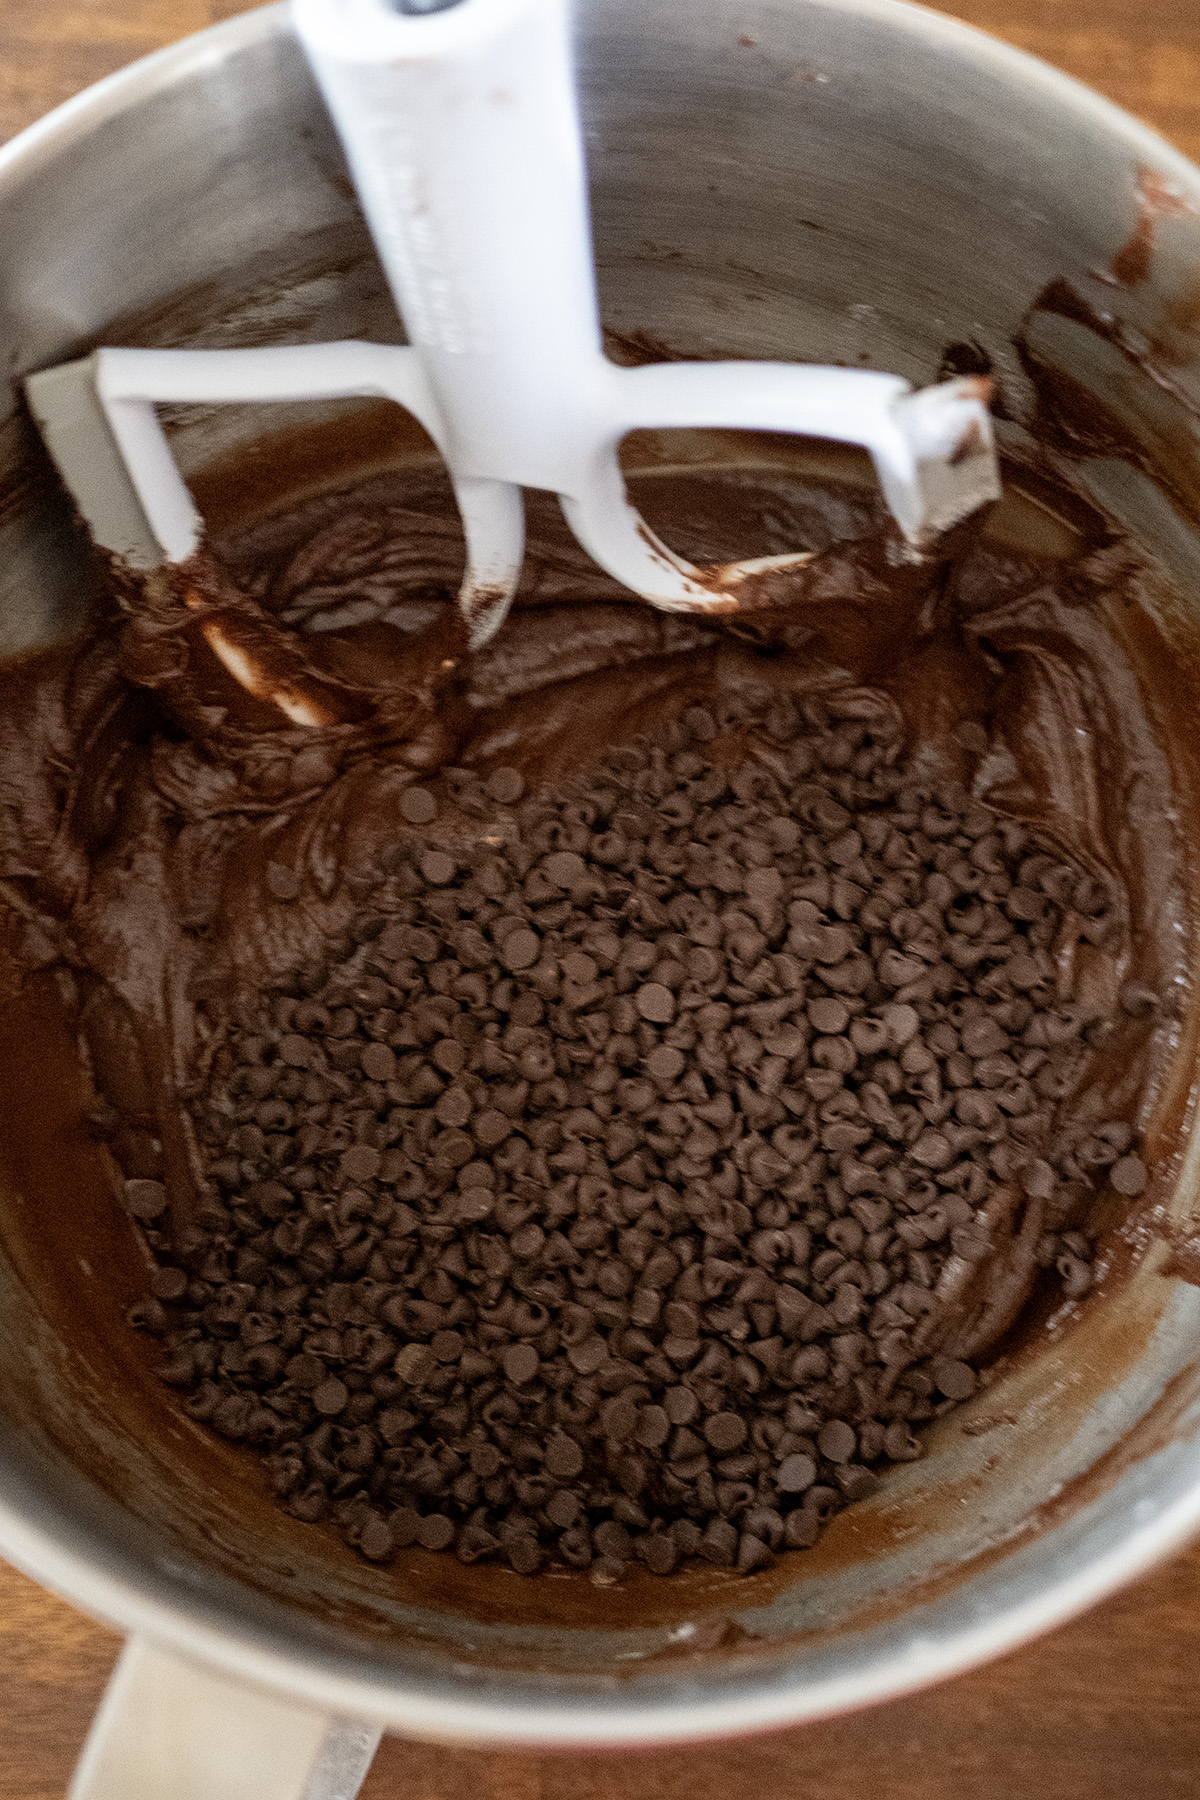
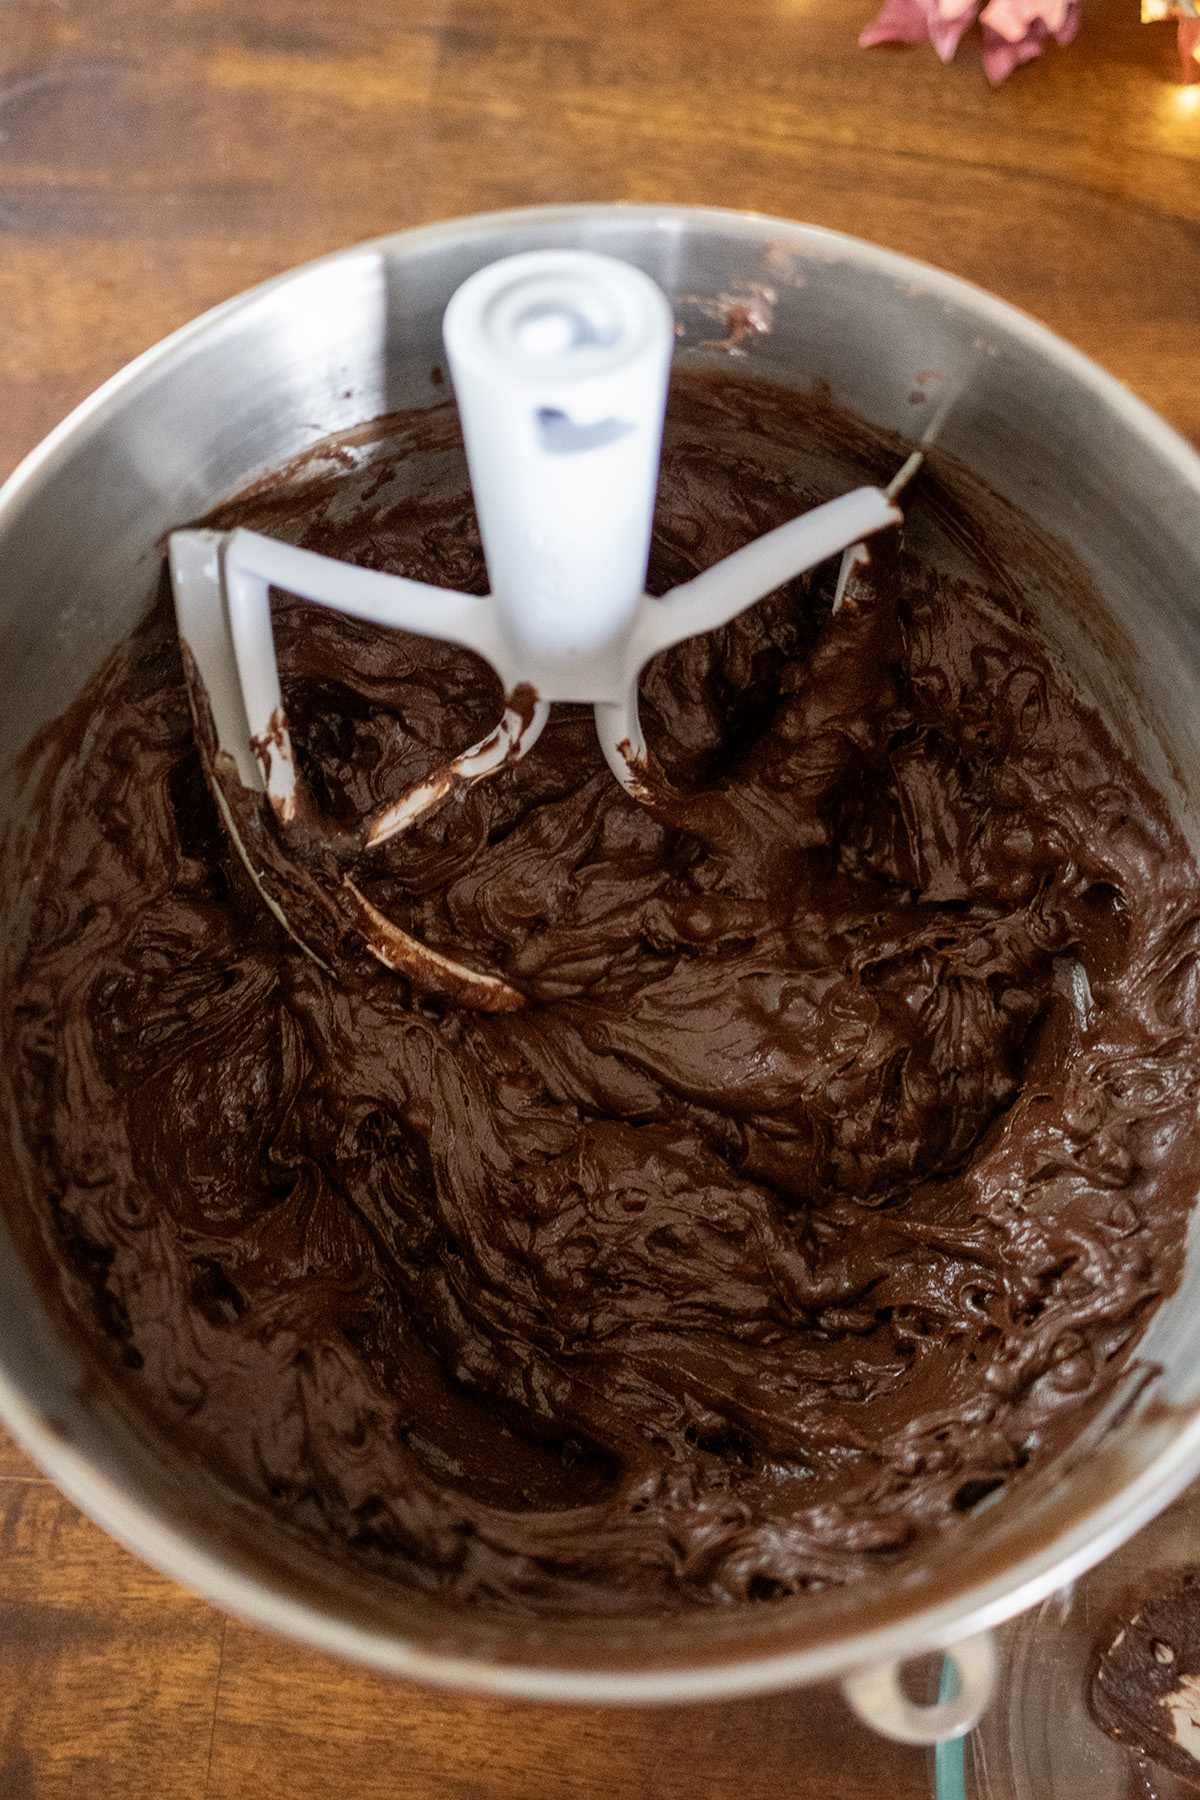
- In a separate bowl, whisk together flour, baking powder, and salt. Add dry ingredients to wet and mix just until combined. Fold in mini chocolate chips.2 c. (250 g) unbleached all purpose flour (RECOMMEND WEIGHING)2 tsp baking powder½ tsp salt1 c. (180 g) mini semi-sweet chocolate chips
- Cover and refrigerate at least 4 hours or overnight (overnight is best for easiest rolling and best crinkle effect).
- Preheat oven to 350°F (175°C). Line baking sheets with parchment paper.
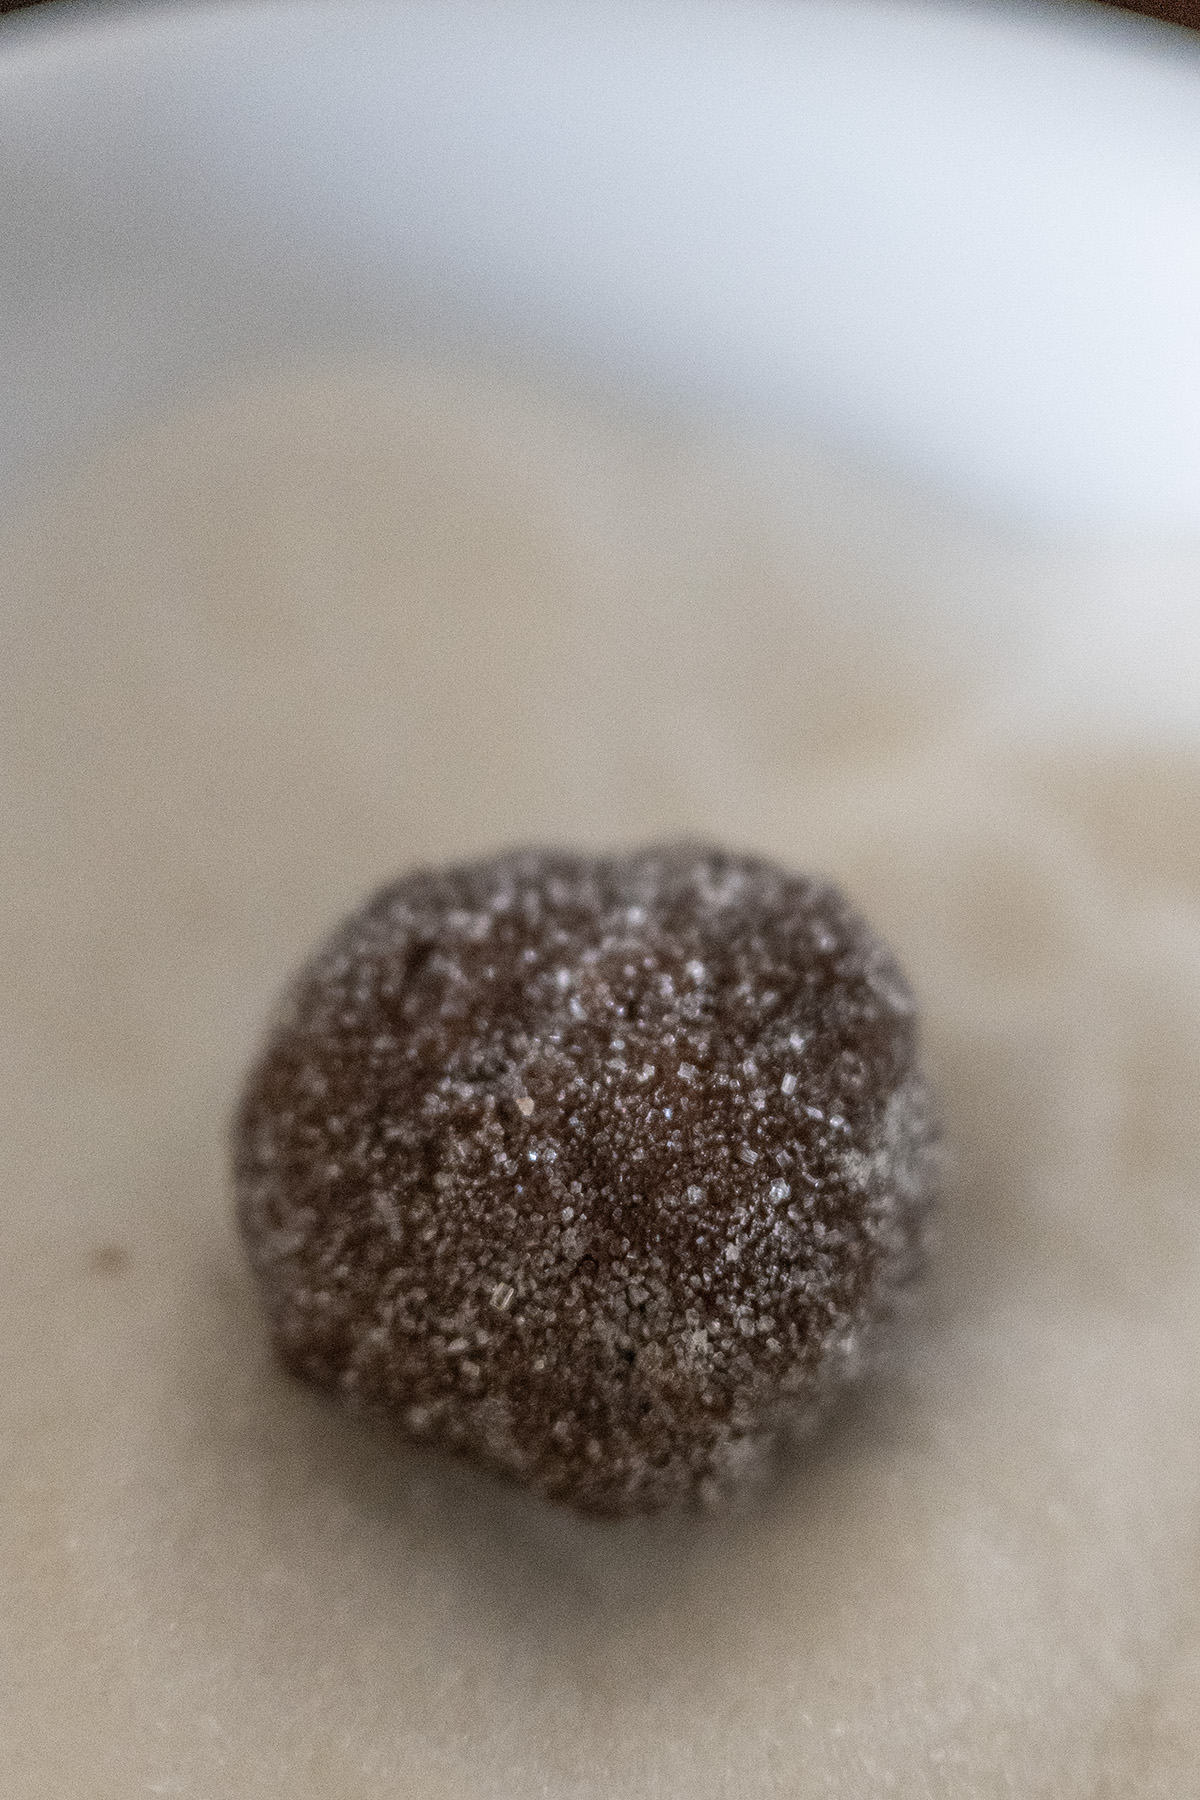
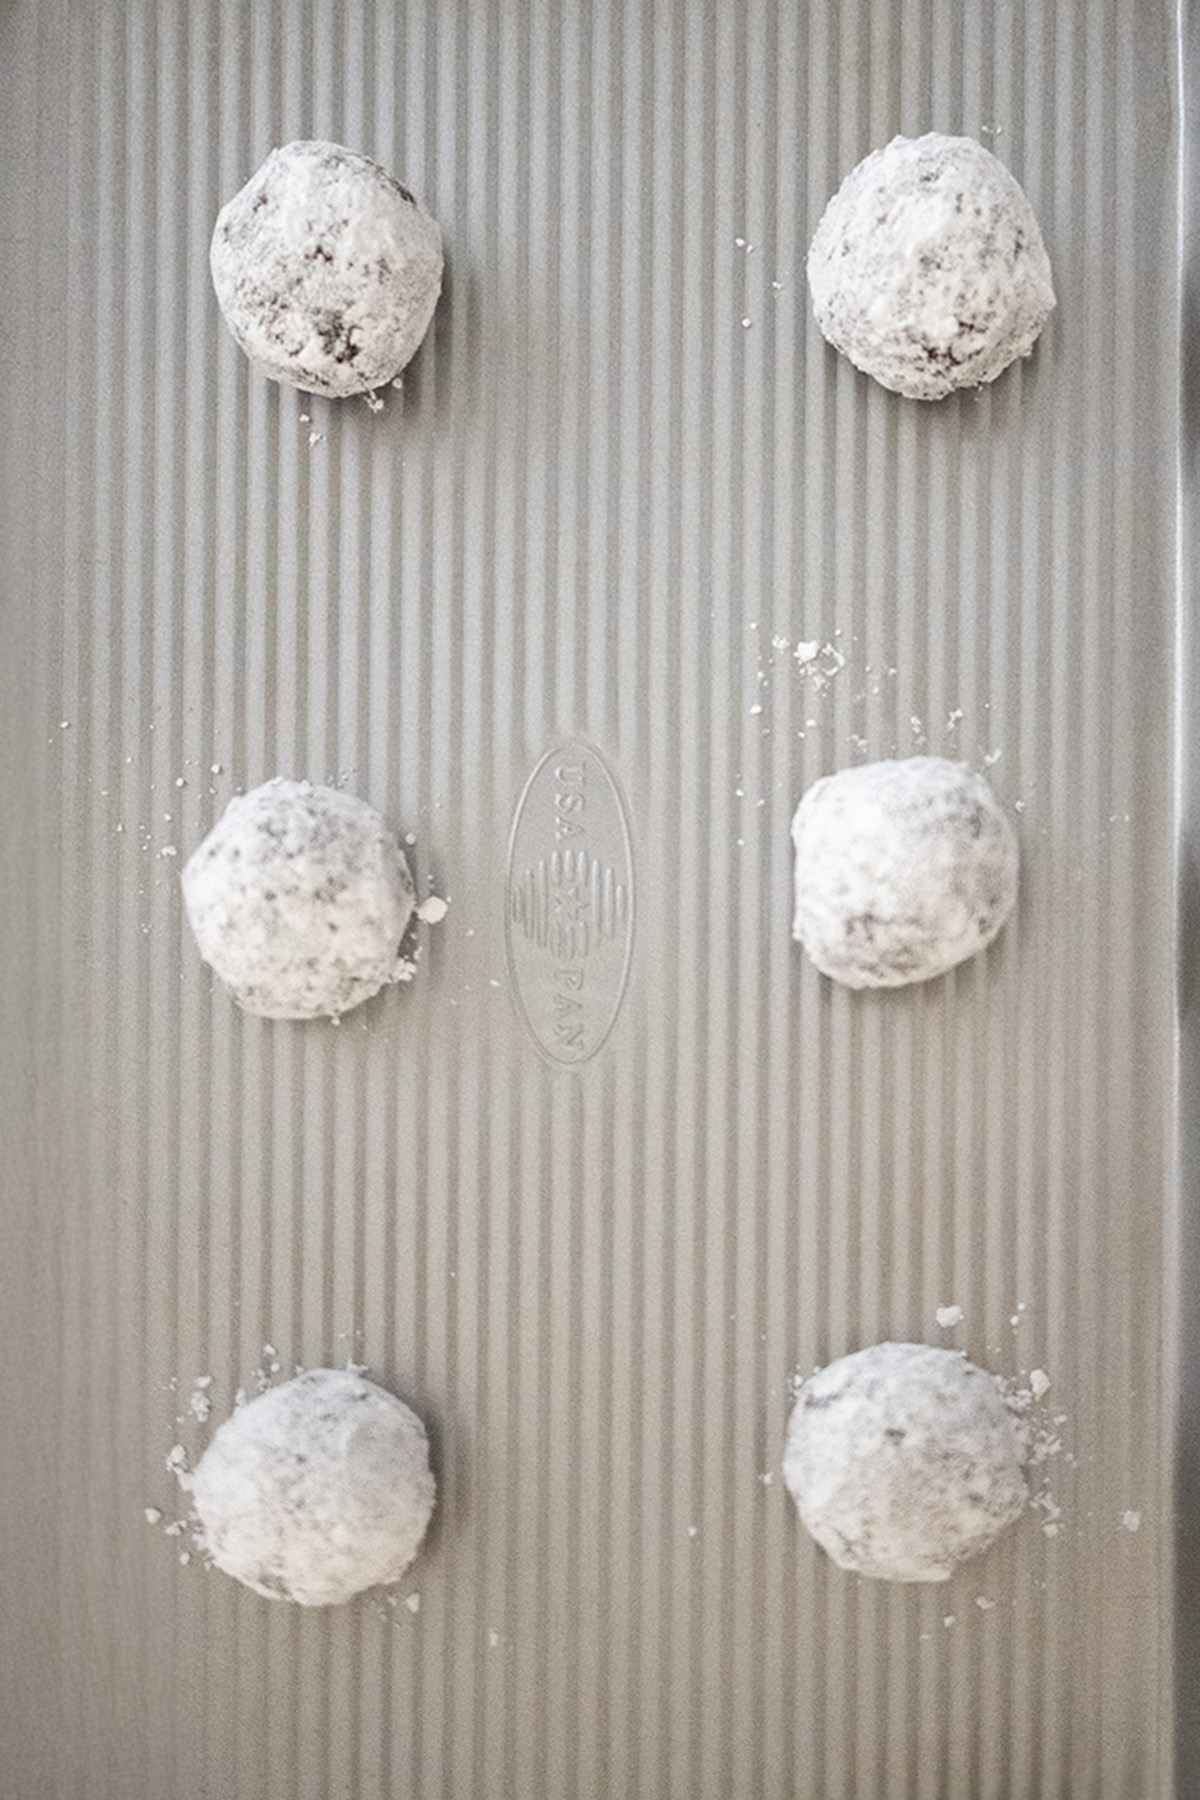
- Scoop chilled dough with a 1 ½ tbsp scoop (#40 or similar), roll into balls (lightly oil or wet hands if sticky).
- Roll each ball first in granulated sugar, then generously in powdered sugar.¼ c. (50 g) granulated sugar½ c. (60 g) powdered sugar
- Place 2 inches apart on sheets and bake 10–12 minutes — edges set, centers still soft. Do not overbake!
- Cool on the baking sheet 5 minutes, then transfer to a wire rack.
Video
Notes
- Natural cocoa (not Dutch-process) is important for the best crackle effect.
- Dough can be frozen up to 3 months: 1st scoop, then roll in granulated sugar only. Flash-freeze dough and place in bag. To bake: Roll frozen balls in powdered sugar and let thaw before baking. Lightly press dough down with your palm to get that beautiful crackle effect.
- Store baked cookies in an airtight container up to 4 days or freeze up to 3 months.
As an Amazon Associate, I earn from qualifying purchases at no extra cost to you. Thank you for your support!


One Comment