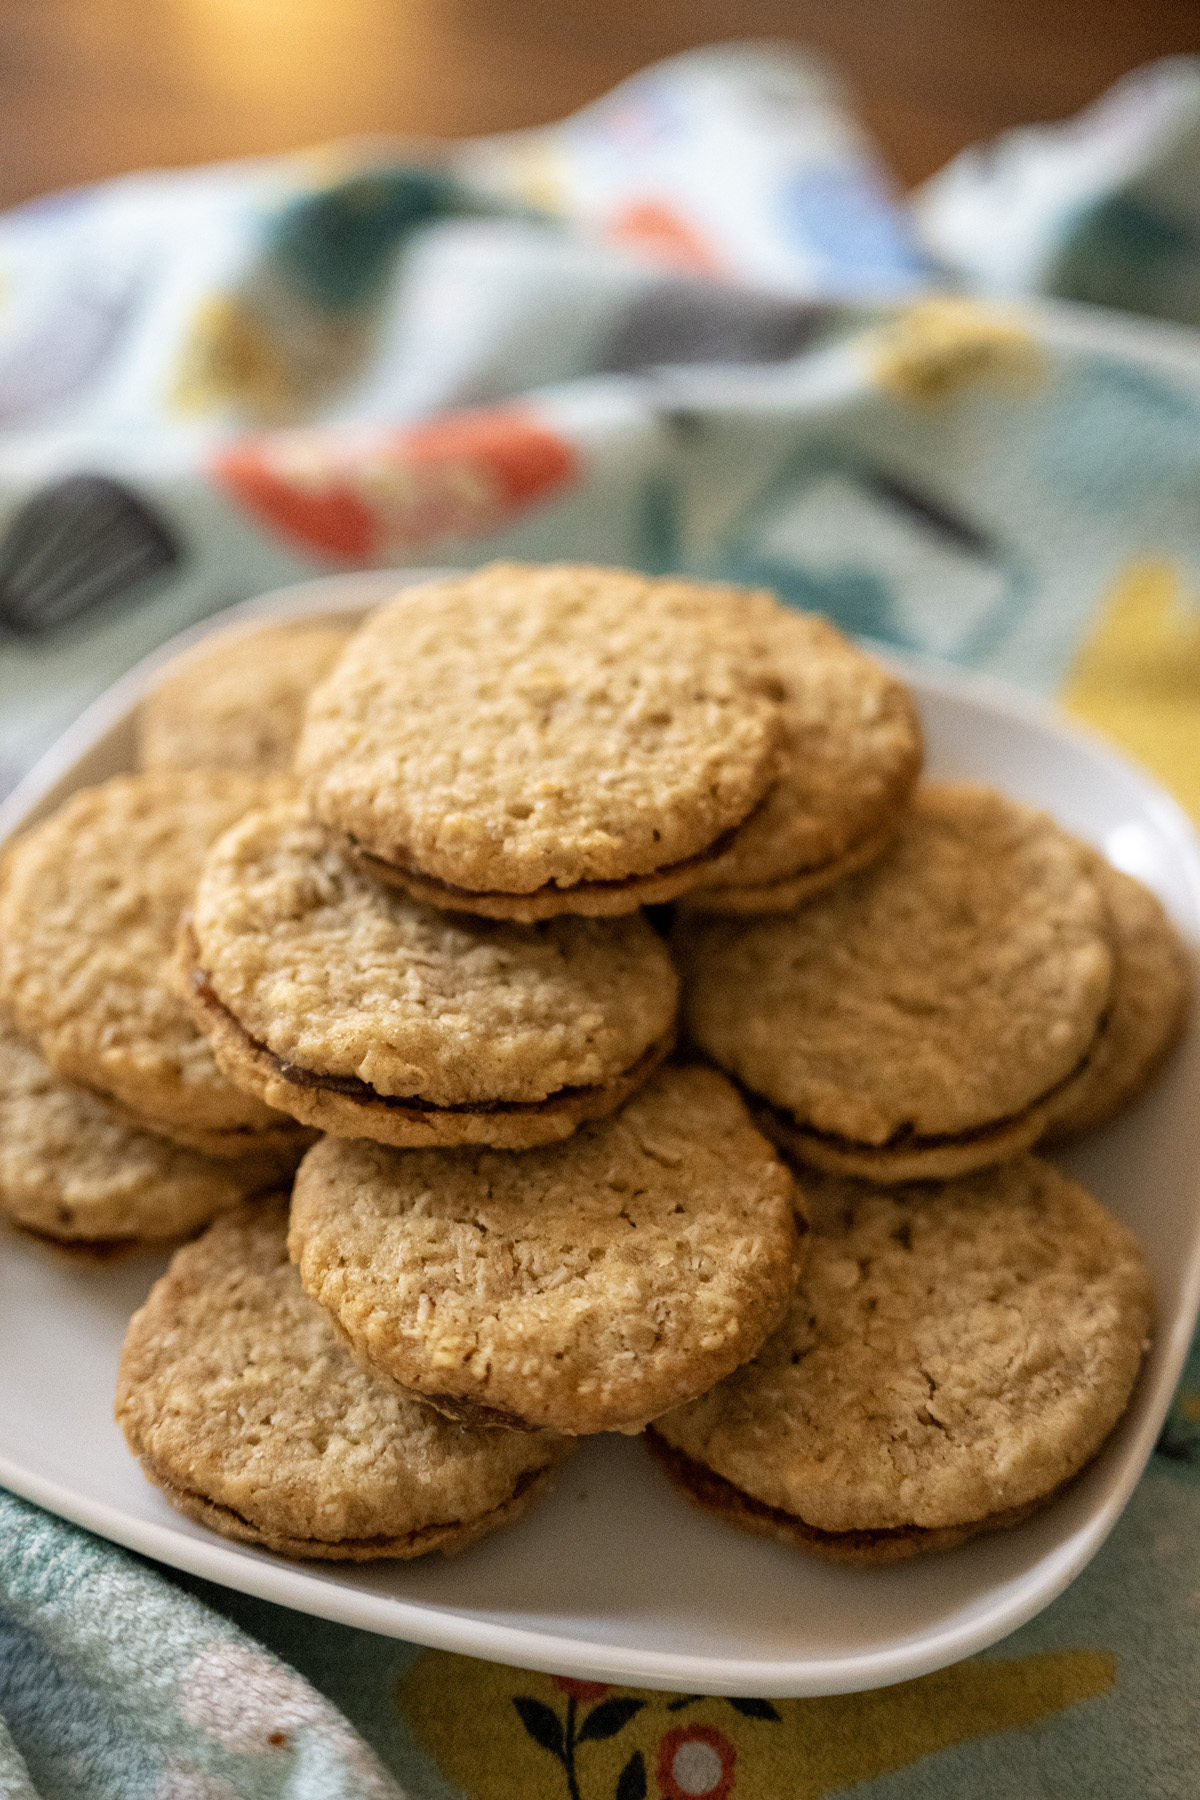
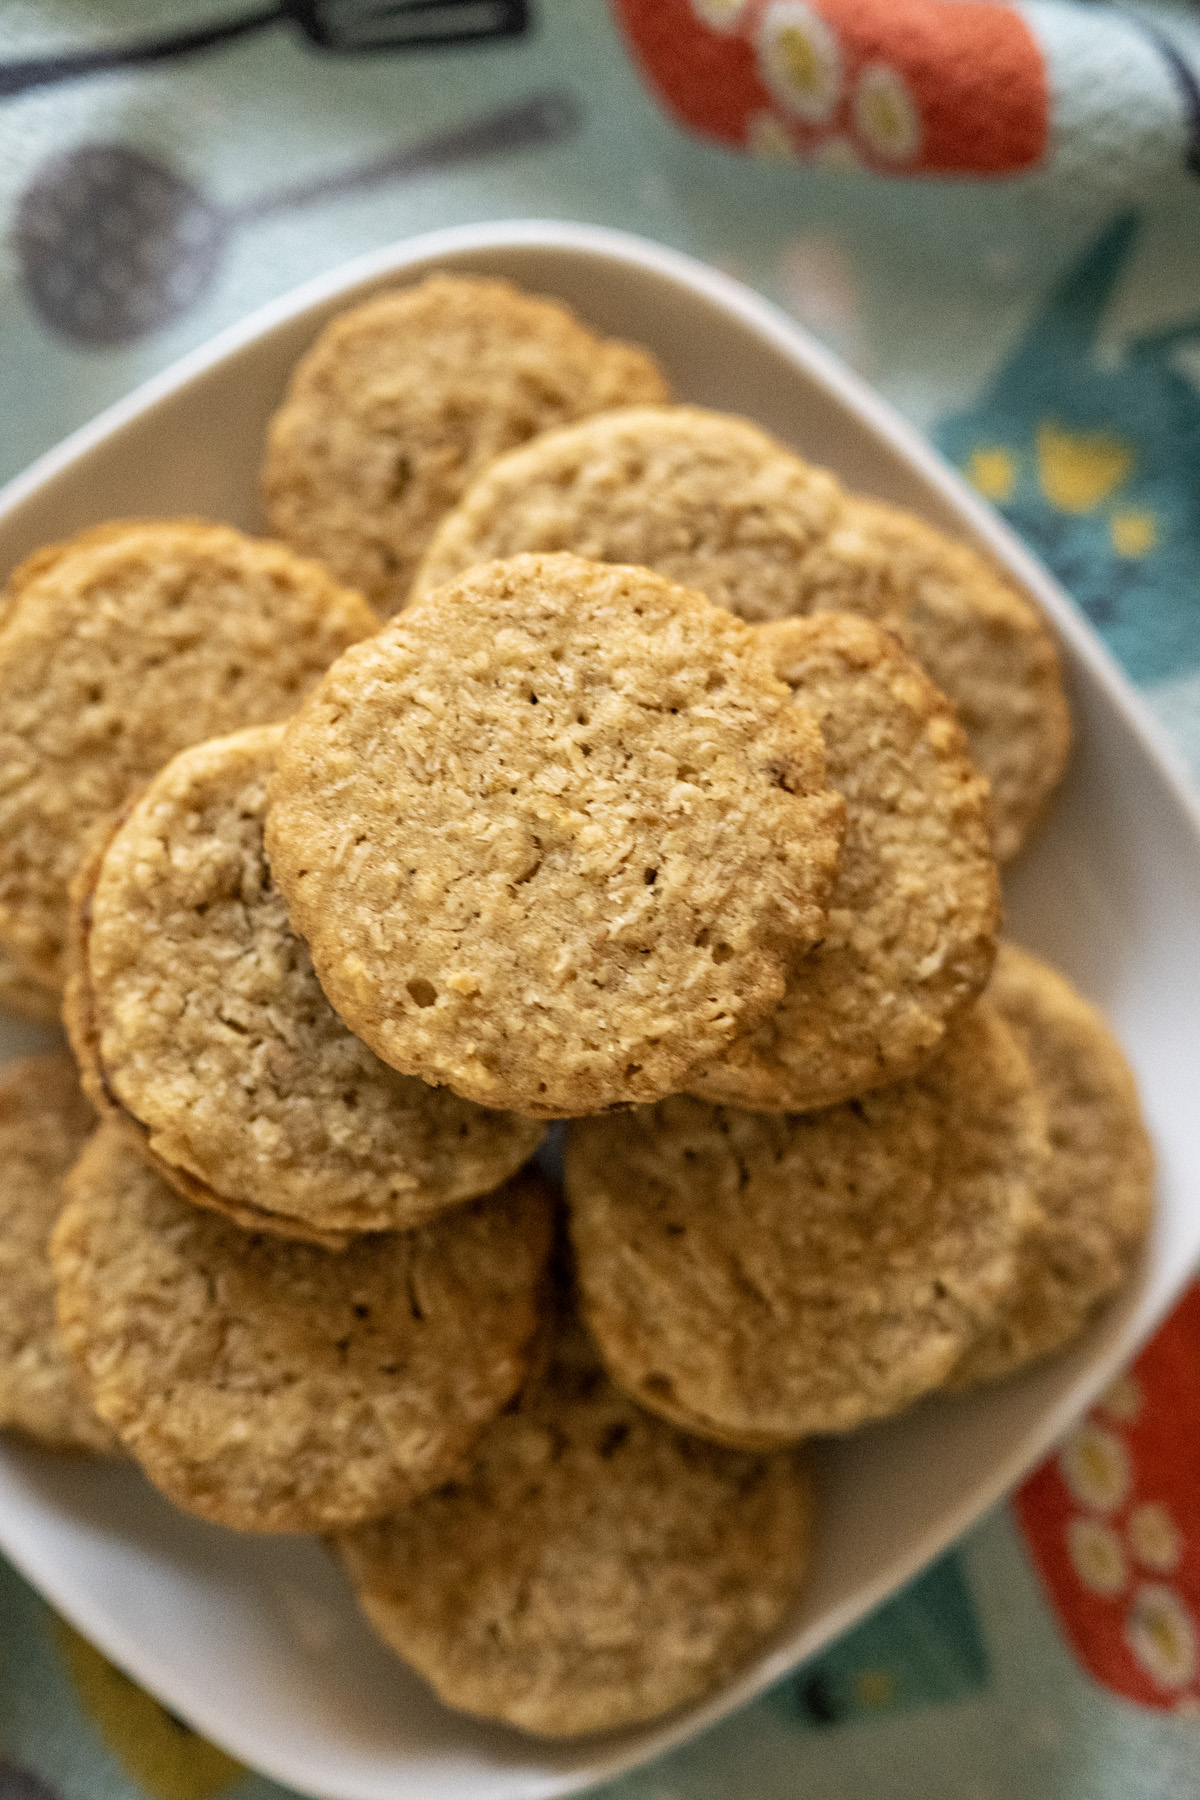
Trilbies (Old-Fashioned Oatmeal Date Sandwich Cookies)
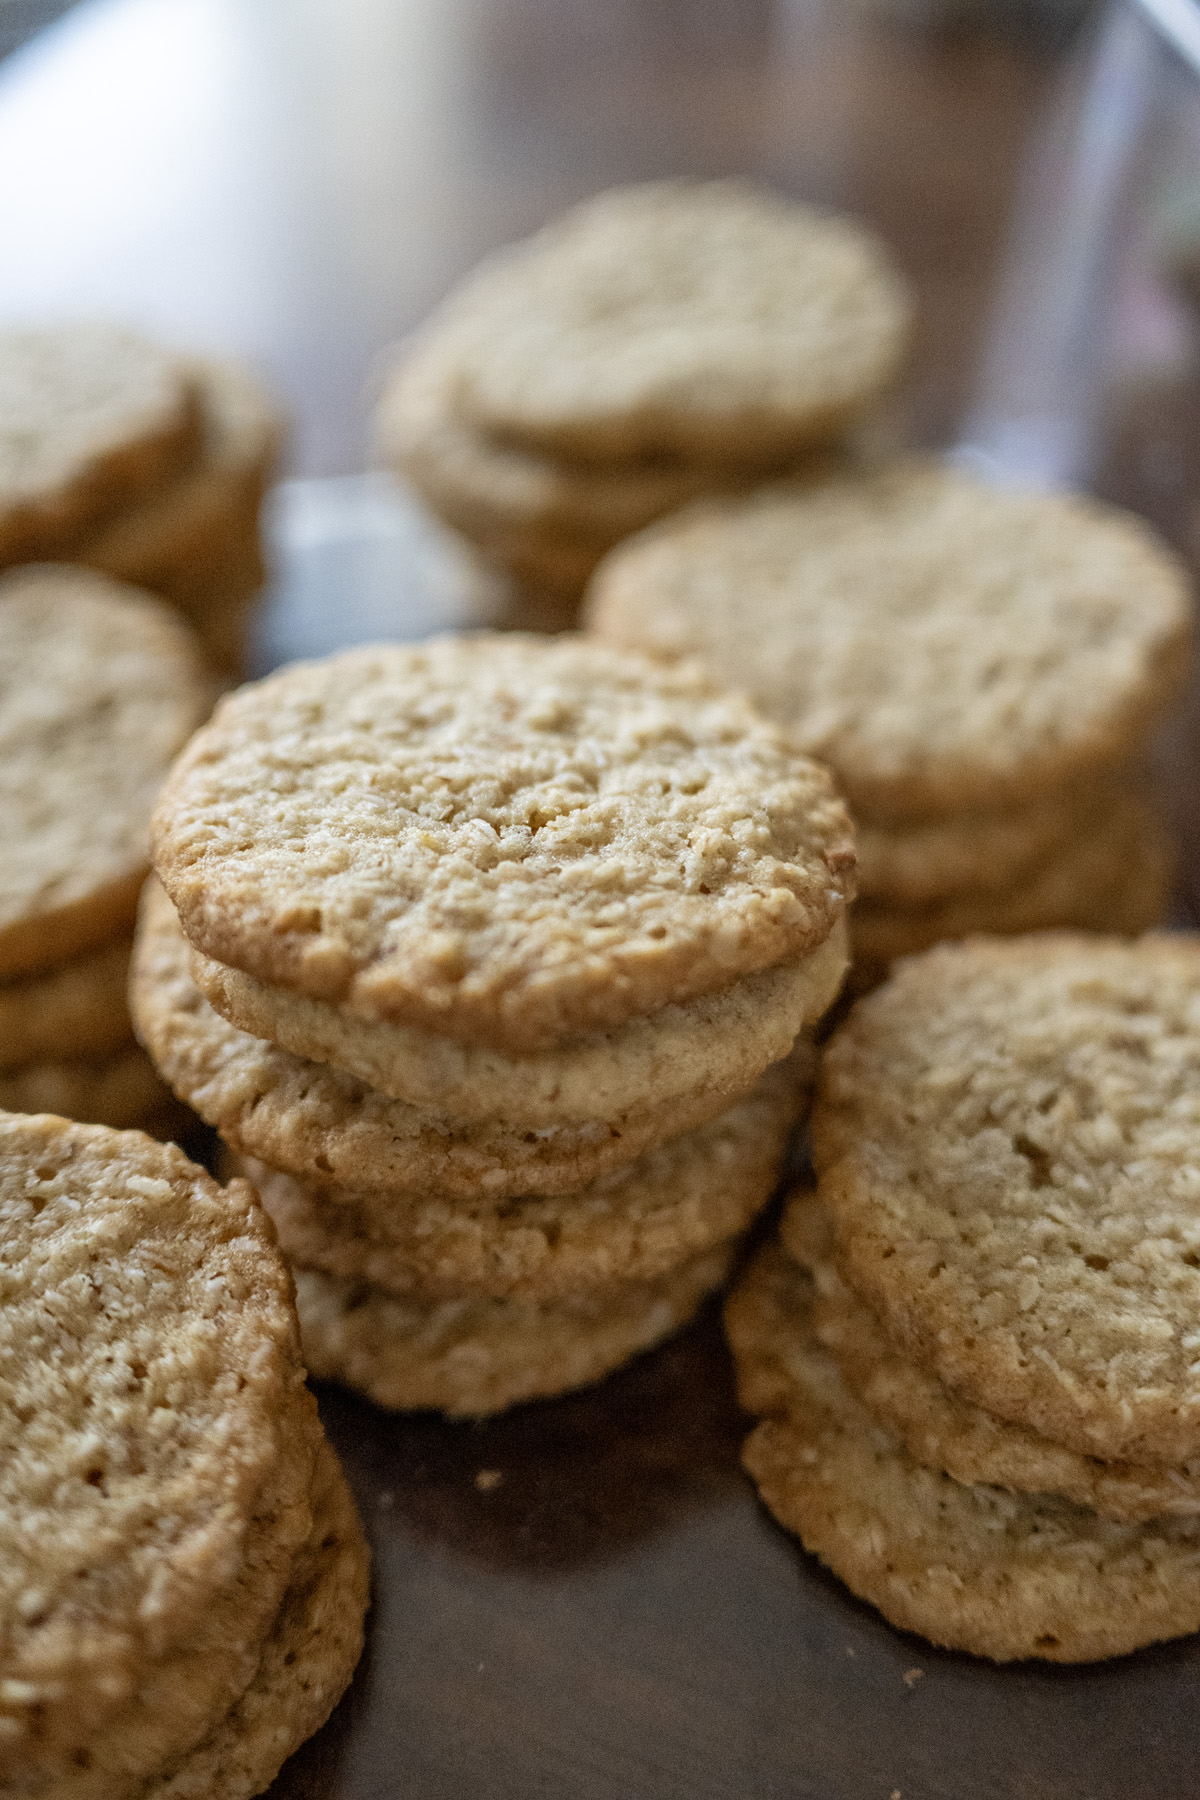
If you’re a fan of traditional, home-baked goodies, then you’re in for a treat with my grandma’s Trilbies—those irresistible old-fashioned oatmeal date-filled sandwich cookies! I LOVE these cookies and remember they were always on our holiday cookie tray. One bite brings back the flavor of the good old days, when dates were a popular addition to baked goods. These are the classic “Trilbies” many grandmas made (a nostalgic name from early 20th-century recipes), with crisp-chewy oatmeal cookies hugging a sweet date filling.
I’ll walk you through the simple process step-by-step, plus variations, tips, and storage advice.
A Little History on Trilbies
These sandwich cookies have been a holiday staple for generations, especially in Midwestern and New England families. The quirky name “Trilbies” dates back over 100 years—some say it’s a nod to the fashionable trilby hat or the novel Trilby, but whatever the origin, they’re pure nostalgia. Two thin oatmeal cookies with a gooey date center, best eaten cold or frozen. Sound familiar? That’s them!
How to Make Trilbies
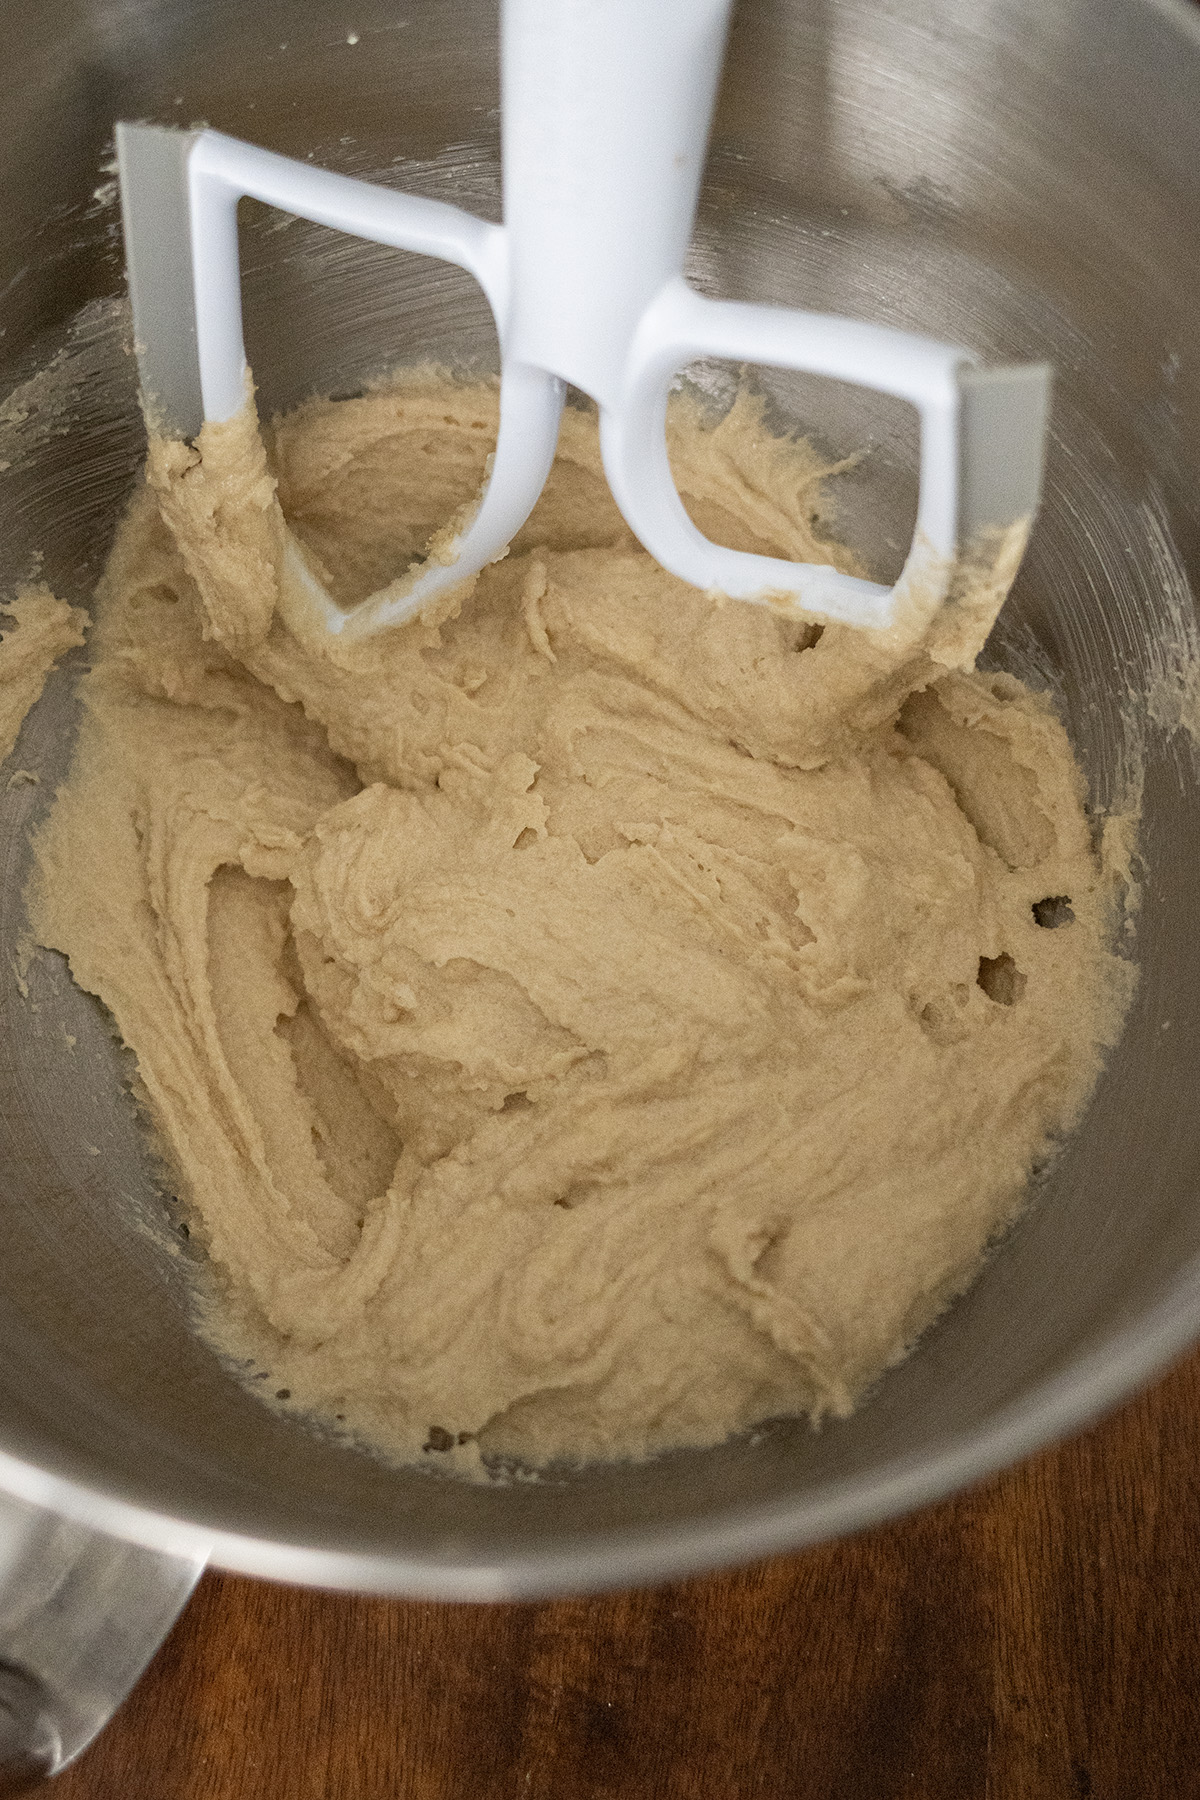
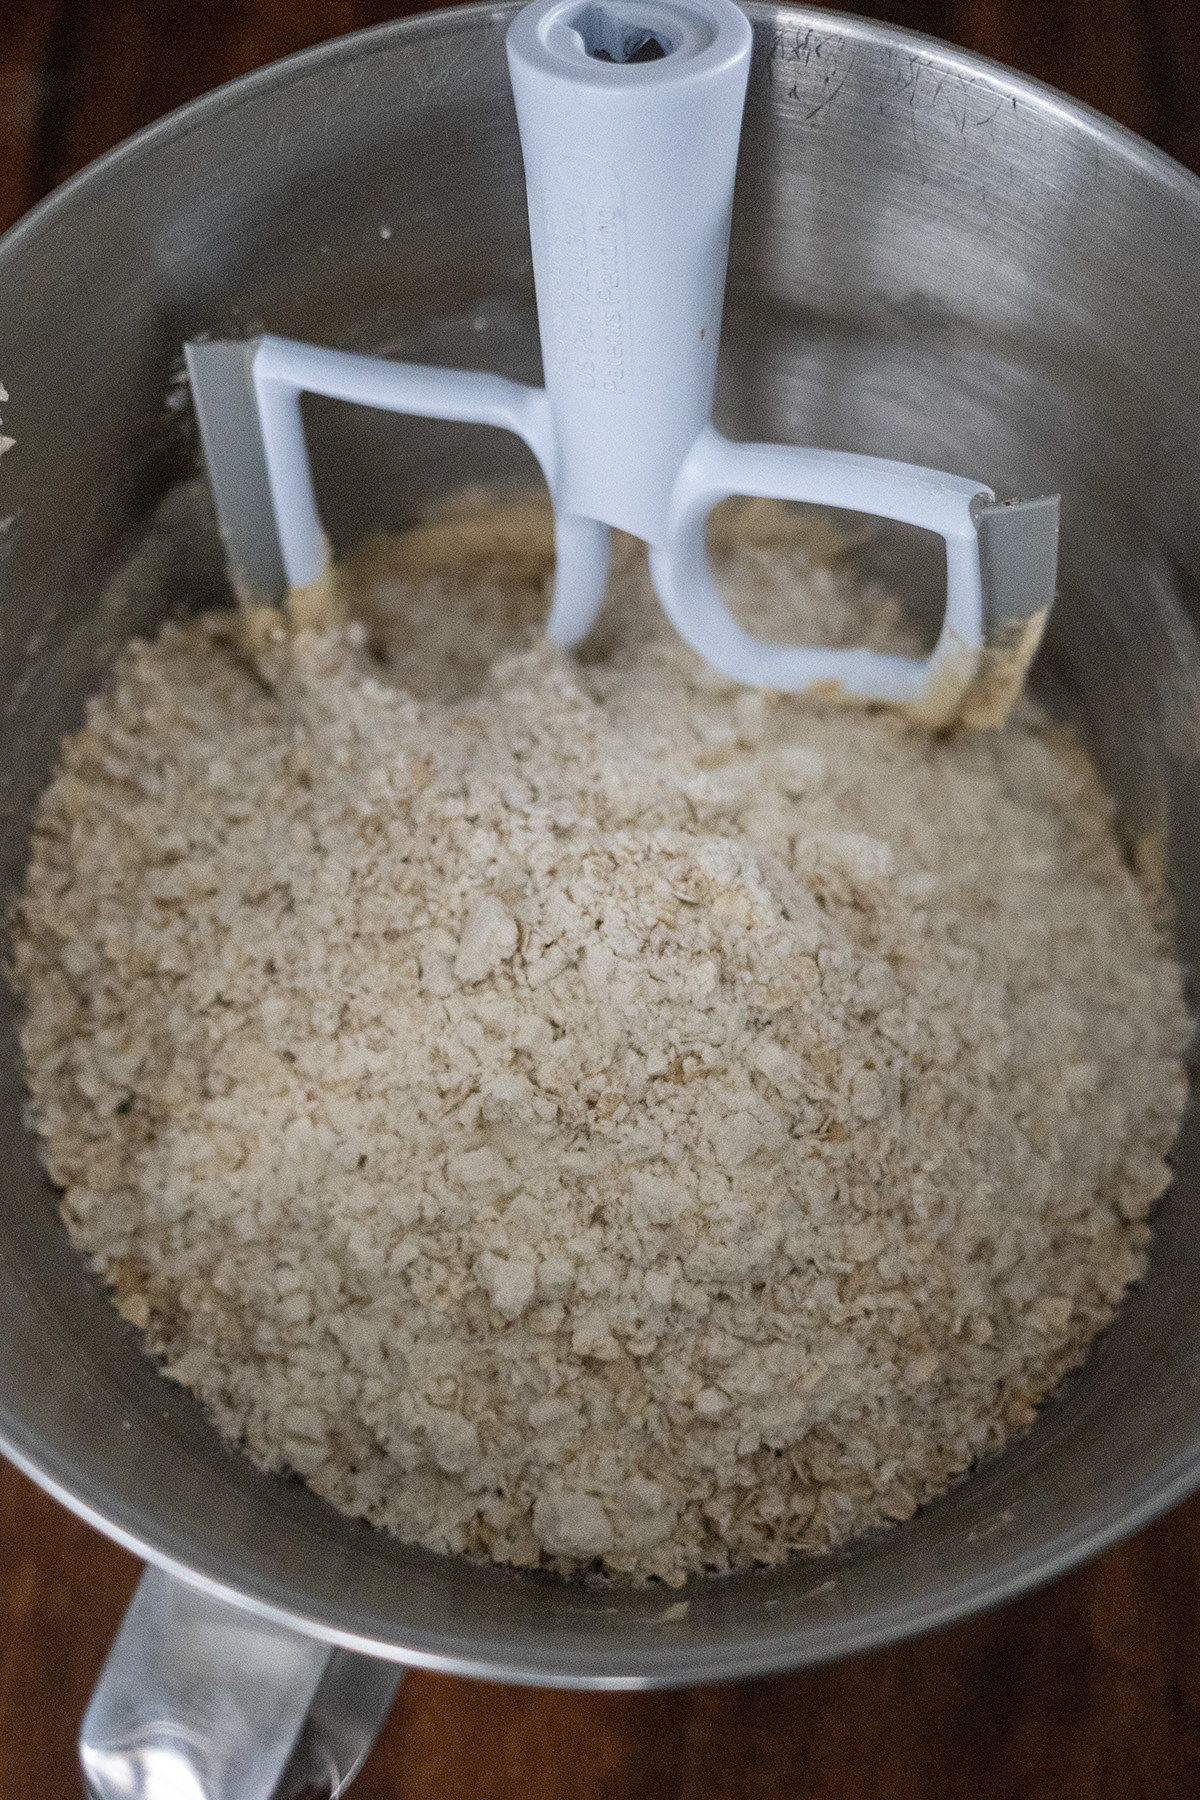
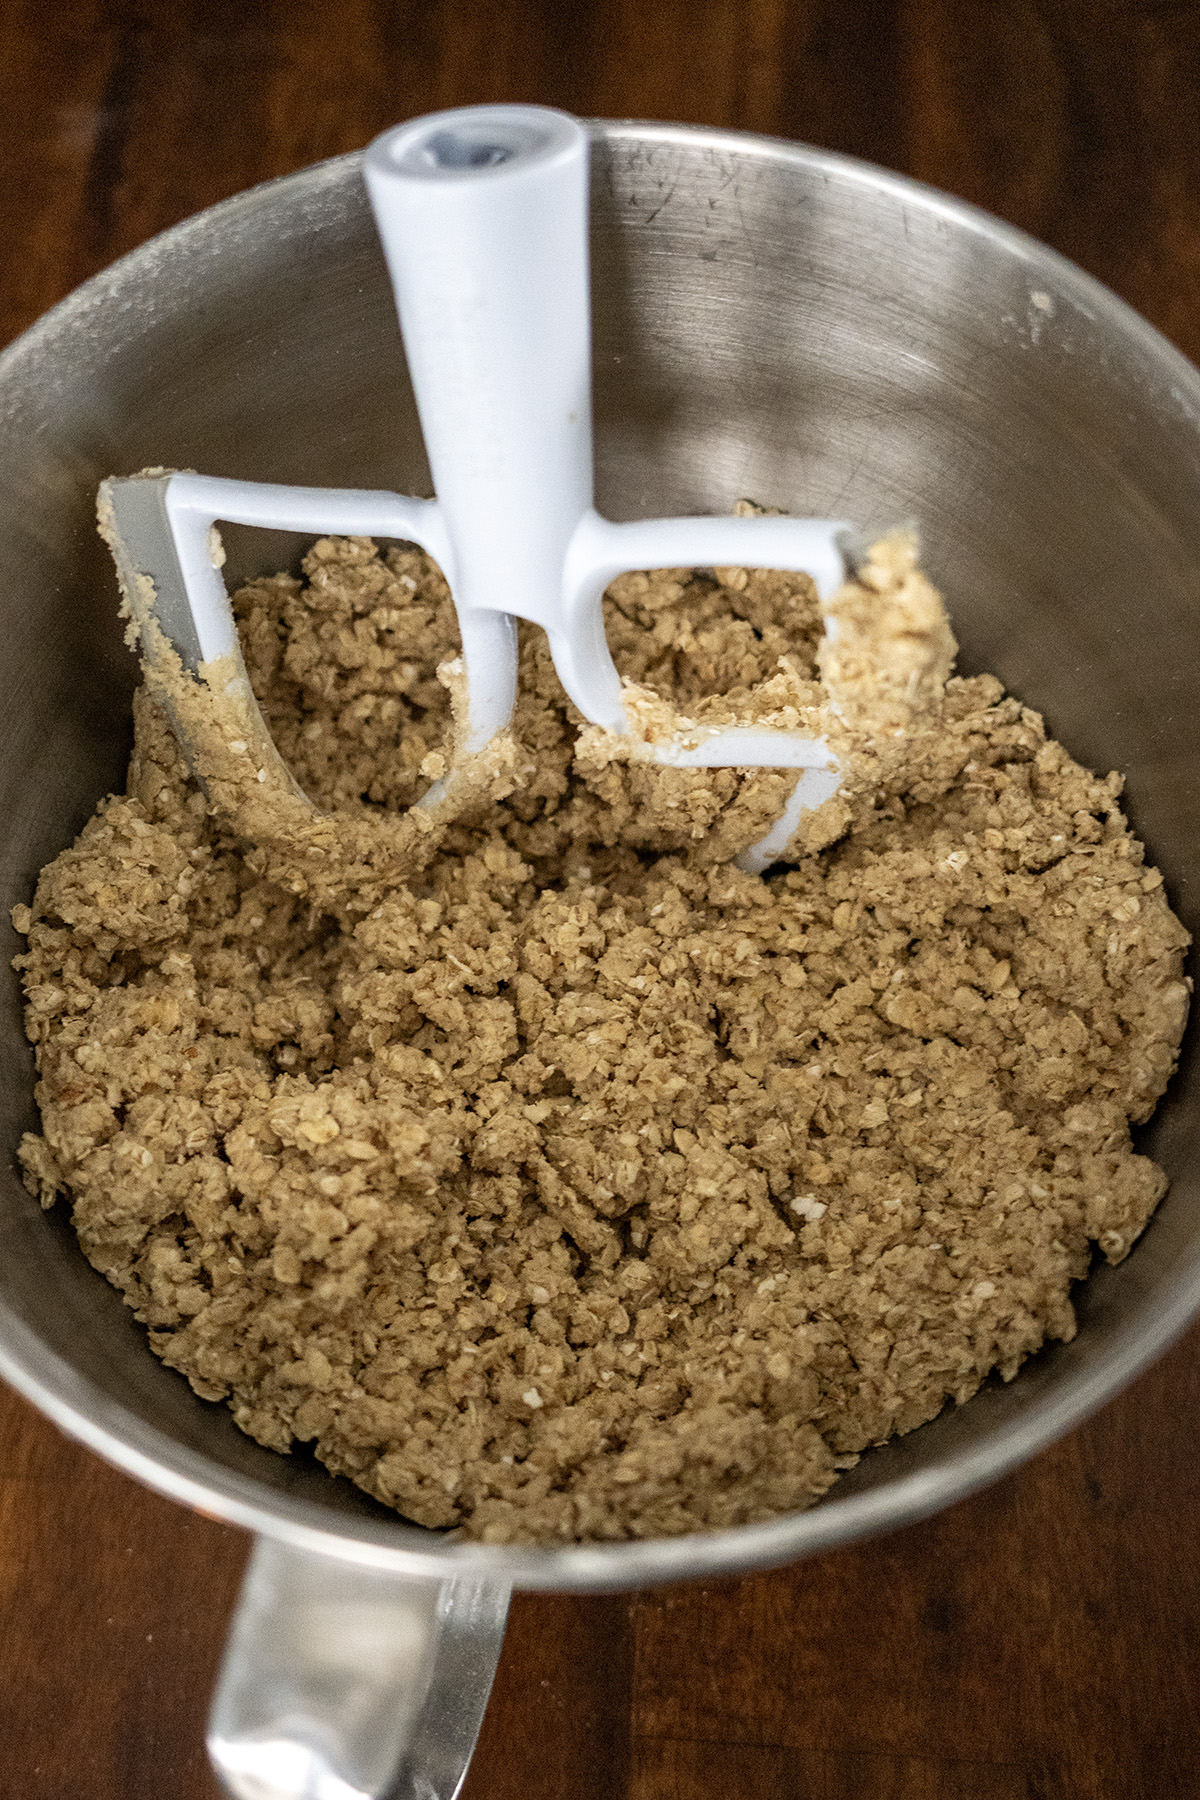
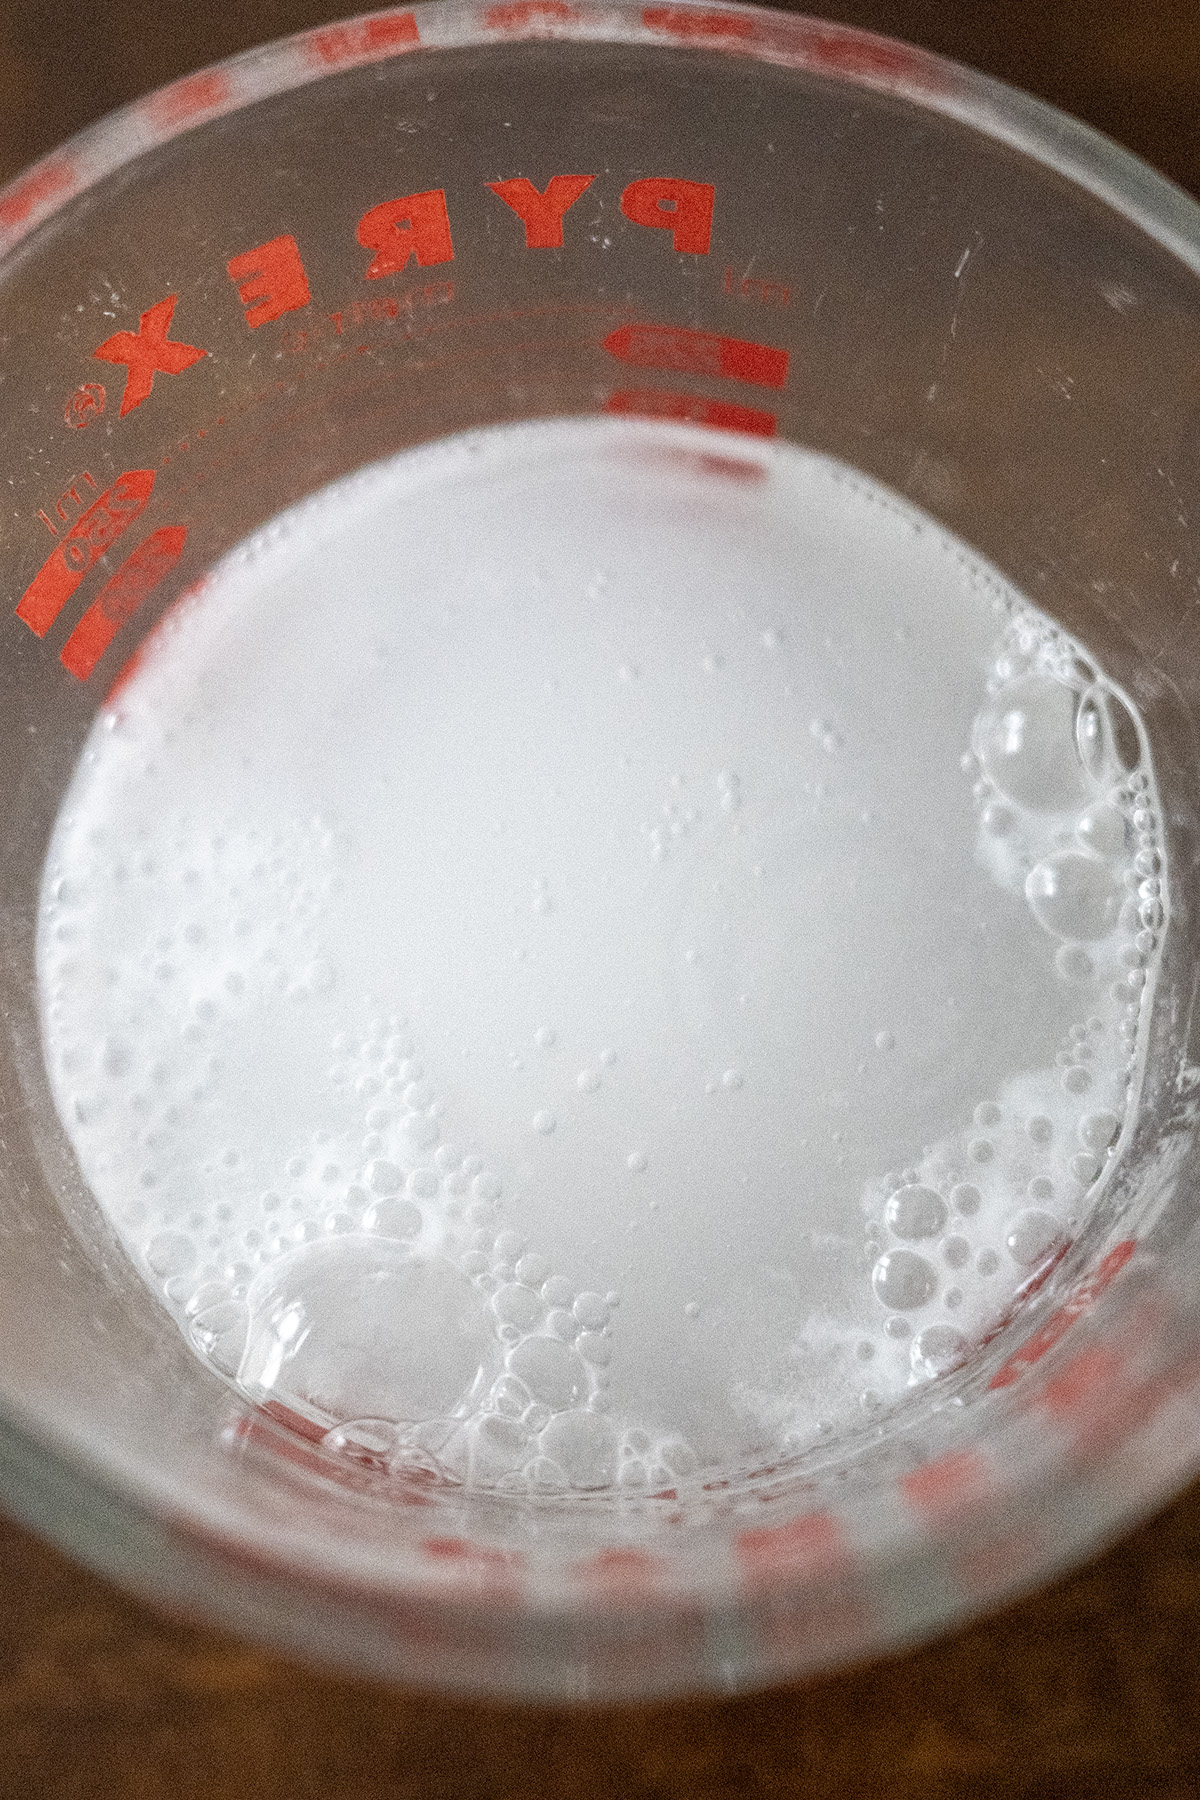
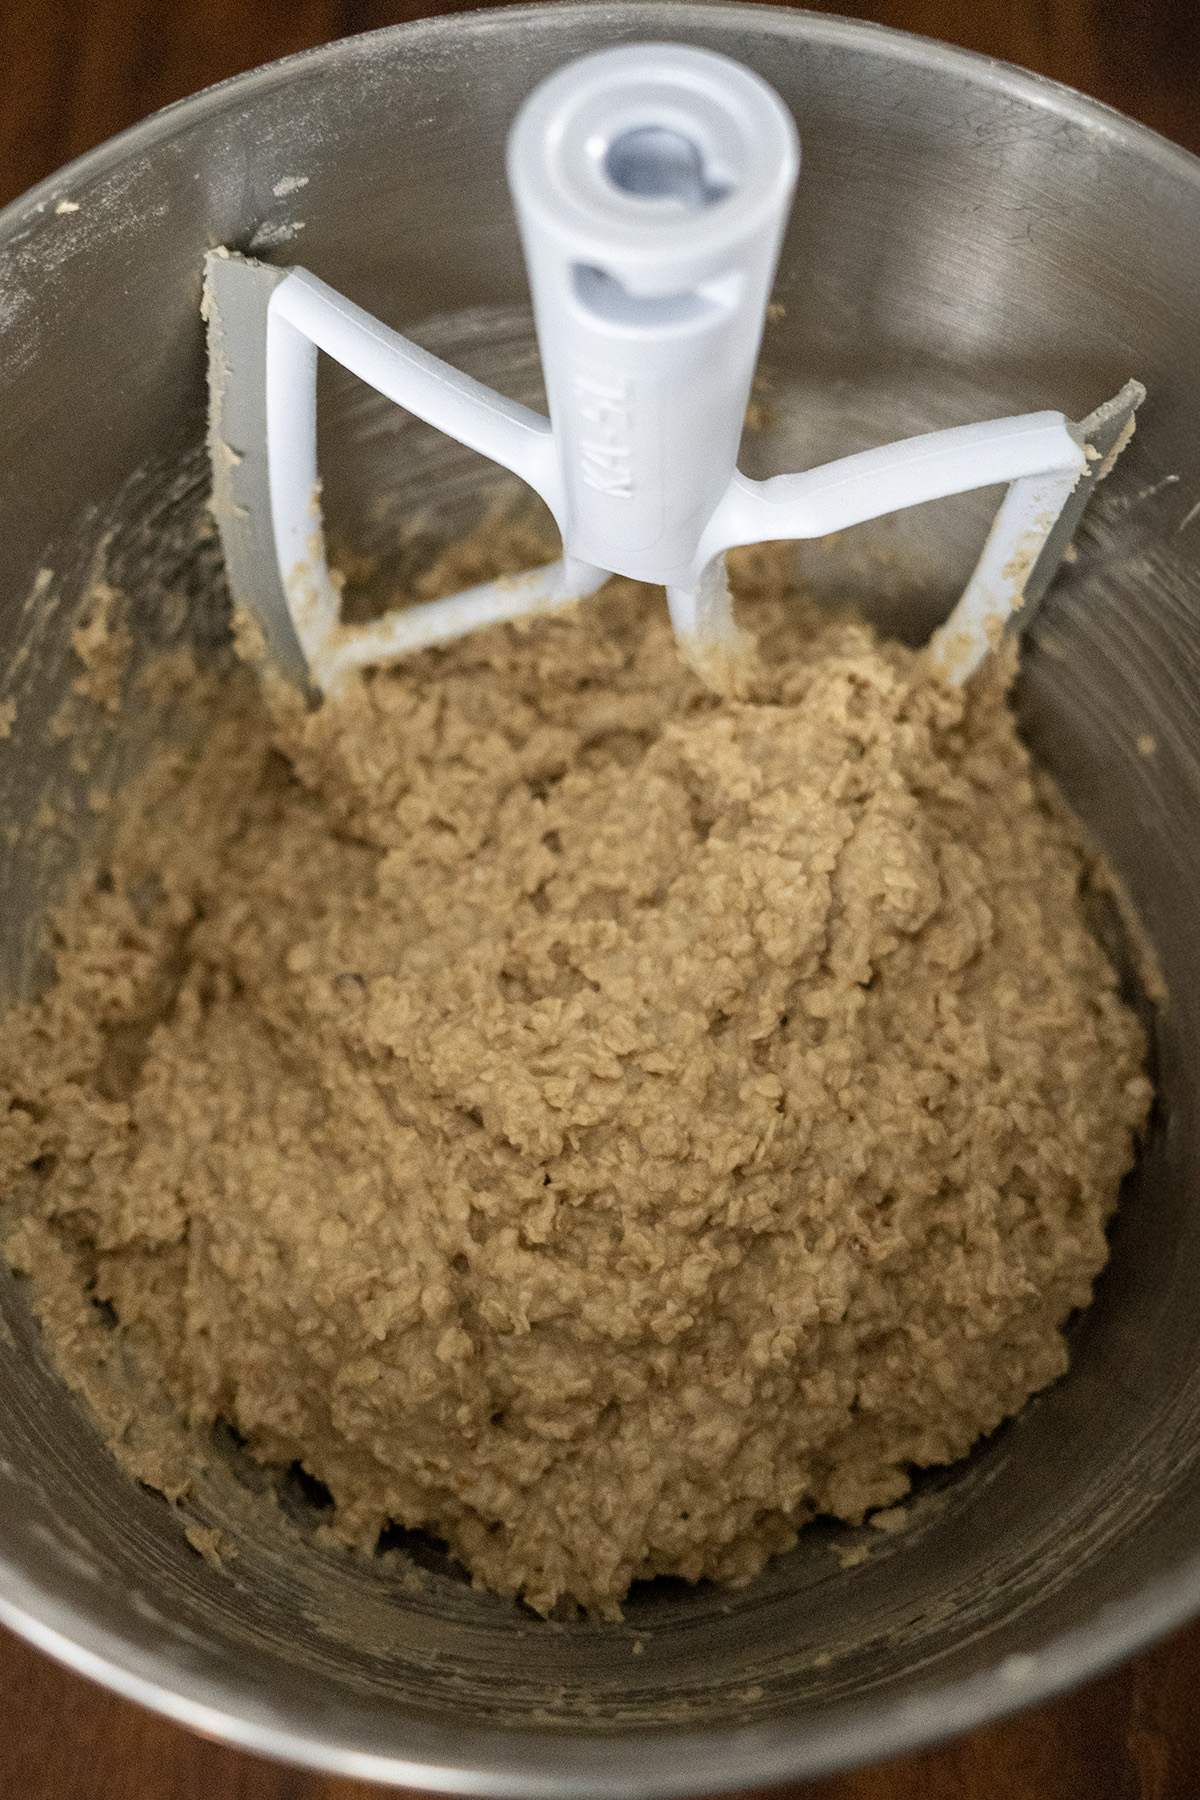
- Cookie Dough → Cream the sugars and butter, mix in flour and oats, then add the boiling water mixture with dissolved leaveners and vanilla. It’s runny—don’t worry!
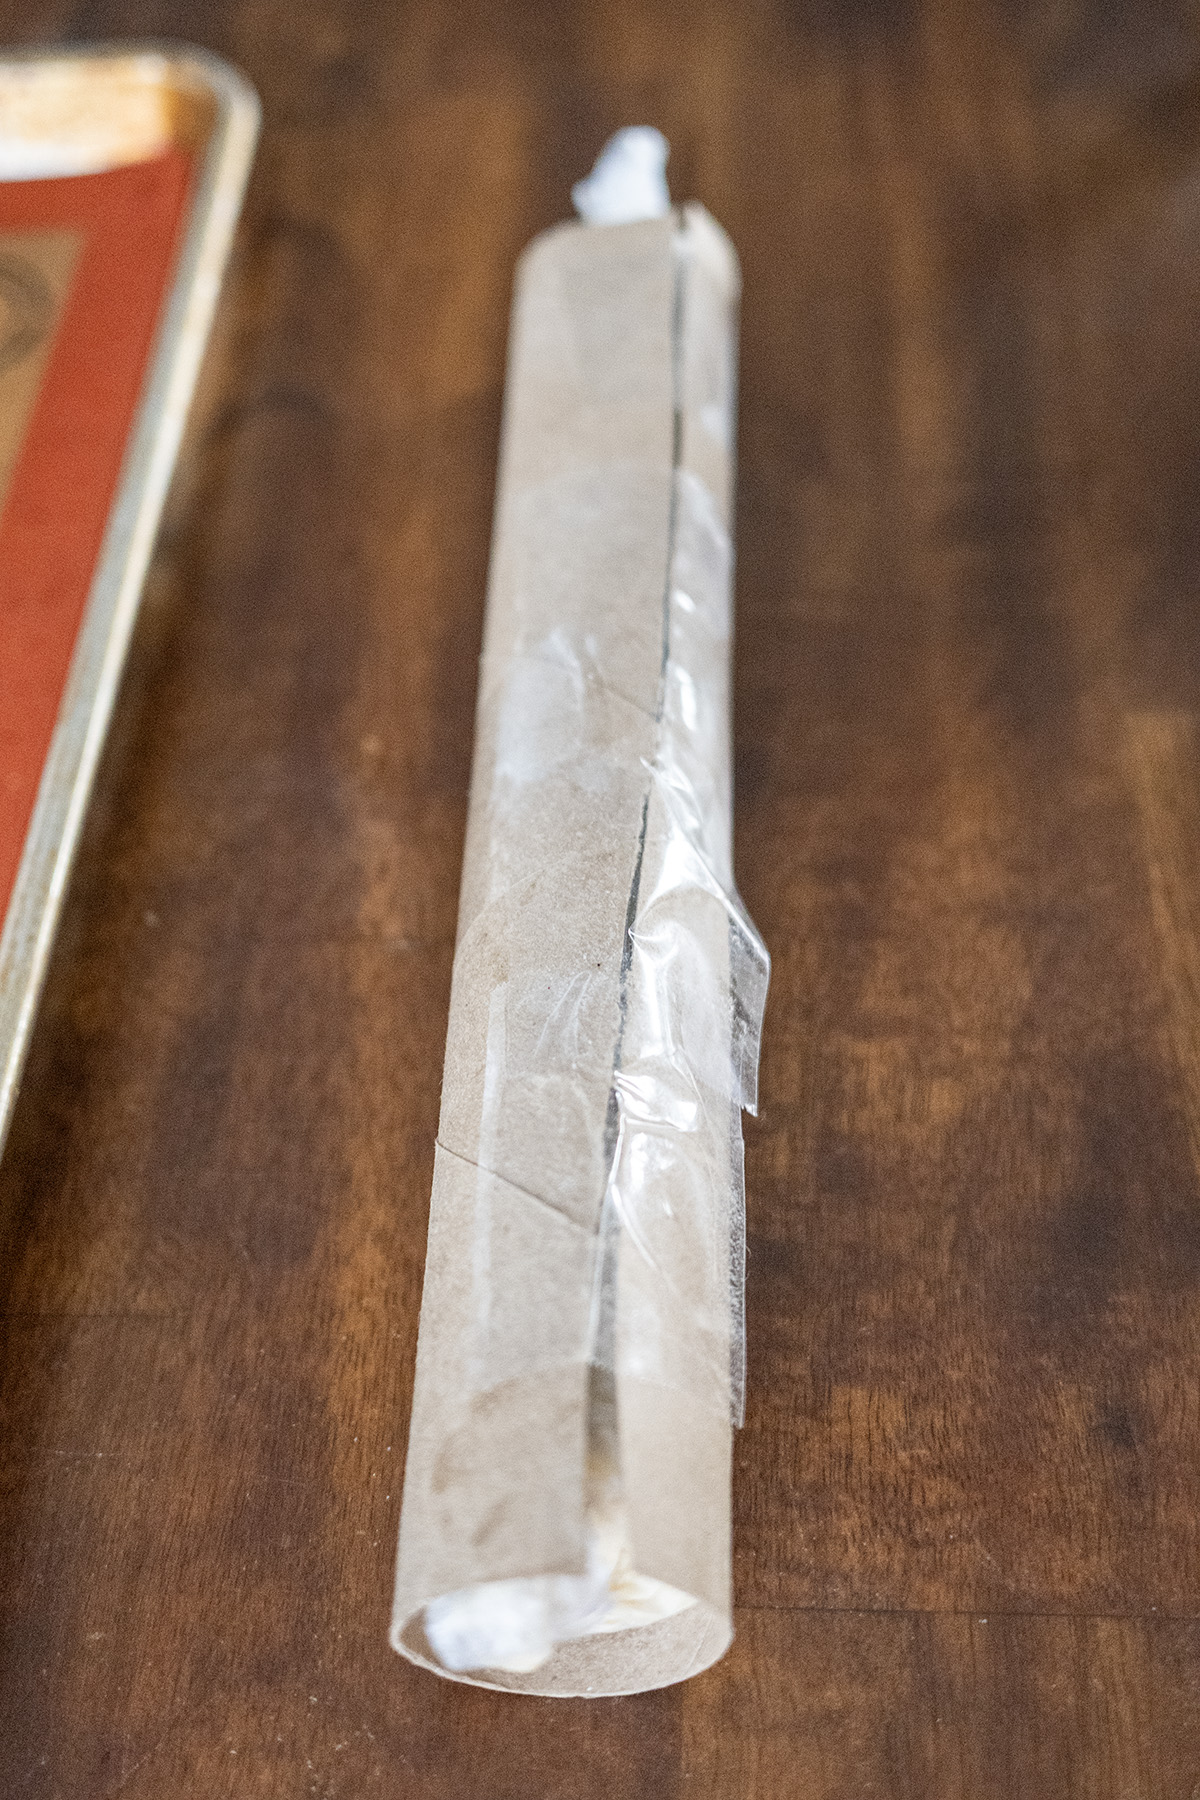
- Shape → My favorite is the upgraded freeze & slice for perfect rounds (details in the recipe below). Or refrigerate & scoop/flatten for easier handling.
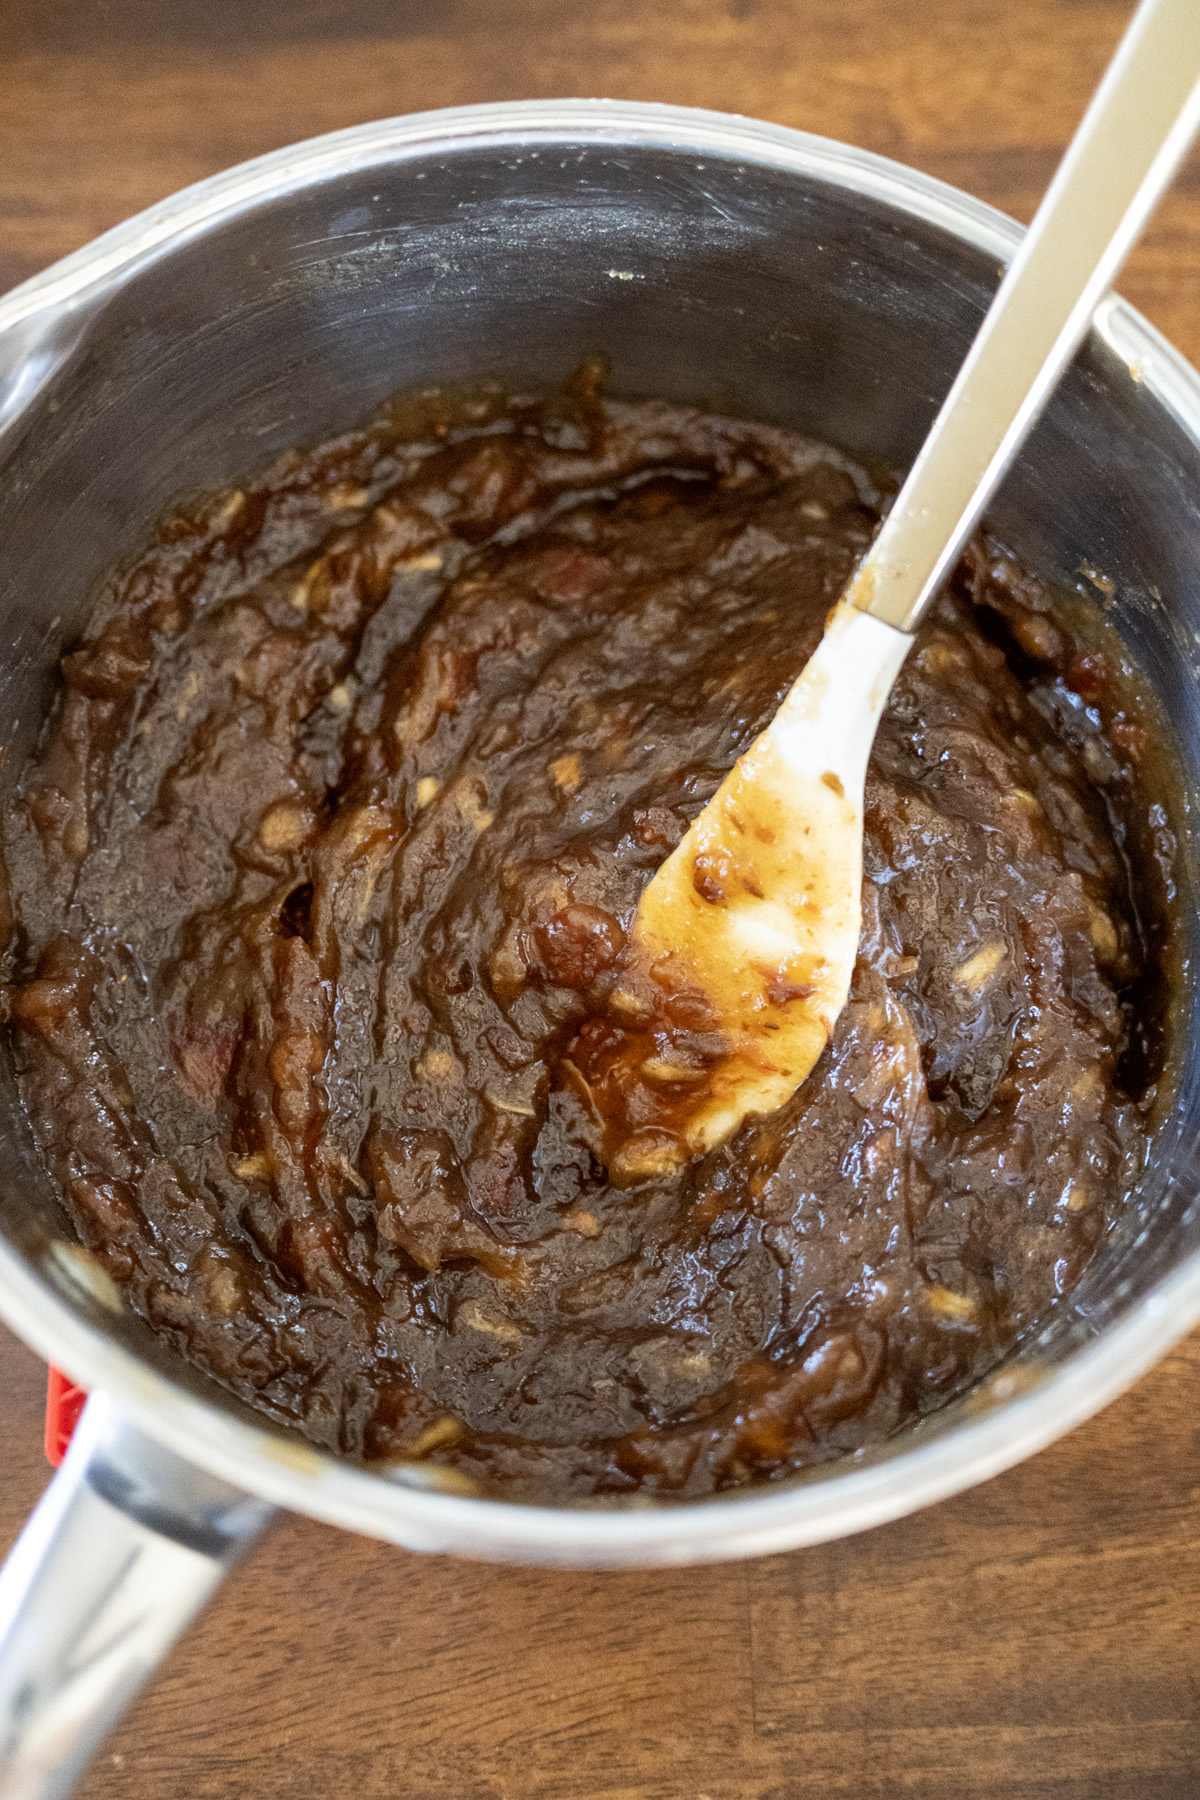
- Date Filling → Simmer the reduced amount until thick and jam-like.
- Bake → 350°F until pale golden.
- Pro Shaping Tip → Right after baking, nudge hot cookies with a round cutter for perfect circles!
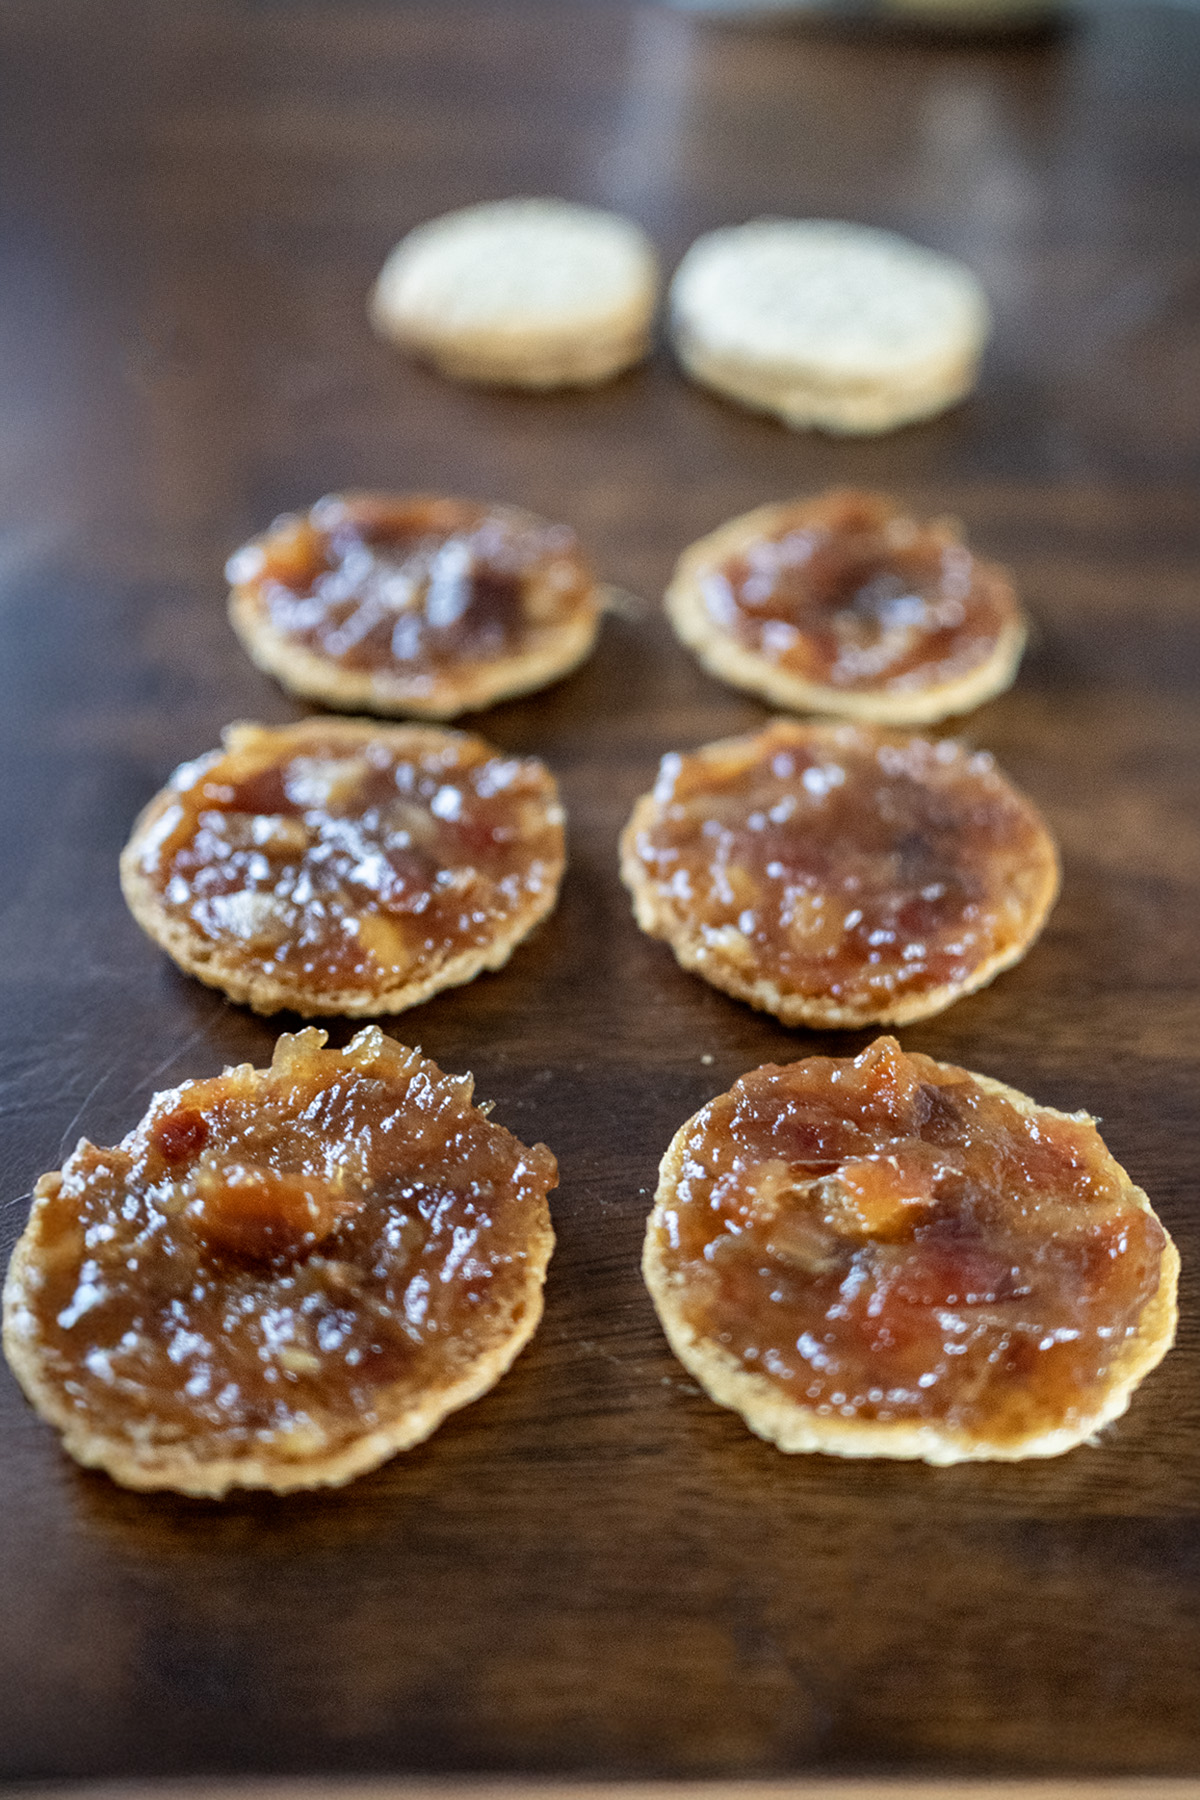
- Assemble → Scant filling between cooled cookies.

Storing and Freezing Instructions
Because the date filling is moist, these cookies will soften over time and can stick together if stacked directly. For best results:
- Short-term: Store in an airtight container in a single layer, or separate layers with plastic wrap or parchment paper. They’ll keep up to 5 days at room temperature or 10 days in the fridge.
- Long-term/Freezing: Freeze in a single layer on a tray first, then transfer to a freezer-safe container, separating layers with plastic wrap (parchment works too, but plastic wrap prevents sticking better as they thaw). They’ll keep 2–3 months.
Our absolute favorite way to eat them is straight from the freezer—cold, crisp edges with that perfect gooey center. Trust me, try it!

Final Thoughts
My grandma’s Trilbies (old-fashioned oatmeal date sandwich cookies) hold a special place for us, especially during the holidays. So get ready to don your apron and bake up a batch. These cookies are worth every minute of preparation and calorie.
Happy baking!
Trilbies (Old-Fashioned Oatmeal Date Filled Sandwich Cookies)
Print Recipe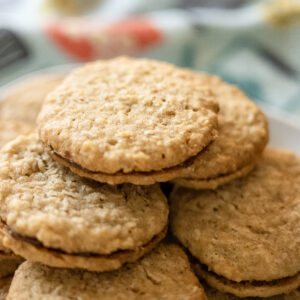
equipment (affiliate links
Ingredients
Cookie Batter:
- 1 ½ c. (340 g) salted butter softened
- 1 c. (200 g) granulated sugar
- ½ c. (100 g) brown sugar packed
- 1 ½ c. (225 g) unbleached all-purpose flour (RECOMMEND WEIGHING)
- 4 ½ c. (383 g) quick cooking oats
- ¾ c. (177.44 g) boiling water
- 1 ½ tsp baking soda
- ½ tsp baking powder
Date Filling:
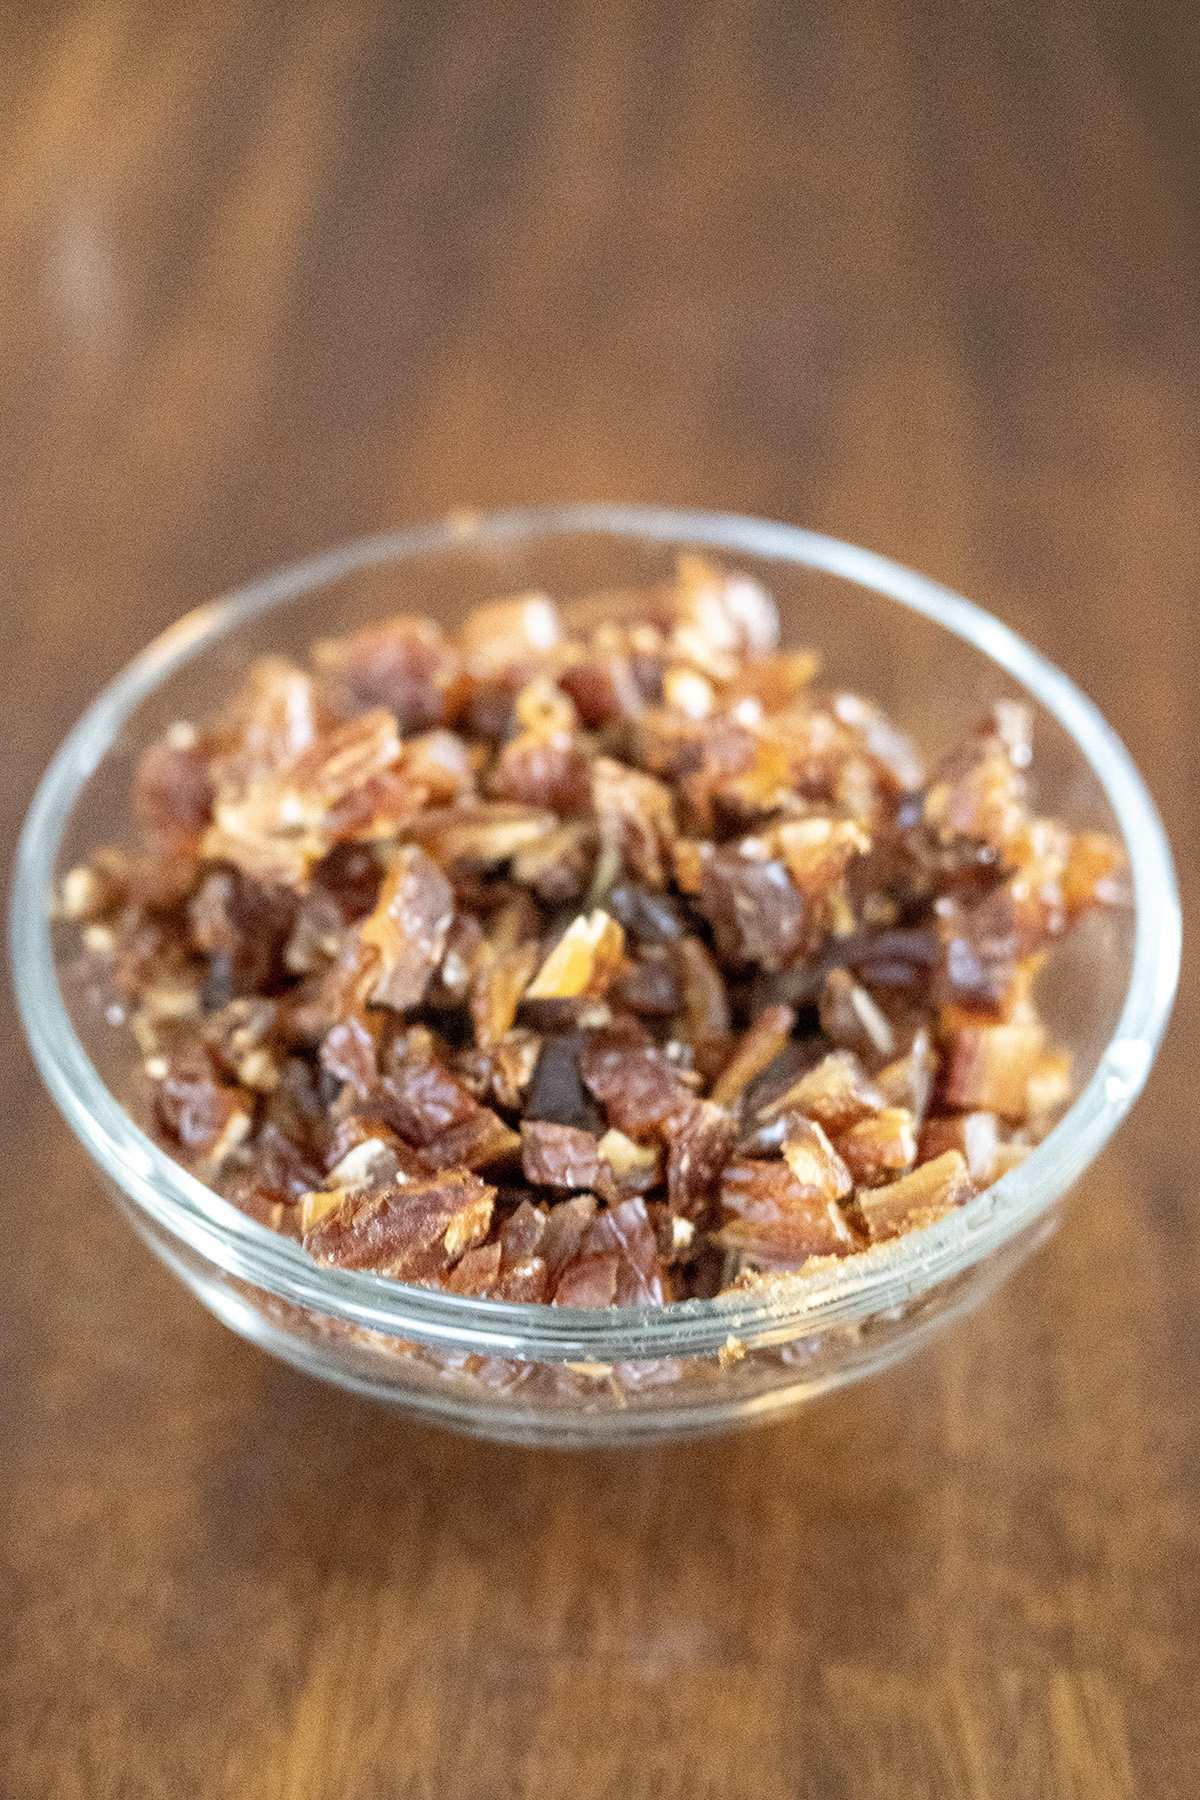
- 8 oz. (225 g) whole dates pitted & chopped
- ⅓ c. (79 g) cold water
- ½ c. (100 g) brown sugar packed
- 1 tsp lemon juice
Instructions
- Make the Dough: Cream butter, granulated sugar, and brown sugar until light and fluffy. Mix in flour and oats. Dissolve baking soda and baking powder in the boiling water, stir in vanilla, then add to the dough. Mix well—the dough will be very soft and runny (this is normal).1 ½ c. (340 g) salted butter1 c. (200 g) granulated sugar½ c. (100 g) brown sugar1 ½ c. (225 g) unbleached all-purpose flour (RECOMMEND WEIGHING)4 ½ c. (383 g) quick cooking oats¾ c. (177.44 g) boiling water1 ½ tsp baking soda½ tsp baking powder
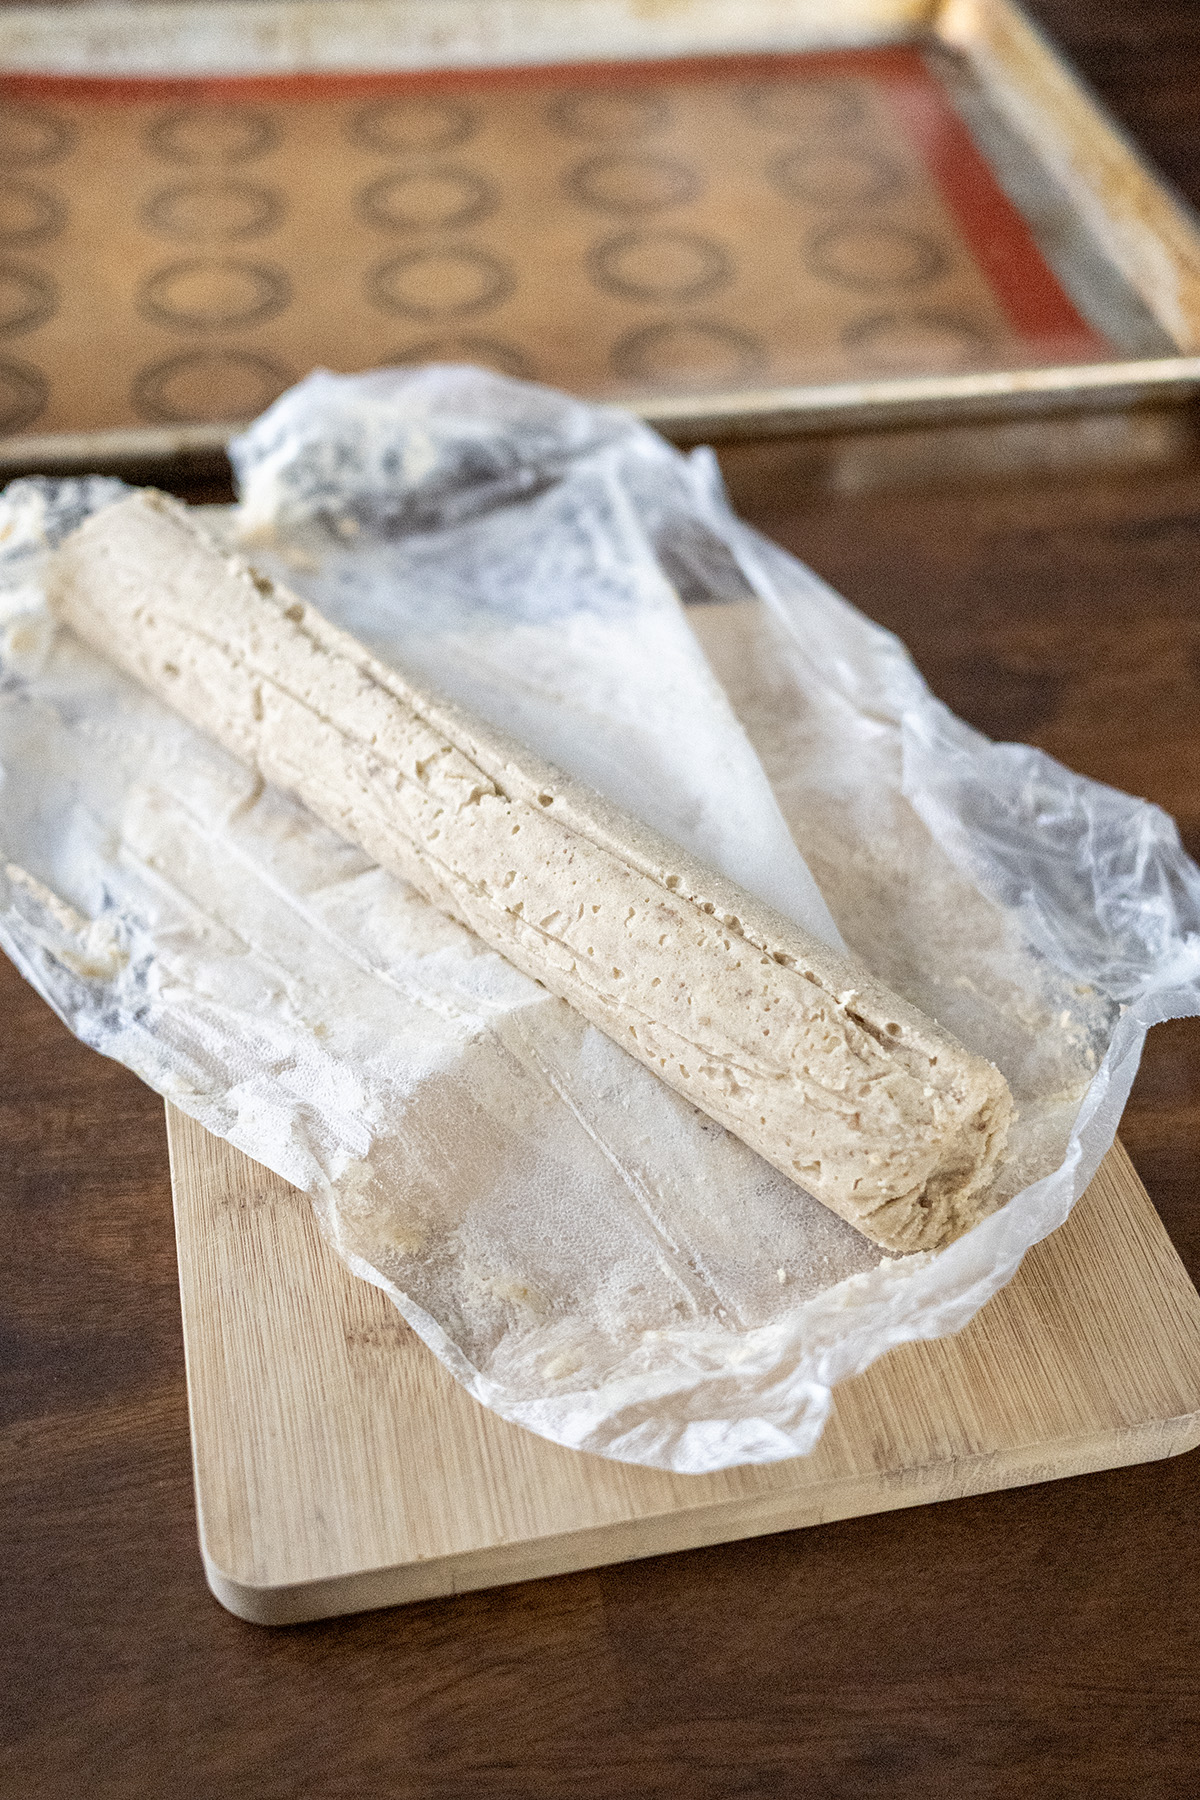
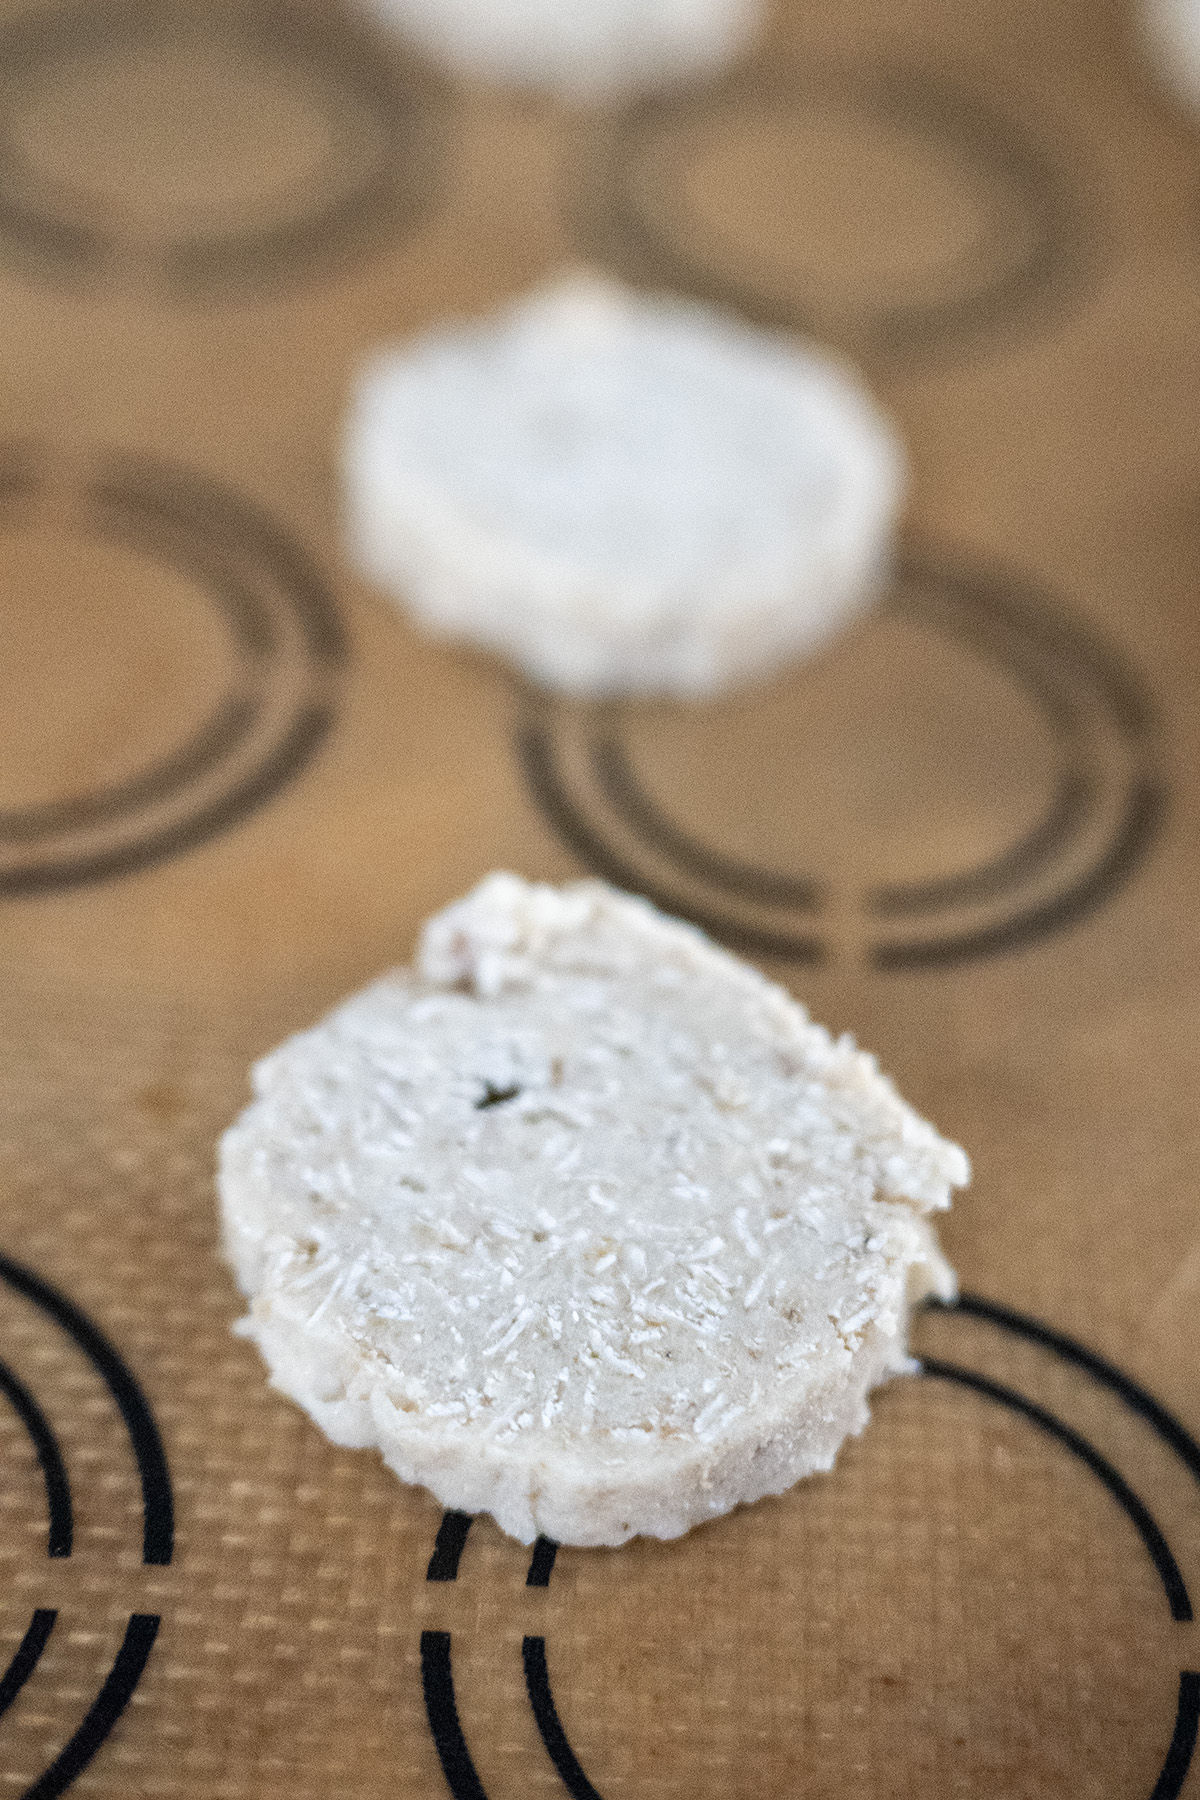
- Shaping Options (choose one): Option A – Freeze & Slice (recommended for crisp edges and perfect round cookies): Divide dough into 3 equal portions. Place each portion on a large sheet of cling wrap/plastic wrap. Roll into a uniform log about 2 inches in diameter. For perfectly round logs, slide the wrapped log into a clean paper towel cardboard tube. Twist the ends of the cling wrap to seal. Tape shut and freeze at least 8 hours (or up to 1 month). To bake: Unwrap frozen logs, then slice a generous ⅛-inch thick. Place slices on ungreased baking sheets. Option B – Refrigerate & Scoop (easier for beginners): Cover and refrigerate dough at least 4 hours (or overnight). To bake: Scoop 1-Tbsp portions onto ungreased baking sheets. Flatten each to about ⅛-inch thick with the bottom of a glass dipped in flour.
- Make the Date Filling (while dough chills/freezes): In a saucepan, combine chopped dates, brown sugar, ⅓ cup water, and lemon juice. Bring to a boil over medium heat, stirring constantly. Reduce heat and simmer 4–6 minutes until thick and jam-like. If dates are dry and mixture isn’t softening, add more water 1 Tbsp at a time. Cool completely before using.8 oz. (225 g) whole dates⅓ c. (79 g) cold water½ c. (100 g) brown sugar1 tsp lemon juice
- Bake: Bake 9–11 minutes until edges are pale golden (centers may look slightly underdone—they crisp as they cool). Pro shaping tip: Immediately after removing from the oven, while cookies are still hot and soft, gently nudge the edges of each cookie with a round cookie cutter (slightly larger than the cookie) to create perfect circles. Work quickly before they cool and set. Transfer to cooling racks.
- Assemble: Once completely cool, spread a scant 1–2 teaspoons of cooled date filling on the flat side of one cookie. Top with a second cookie, flat side down, and press gently.
- Storage: Store in an airtight container with parchment between layers: up to 5 days at room temperature, 10 days in the fridge, or 2–3 months in the freezer. They taste incredible straight from the freezer!
Video
Notes
- Cling wrap + cardboard tube upgrade: Highly recommended over wax paper—cling wrap releases cleanly from frozen dough, and the taped cardboard tube keeps logs perfectly round for uniform slices.
- Yield variation: Expect 60–80+ sandwich cookies depending on slice/scoop thickness and any trimming. Thinner slices = more cookies.
- Date tip: Fresher dates cook down easily; drier ones may need the extra water for a smooth filling.
- Short Term Storage: Store assembled cookies in an airtight container for up to 5 days or for 7 days in the fridge. Using parchment paper between the layers is a good idea so the cookies do not stick together
- Long Term Storage: Freeze the cookies using parchment paper or plastic wrap between layers in a freezer-safe container for 2 to 3 months.
- Best Flavor: Their flavor only gets better after a day or two. They taste BEST straight from the freezer.
As an Amazon Associate, I earn from qualifying purchases at no extra cost to you. Thank you for your support!


Is this AI??? It’s not pronounced “TRIALbee”. It’s “TRILLbee”.
Not AI, just my terrible pronounciation! My grandma always called them date filled cookies but I figured out the correct name for her recipe and failed miserably on how I pronounced them. Did you try them?