Rustic No-Knead Bread
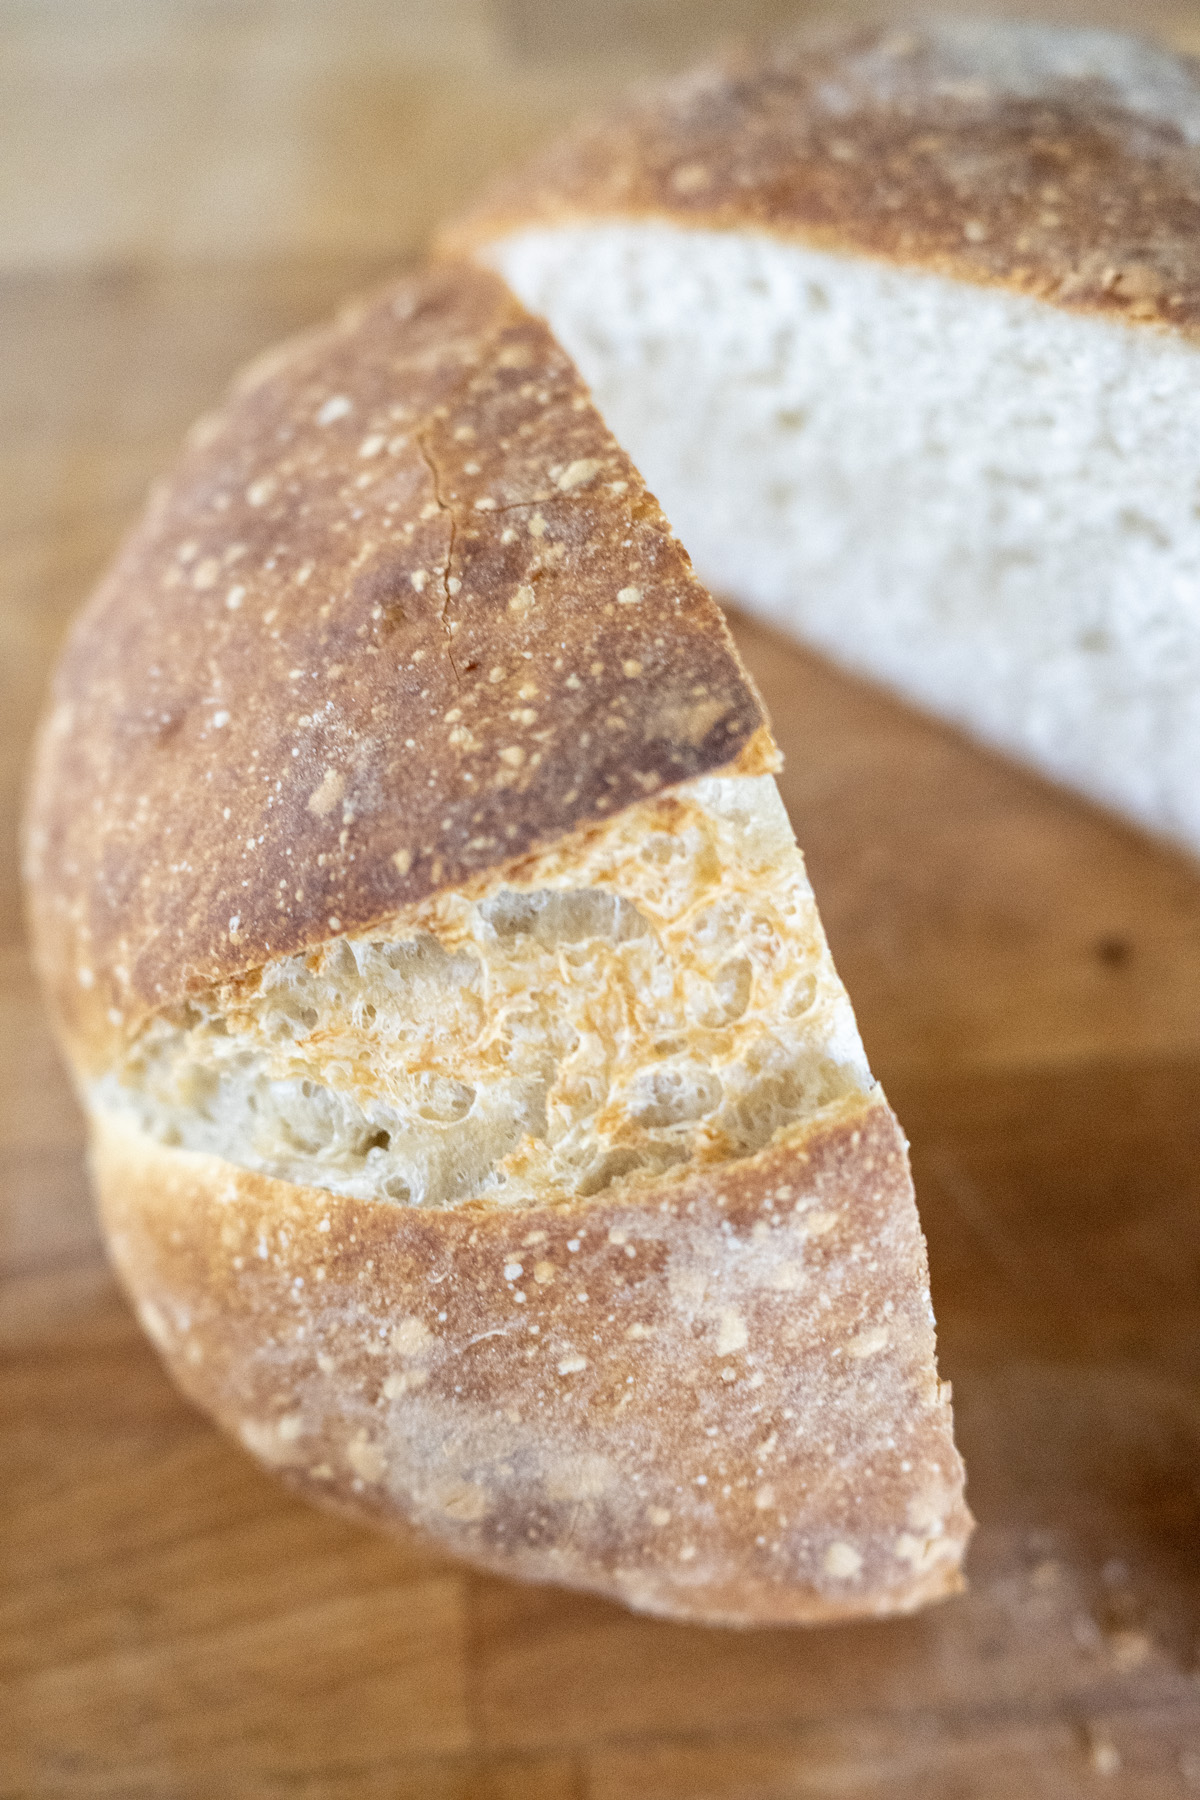
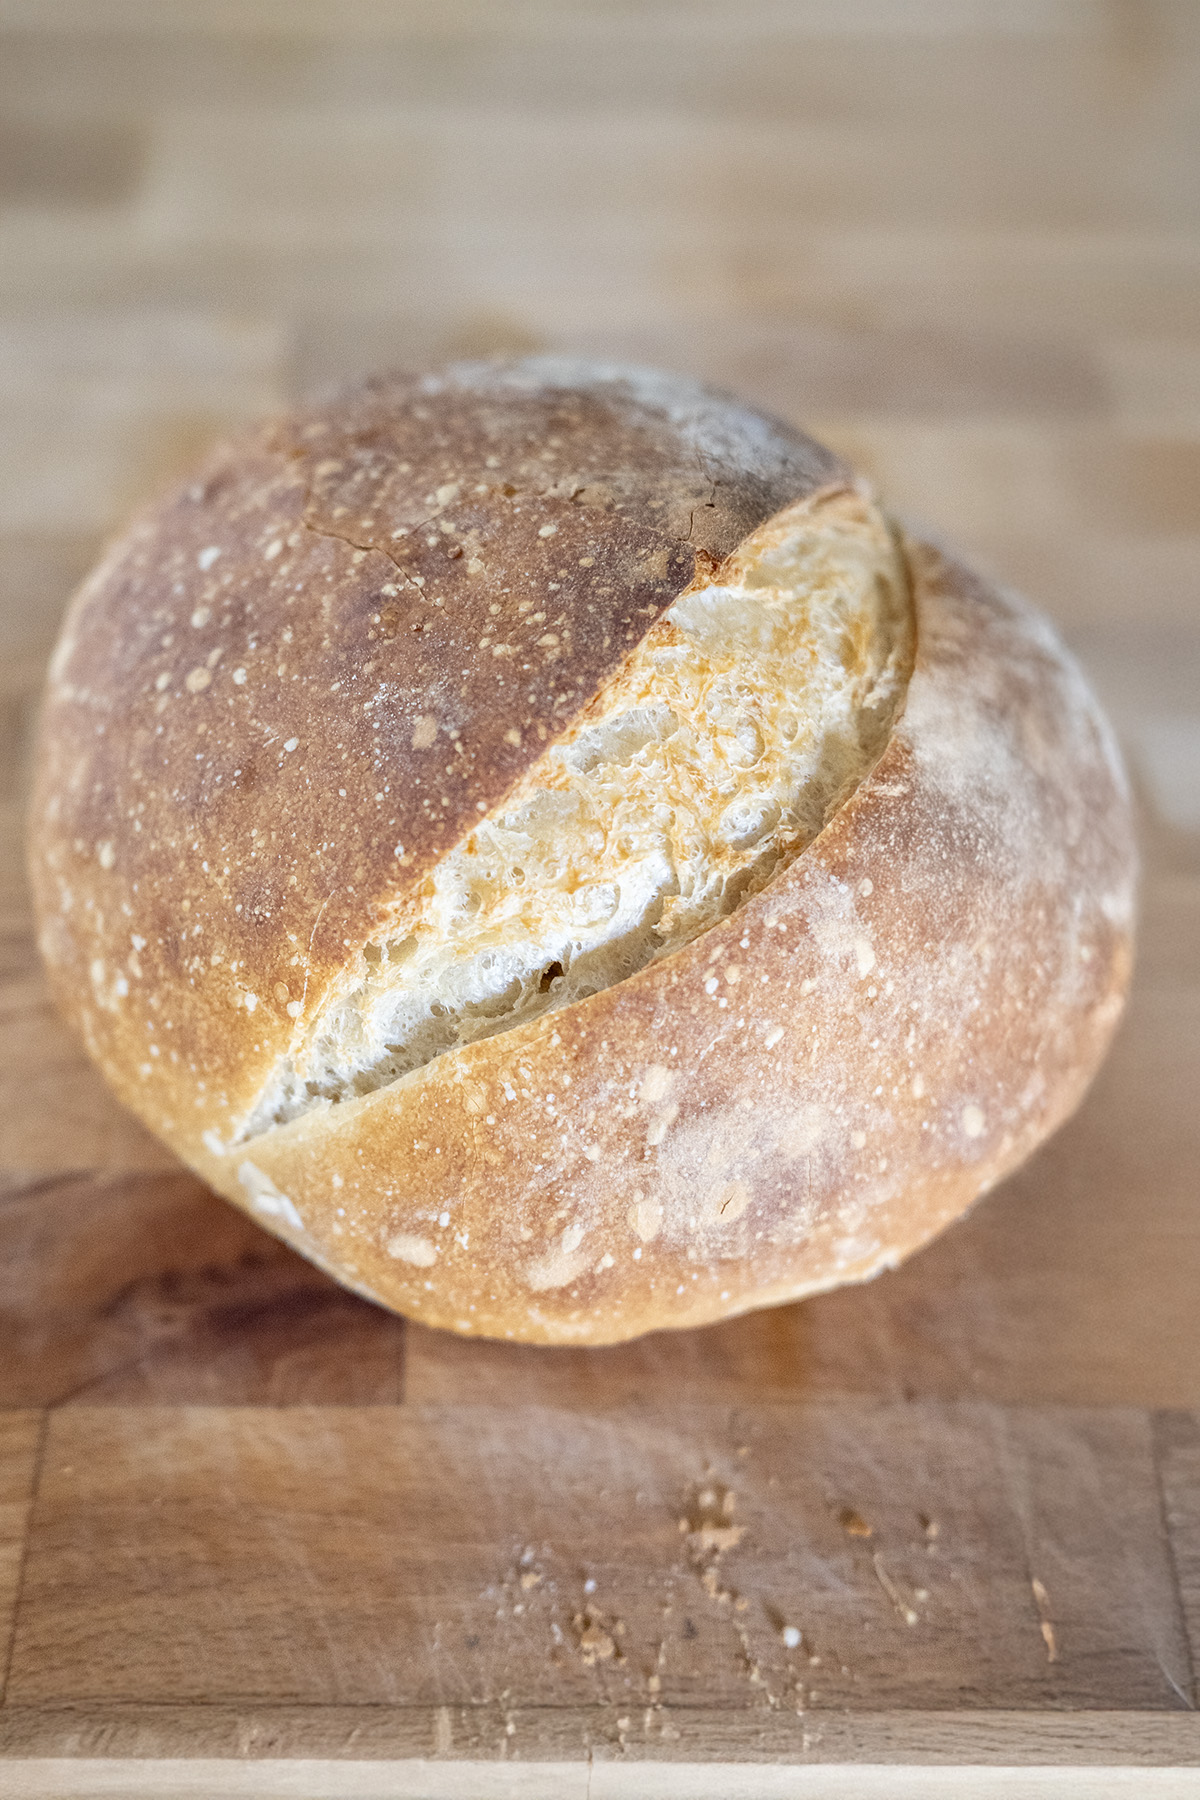
There’s something magical about pulling a crusty, artisan-style loaf from your oven, especially when it requires minimal effort and fits into your busy life. This rustic no-knead bread recipe is a game-changer for home bakers—whether you’re a beginner or a seasoned pro. With a forgiving process, flexible timing, and a handful of simple ingredients, you’ll get a chewy, golden loaf with an airy crumb that rivals any bakery. Plus, you don’t need a fancy Dutch oven—a roasting pan works just as well! Here’s how to make this perfect bread, adapted from my own kitchen experiments to ensure a tall, flavorful loaf every time.
Why You’ll Love Rustic No-Knead Bread
- No Kneading Required: A long fermentation and a few stretch-and-fold moves do all the work for you.
- Flexible Timing: Proof it in the fridge for as little as 4 hours or up to 3 days to suit your schedule.
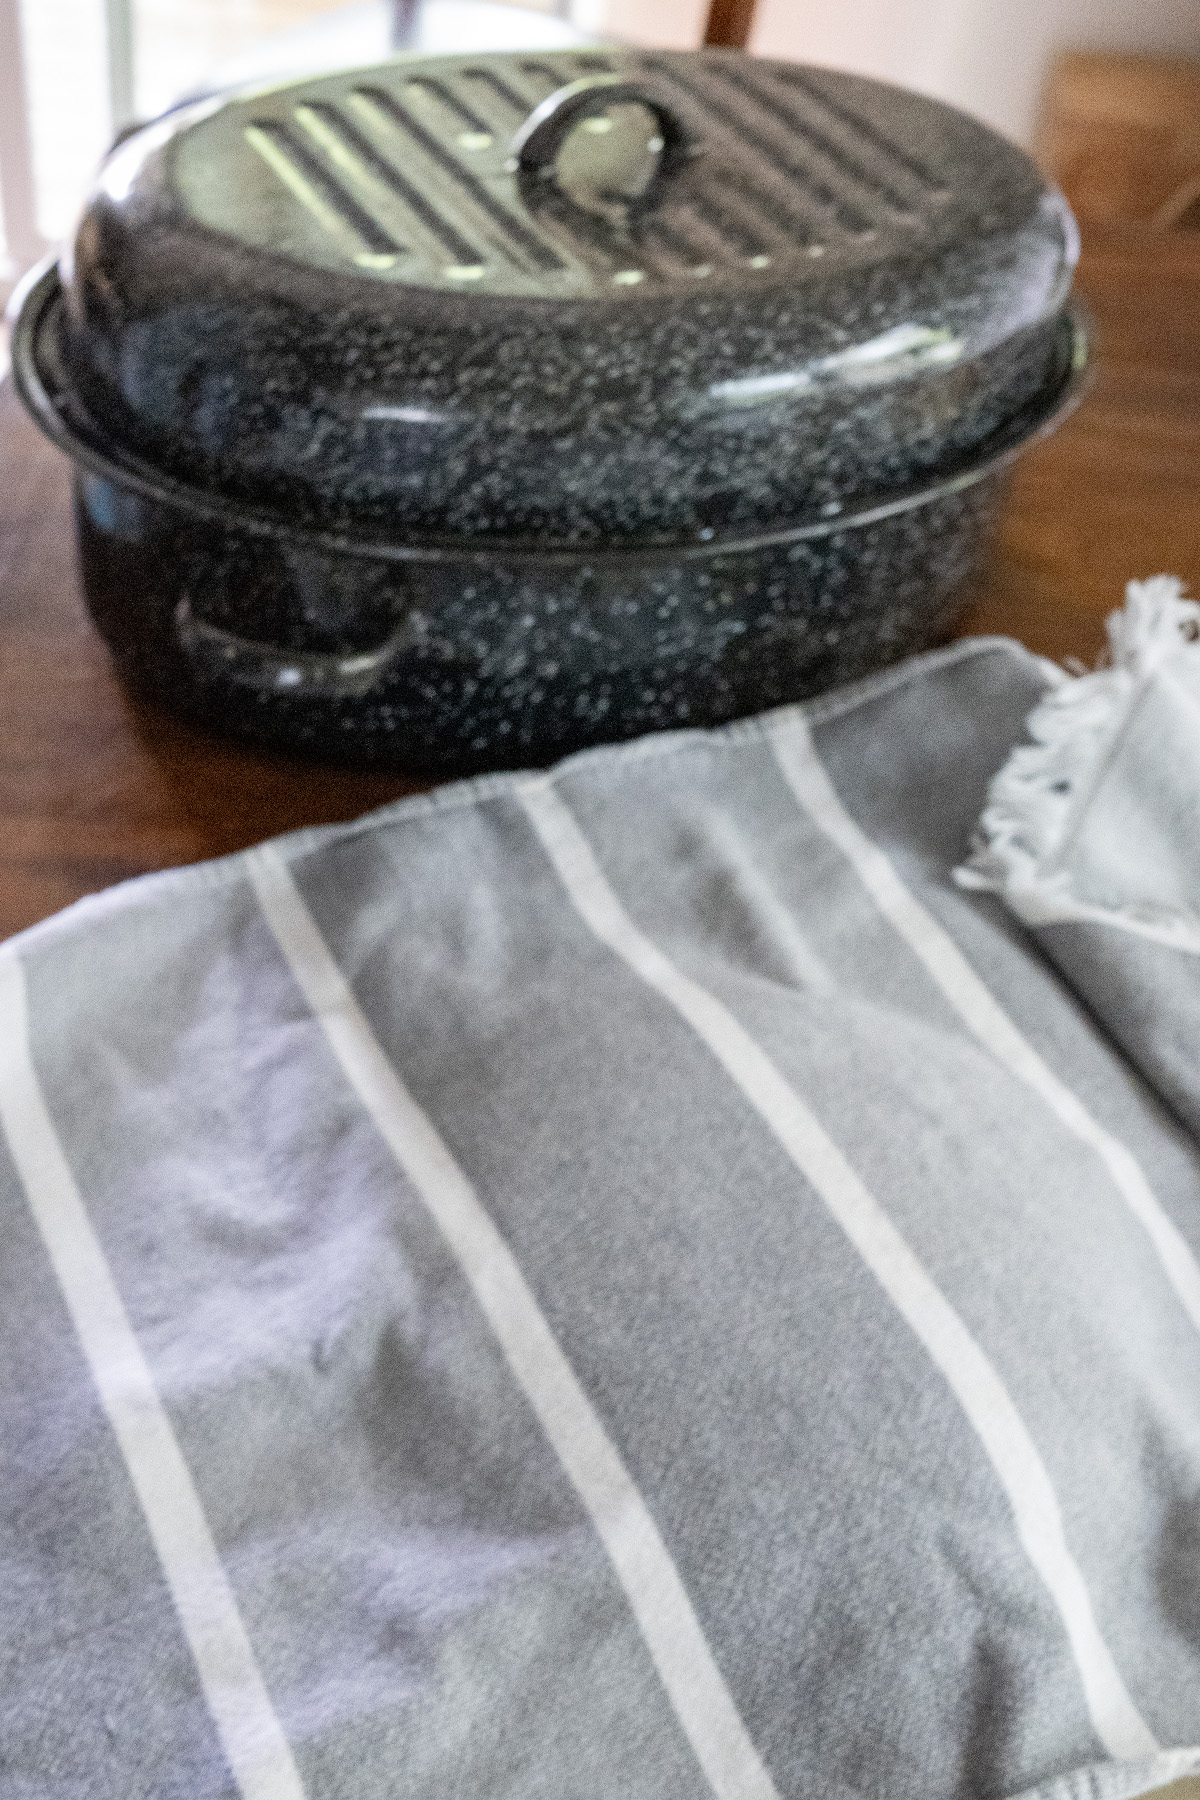
- Versatile Baking: Use a roasting pan or Dutch oven, with a clever ice cube trick for a chewy crust.
- Forgiving Process: No need to stress about exact timing for stretch and folds—this dough is laid-back.
Why This Bread Works
The long fermentation and stretch and folds build flavor and structure without kneading. The cold proof firms the dough, preventing it from spreading flat (a common issue with wet no-knead doughs). Baking in a hot roasting pan with steam mimics a professional oven, giving you that crusty, artisan loaf. Plus, the flexibility to proof for days makes it ideal for busy folks.
Stretch, Fold, & Rest: The Secret to Rustic Bread
If you’re new to bread baking, the term “stretch and fold” might sound fussy, but it’s a simple, game-changing technique that makes this no-knead bread so special—and it’s your first step toward mastering sourdough. Combined with the recipe’s resting periods, these steps build structure, flavor, and that airy, artisan texture you love, all with minimal effort. Let’s break it down and see why this recipe is a perfect bridge to sourdough baking.

What Are Stretch & Folds, & Why Do Them?
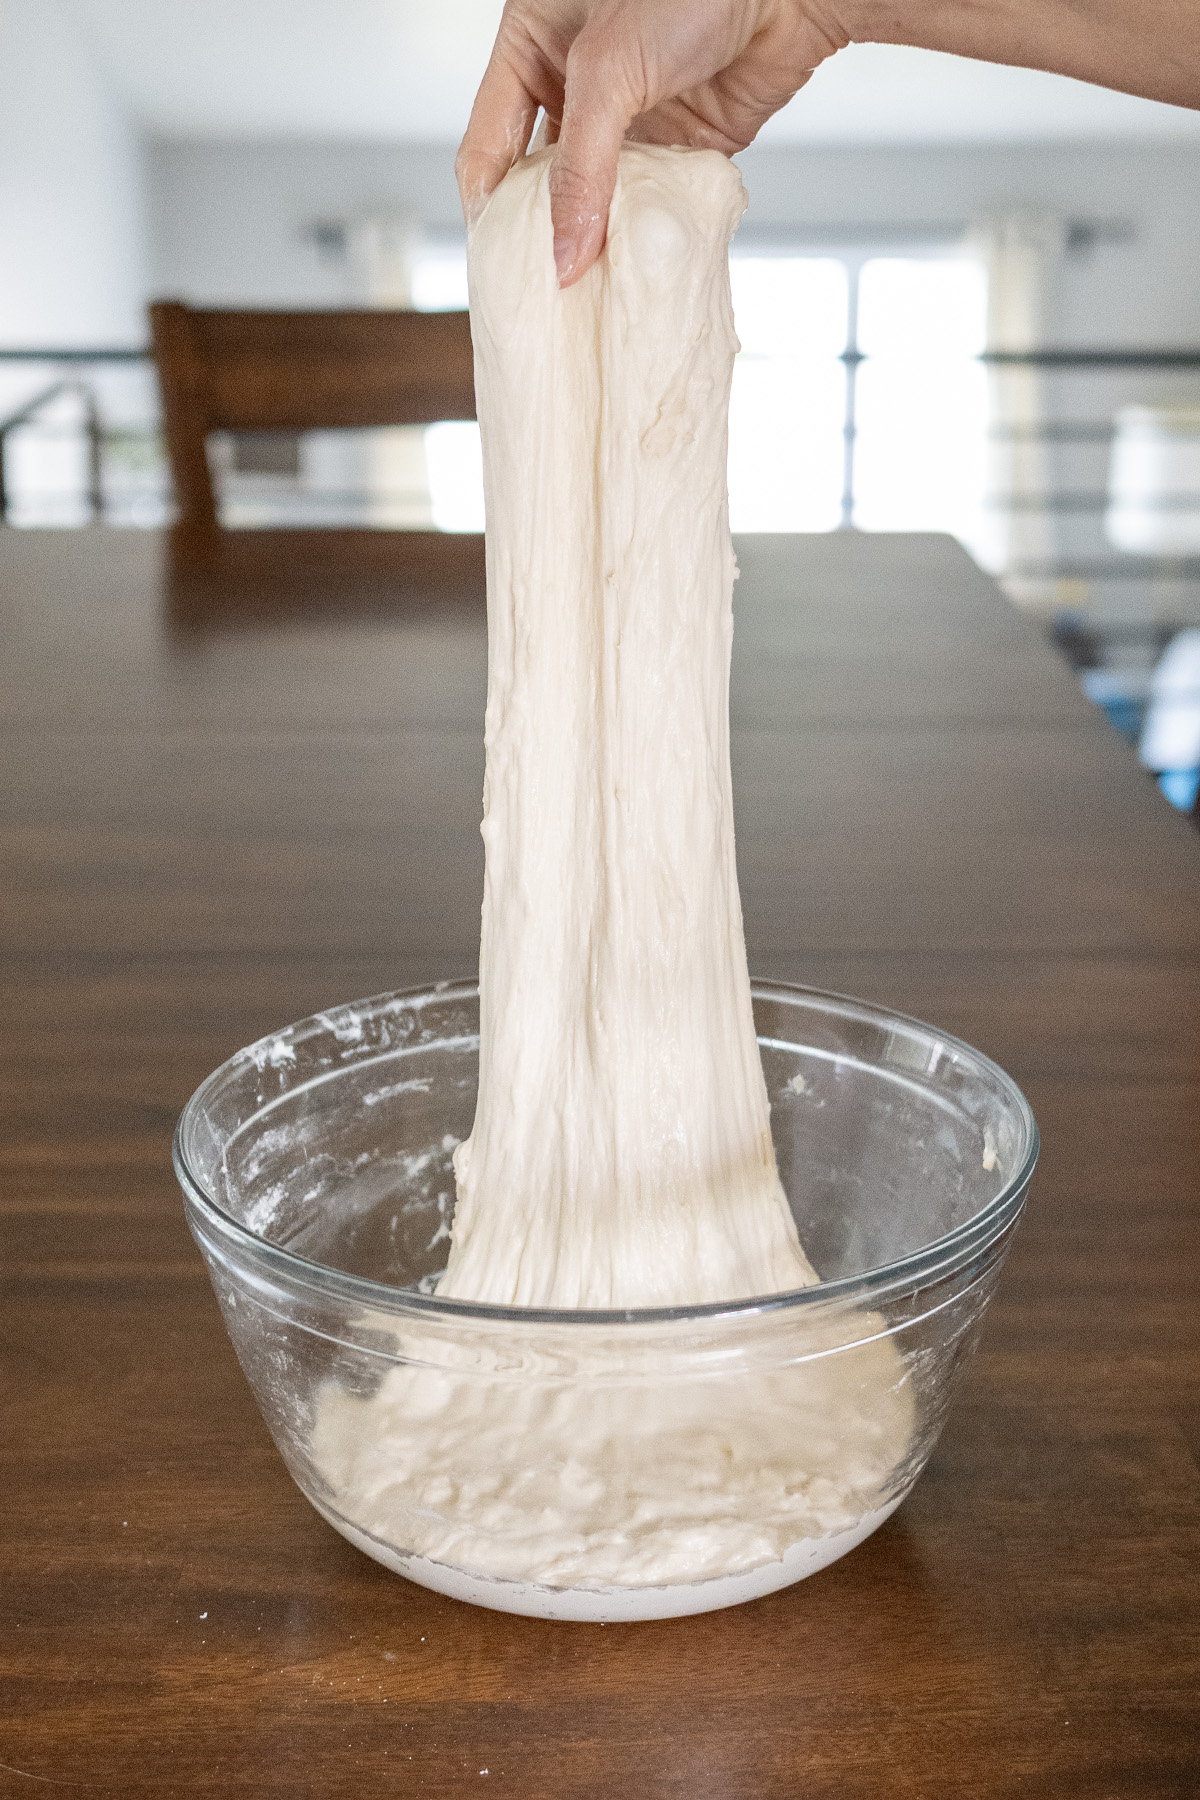
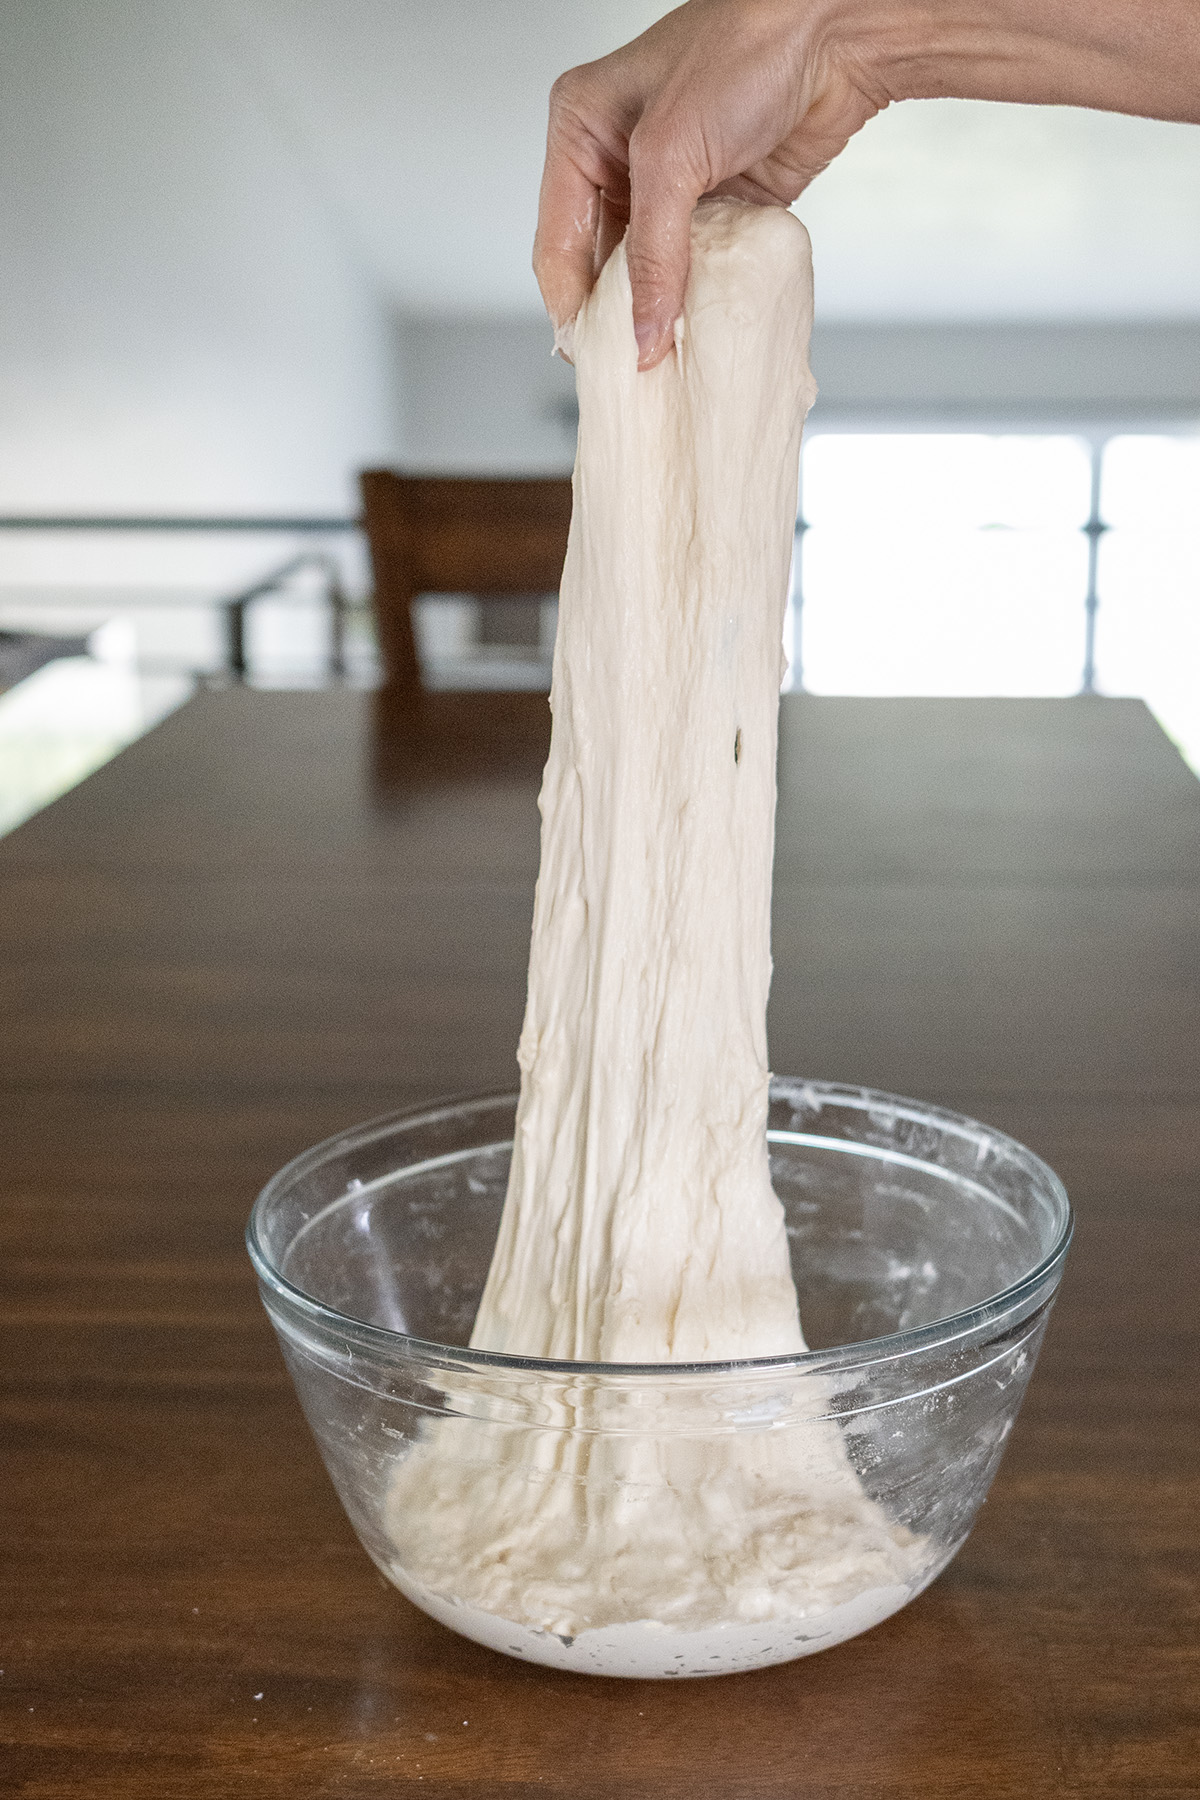
Instead of kneading, this recipe uses three sets of stretch and folds during the first 2–3 hours of the 12-hour initial rise. Here’s how it works: you wet your hands, grab one side of the dough, stretch it upward gently, and fold it over the center. Rotate the bowl 90 degrees and repeat for all four sides. That’s one set! You do this three times, roughly 30 minutes apart, though the timing is super forgiving—fit it into your day however it works.
Why Bother with Stretch & Folds:
- Strengthen the Dough: They align gluten strands, giving the dough structure to hold its shape and trap air bubbles for that airy crumb. This prevents the flat loaf I struggled with early on!
- Improve Texture: The gentle folds create a network of gluten that results in a chewy, open crumb, like artisan bread.
- Keep It Easy: No kneading means less mess and effort, but you still get a professional-quality loaf.
The beauty of this recipe is its flexibility—you don’t need to watch the clock. Just get those three sets in, and the dough will thank you with a tall, crusty loaf.
The Power of Resting Periods
This recipe has three resting phases: a 12-hour initial fermentation, a 4-hour to 3-day cold proof in the fridge, and a 1-hour second rise at room temperature. Each serves a purpose:
- 12-Hour Initial Fermentation: This long, slow rise develops deep flavor as the yeast ferments the flour. It also allows gluten to form naturally, making the dough stretchy and bubbly without kneading. The stretch and folds happen here, boosting structure.
- 4-Hour to 3-Day Cold Proof: Refrigerating the dough firms it up, making it easier to shape with a wet bench scraper (my favorite trick!). It also slows fermentation, enhancing flavor complexity. The flexibility to proof for up to 3 days (like my 2-day proof when life got busy) is a lifesaver for fitting baking into your schedule.
- 1-Hour Second Rise: After the cold proof, this brief rest lets the dough relax at room temperature, ensuring it rises evenly in the oven for that perfect oven spring.
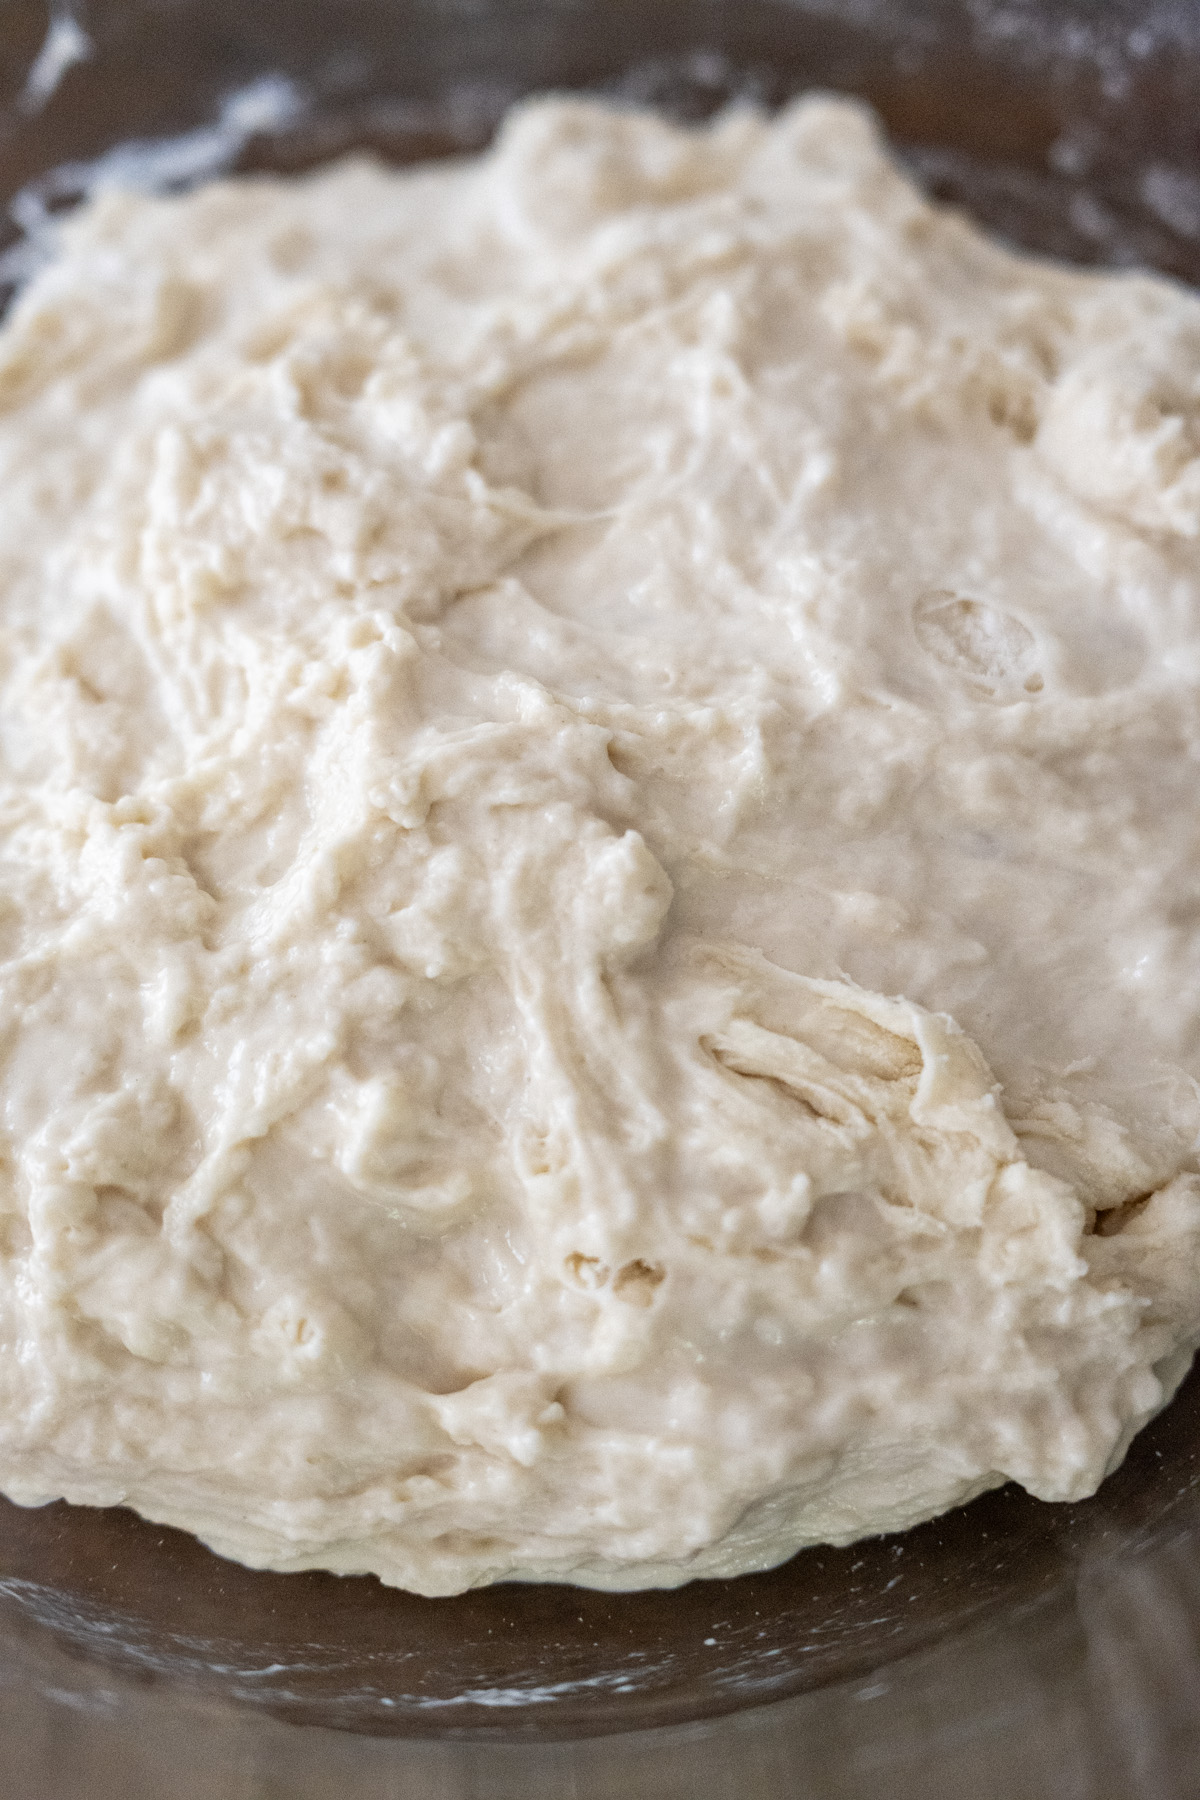
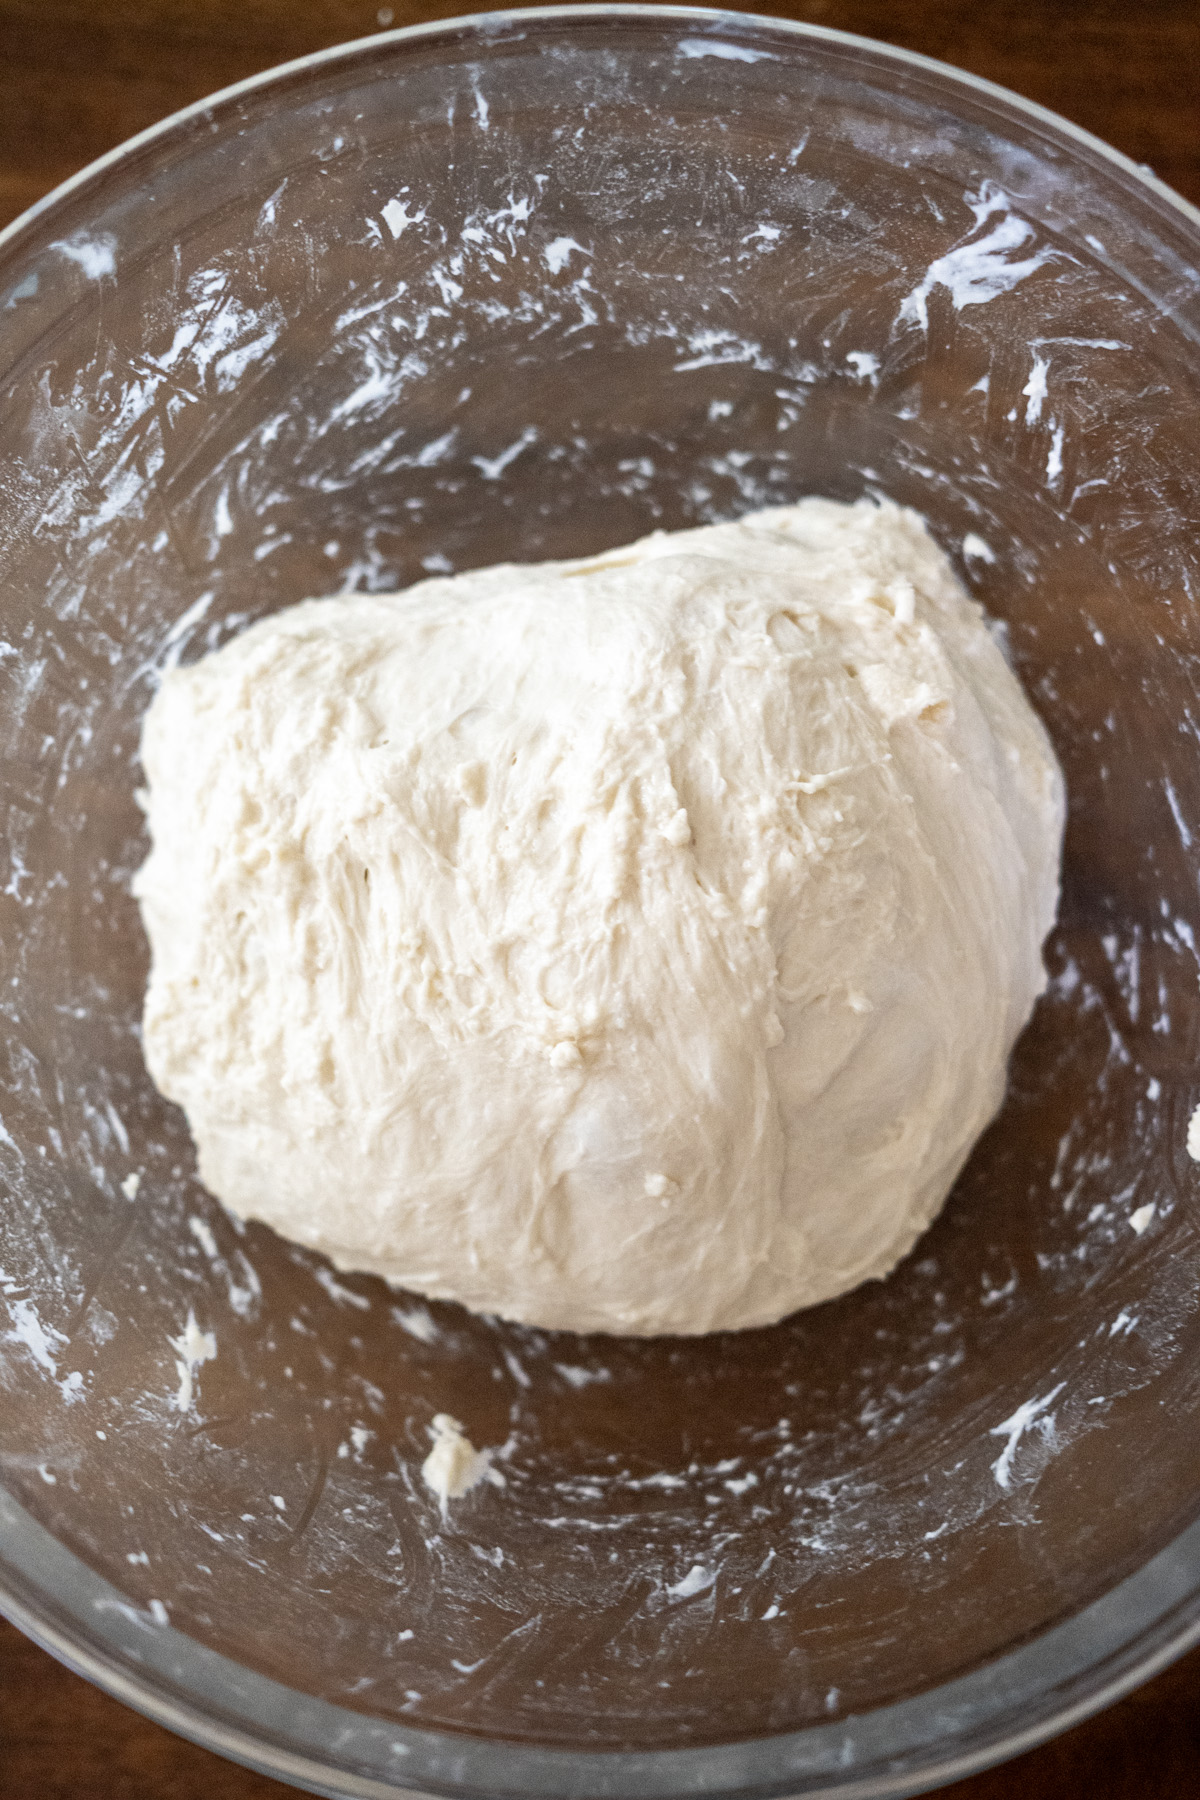
Together, these rests create a flavorful, well-structured loaf with minimal hands-on time, mimicking the slow, patient process of artisan baking. Below is my 2-day cold proofed dough. Look at how much it’s risen and with only 1/4 tsp of yeast!


A Bridge to Sourdough
If you’ve ever dreamed of baking sourdough but felt intimidated by starters and precise schedules, this bread is your perfect stepping stone. Here’s why:
- Long Fermentation: The 12-hour rise and optional multi-day cold proof mimic sourdough’s slow fermentation, which develops tangy, complex flavors. You’re getting used to the patience sourdough requires, but with instant yeast’s reliability.
- Stretch and Folds: These are a staple in sourdough baking, used to build dough strength without kneading. Practicing them here prepares you for handling wet sourdough doughs.
- Flexible Timing: Like sourdough, this recipe doesn’t demand rigid schedules. The 4-hour to 3-day cold proof is similar to how sourdough bakers retard dough in the fridge.
- Minimal Equipment: Using a roasting pan (or Dutch oven) introduces you to the steam-trapping method that’s common in sourdough baking.
- Flavor Development: The extended rests and extra flour create a robust loaf that’s not far off from a mild sourdough. You’re training your palate for what’s to come.
I’m still perfecting my sourdough but this bread is an excellent precursor to sourdough. The process—mixing, stretch and folds, long rises, and baking in a hot roasting pan—stays nearly identical with sourdough. This recipe will help build your confidence with wet doughs, shaping (like my bench scraper drag), and steam tricks (those ice cubes!), so you’ll feel ready to tackle a sourdough when the time comes.

Variations of This Rustic No-Knead Bread to Try
- Add Mix-Ins: During the final stretch and fold, mix in 1/2 cup olives, rosemary, or sesame seeds for extra flavor.
- Cheesy Herb Bread: Add 1/2 cup grated sharp cheddar and 1 tbsp dried herbs (like thyme or oregano) during the final stretch and fold. Sprinkle extra cheese on top before baking for a crispy crust.
- Whole Grain Twist: Swap 1 cup all-purpose flour for whole wheat, keeping at least 2 cups all-purpose or bread flour for structure.
- Sweet Cinnamon Swirl: After the cold proof, spread 2 tbsp softened butter, 2 tbsp brown sugar, and 1 tsp cinnamon over flattened dough. Roll into a log, and shape. Perfect for breakfast toasts!
Final Thoughts
This rustic no-knead bread is proof that you don’t need fancy equipment or hours of hands-on time for incredible bread. The flexible timing, simple techniques, and roasting pan option make it accessible for everyone. Try it, adapt it to your schedule, and share your results—I’d love to hear how it turns out!
Happy baking!
Rustic No-Knead Bread
Print Recipe
EQUIPMENT (affiliate links)
- Wooden spoon or spatula
- Wet bench scraper
- Clean kitchen towel
- Covered roasting pan (4–6 qt, oven-safe to 450°F) or Dutch oven
- Oven mitts
Ingredients
- 4 c. unbleached all-purpose flour or bread flour for chewier texture (scooped and leveled) 500 g
- ¼ tsp instant yeast or active dry yeast
- 1 ½ tsp salt
- 1 ½ c. lukewarm water, (about 100°F/38°C) 360 g
- 1 tbsp honey 21 g 21 g
Instructions
Prepare the Dough
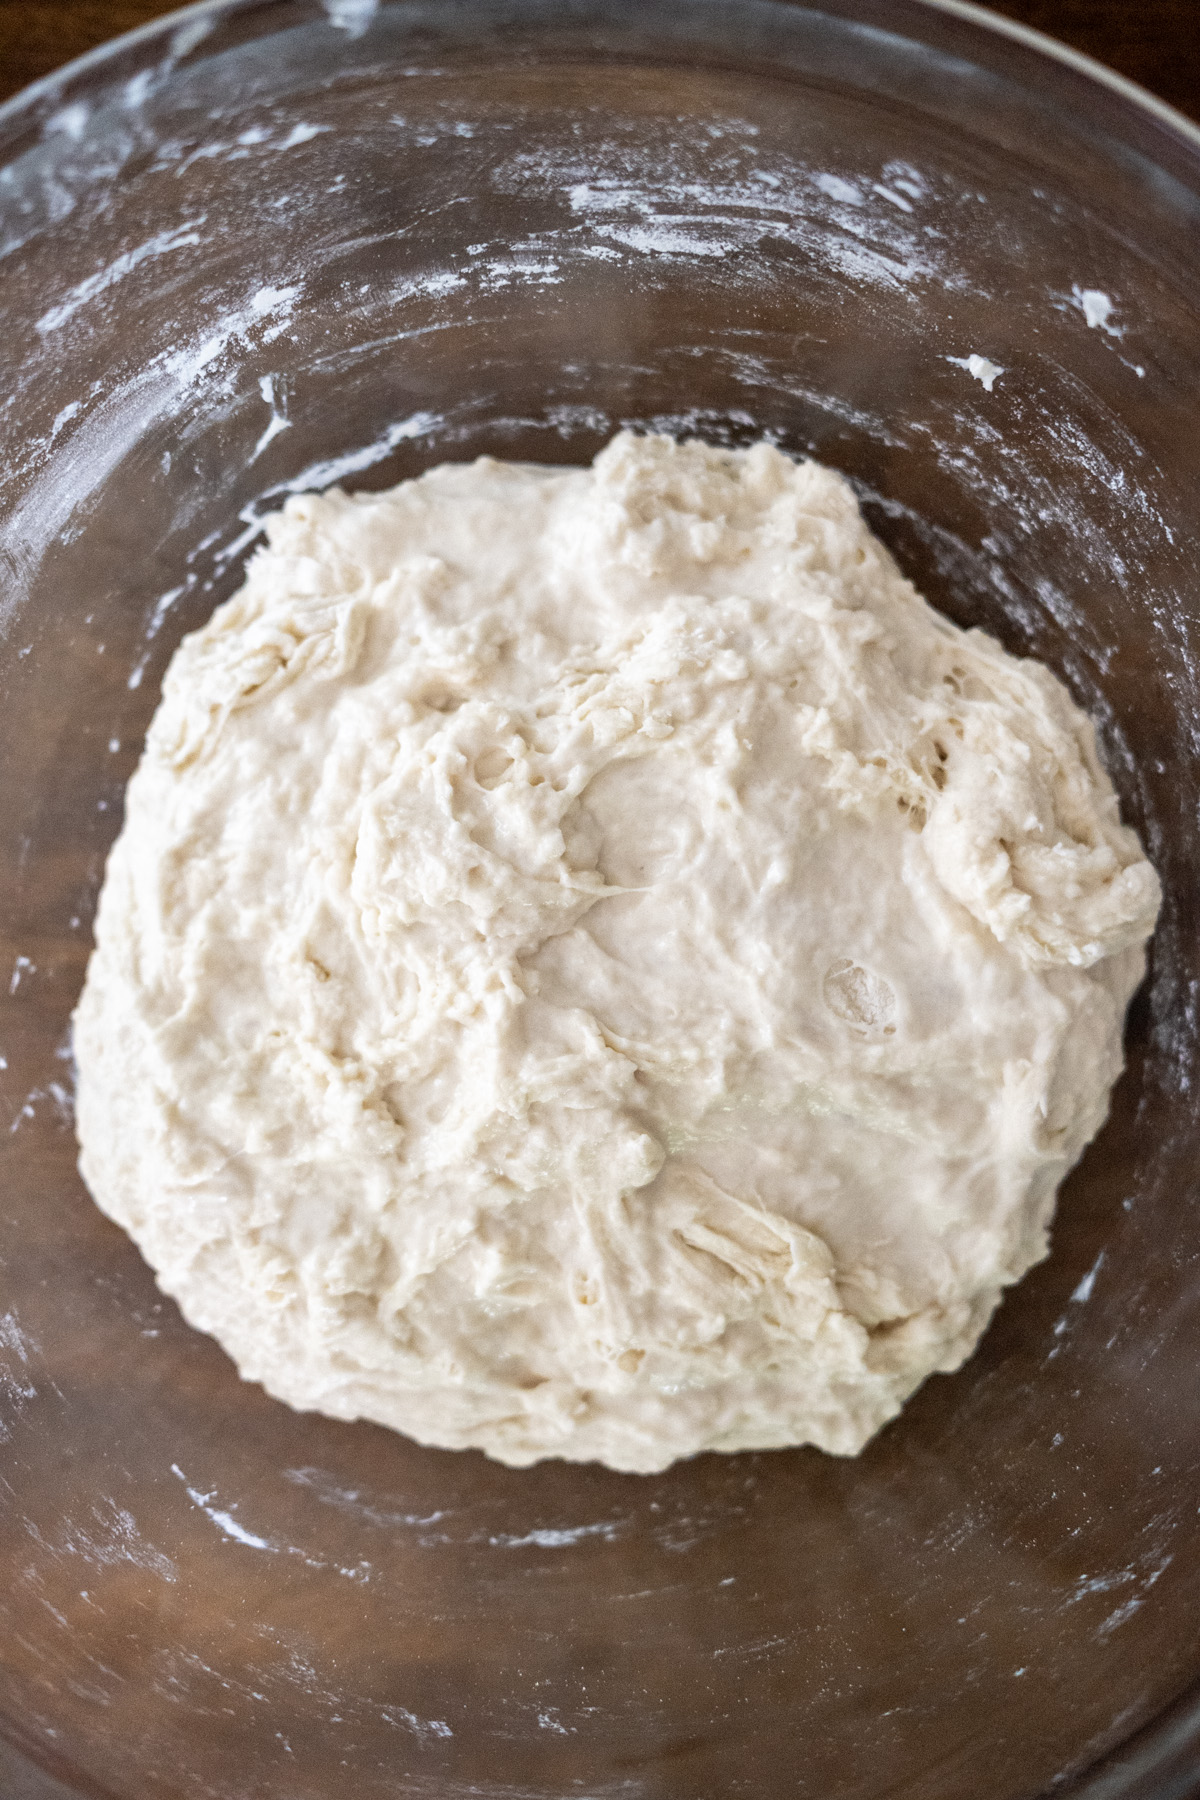
- In a large mixing bowl, combine flour, yeast, salt, and honey. Add lukewarm water and stir with a wooden spoon or spatula until a shaggy, sticky dough forms. Cover with a shower cap or plastic wrap.
Initial Fermentation (12 Hours)
- Let dough rise in a warm, draft-free spot (70–75°F/21–24°C) for 12 hours, until doubled and bubbly. During the first 2–3 hours, perform 3 sets of stretch and folds (roughly 30 minutes apart, but timing is flexible): Wet hands, stretch one side of dough upward, fold over center, rotate bowl 90 degrees, and repeat for all sides. Cover with shower cap between sets. After 3 sets, let rise undisturbed.
Cold Proof (4 Hours & Up To 3 Days)
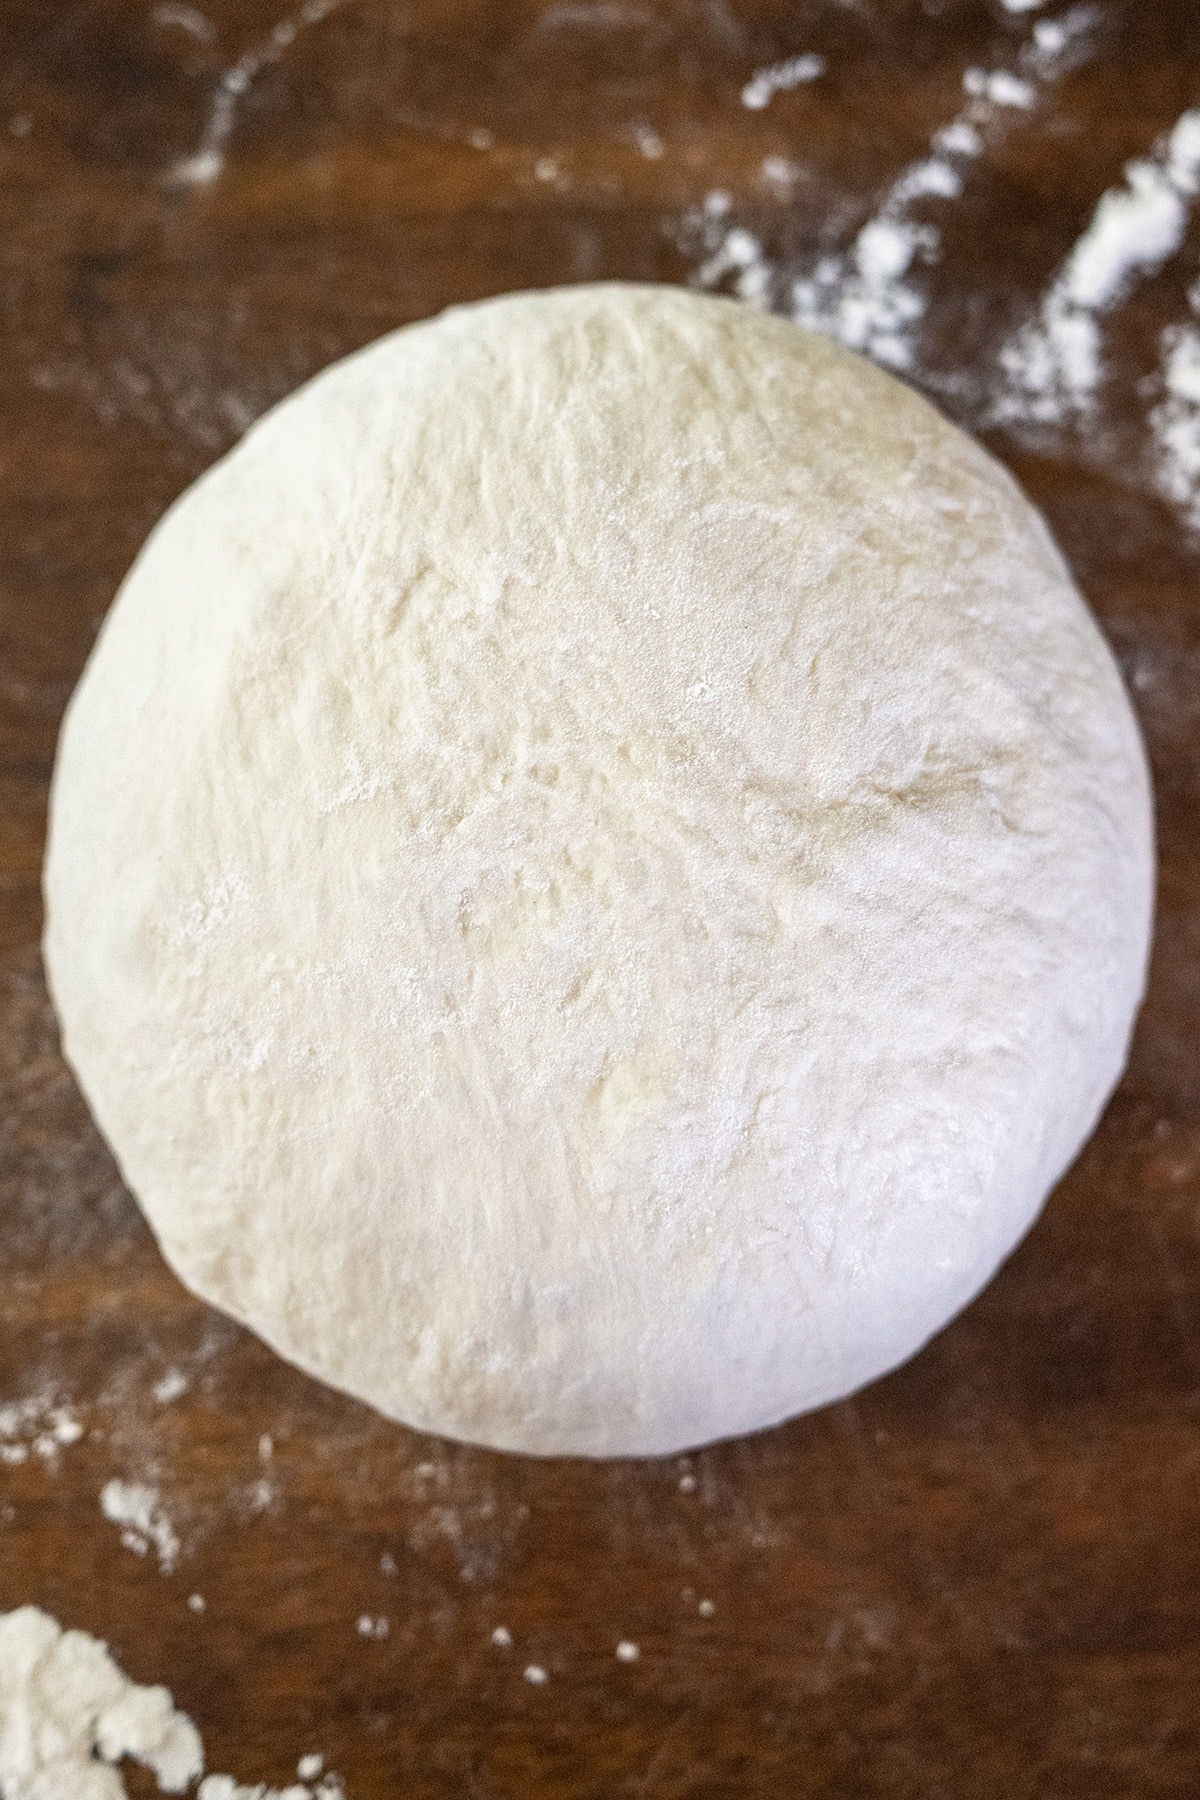
- Lightly flour a work surface. Gently scrape dough onto surface. Using a wet bench scraper at a 45-degree angle, drag dough to form a tight ball, avoiding deflation. Place seam-side down on parchment paper or in a floured proofing basket/bowl/loaf pan. Cover with shower cap or plastic wrap. Refrigerate for 4 hours to 3 days.
Second Rise (1 Hour)
- Remove dough from fridge, place on parchment (if not already), cover loosely with a kitchen towel, and let rest at room temperature for 1 hour.
Bake (45 Minutes Total)
- Preheat oven to 450°F (230°C). Place roasting pan and lid (or Dutch oven) in oven to heat (45 minutes for roasting pan, 30 minutes for Dutch oven).
- Transfer dough (on parchment) to hot roasting pan or loaf pan inside it. Tuck 2–3 ice cubes under parchment for a chewy crust. Cover with lid and bake 5 minutes. Remove lid, score top with a 1/4-inch deep slash, and replace lid. Bake covered for 20 more minutes (25 minutes total). Remove lid and bake 15 minutes, until golden and internal temperature reaches 200–210°F (93–99°C).
- Remove bread from pan and cool on a wire rack for 1 hour before slicing.
Notes
- Cold Proof Flexibility: 4 hours is enough, but up to 3 days in the fridge adds flavor and fits busy schedules. Check for sour smells beyond 3 days.
- Roasting Pan Tip: Use a loaf pan inside a large roasting pan to prevent spreading. Add a dish of hot water on a lower rack if the lid isn’t tight.
- Dutch Oven Users: Preheat for at least 30 minutes for best results.
- Shower Cap Hack: A reusable, eco-friendly cover for fermentation and proofing.
- Storage: Store in a paper bag or towel for 2 days. Freeze sliced bread in an airtight bag for up to 1 month. Reheat at 350°F for 5 minutes to revive crust.
- Mix-Ins: During final stretch and fold, add 1/2 cup olives, rosemary, or sesame seeds for extra flavor.
- Whole Grain Twist: Swap 1 cup all-purpose flour for whole wheat or rye, keeping at least 2 cups all-purpose or bread flour for structure.
- Cheesy Herb Delight: Stir in 1/2 cup grated sharp cheddar and 1 tbsp dried herbs (thyme or oregano) during final stretch and fold. Sprinkle extra cheese on top before baking.
- Sweet Cinnamon Swirl: After cold proof, spread 2 tbsp softened butter, 2 tbsp brown sugar, and 1 tsp cinnamon over flattened dough, roll into a log, and shape.
As an Amazon Associate, I earn from qualifying purchases at no extra cost to you. Thank you for your support!
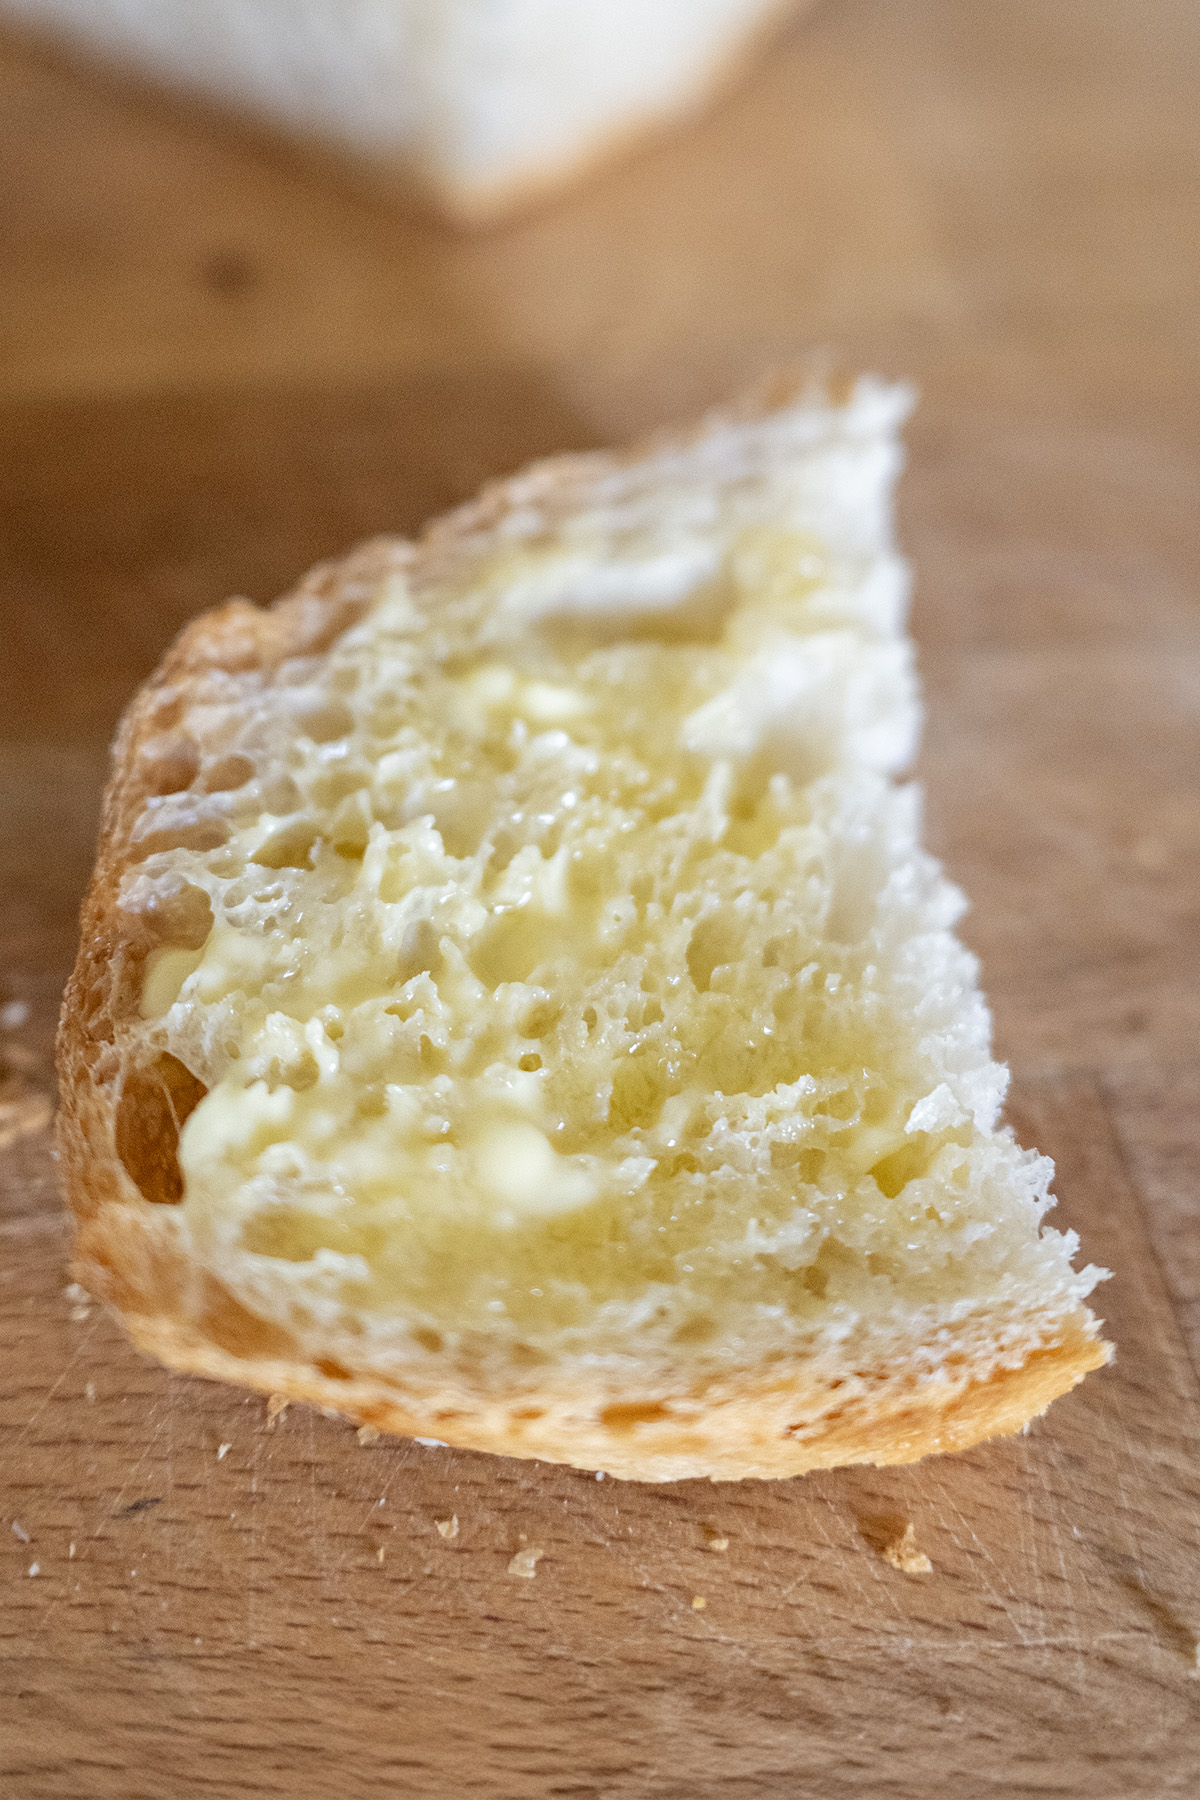
This bread has the perfect consistency. It makes great sandwich bread also pair as well with jams.
Sweet and savory would go well. Very dense in the middle you’re going to get a good bite of bread. The crust has a little bit of thickness to it, but not enough to make it hard. All over a great bread recipe.