How to Knead Bread Dough: Step-by-Step Guide to Perfect Bread
Kneading bread dough is one of the most satisfying—and crucial—steps in bread-making. It’s where the magic begins, transforming a shaggy mix of flour and water into a smooth, elastic dough ready to rise and bake into a perfect loaf. But how to knead bread dough properly? Whether you’re a beginner or a seasoned baker, mastering this technique can elevate your bread game. In this guide, I’ll break down the process, share tips for success, and explain why kneading matters for your bread’s texture and structure.
Why Kneading Matters
Kneading isn’t just about working out your arm muscles (though it’s a great workout!). It serves two key purposes in bread-making:
- Gluten Development: Kneading aligns and strengthens the gluten strands—the proteins in flour that give bread its structure. A well-kneaded dough traps gases during fermentation, leading to a light, airy crumb.
- Even Ingredient Distribution: It ensures water, yeast, salt, and flour are fully incorporated, creating a uniform dough that rises evenly.
Without proper kneading, your bread might turn out dense, flat, or uneven. So, let’s dive into how to knead bread dough the right way.

Tools You’ll Need
Before we start, gather these basics:
- A clean, lightly floured work surface (countertop or large cutting board).
- Your hands (the best tools for kneading!).
- A bench scraper (optional, for sticky dough).
- A bowl of dough, freshly mixed and ready to knead.
How to Knead Bread Dough: Step-by-Step
Here’s a foolproof method to knead bread dough by hand. It typically takes 8-12 minutes, depending on your dough and technique.
Step 1: Prepare Your Dough and Surface
- Mix your dough according to your recipe (flour, water, yeast, salt, etc.) until it forms a shaggy ball.
- Lightly dust your work surface with flour to prevent sticking. Too much flour can dry out the dough, so use sparingly.
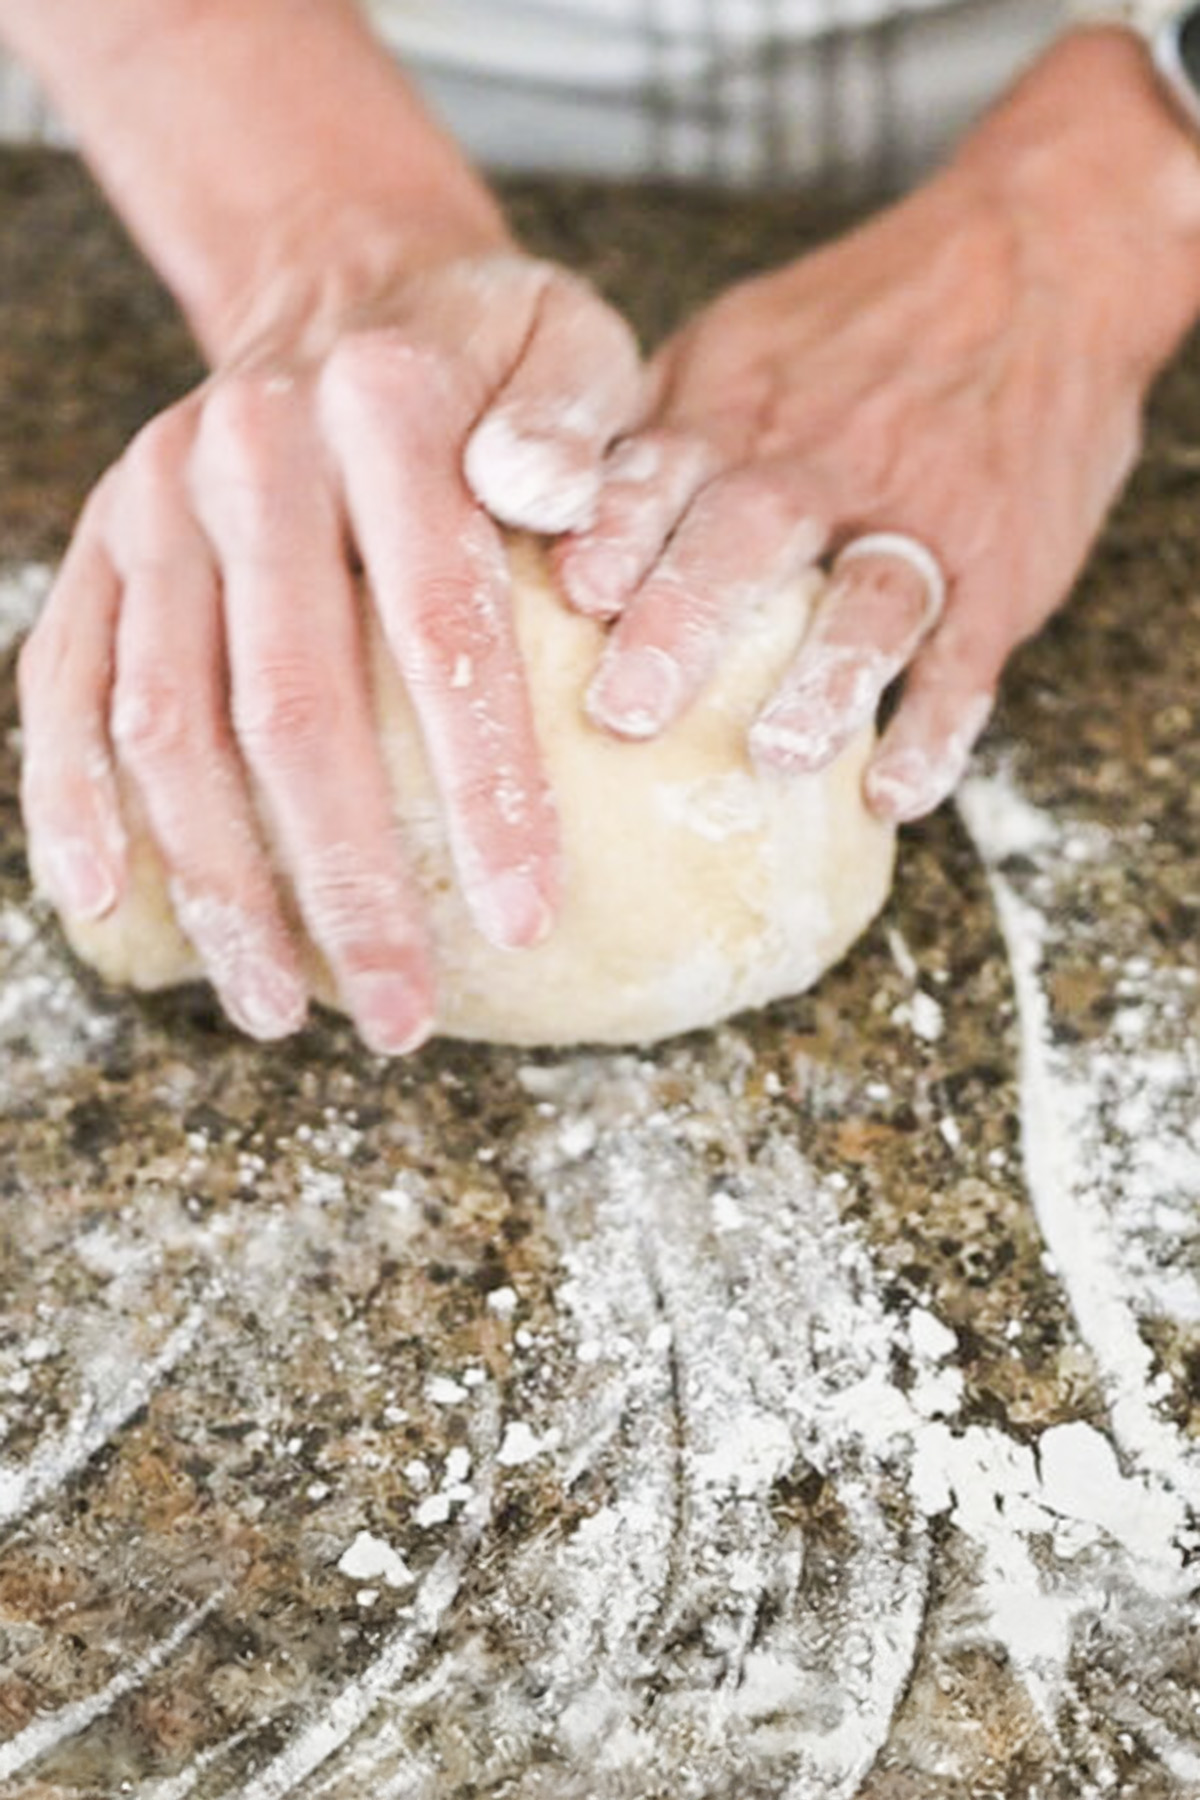
Step 2: Start Kneading
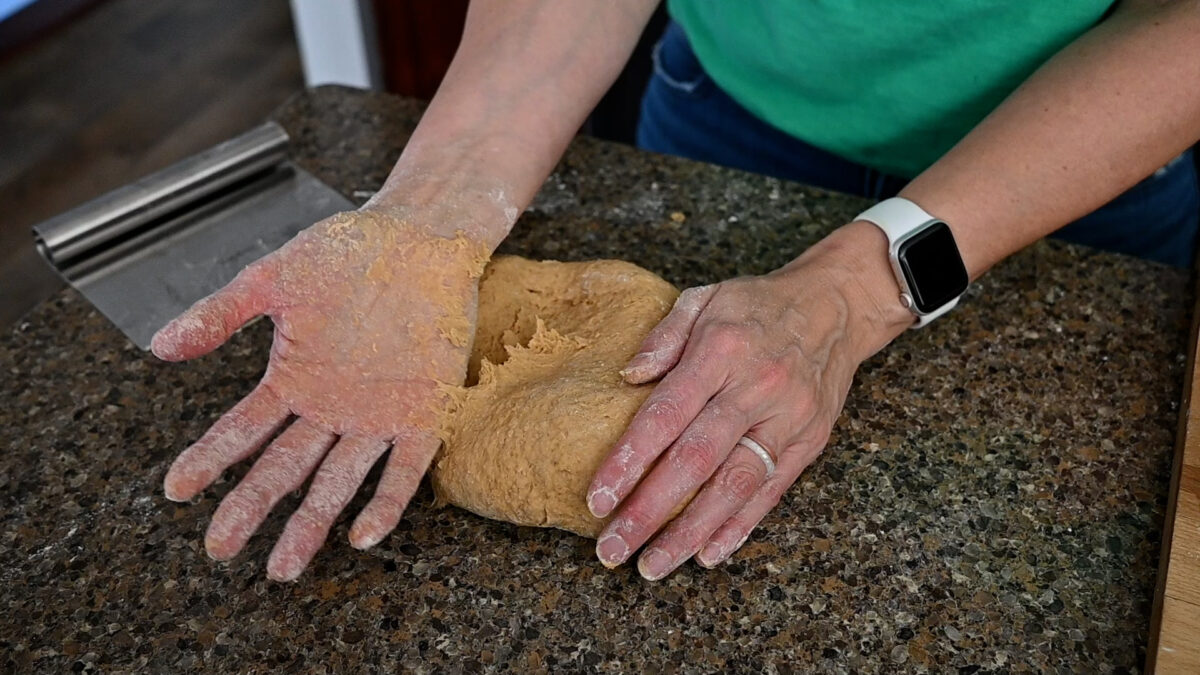
- Place the dough on your surface. If it’s sticky, lightly flour your hands.
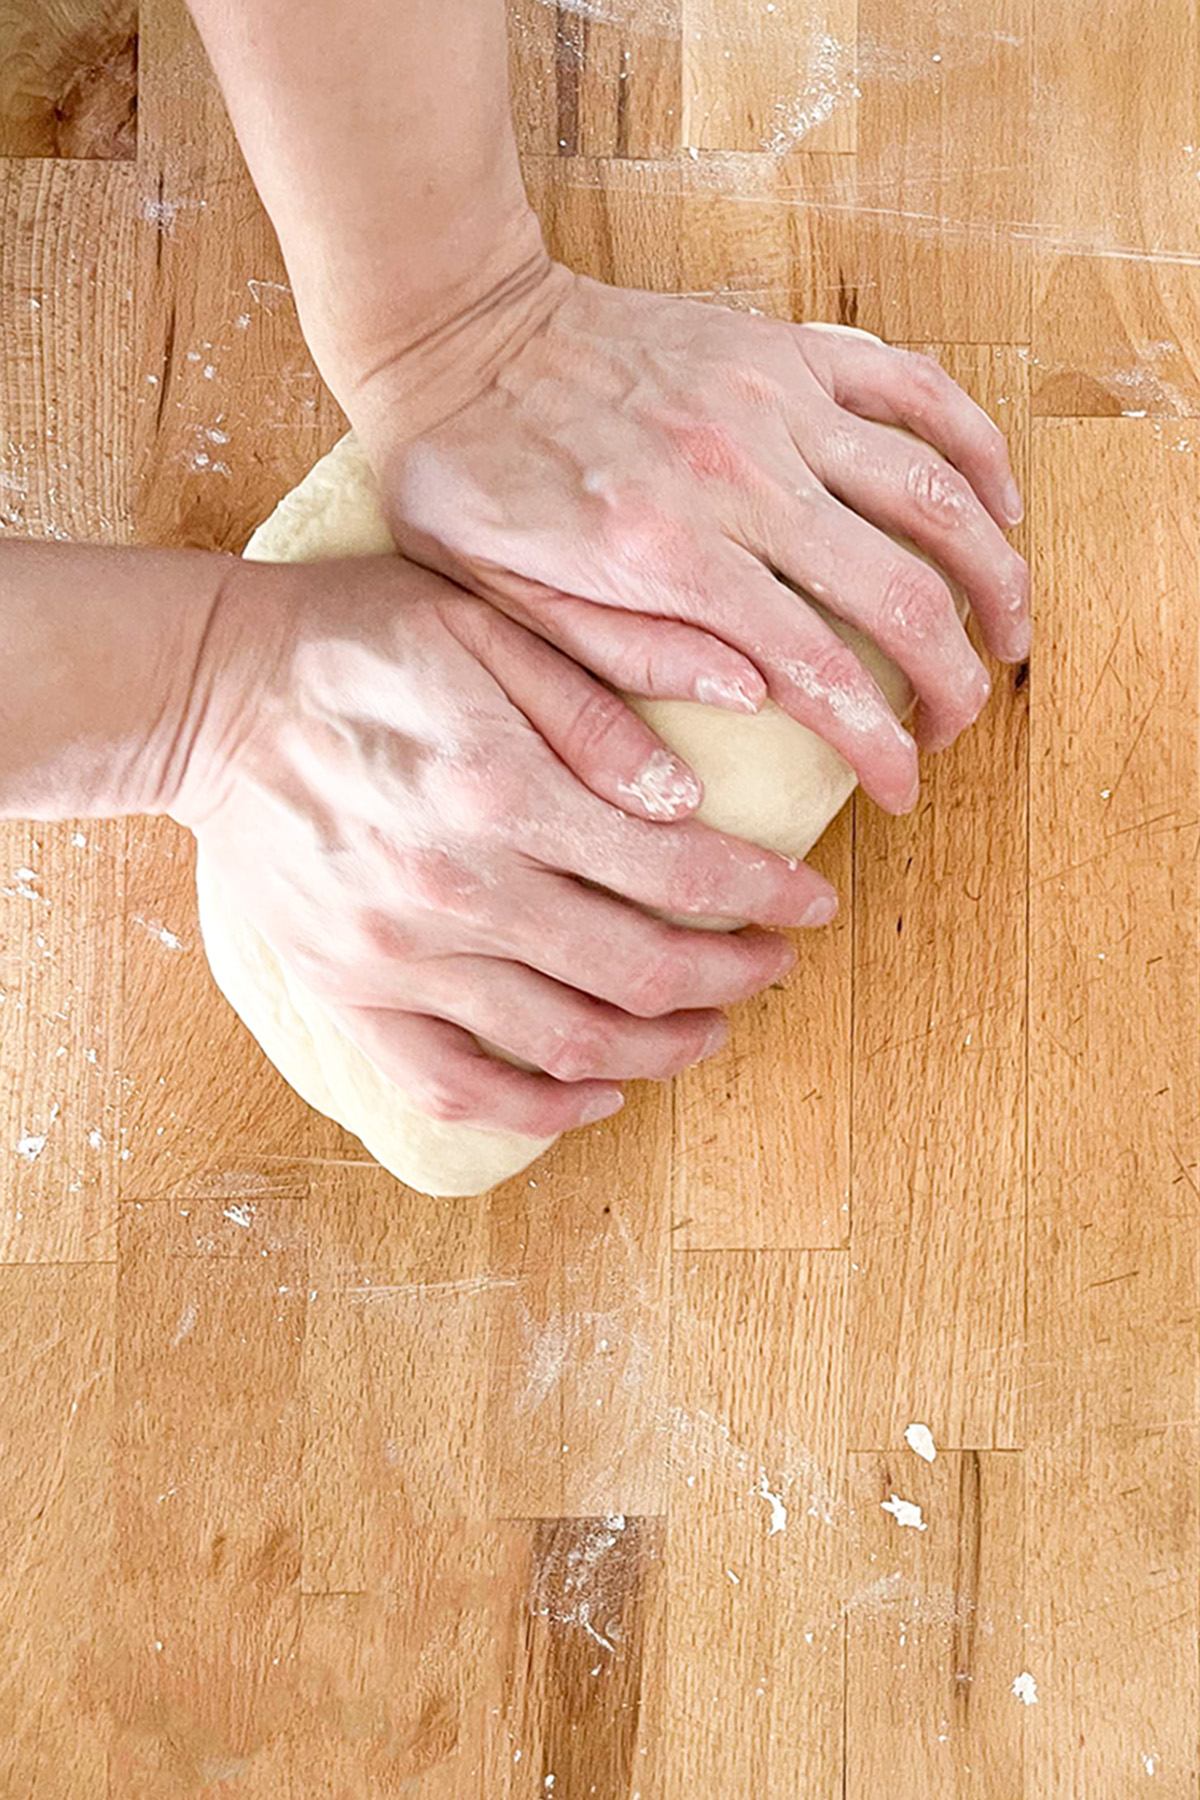
- Push the dough away from you with the heels of your hands, using firm but gentle pressure.
- Fold the dough in half toward you, then rotate it 90 degrees.

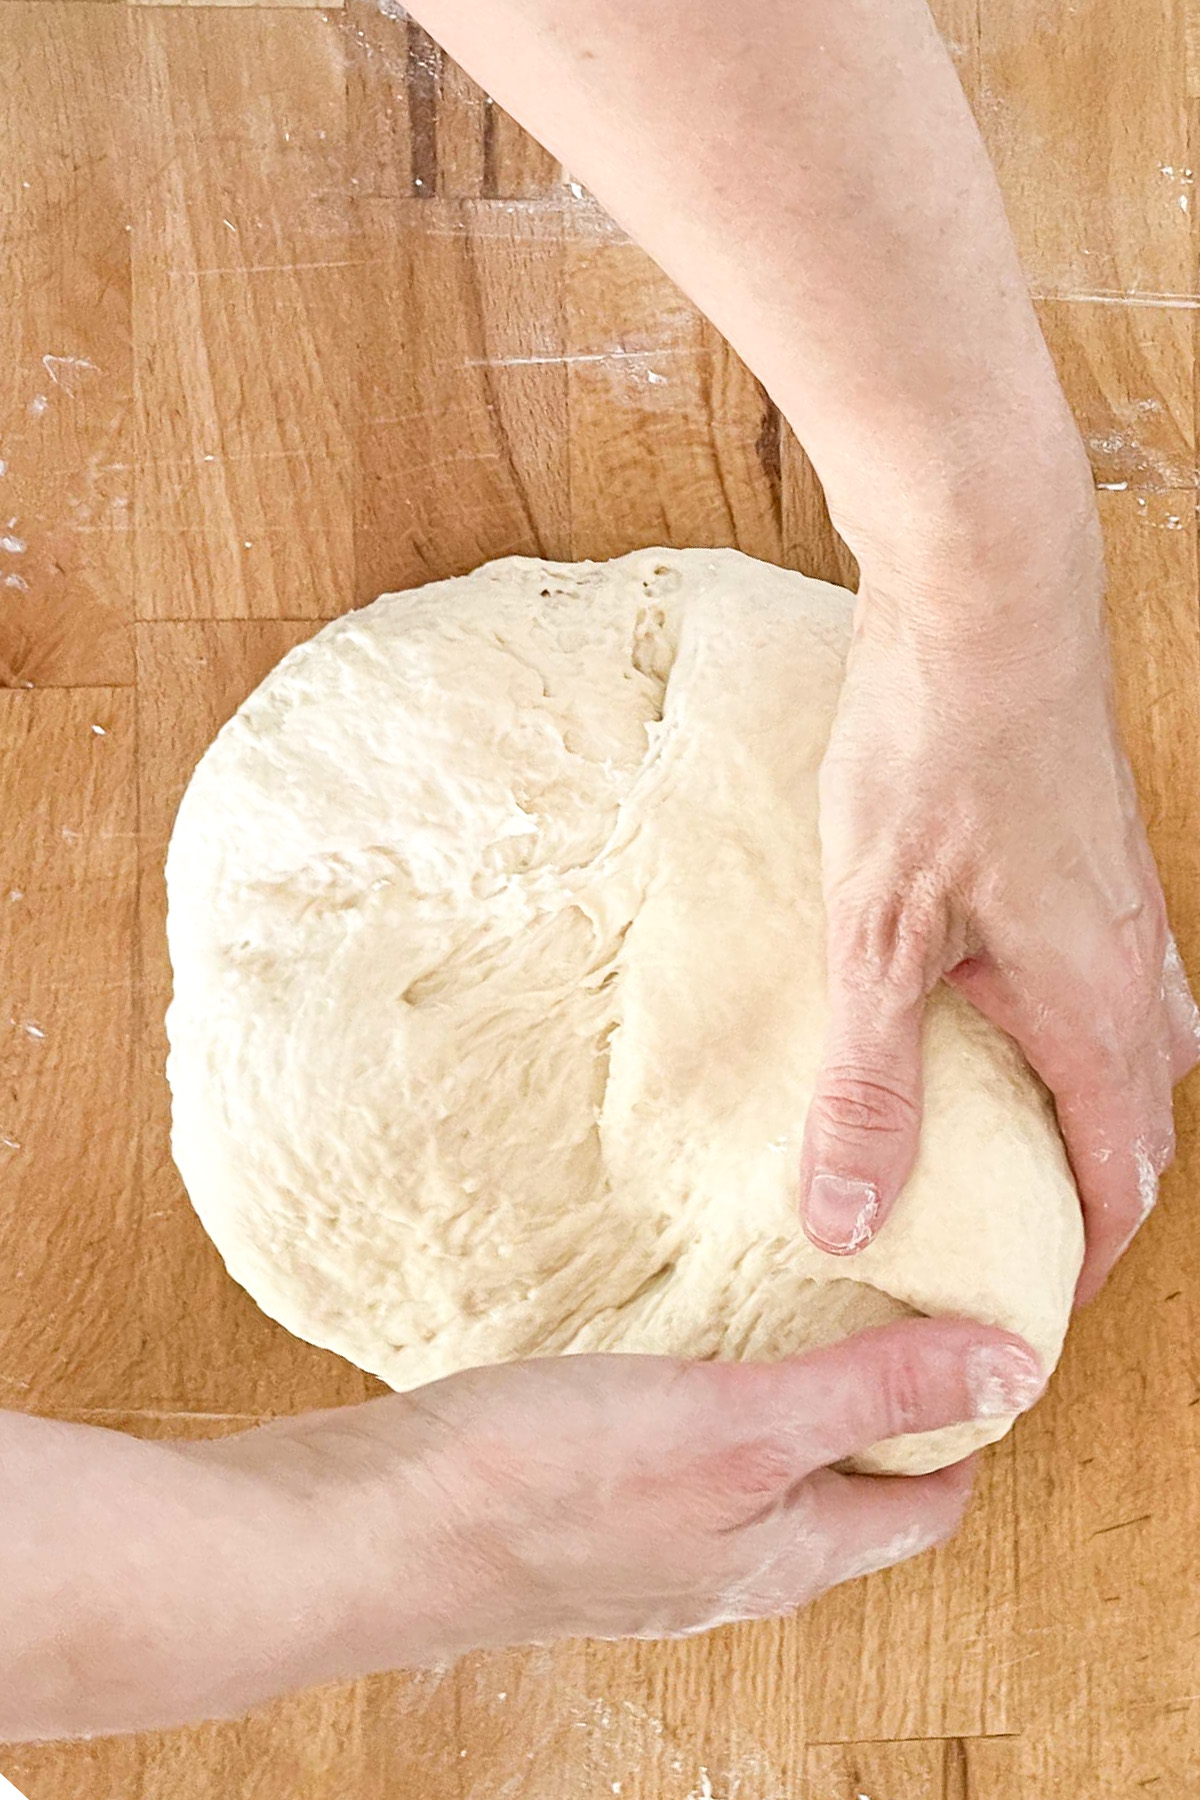
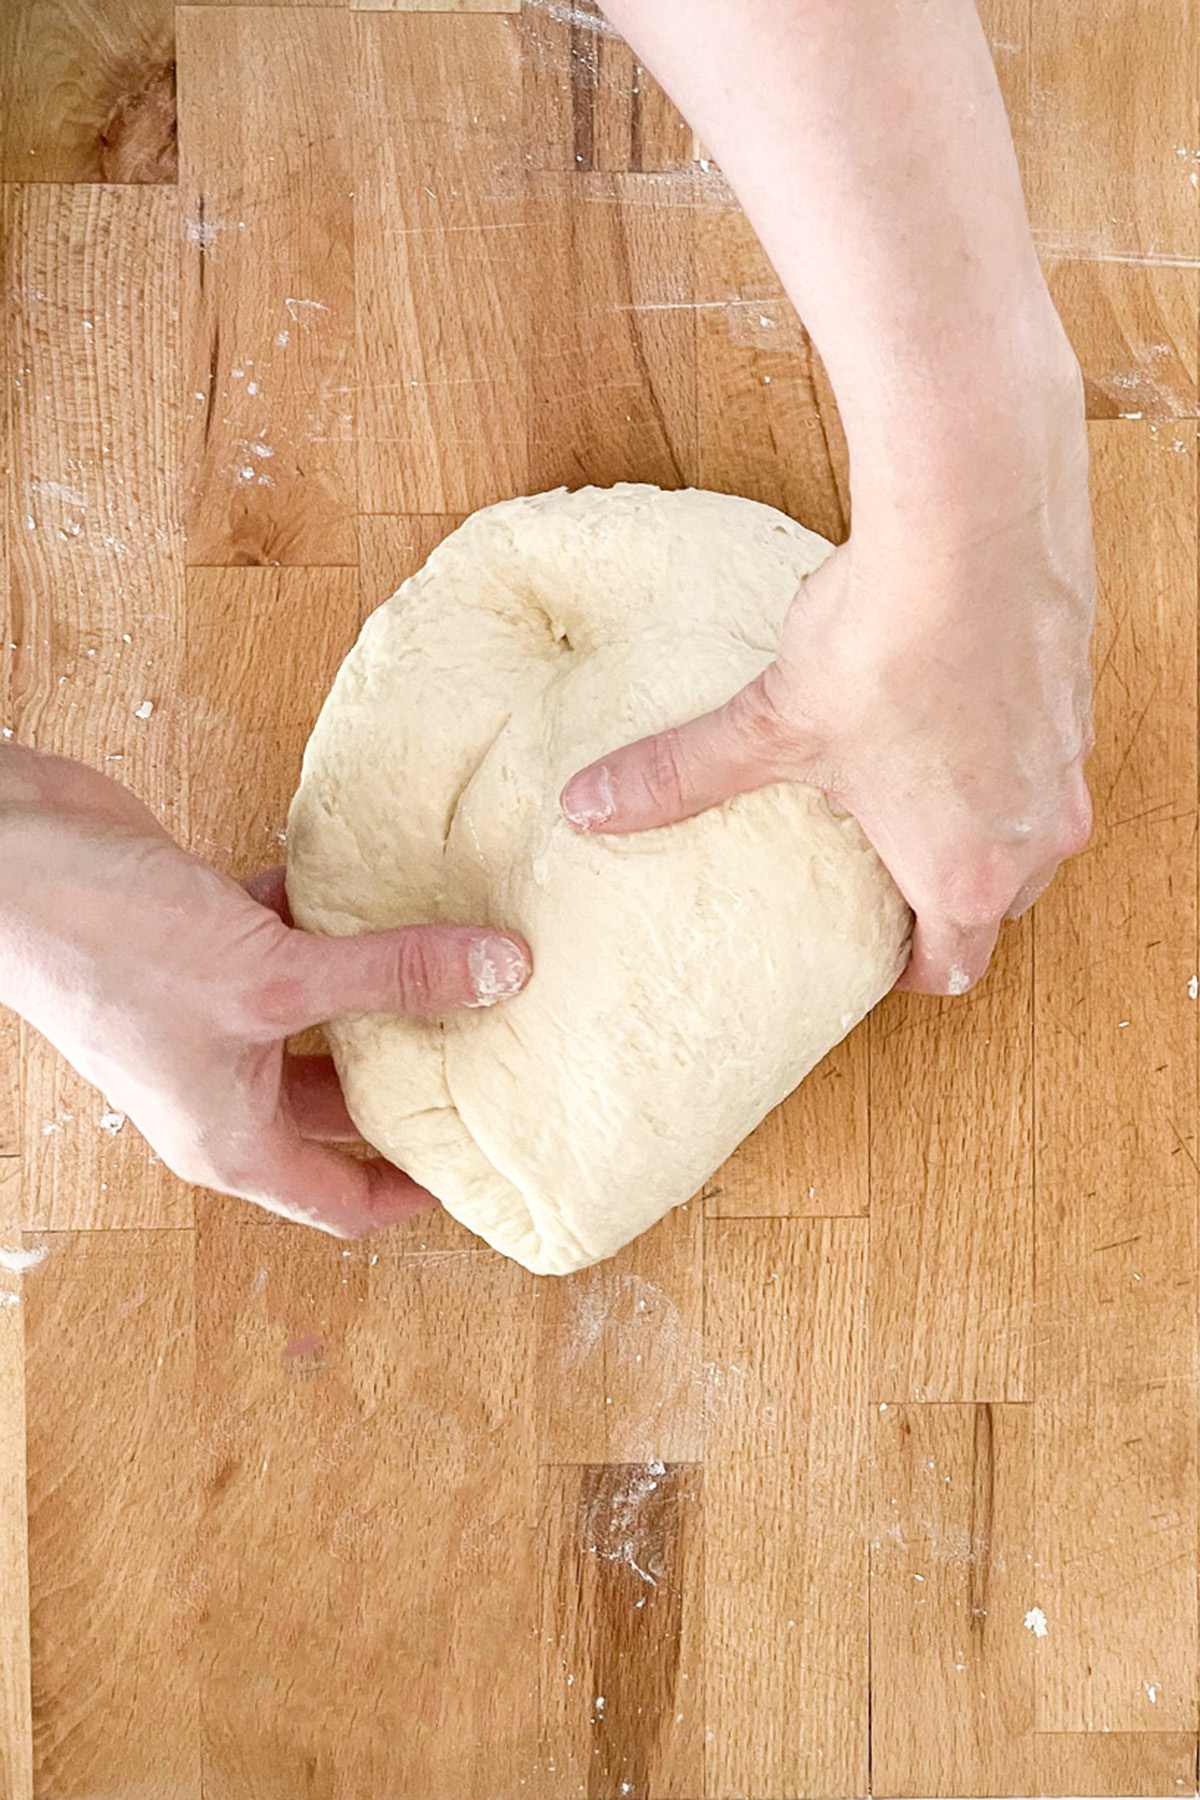
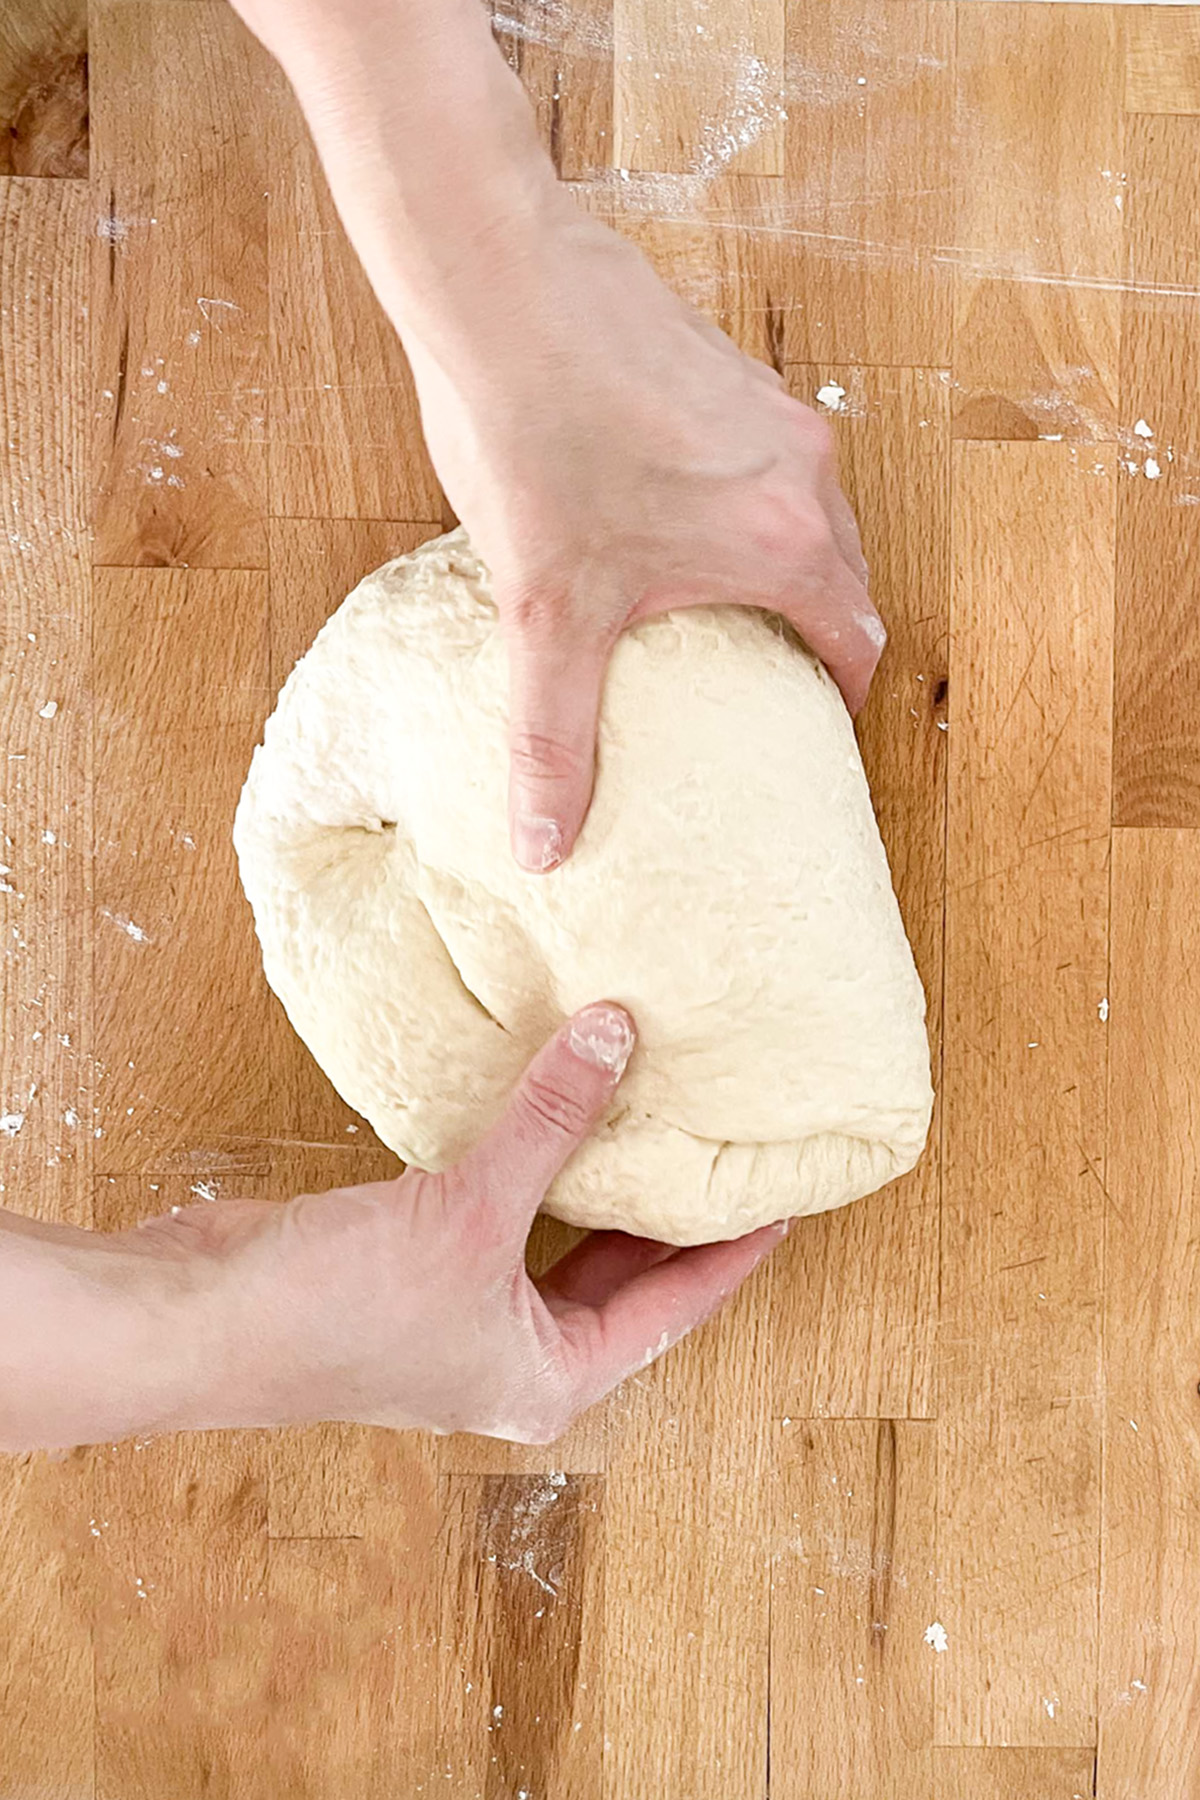
Step 3: Repeat the Motion
- Push, fold, and turn again. Use a rhythmic motion: push with your palms, fold with your fingers, and rotate with both hands.
- Apply steady pressure, but don’t tear the dough—it should stretch, not break.
Step 4: Adjust as Needed
- If the dough sticks to your hands or surface, add a tiny sprinkle of flour (1-2 teaspoons at a time). If it’s too dry and stiff, lightly wet your hands to add moisture.
- Keep kneading for 8-12 minutes, or until the dough passes the windowpane test (see below).
Step 5: Test for Readiness
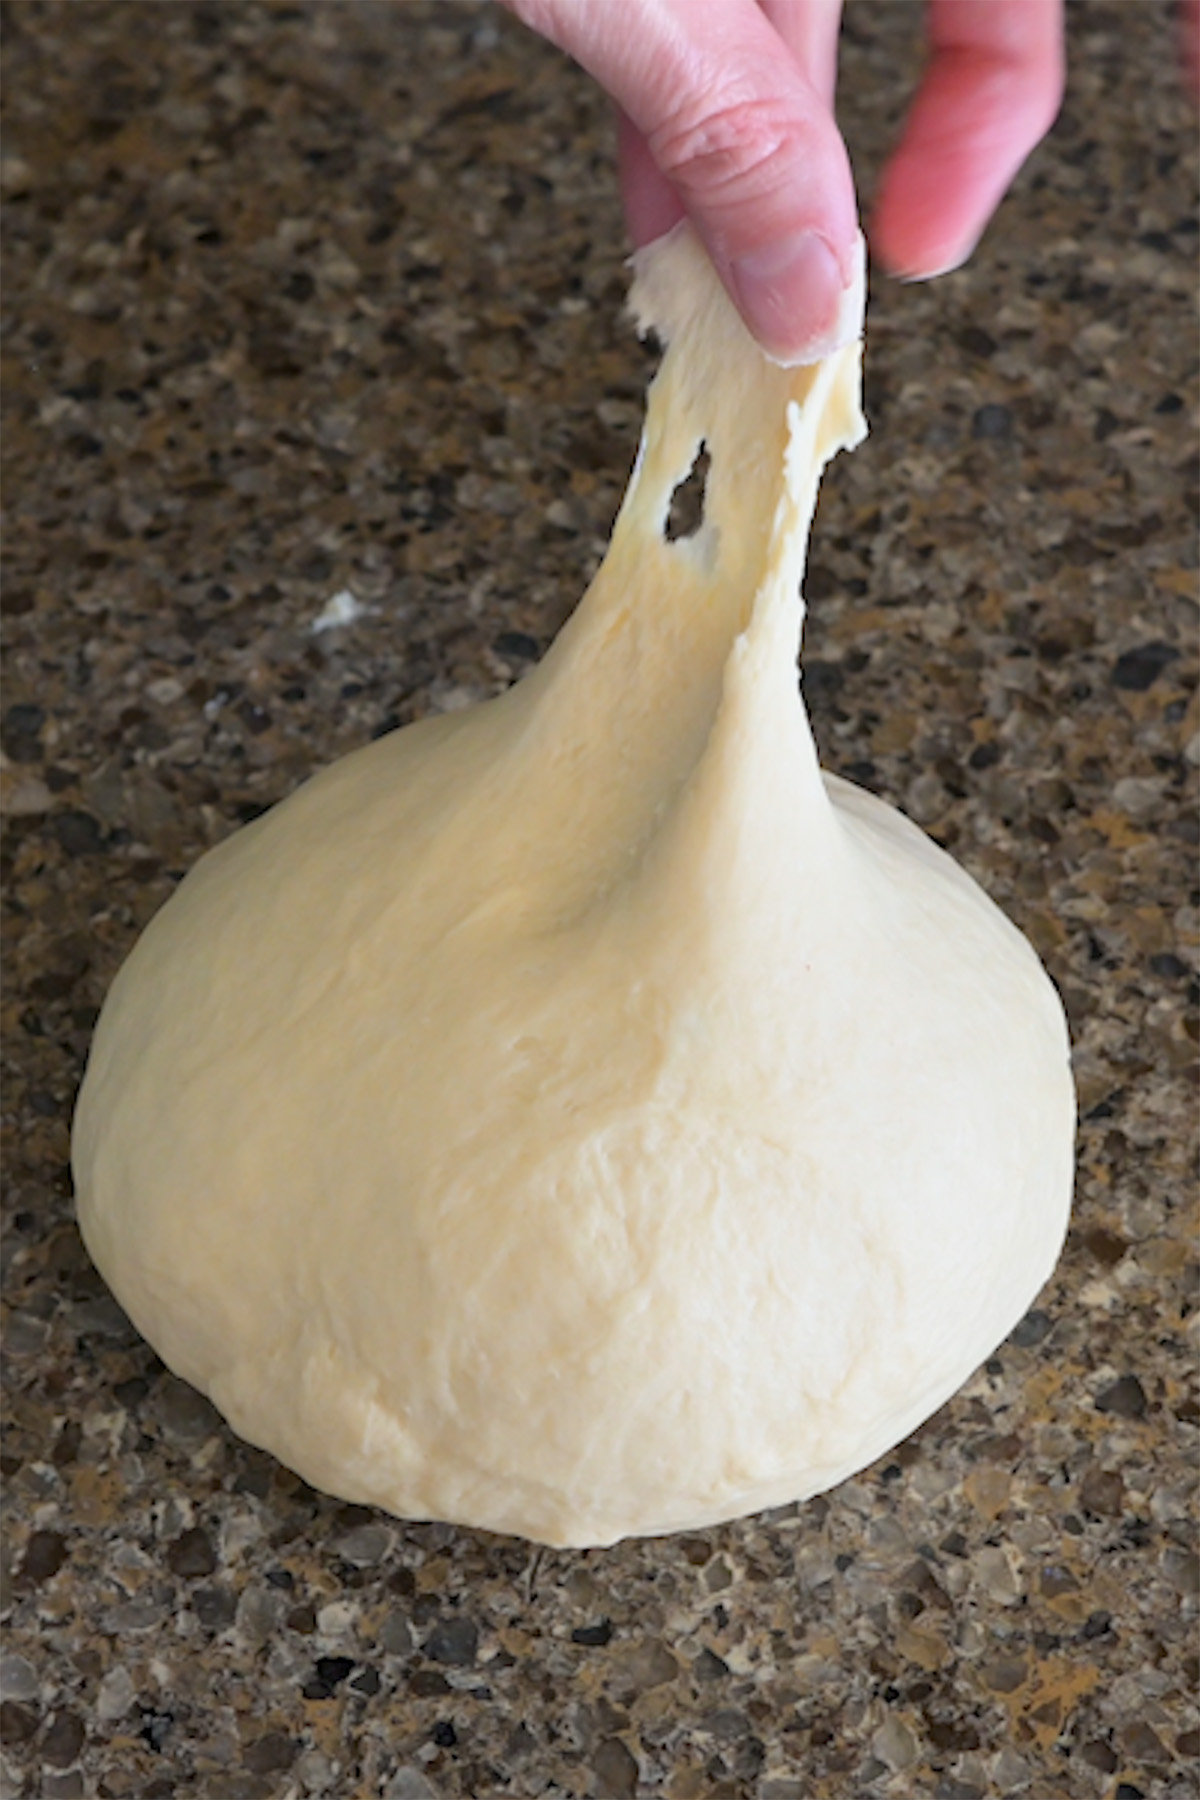
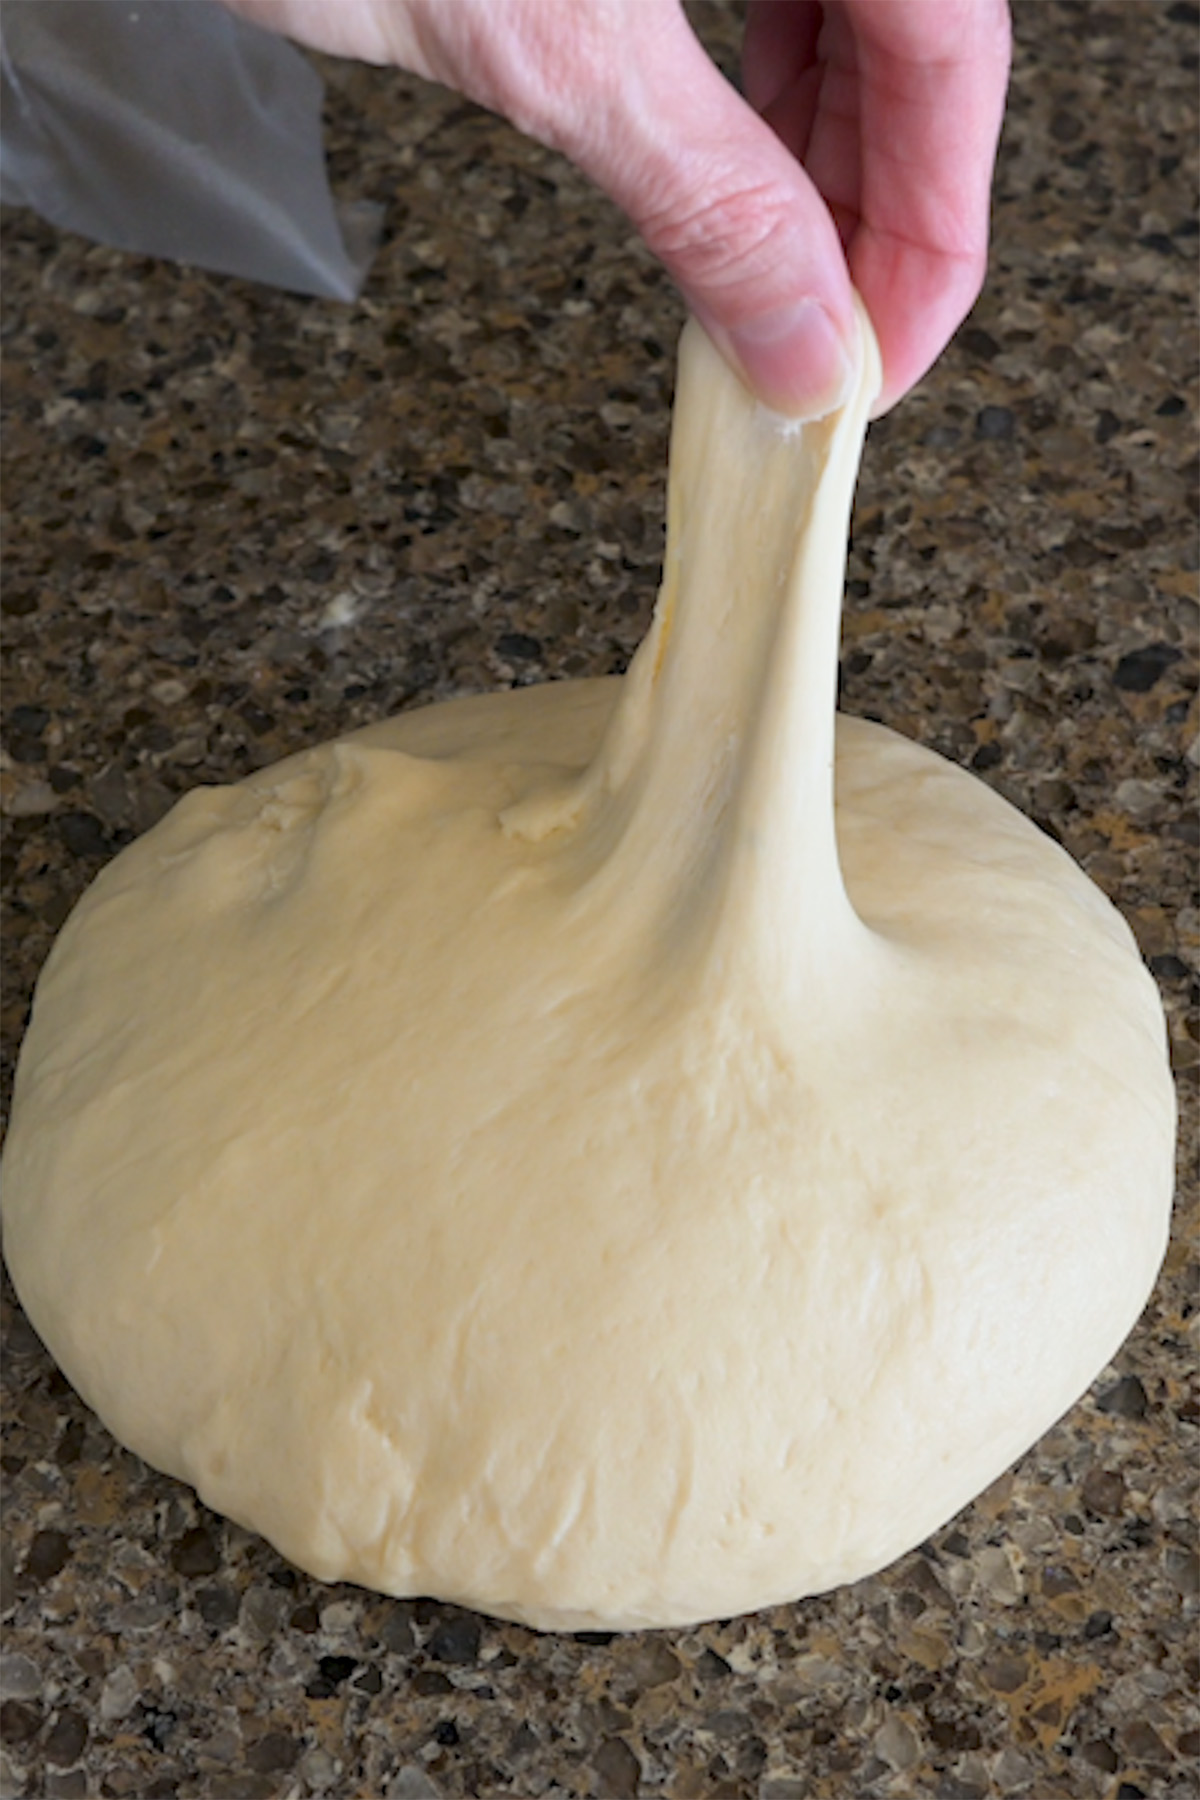
- Windowpane Test: Pinch off a small piece of dough and gently stretch it between your fingers. If it forms a thin, translucent “window” without tearing, it’s ready. If it tears easily, knead for another 2-3 minutes and test again.
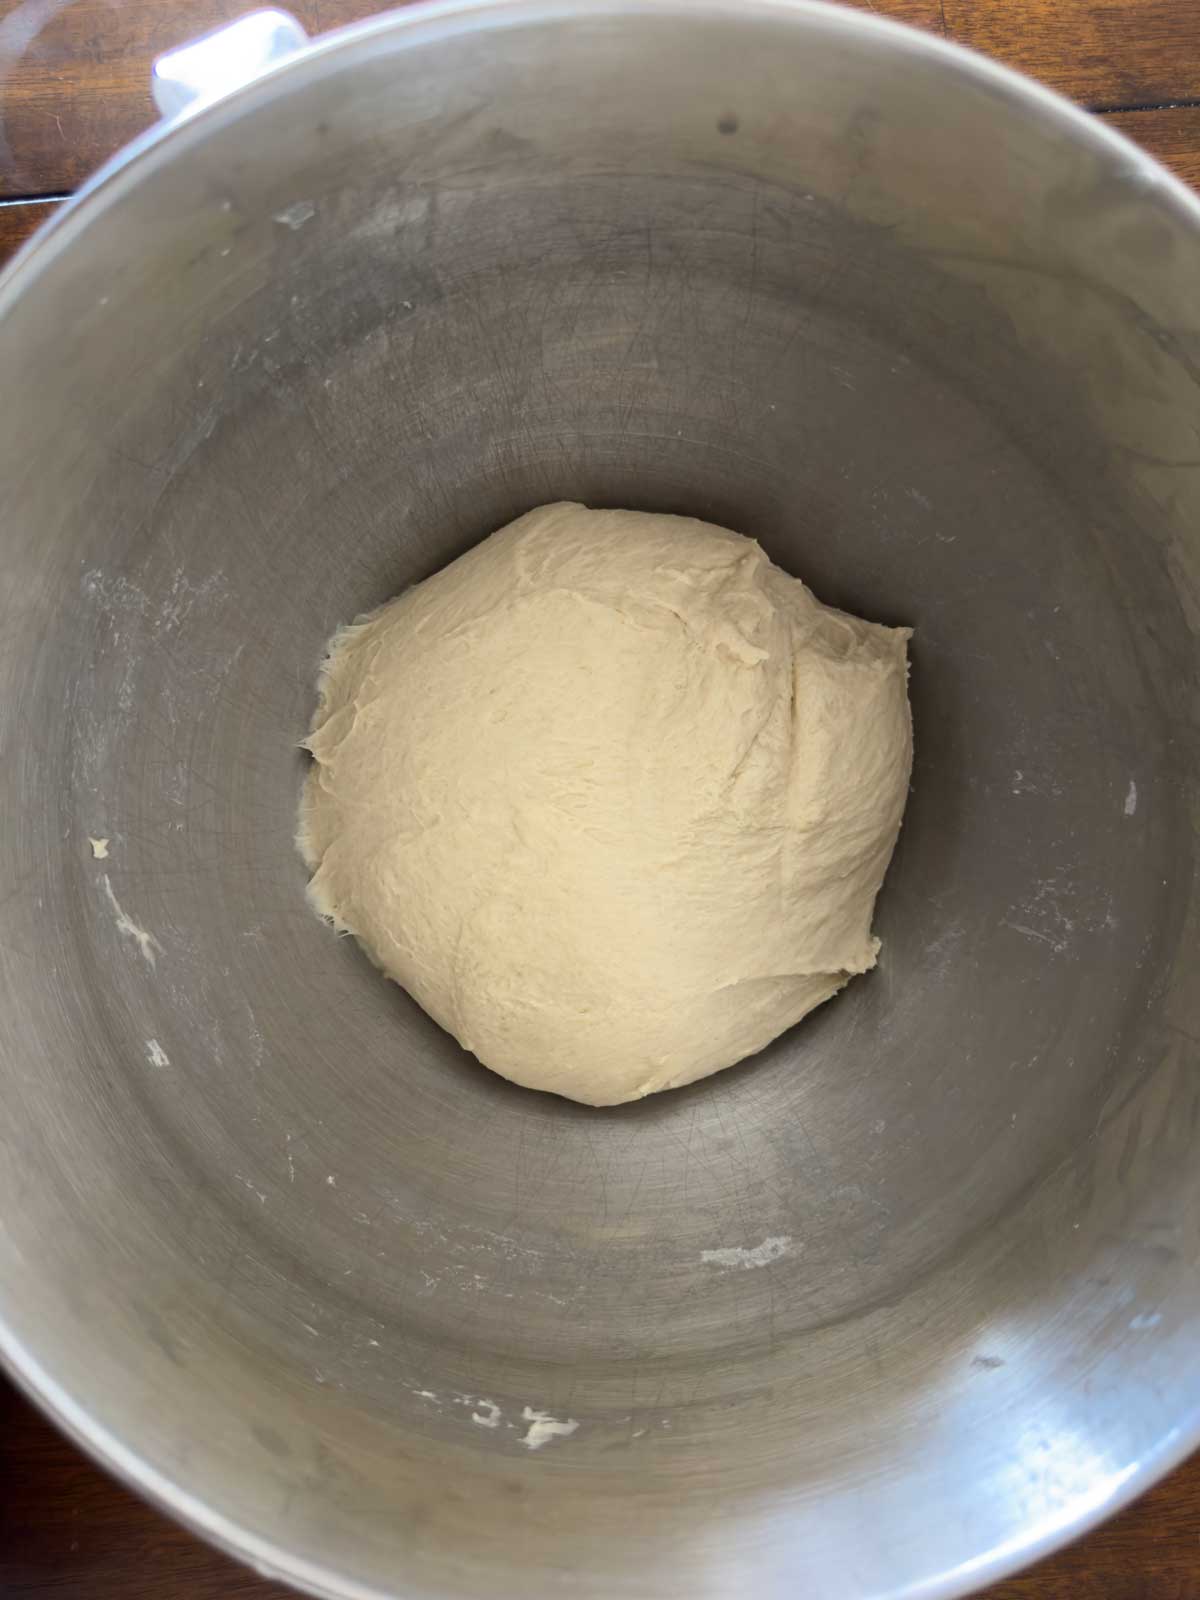
- Texture Check: The dough should feel smooth, elastic, and slightly tacky (not sticky).
Step 6: Rest the Dough
- Once kneaded, shape the dough into a ball and place it in a lightly oiled bowl to rest. Cover with a damp towel or plastic wrap.
- Resting is the next crucial step—it lets the gluten relax and strengthens the dough for rising. (Want to know more about resting? My recent post Why Rest Bread Dough dives into this.

Alternative Kneading Techniques
Not a fan of the push-fold-turn method? Try these alternatives:
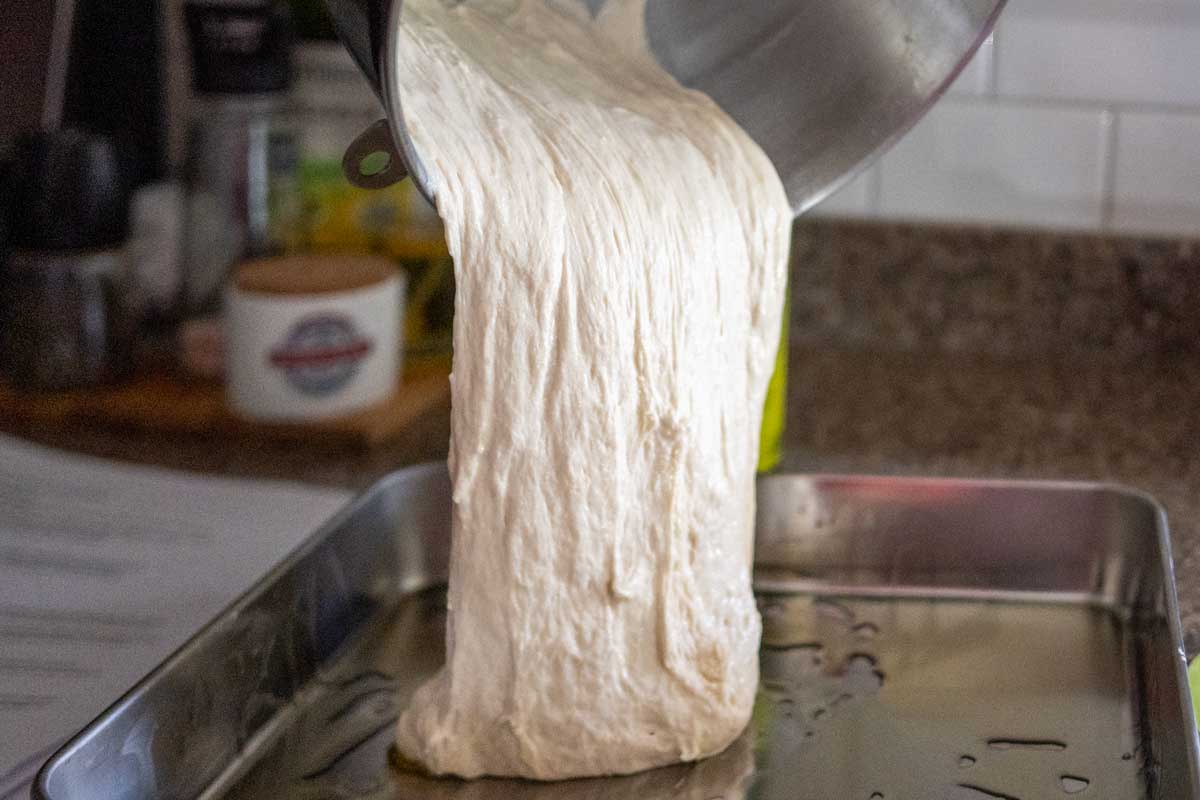
- Slap and Fold (Best for Wet Doughs)
- Lift the dough with both hands, slap it down onto the surface, and fold it over itself. Rotate and repeat.
- Great for high-hydration doughs like ciabatta or sourdough, as it handles stickiness well.
- Takes about 5-8 minutes.
- Stretch and Fold (Gentle Approach)
- Instead of kneading continuously, let the dough rest for 10-15 minutes after mixing. Then, stretch one side of the dough upward and fold it over the center. Rotate the bowl and repeat for all four sides.
- Do 3-4 sets of stretch-and-folds, resting 15-30 minutes between each set.
- Ideal for artisan breads or when you want to minimize hands-on time.
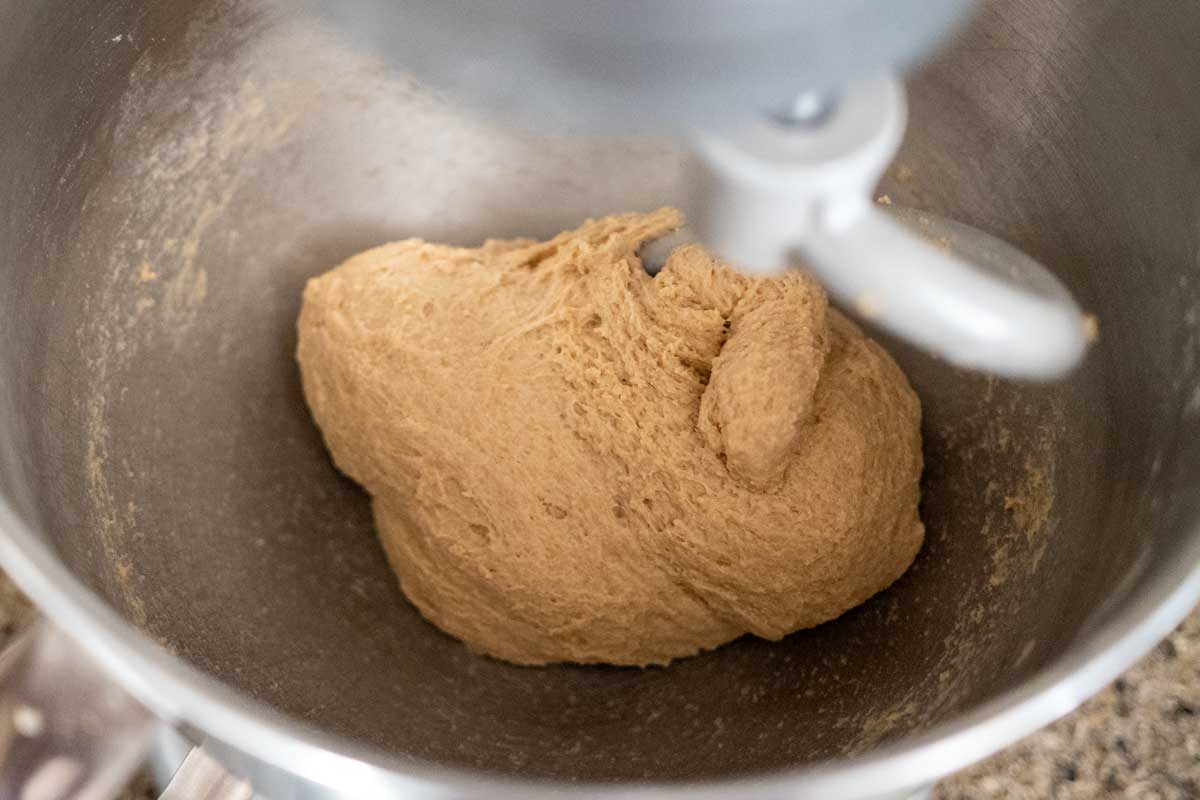
- Using a Stand Mixer (Hands-Free Option)
- Attach the dough hook to your stand mixer.
- Mix on low speed (setting 2) for 2 minutes to combine ingredients, then increase to medium (setting 4) and knead for 6-8 minutes.
- Check with the windowpane test—if it’s not ready, knead for another 1-2 minutes.
- Note: Hand-kneading gives you better control and a feel for the dough, but a mixer is a time-saver.
Tips for Kneading Success
- Don’t Over-Flour: Adding too much flour during kneading can make the dough dense. If it’s sticky, be patient—it often smooths out as gluten develops.
- Set a Timer: Aim for 8-12 minutes of hand-kneading. It’s easy to under-knead, especially if you’re new to baking. If making whole grain bread, you’ll want to knead for quite a bit longer as I demonstrated in my 100% Whole Wheat Bread Recipe.
- Use Your Body Weight: Lean into the dough with your palms, not just your arms, to avoid fatigue.
- Adjust for Dough Type: Wetter doughs (like focaccia) may need less kneading or a slap-and-fold method, while stiffer doughs (like bagels) require more effort.
- Knead Evenly: Rotate the dough consistently to develop gluten uniformly across the entire ball.
Common Kneading Mistakes to Avoid
- Under-Kneading: If the dough tears easily or feels lumpy, it needs more time. Under-kneaded dough leads to a dense, flat loaf.
- Over-Kneading by Hand: It’s hard to over-knead by hand, but if the dough feels overly tight and resists stretching, you’ve gone too far. Rest it for 10 minutes to relax.
- Over-Kneading with a Mixer: Mixers can overwork dough quickly—stop once it passes the windowpane test to avoid a tough texture.
- Skipping the Rest: Kneading is only half the battle. Resting the dough afterward is key to a good rise and texture.
FAQs About Kneading Bread Dough
Q: How long should I knead bread dough?
A: By hand, it usually takes 8-12 minutes. With a stand mixer, 6-8 minutes on medium speed. Use the windowpane test to confirm it’s ready.
Q: Can I knead dough too much?
A: Yes, especially with a mixer. Over-kneaded dough becomes too tight, resists rising, and bakes into a tough loaf. By hand, it’s harder to overdo it—just stop when the dough is smooth and elastic.
Q: How to knead bread dough if it’s too sticky?
A: Lightly flour your hands and surface, or use the slap-and-fold method. Avoid adding too much flour—stickiness often resolves as you knead.
Q: Do all breads need kneading?
A: No. Quick breads (like soda bread) and no-knead recipes rely on long fermentation to develop gluten. But most yeast breads benefit from kneading.
Kneading Different Types of Bread
Kneading techniques vary across bread traditions:
- Sourdough: Often uses stretch-and-fold to handle wet, sticky doughs over several hours.
- Baguettes: Requires thorough kneading to build strength for an open crumb and chewy crust.
- Naan: Needs minimal kneading—just enough to form a soft, pliable dough before a short rest.
No matter the style, how to knead bread dough sets the foundation for a great loaf.

Final Thoughts: Knead Your Way to Better Bread
Mastering how to knead bread dough is a skill that pays off in every slice. It’s the first step to creating a dough that rises beautifully, holds its shape, and bakes into a loaf with the perfect crumb. Once you’ve kneaded, don’t skip the resting stage—it’s just as important. So, roll up your sleeves, get kneading, and enjoy the process—your bread will thank you.
Happy baking! Share your kneading tips or favorite bread recipes in the comments below—I’d love to hear them!
As an Amazon Associate, I earn from qualifying purchases at no extra cost to you. Thank you for your support!