How to Make Homemade Brown Sugar
Hey there, fellow bakers! If you’ve ever bitten into a cookie that’s supposed to be chewy and soft, only to encounter those caramelized lumps of undissolved brown sugar, you’re not alone. Store-bought brown sugar is convenient, sure—but those pesky clumps? They sabotage your bakes, leaving an off texture in baked cookies, muffins, and cakes. I’ve been there, trying to pick out clumps of hardened brown sugar – who has time for that?! That’s when I decided to start making my own scraping failed batches and swearing off the stuff. I worked out how to make homemade brown sugar. It’s dead simple, endlessly customizable, and—spoiler alert—way cheaper than the pre-packaged kind. Plus, it dissolves like a dream, giving you that flawless, melt-in-your-mouth result every time.
After tweaking this recipe through countless batches (seriously, I’ve made pounds and pounds of the stuff), I’ve scaled it down to a manageable 2-cup yield—perfect for a weekend baking session without overwhelming your pantry. Whether you’re whipping up chocolate chip cookies or a gingerbread, this method lets you dial in the flavor from subtle light brown to robust dark brown. And the best part? No fancy equipment beyond your stand mixer. Let’s dive in.
Why Homemade Brown Sugar Wins Every Time
Before we get to the recipe, a quick rant (with love): Commercial brown sugar often hardens into rocks due to moisture loss during packaging and shipping. When it doesn’t dissolve fully in your dough, it creates uneven sweetness and texture—especially disastrous in delicate cookies where every granule counts. Homemade? It’s fresh, moist, and tailored to you. You control the molasses level for lighter or darker shades, and it stays soft in an airtight jar (pro tip: toss in a slice of bread if it starts to harden). Economically, it’s a steal: A $4 bottle of molasses makes pounds and pounds of brown sugar, versus $3–5 for a small bag of the store-bought stuff. Superior results, zero lumps, infinite tweaks. Sold yet?
That’s it—no baking sheets, no food processor fuss, no complicated creaming. Your stand mixer does the heavy lifting, ensuring even distribution every time. For cookies, this brown sugar melts seamlessly into the butter and flour, creating that iconic chew without any baked caramelized sugar (where you don’t want it).
Pro Tips: Mastering Molasses for Your Perfect Flavor
Molasses is the star here—it’s what gives brown sugar its signature moisture, chew, and that irresistible toffee-like depth. But not all molasses is created equal. Here’s how to choose and tweak for the best results:
Unsulphured vs. Sulphured: Why Unsulphured Reigns Supreme
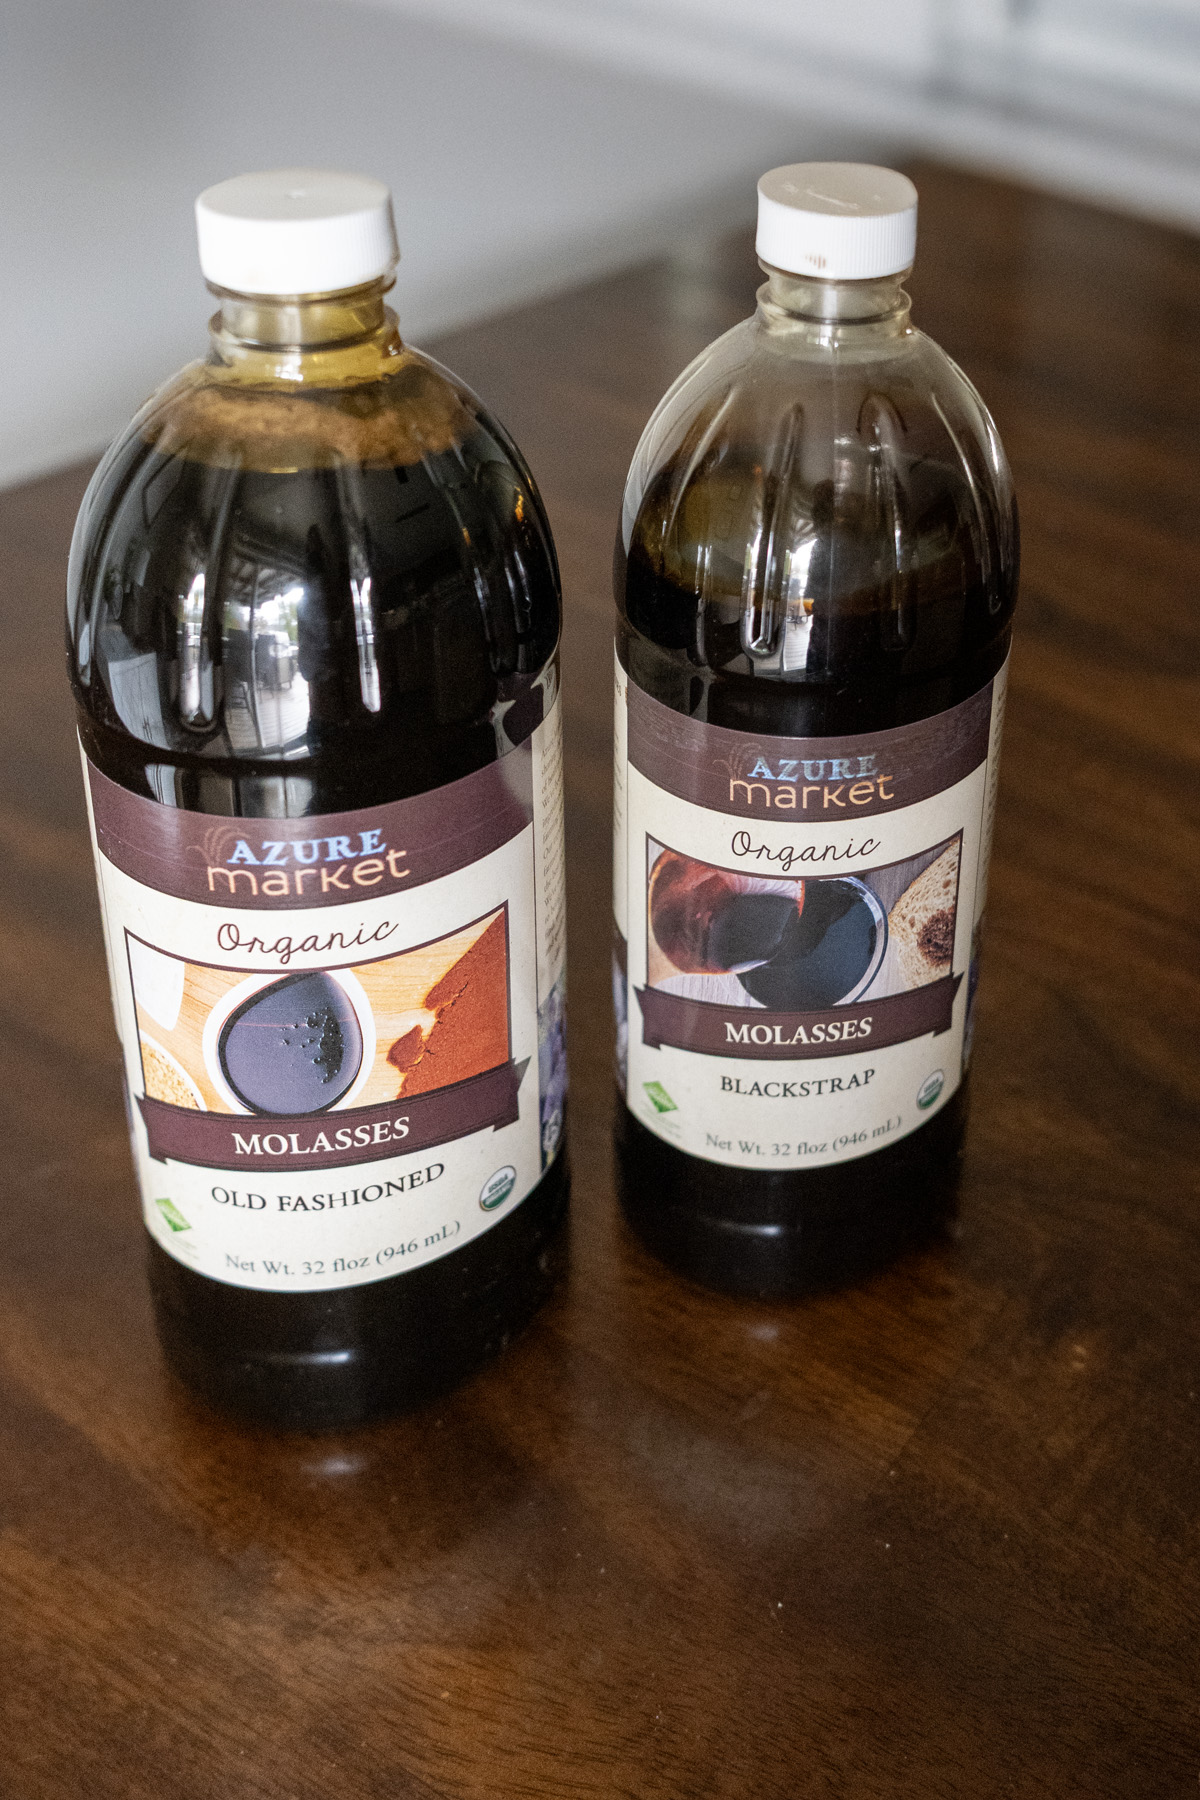
Always, always opt for unsulphured molasses. Sulphured varieties (often cheaper and used in industrial or animal feeds) are treated with sulfur dioxide as a preservative, which can leave a faint chemical tang that clashes with baked goods. Unsulphured molasses skips the sulfur, preserving the pure, sweet-earthy flavor from the sugarcane. This holds true whether you’re using old-fashioned or blackstrap types—unsulphured ensures a clean taste that enhances, rather than overpowers, your recipes. Look for labels like “unsulphured” or “100% pure”—it’s widely available and worth the slight premium for lump-free bliss.
Note: I buy all my molasses from Azure Standard because of the quality but any unsulphered molasses works perfectly for homemade brown sugar.
Old-Fashioned vs. Blackstrap: Flavor Showdown and Adjustments
- Old-Fashioned Molasses:
- This is typically a first- or second-boiling extract—milder, sweeter, and less bitter than blackstrap. It’s got a smooth caramel vibe, making it ideal for everyday light brown sugar.
- Adjustment: Use the full range—1–2 tablespoons (21–42 grams) per 2 cups sugar. Start with 1 tbsp for light (great for vanilla cookies) and bump to 2 for medium (perfect for oatmeal raisin). It’s forgiving and blends seamlessly.
- Blackstrap Molasses:
- The third-boiling powerhouse—darker, thicker, and packed with minerals (hello, iron boost!). It’s bolder and slightly bittersweet, which shines in spice-heavy bakes but can overwhelm if overdone.
- Adjustment: Go lighter to avoid intensity—0.5–1.25 tablespoons (10–26 grams) per 2 cups sugar. Half a tablespoon yields a subtle light brown; 1.25 tablespoons gets you dark with a robust edge (think ginger snaps).
Extra Hacks for Baking Success
- For Darker Shades: Craving that deep, chewy molasses kick? Add an extra ½ tablespoon (10 grams) of your chosen molasses and remix. It’s the easiest way to upgrade from light to dark without starting over.
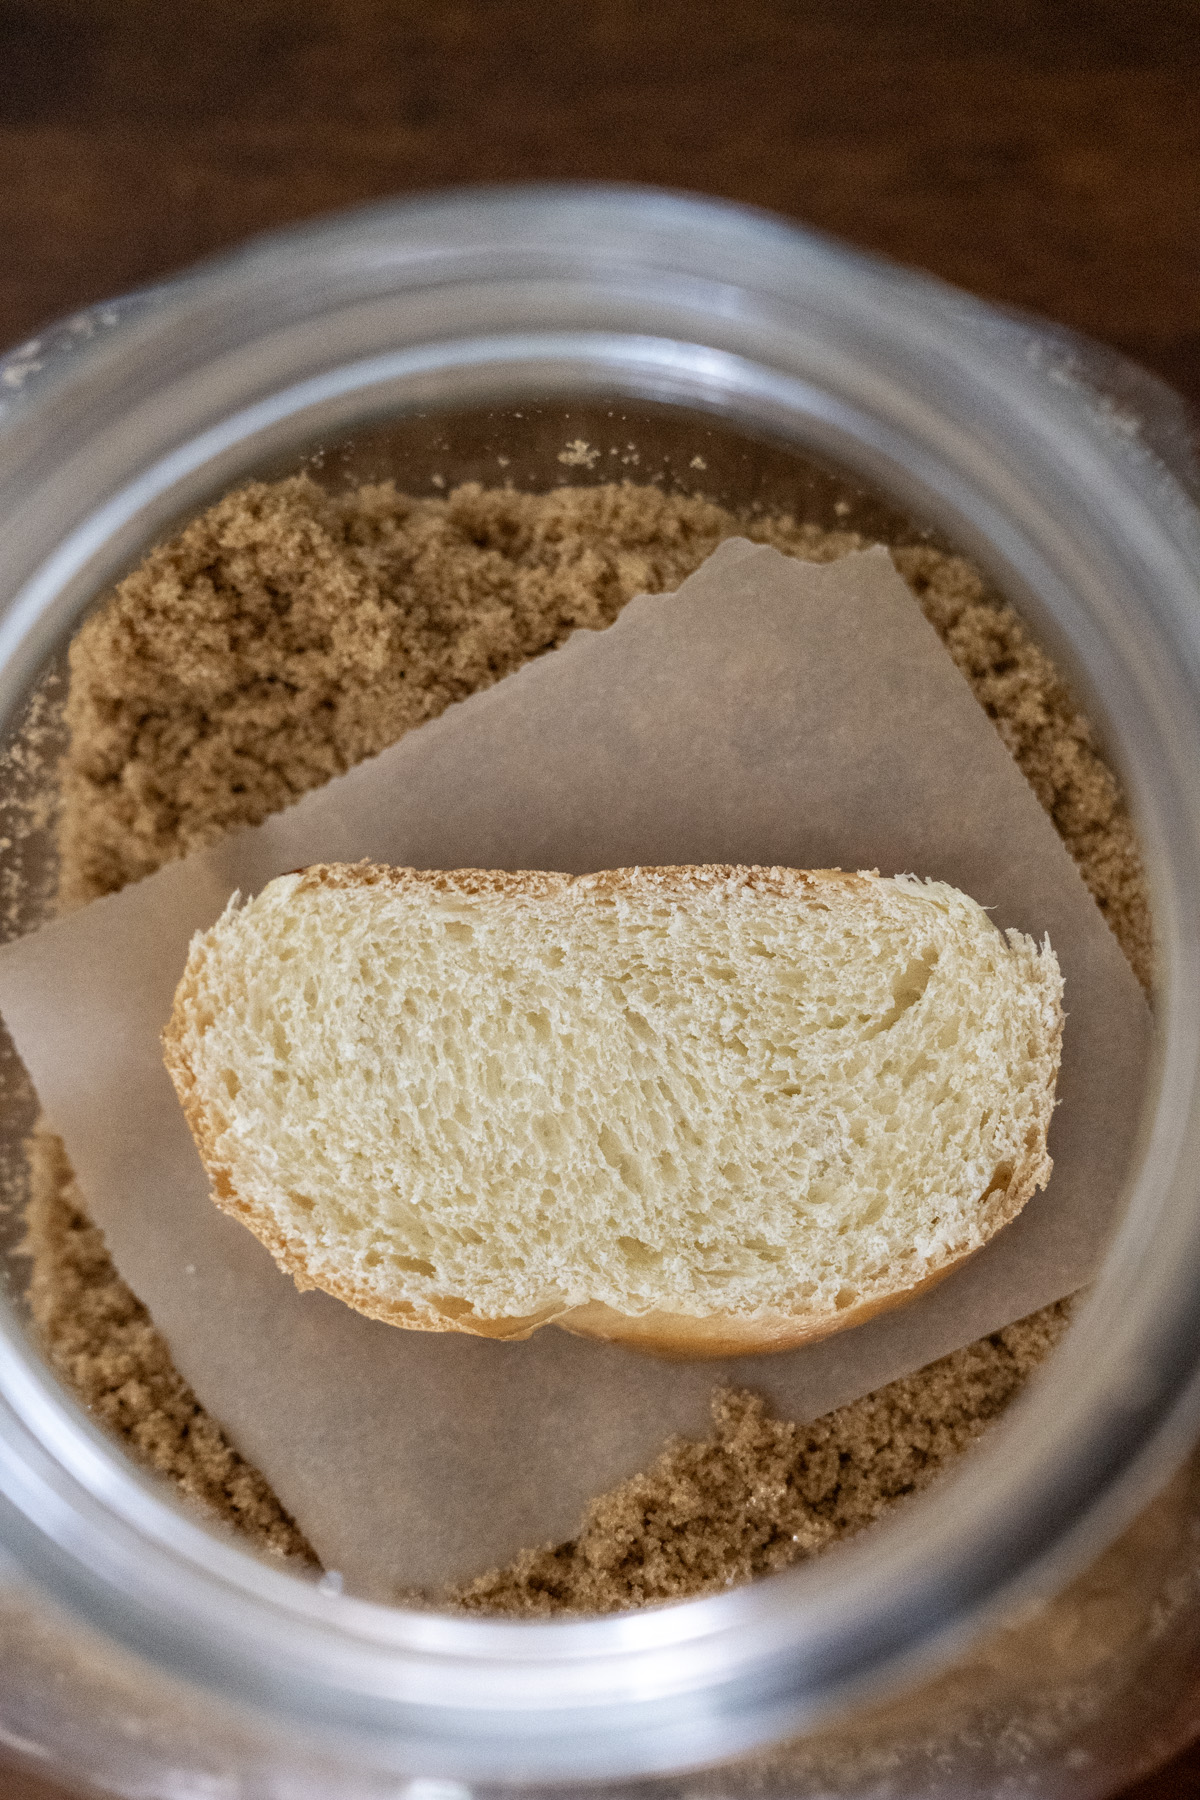
- Storage Savior: You can soften up your homemade brown sugar by laying a slice of bread (on parchment or directly) on your brown sugar. Brown sugar will soften up overnight and dried out bread can be removed.
- Scaling Up: Double for quadruple as before, but always weigh for consistency.
- Cookie-Specific: In your dough, cream this homemade stuff with butter on medium speed—it incorporates faster and more evenly than lumpy store-bought, for cookies that stay soft for days.
Final Bite: Your New Baking Staple
There you have it—the no-fail, lump-busting recipe that’s transformed my kitchen (and saved more than a few cookie batches). Homemade brown sugar isn’t just a workaround; it’s an upgrade that puts you in the driver’s seat of flavor and texture. Next time you’re reaching for that clumpy bag of brown sugar, pause and mix up a batch instead. Your cookies—and your wallet—will thank you.
What’s your go-to molasses type, or favorite use for homemade brown sugar? Drop a comment below—I’d love to hear your tweaks.
Happy baking!
Homemade Brown Sugar (2-Cup Batch)
Print Recipe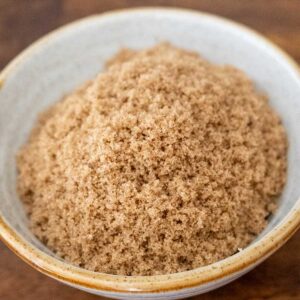
equipment (affiliate links
Ingredients
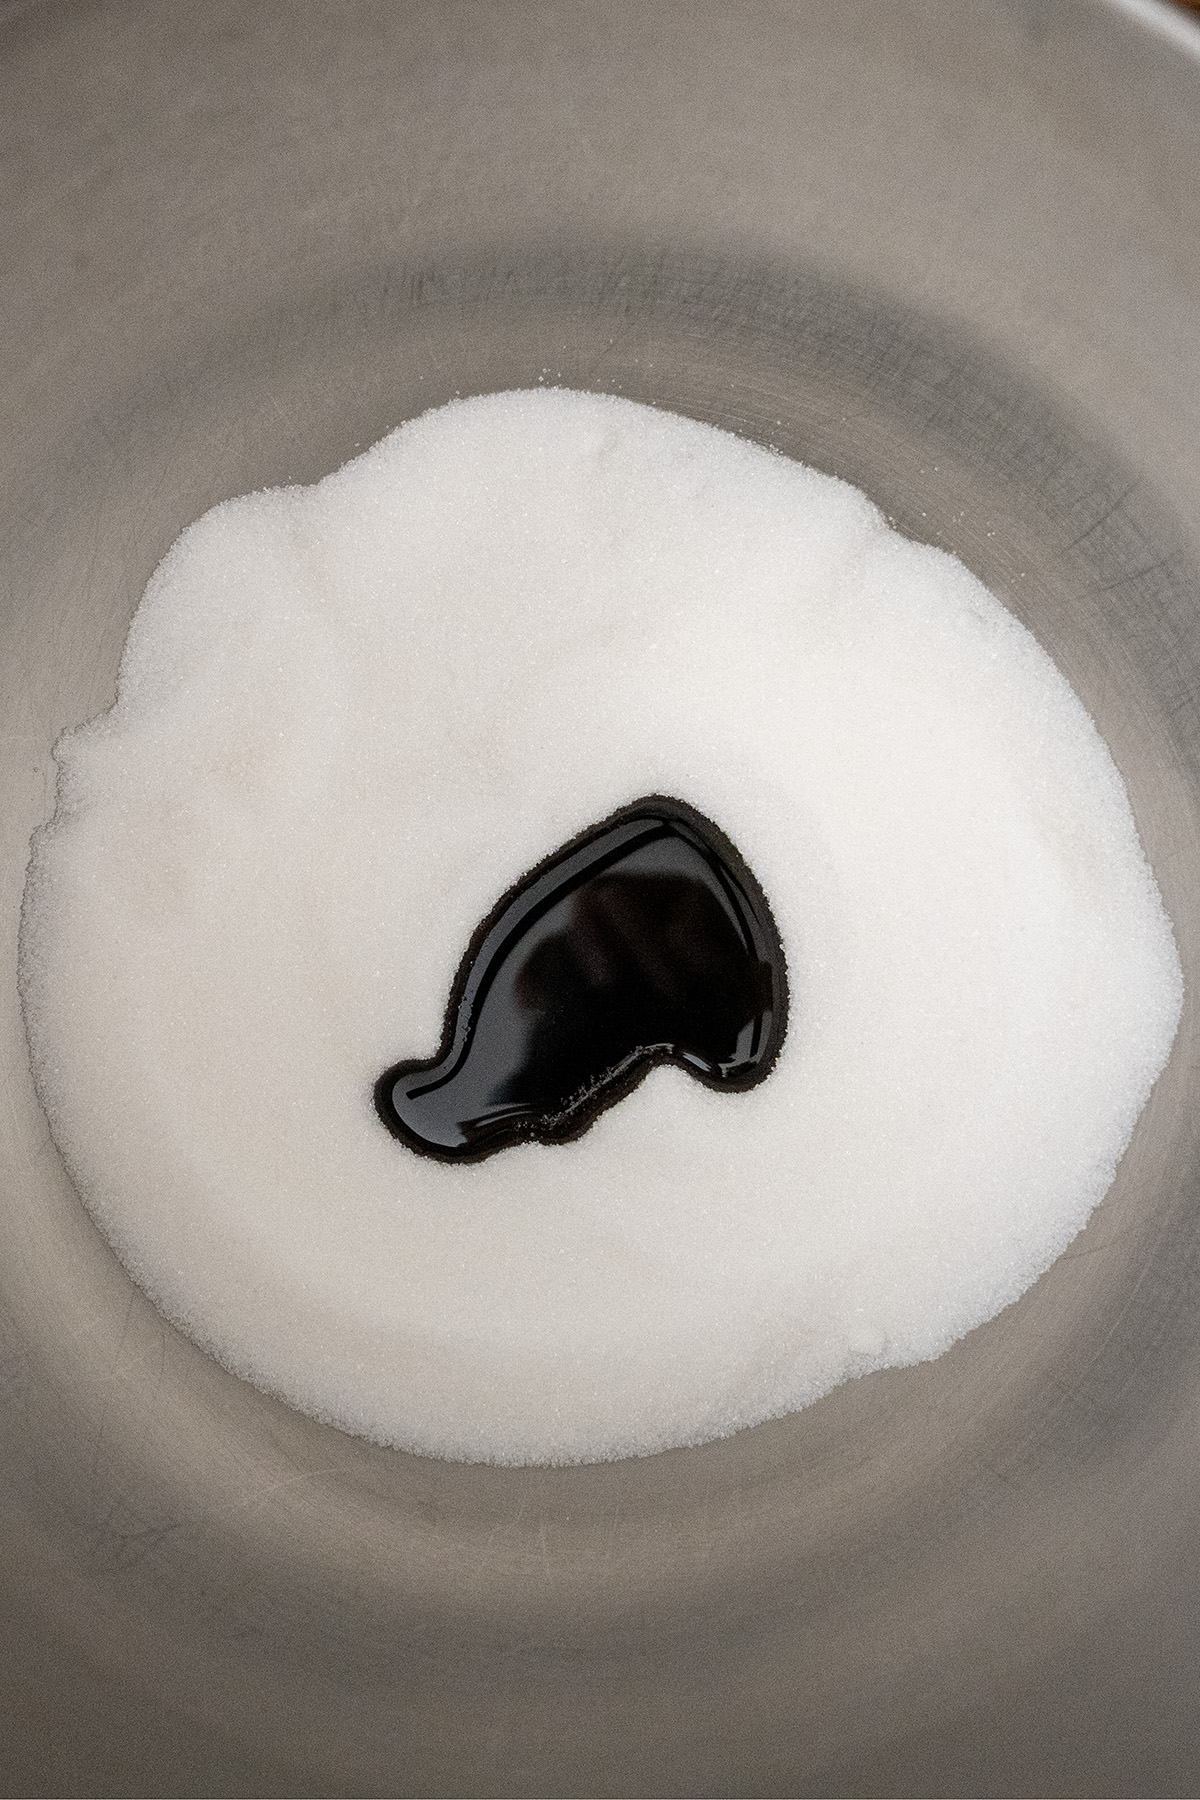
- 2 c. (400 g) granulated sugar
- 1 tbsp (21 g) old-fashioned unsulphured molasses see notes about type and adjustments
Instructions
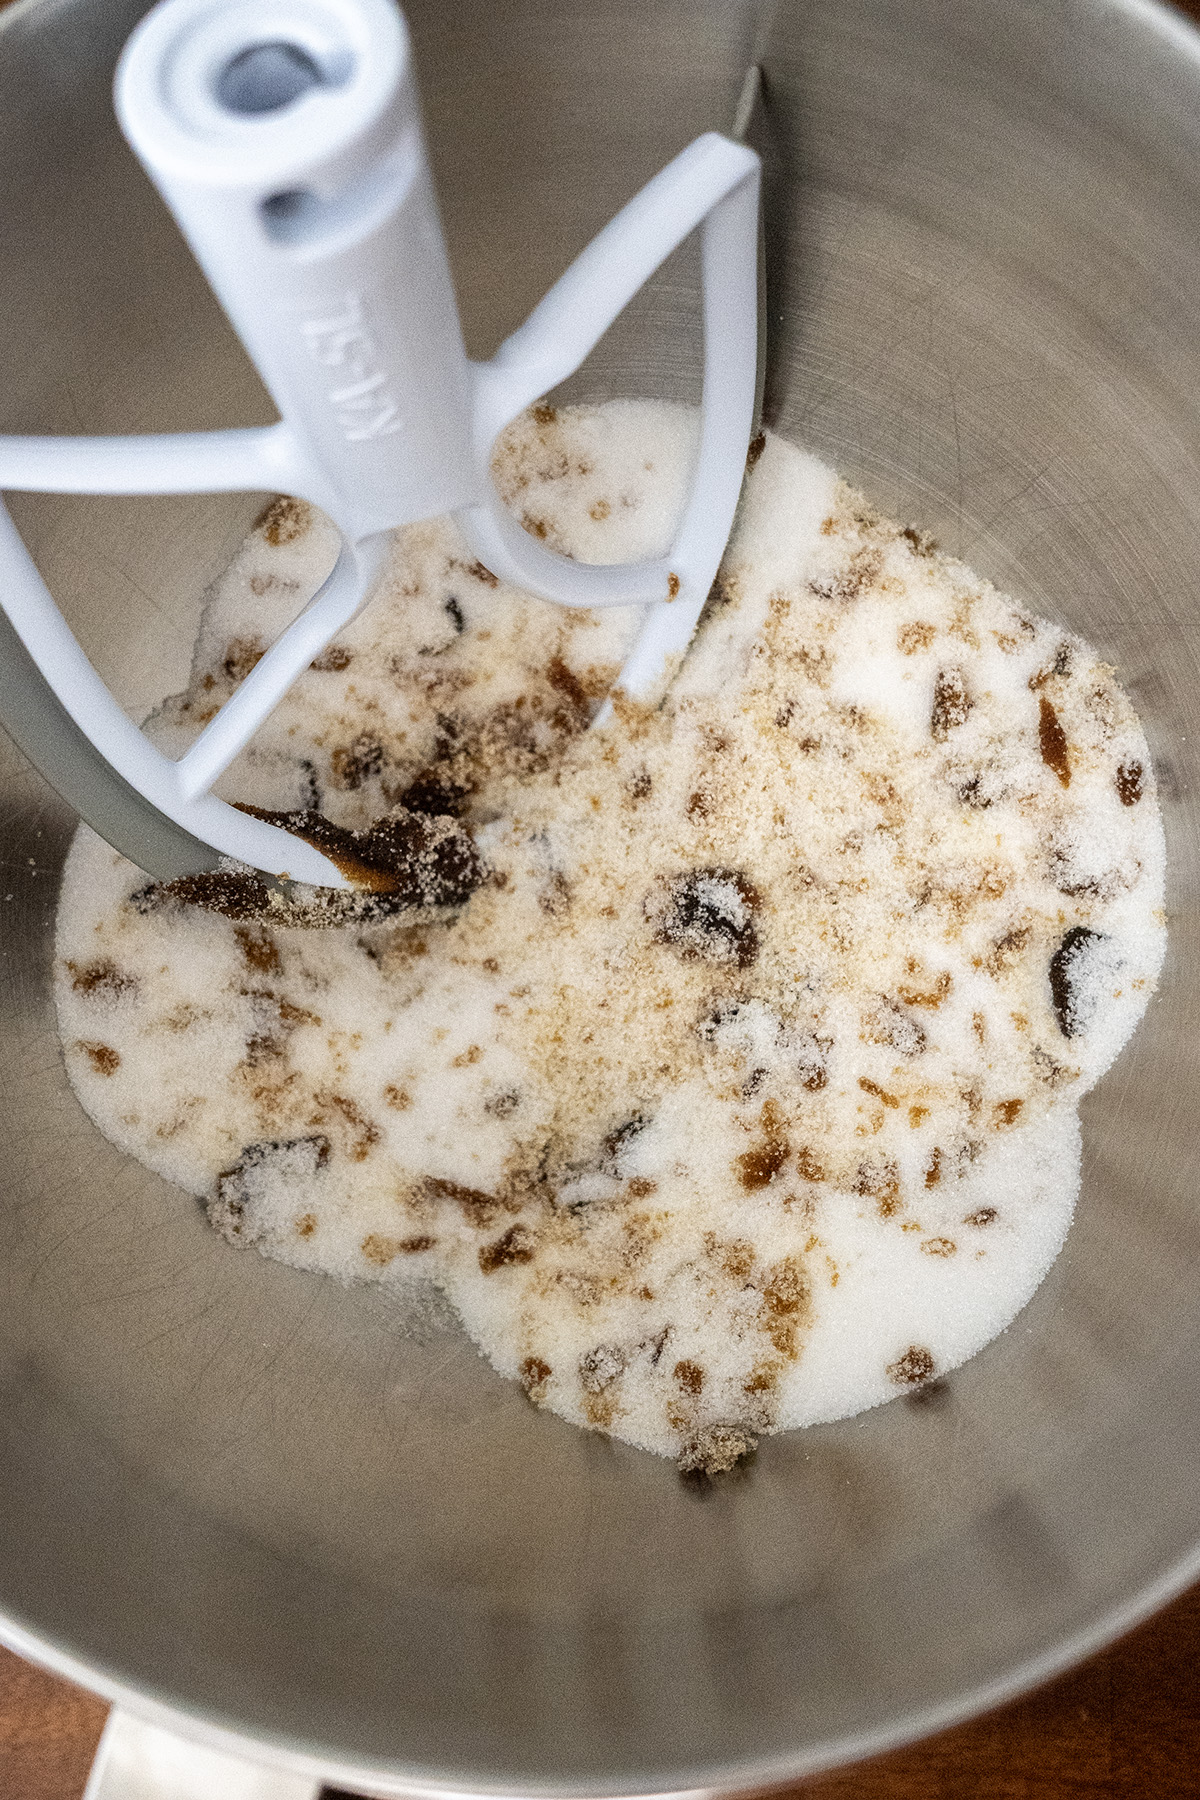
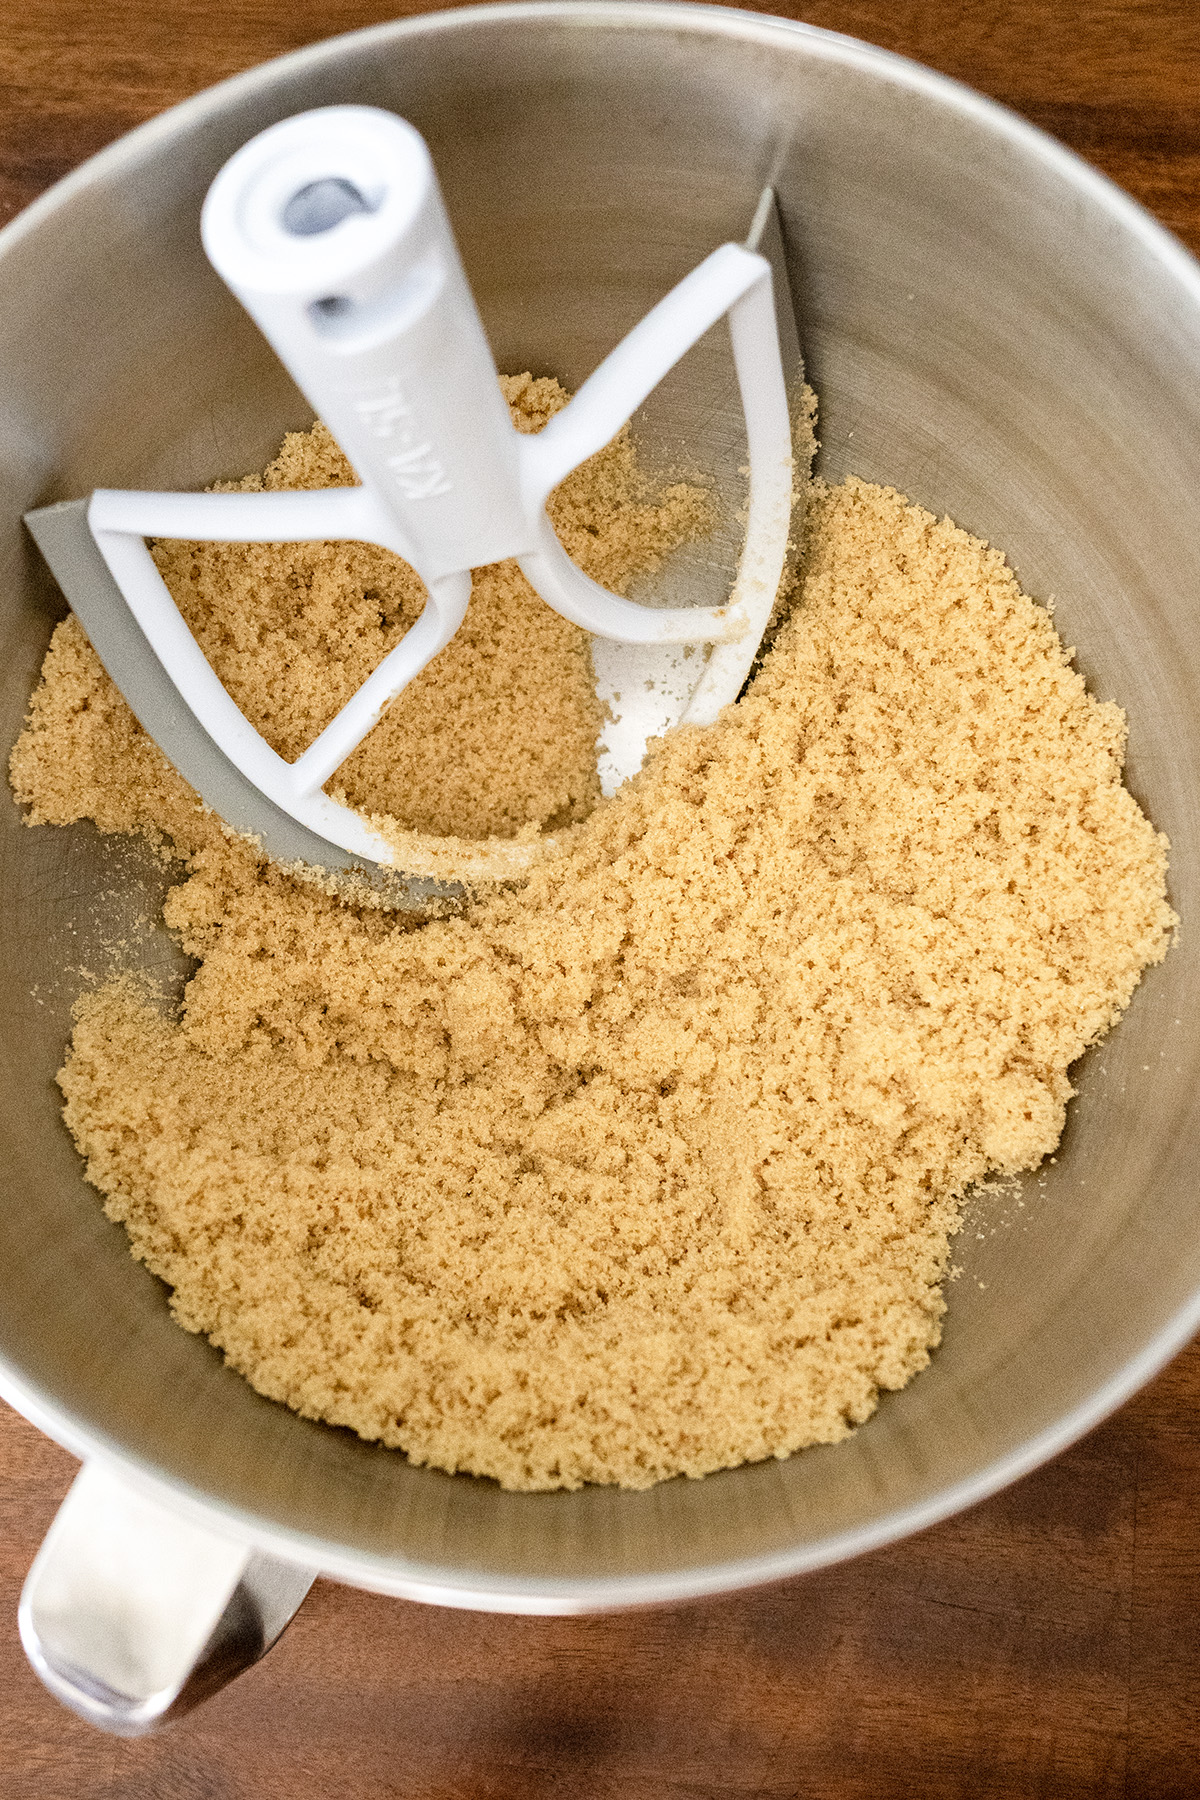
- In the bowl of your stand mixer fitted with the paddle attachment, add the 400 grams white sugar and your measured molasses based on the darkness you need.2 c. (400 g) granulated sugar1 tbsp (21 g) old-fashioned unsulphured molasses
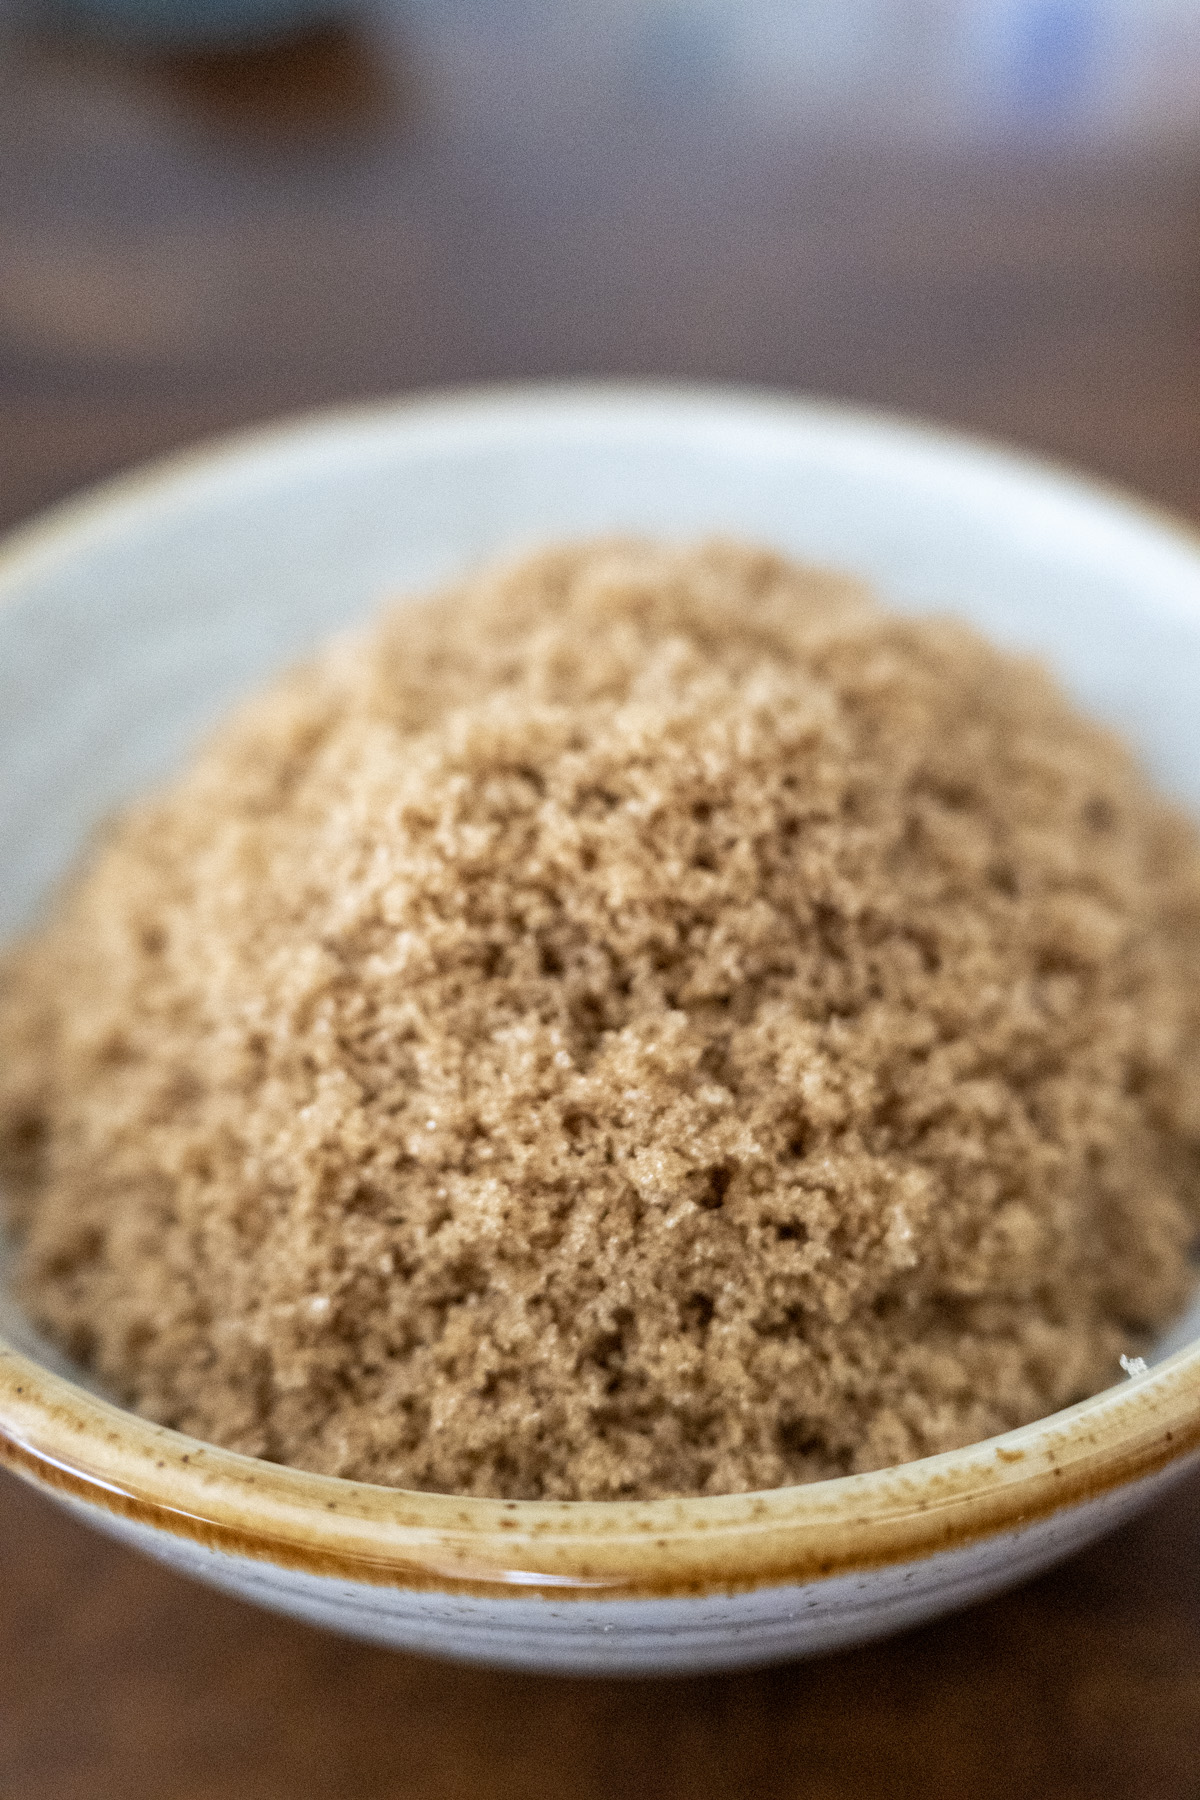
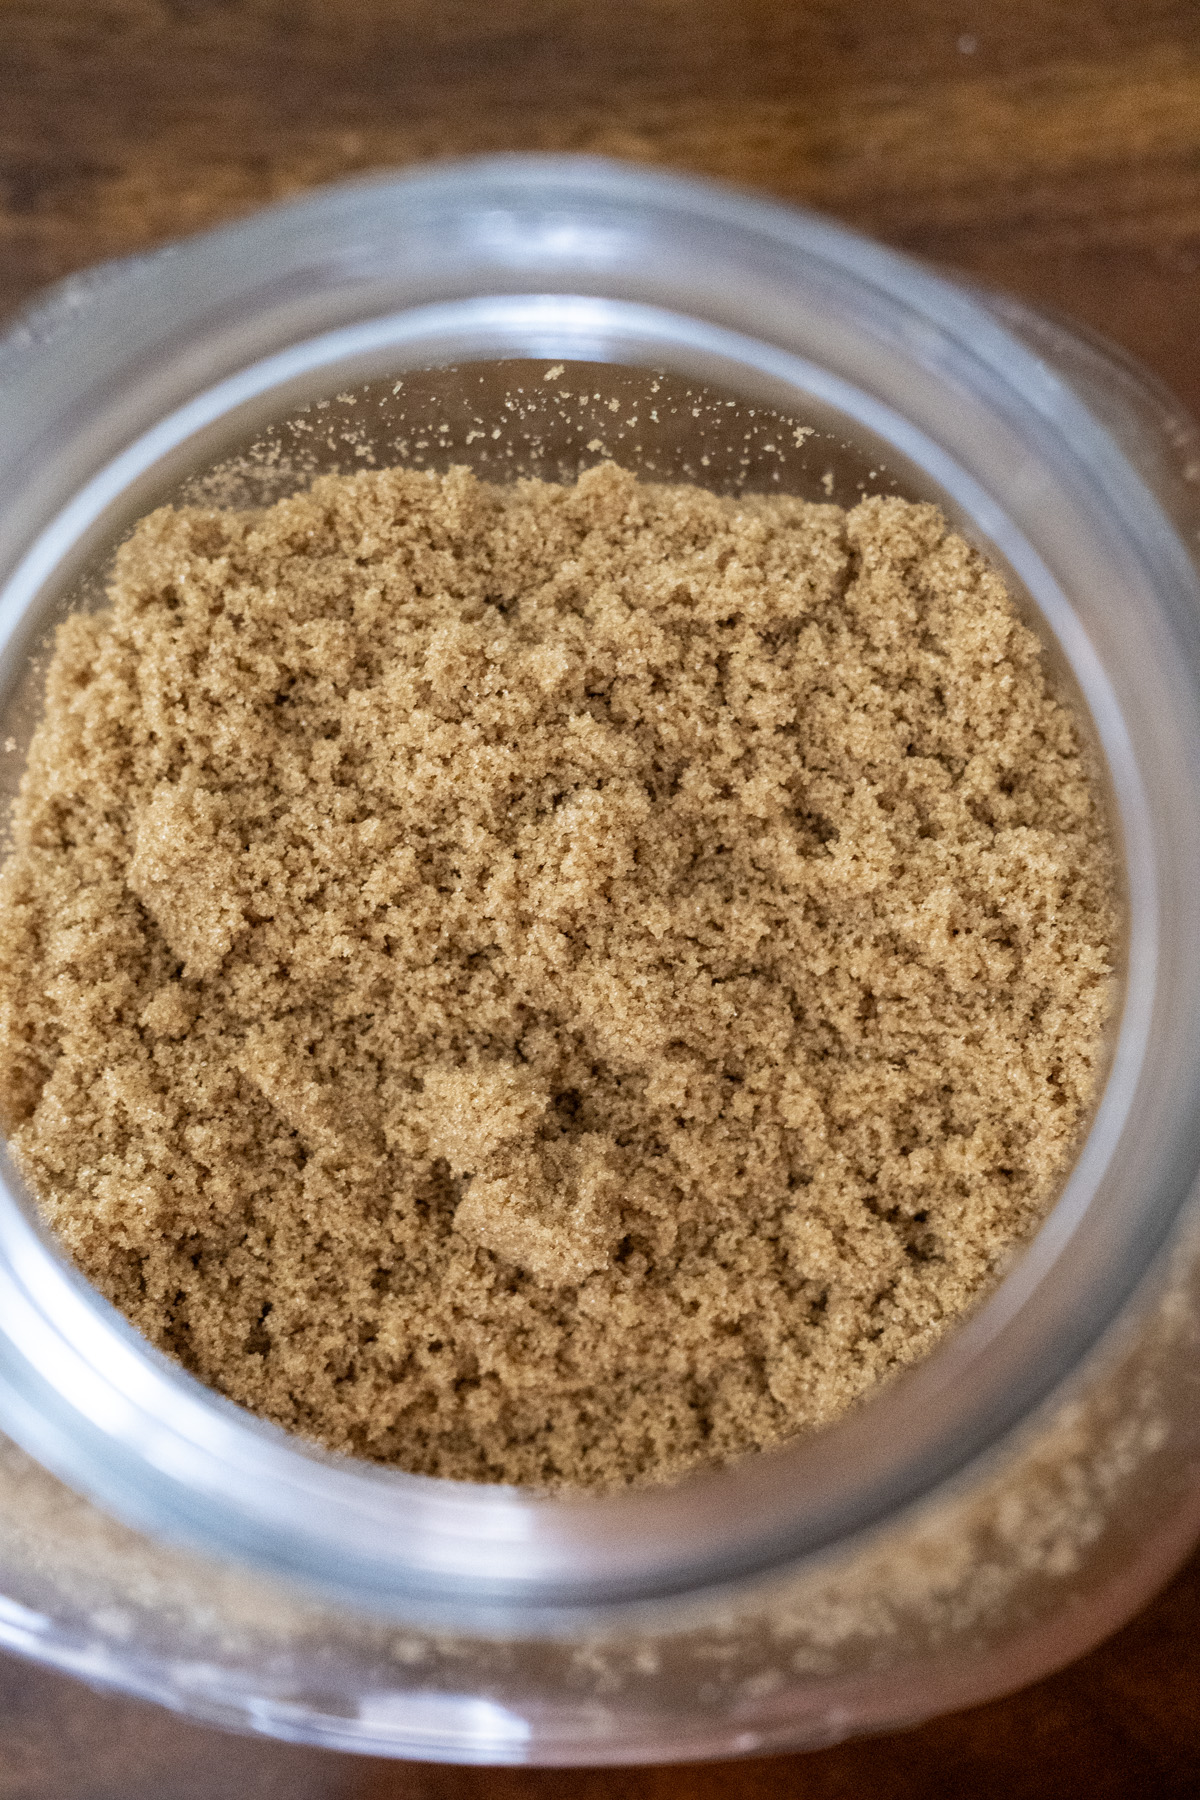
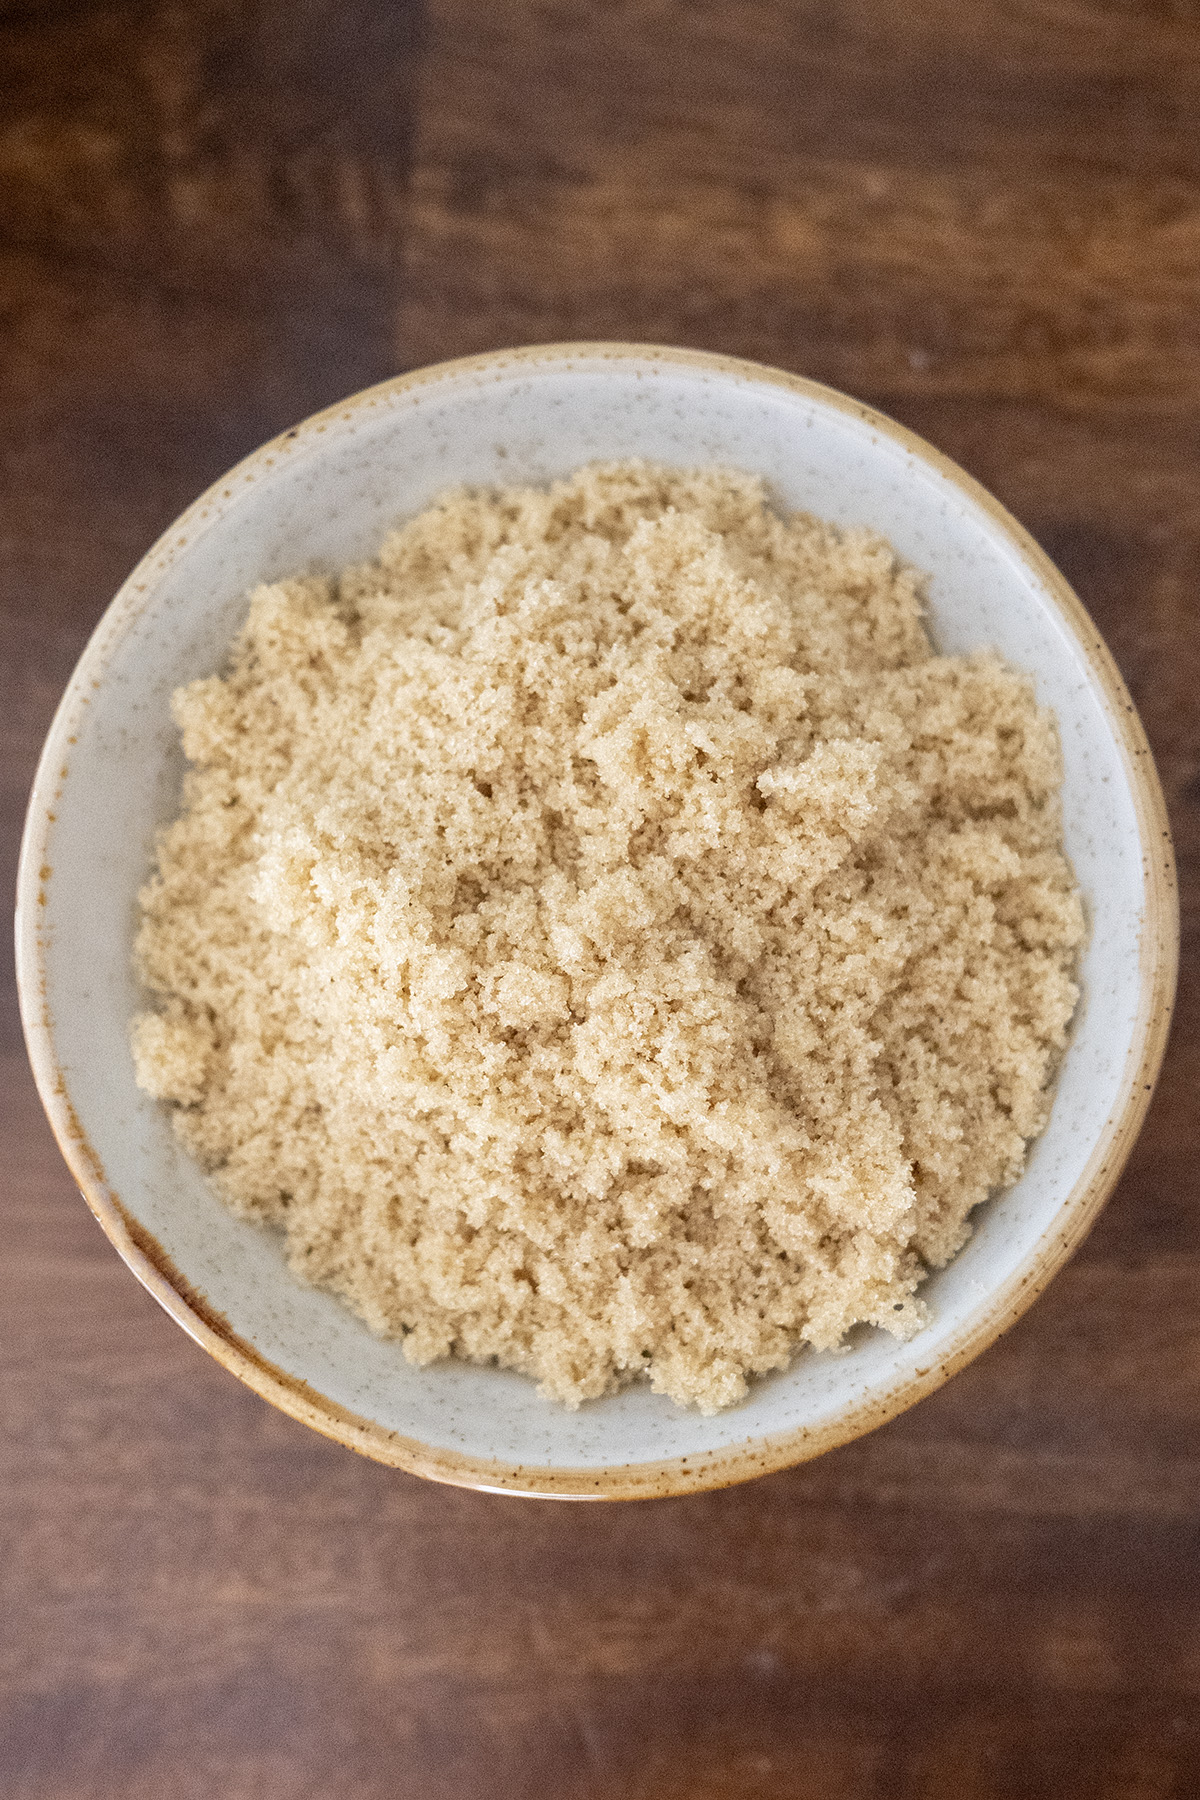
- Start on low speed and mix for 2–3 minutes, scraping your paddle and the sides of the bowl as needed, until the molasses is fully incorporated. The mixture should turn uniformly brown, with a slightly moist, crumbly texture—no wet clumps or dry pockets. If it looks patchy, give it another 30 seconds.
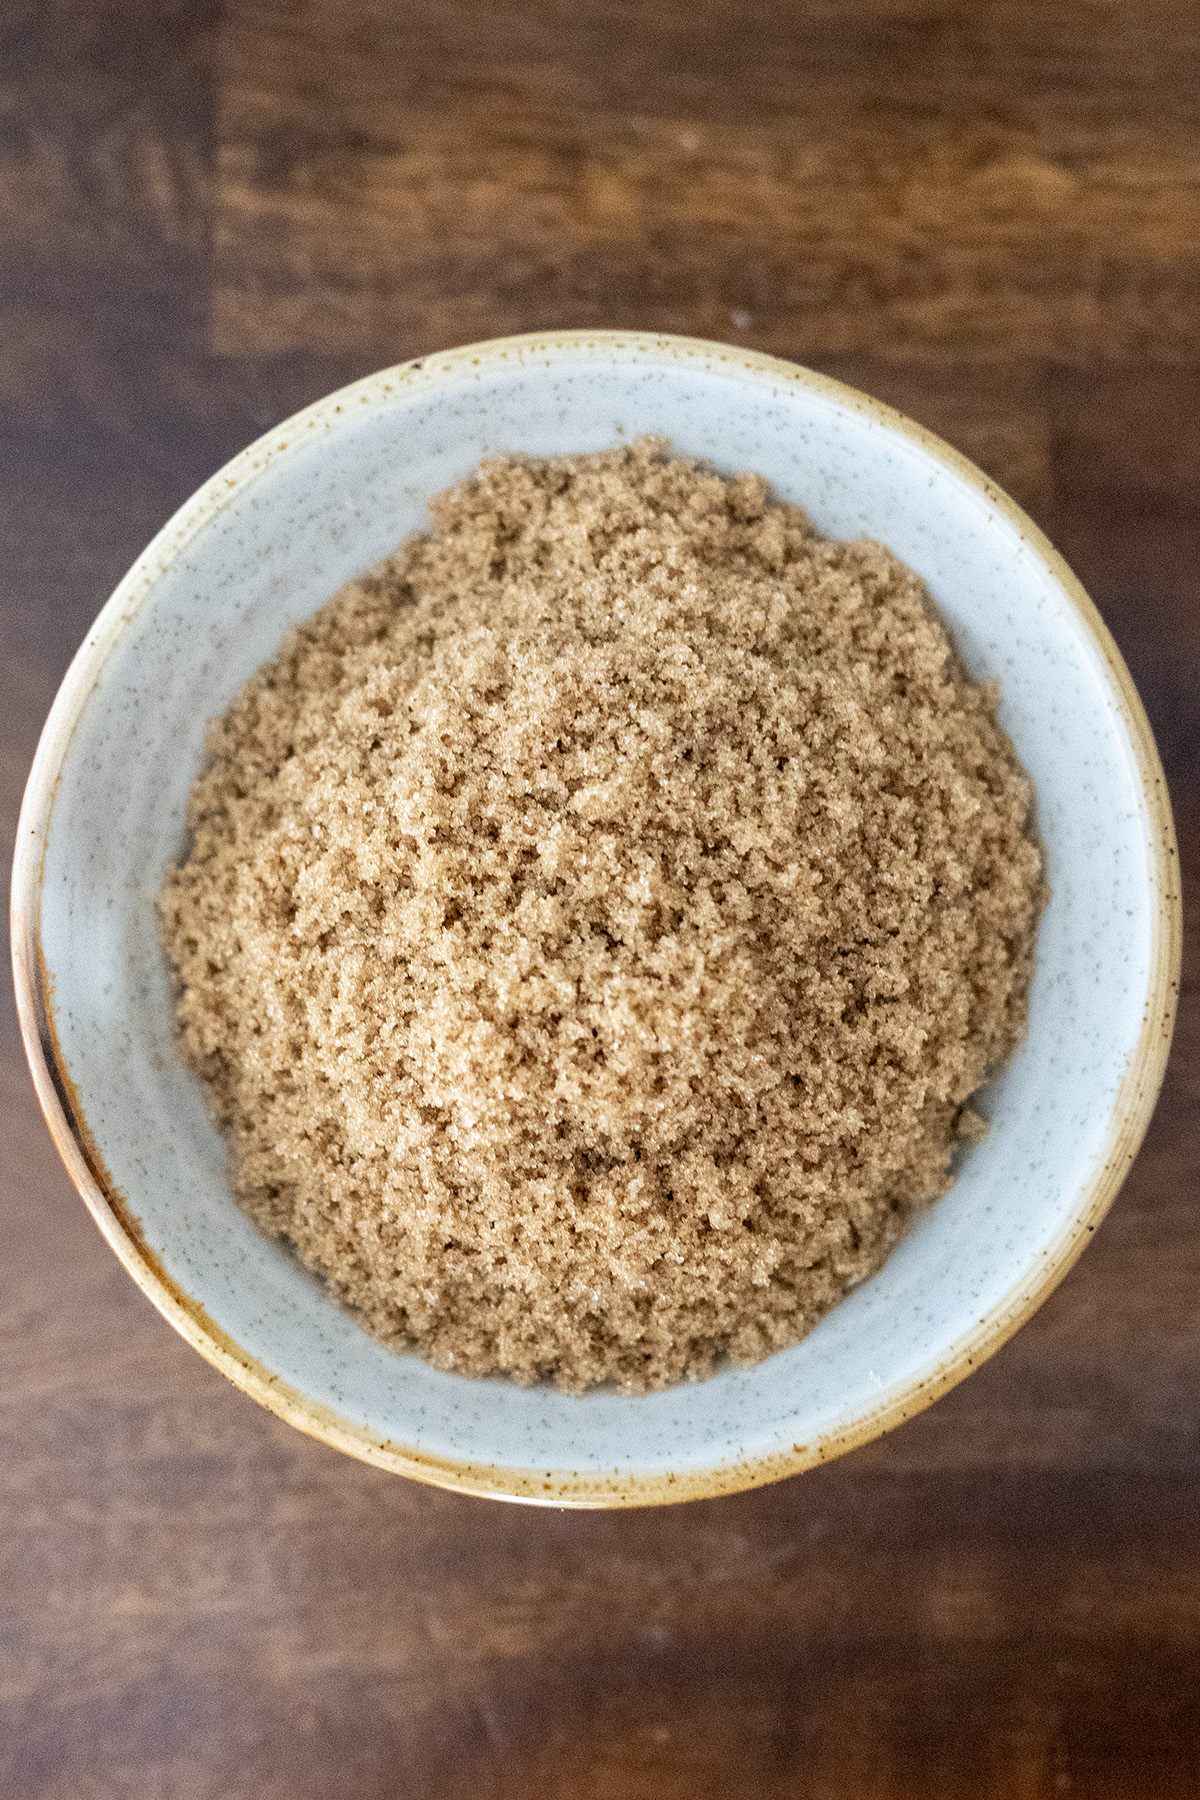
- Transfer to an airtight container. It’s ready to use immediately and stores for up to 3 months.
Video
Notes
- Storage: If brown sugar hardens, add a small piece of bread on parchment or directly on top of brown sugar—swap weekly as needed
- Why Unsulphured?: Always use unsulphured molasses for a clean, chemical-free flavor—sulphured types add a bitter tang.
- Molasses Tips:
- Old-fashioned: Milder and sweeter; use full 1–2 tbsp (light: 21g & dark: 42g) tbsp range.
Blackstrap: Bolder and bittersweet; use 0.5–1.25 tbsp (light: 10g & dark: 26g) to avoid overpowering.
- Old-fashioned: Milder and sweeter; use full 1–2 tbsp (light: 21g & dark: 42g) tbsp range.
Recipe adapted from traditional methods, tested in my own kitchen. All opinions are my own—because who needs store-bought drama?
As an Amazon Associate, I earn from qualifying purchases at no extra cost to you. Thank you for your support!