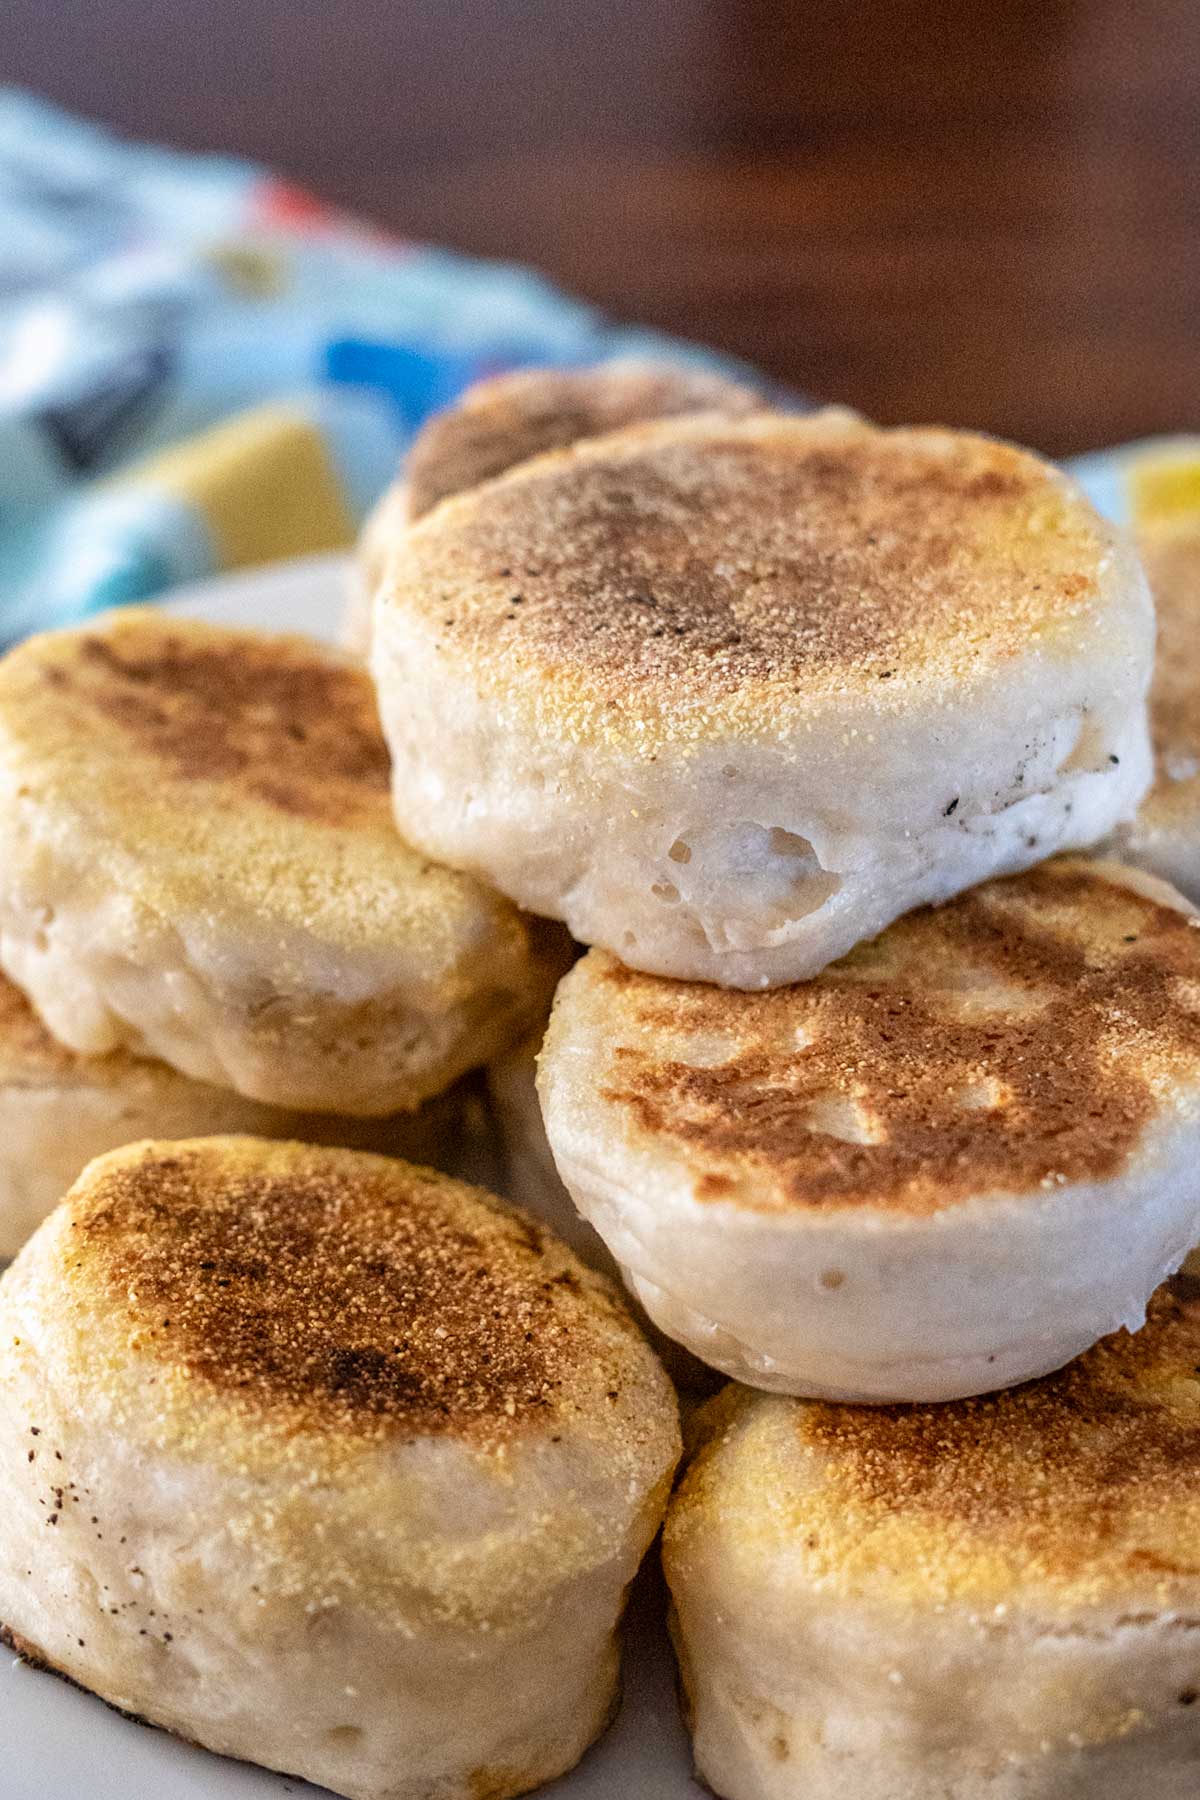
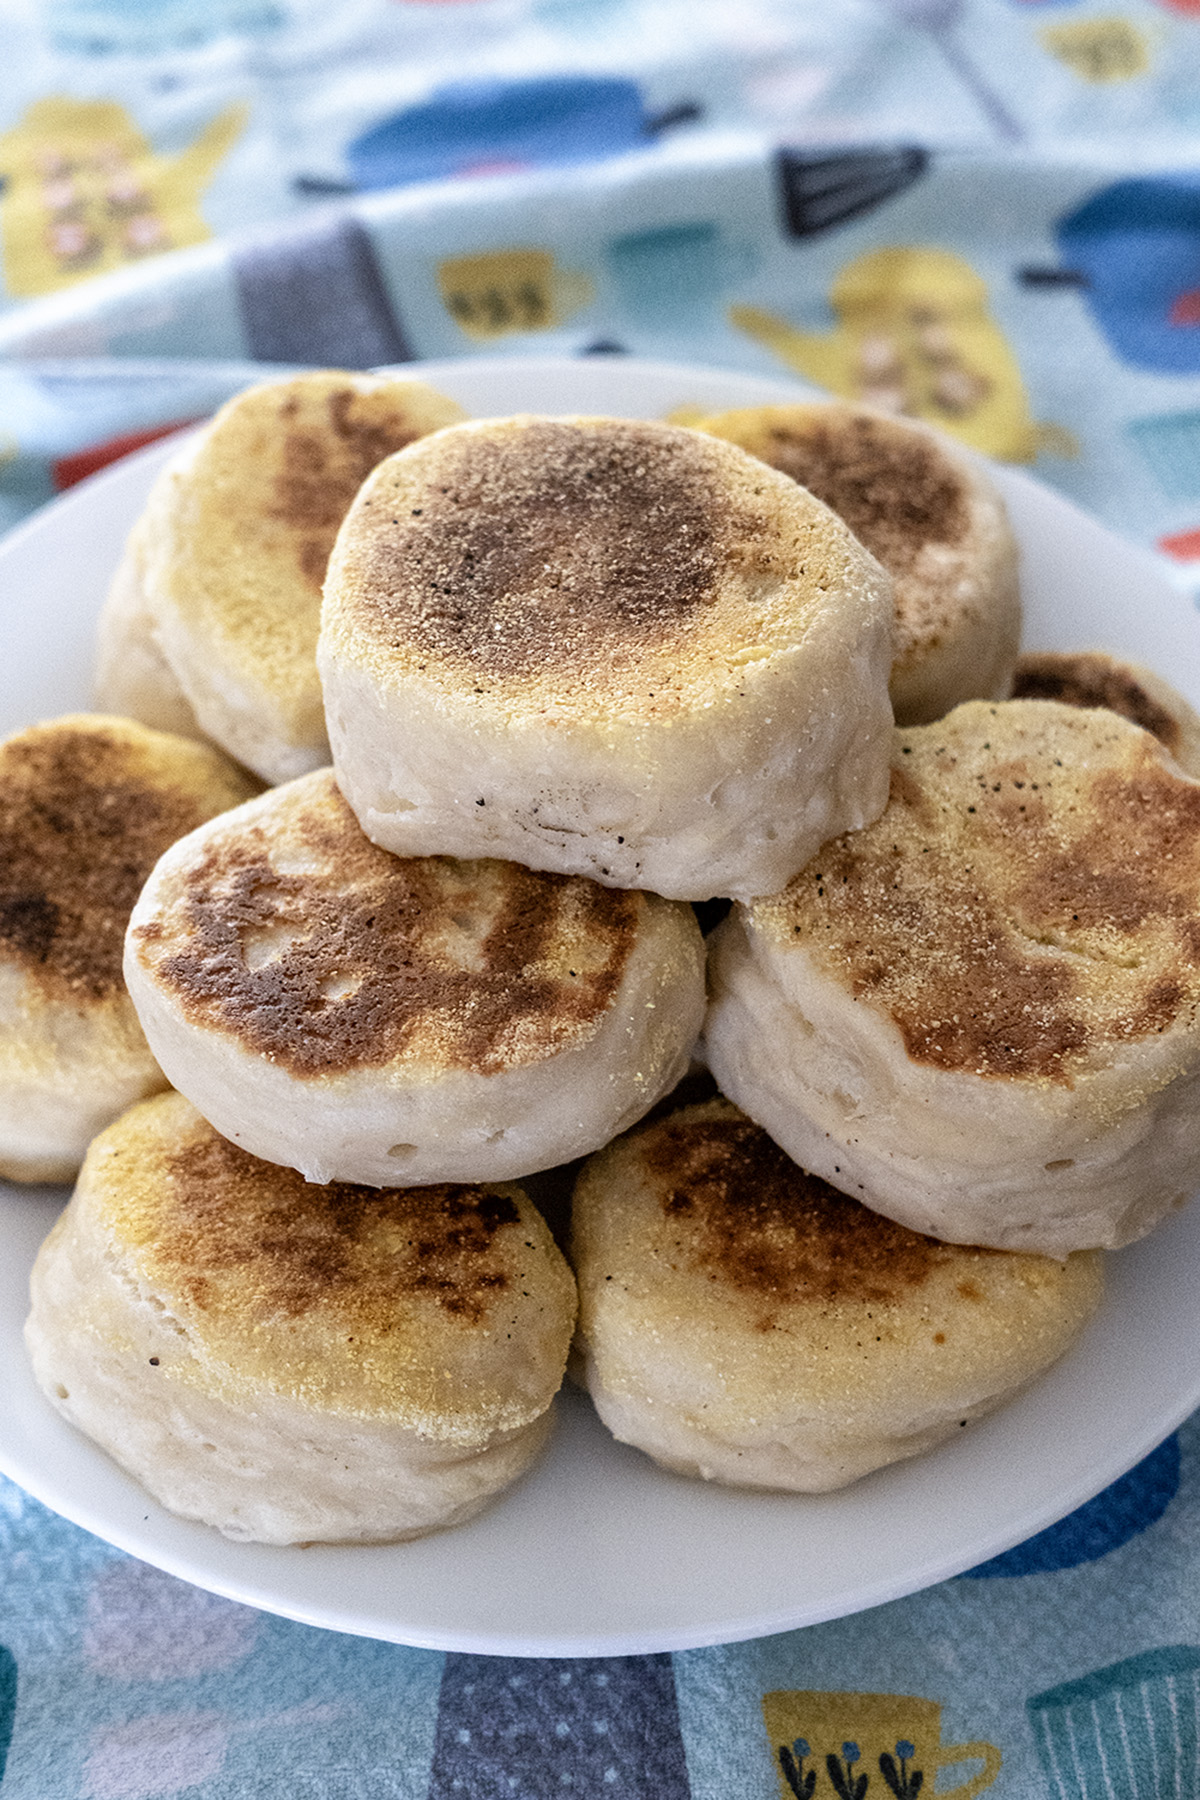
Sourdough English Muffins
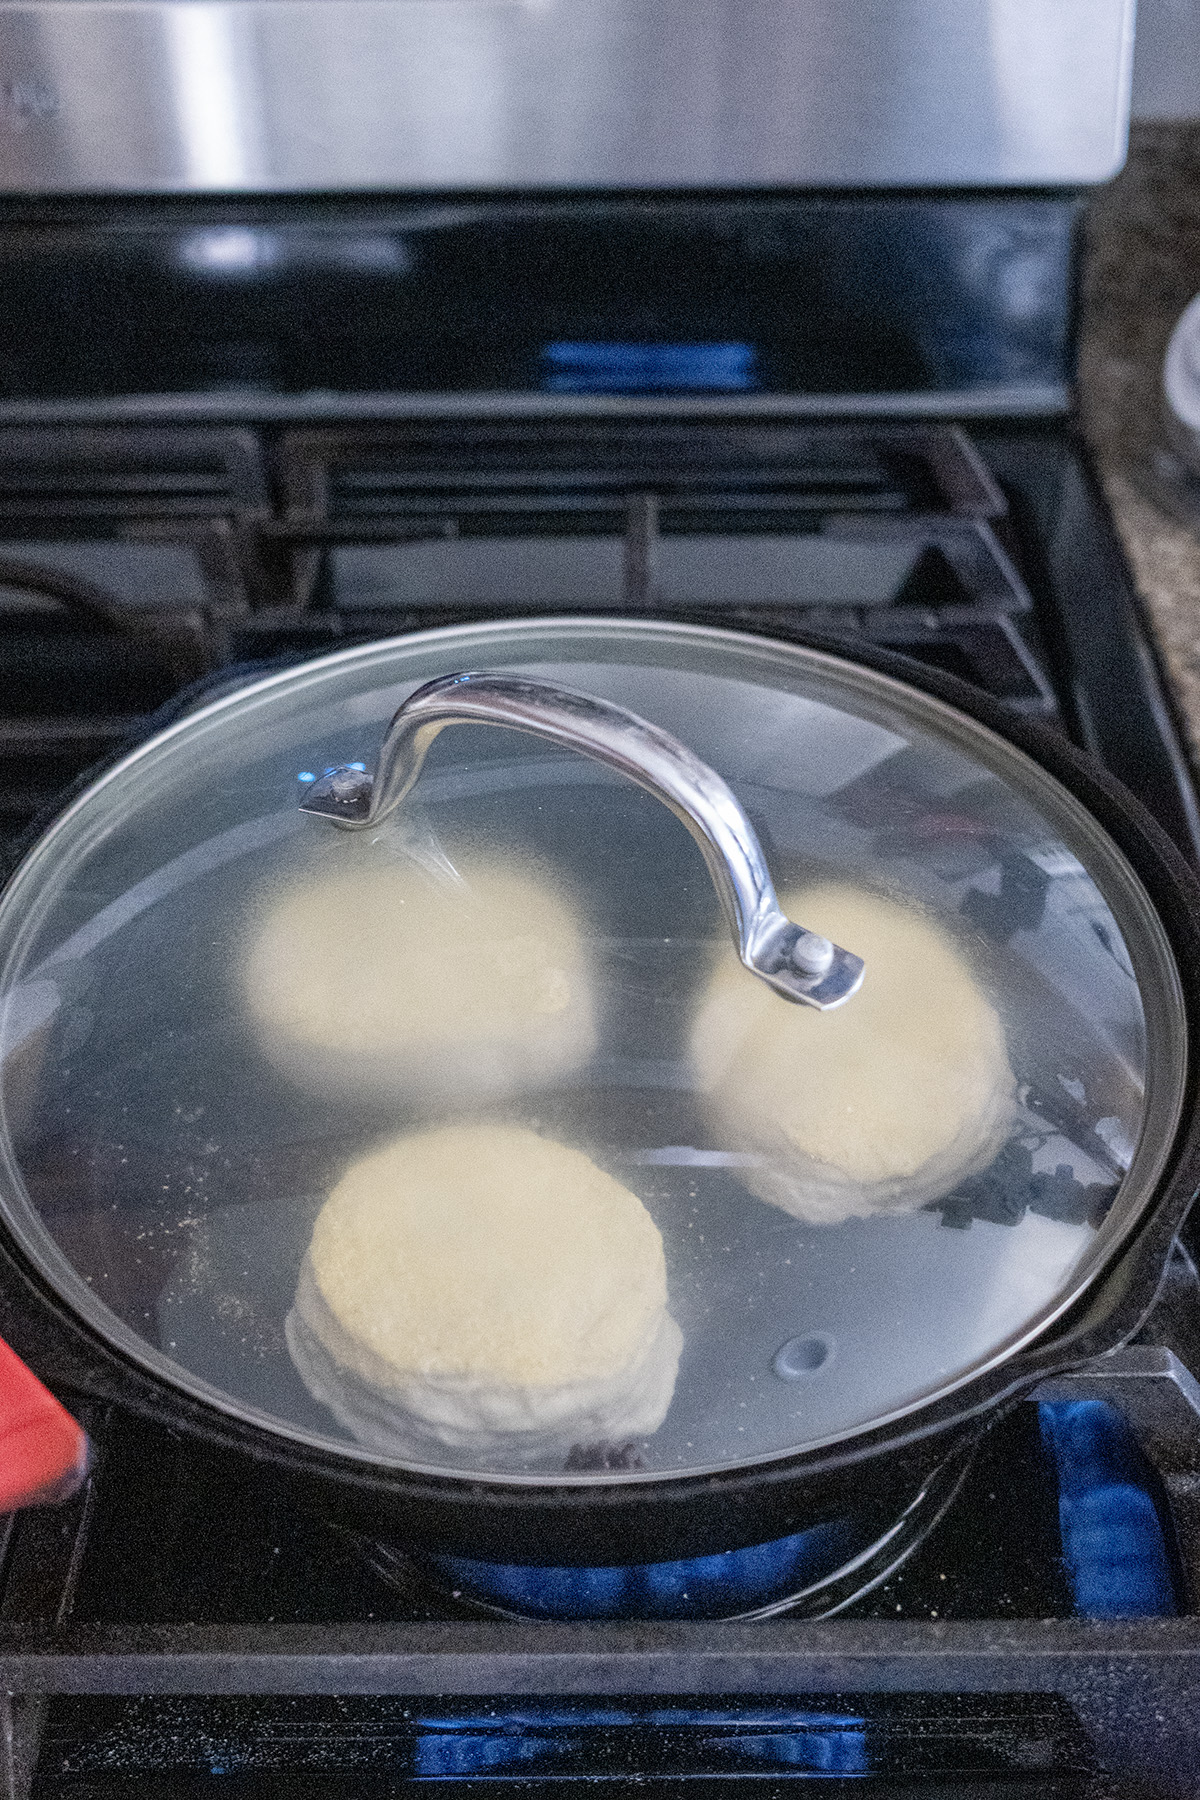
There’s something magical about a warm, toasty English muffin, especially when it’s homemade with the subtle tang of sourdough. These Sourdough English Muffins have become a true staple in our house—perfect for breakfast sandwiches and so much better than store-bought. I recently remade the recipe with a bit more hydration, and it’s officially a keeper! The nooks and crannies aren’t super defined like commercial ones, but they’re noticeably more present than before, and covering the muffins with a lid while cooking helps them puff up more evenly and beautifully. We pull them straight from the freezer all the time, toast them, and build epic sandwiches. Here’s the updated recipe that’s now our go-to.

Why You’ll Love These Sourdough English Muffins
- Mild, sourdough flavor: The sourdough tang is gentle, making these muffins versatile for sweet or savory toppings—perfect for those who don’t want an overpowering sour kick.
- Easy to make: With minimal hands-on time, this recipe is beginner-friendly for sourdough bakers.
- Breakfast sandwich perfection: These muffins are sturdy yet soft, ideal for stacking with eggs, bacon, cheese, or whatever you love.
- Better than store-bought: Even without the nooks and crannies (for now), the fresh, homemade taste is unmatched.

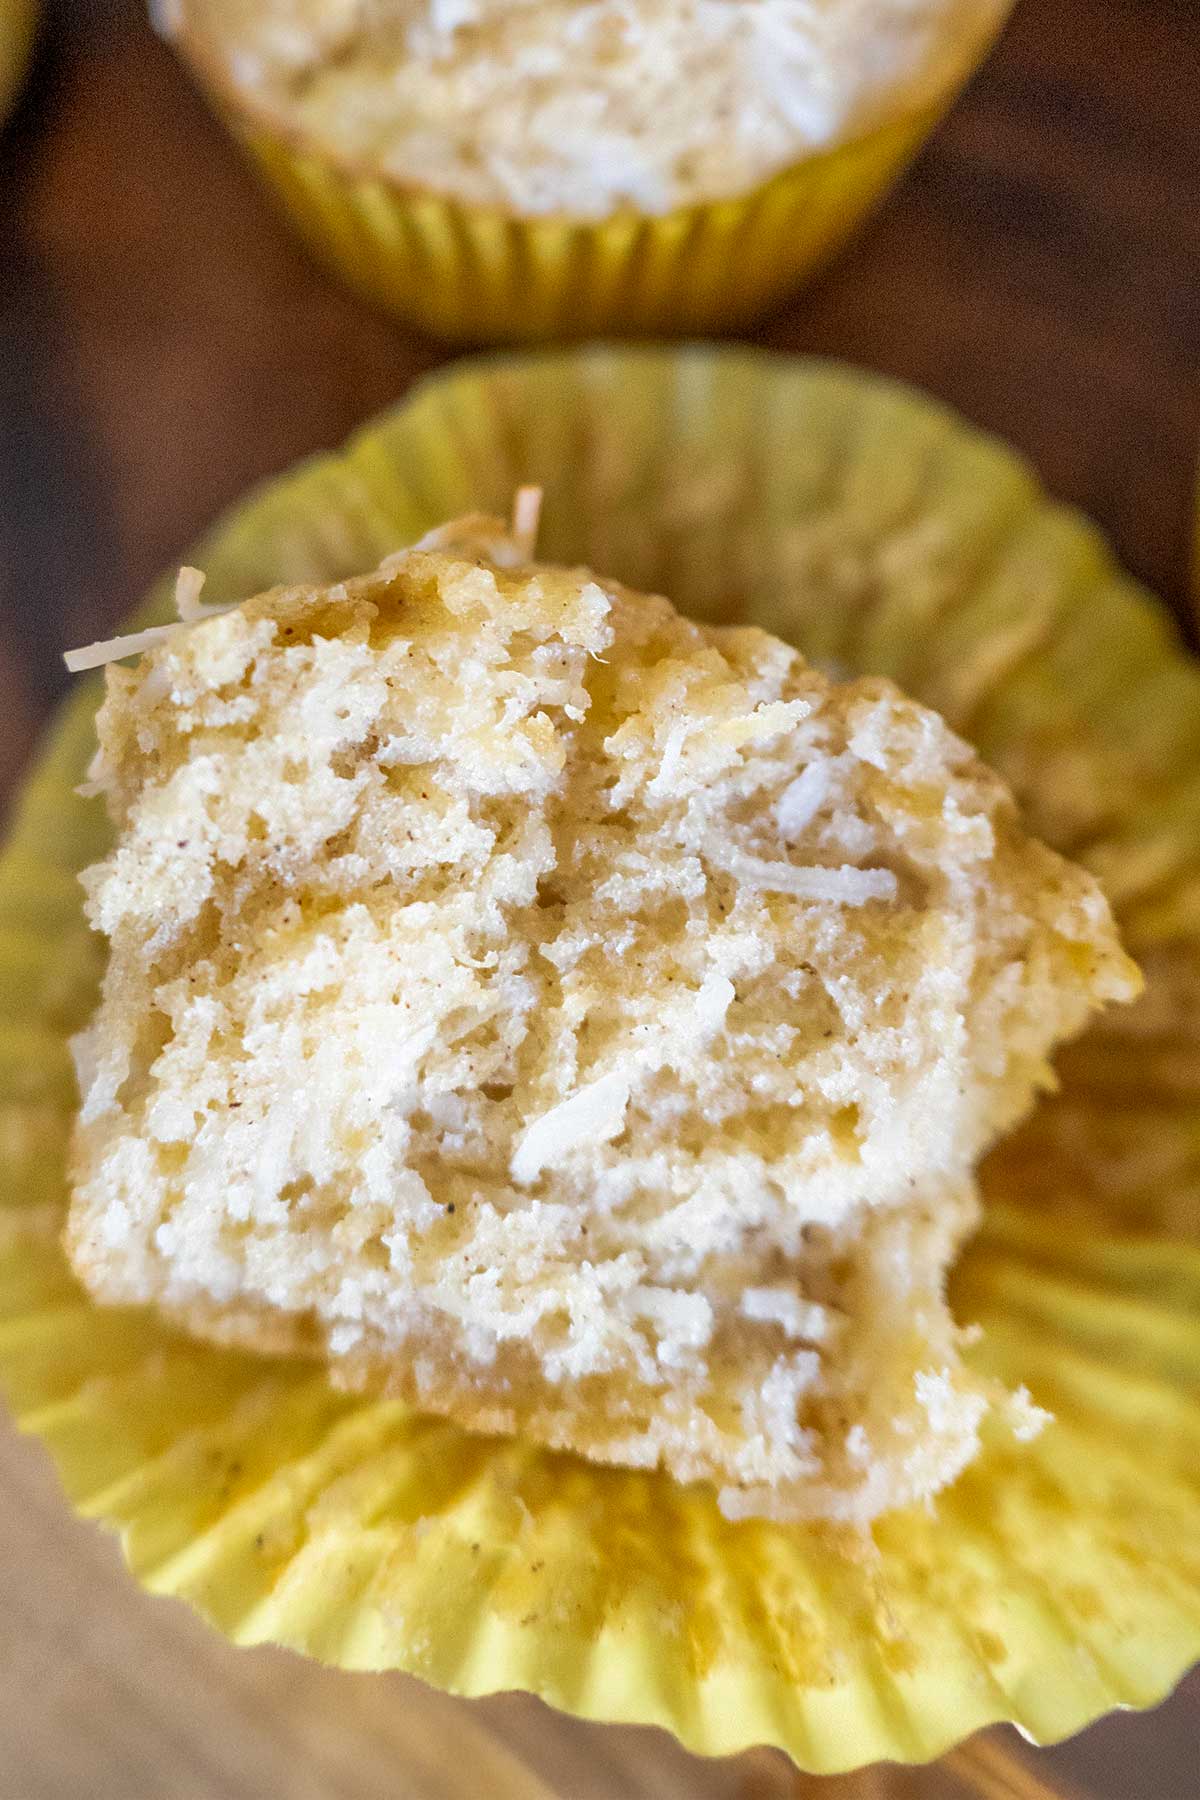
A Note on Texture
These muffins have noticeable nooks and crannies, though they’re not as dramatically open as some store-bought versions. That said, the flavor, ease, and homemade quality make them far superior in our book. They’re perfect as-is for our family, and we love them so much they’ve earned permanent freezer real estate.
Our Favorite Way to Enjoy Them
These muffins shine in breakfast sandwiches. Our go-to combo is a fried egg, crispy bacon, a slice of cheddar, and a smear of avocado or mayo, all tucked between a toasted muffin. The texture holds up beautifully, and the mild flavor lets the fillings take center stage. I’d love to hear your favorite toppings or sandwich ideas in the comments!


Happy baking!
Sourdough English Muffins
Print Recipe
equipment (affiliate links
- kitchen scale for best accuracy
- Shower cap or damp towel for 1st rise and cold fermentation.
- cast iron pan with lid to fit the top – or
- nonstick pan with lid to fit the top – or
Ingredients
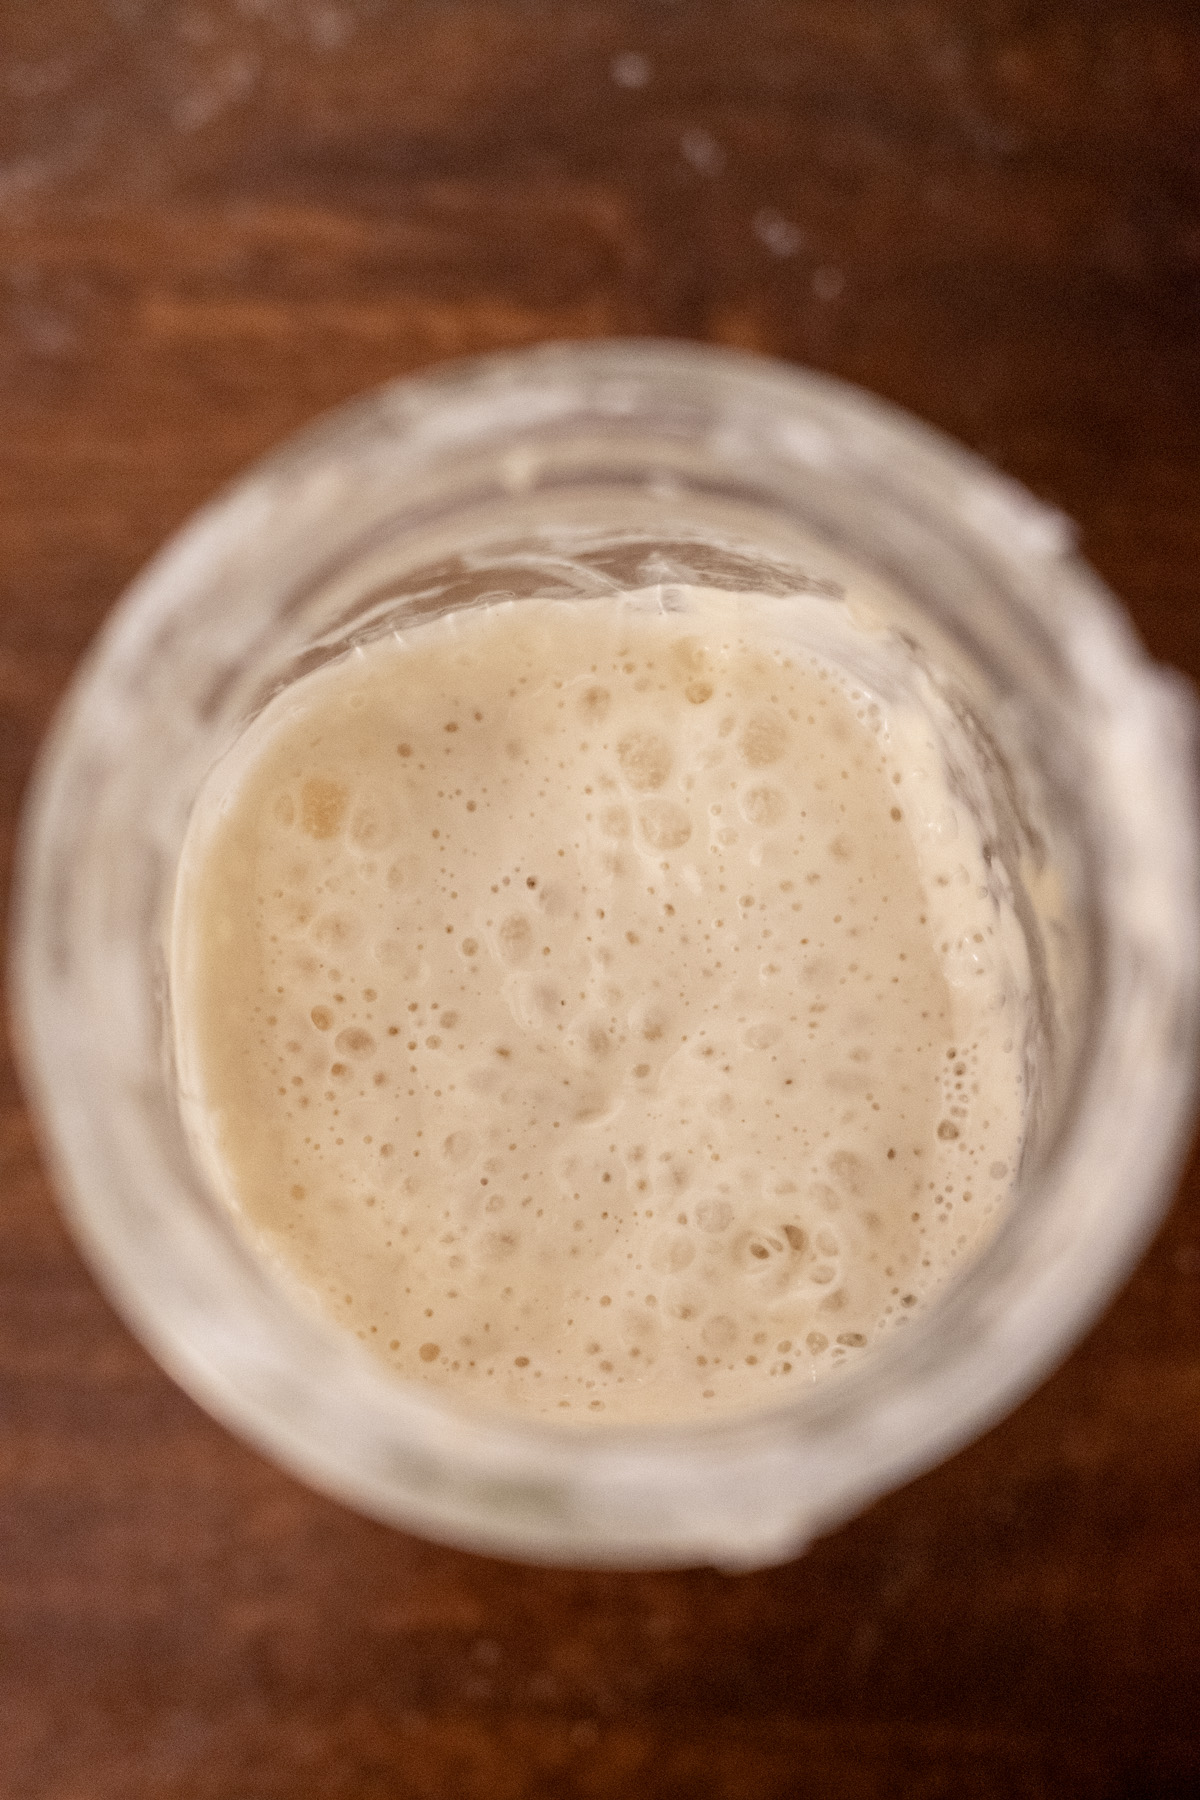
- 1 c. (240 g) sourdough starter active starter – 100% hydration, fed and bubbly
- 1¼ c. (300 g) whole milk lukewarm
- 2 tbsp. (28 g) salted butter, melted melted
- 1 tbsp. (12 g) granulated sugar
- 3 c. (360 g) unbleached all-purpose flour (RECOMMEND WEIGHING)
- 1 tsp. salt
- ¼ tsp. baking soda
- Cornmeal or semolina for dusting
Instructions
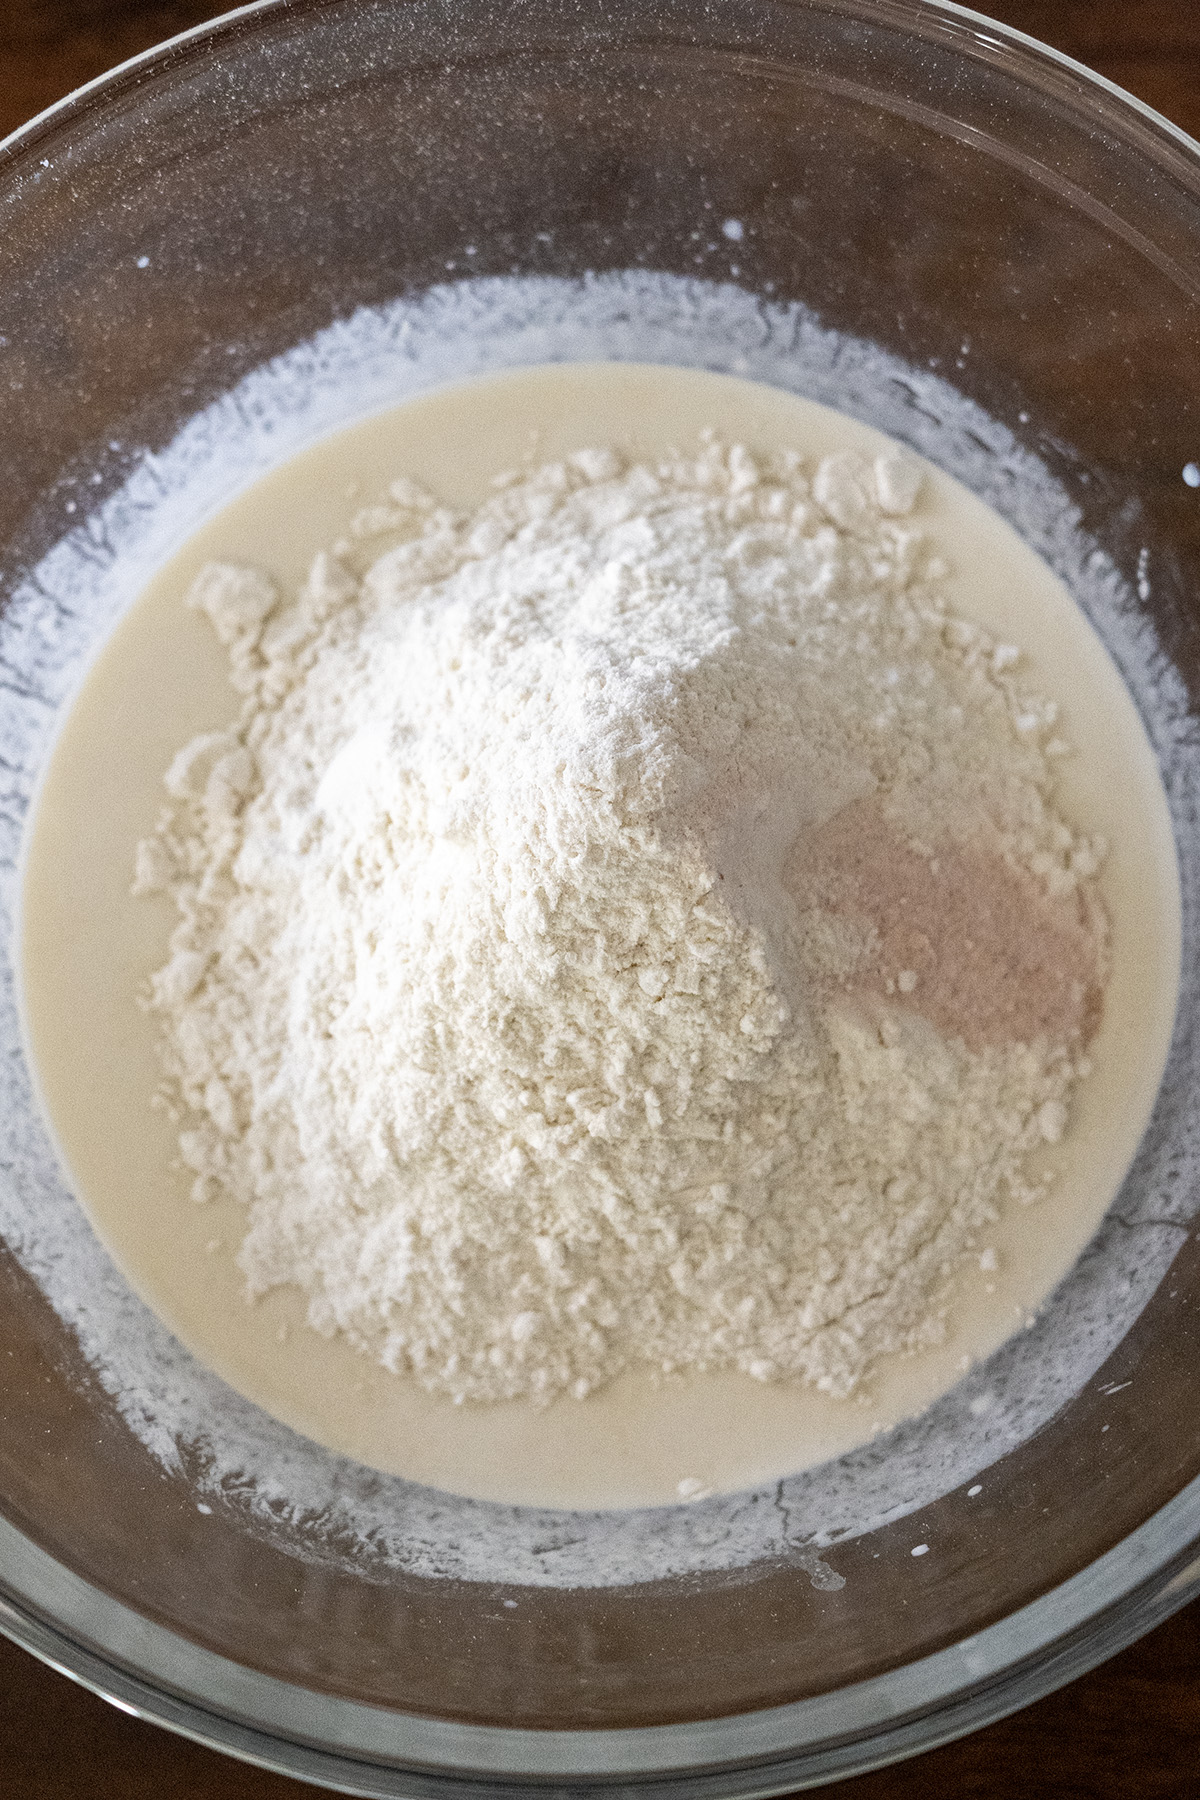
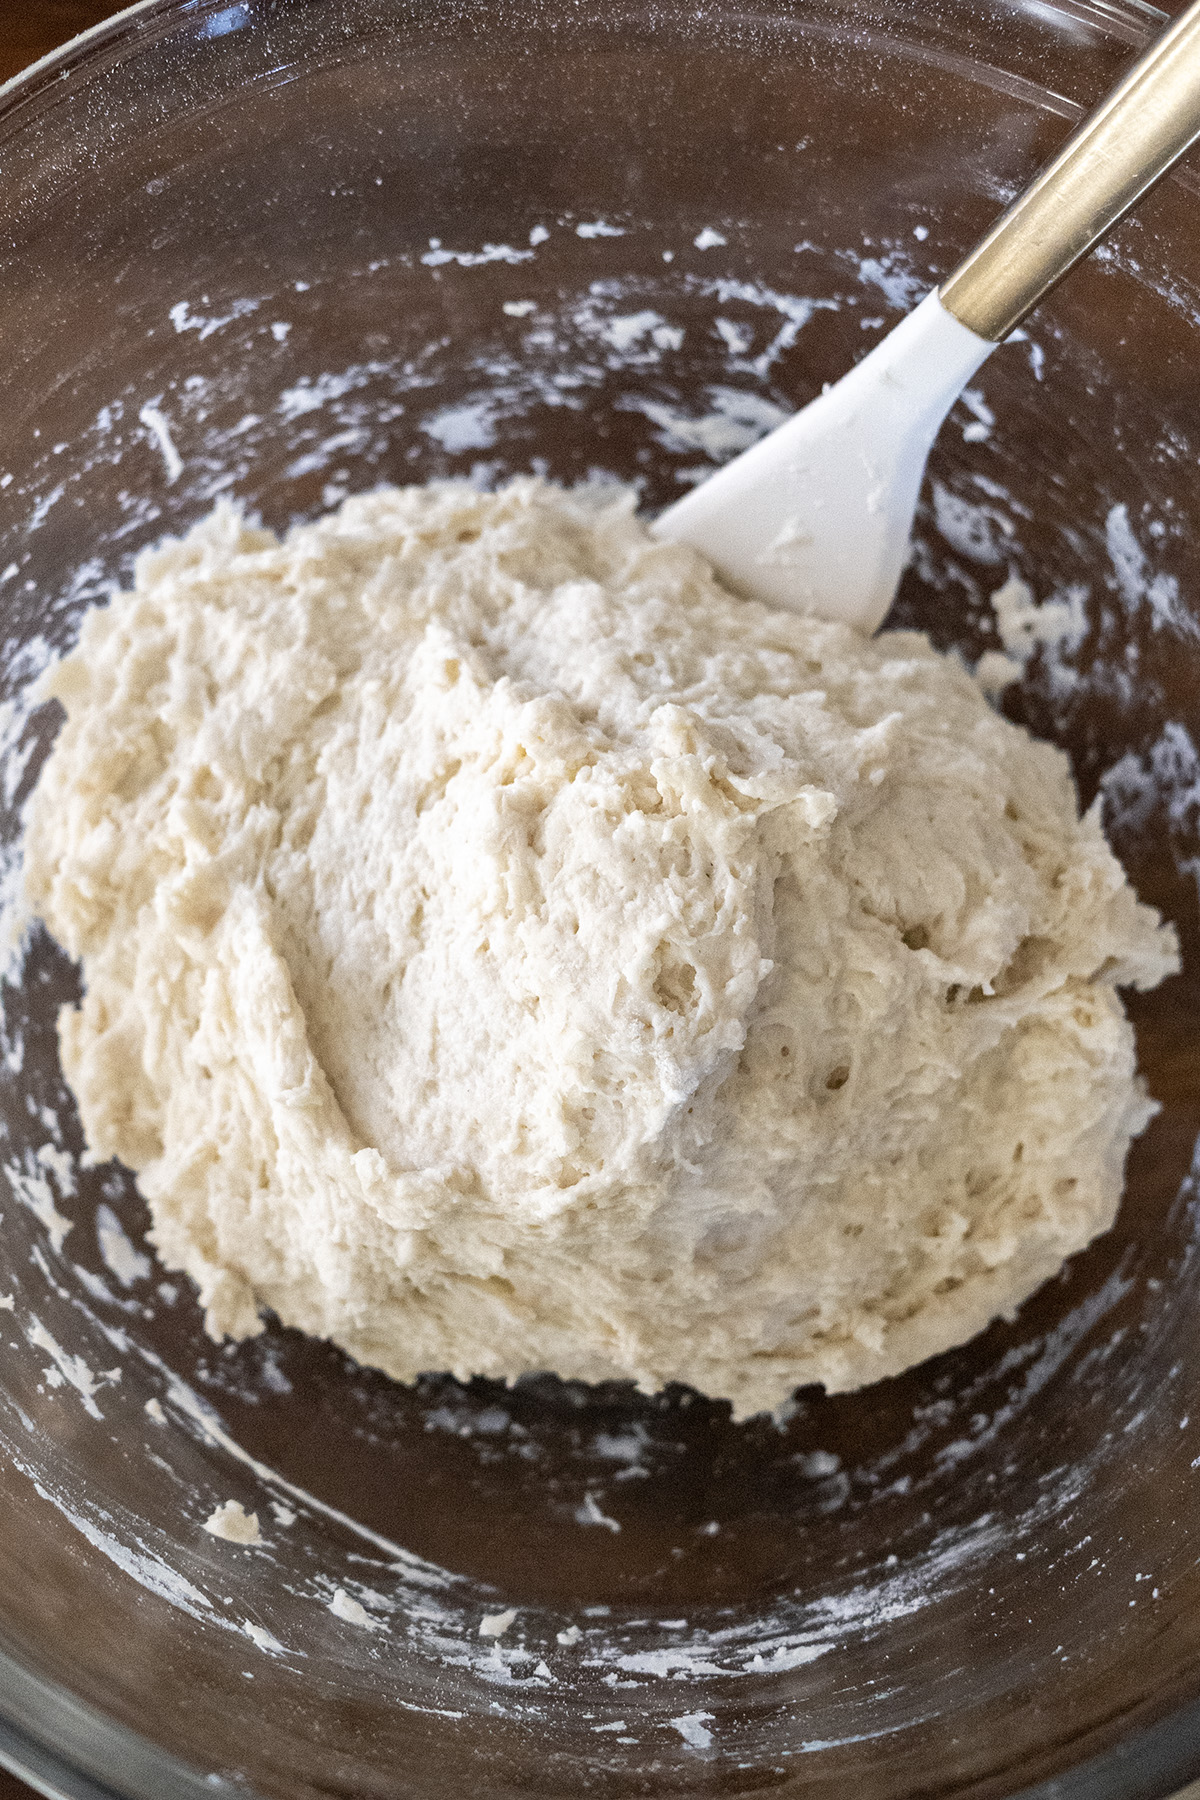
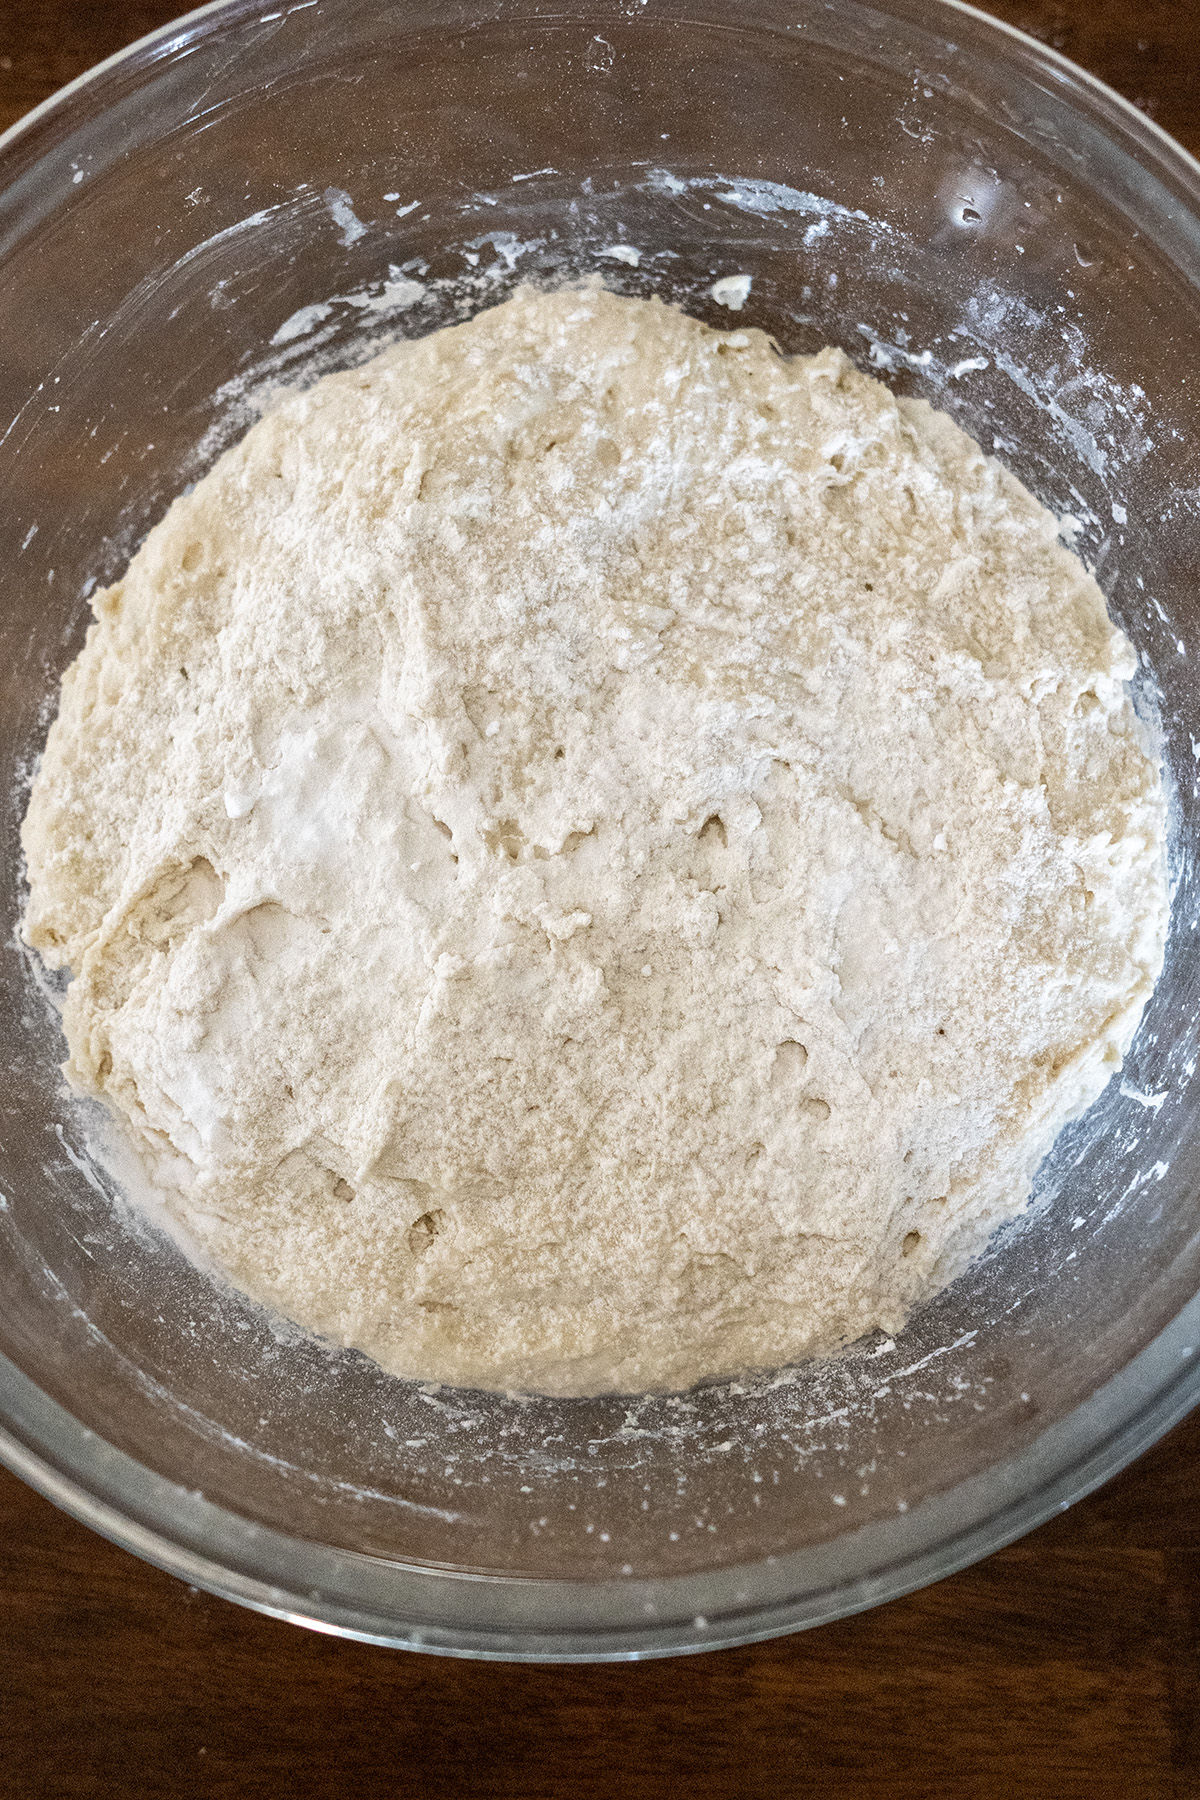
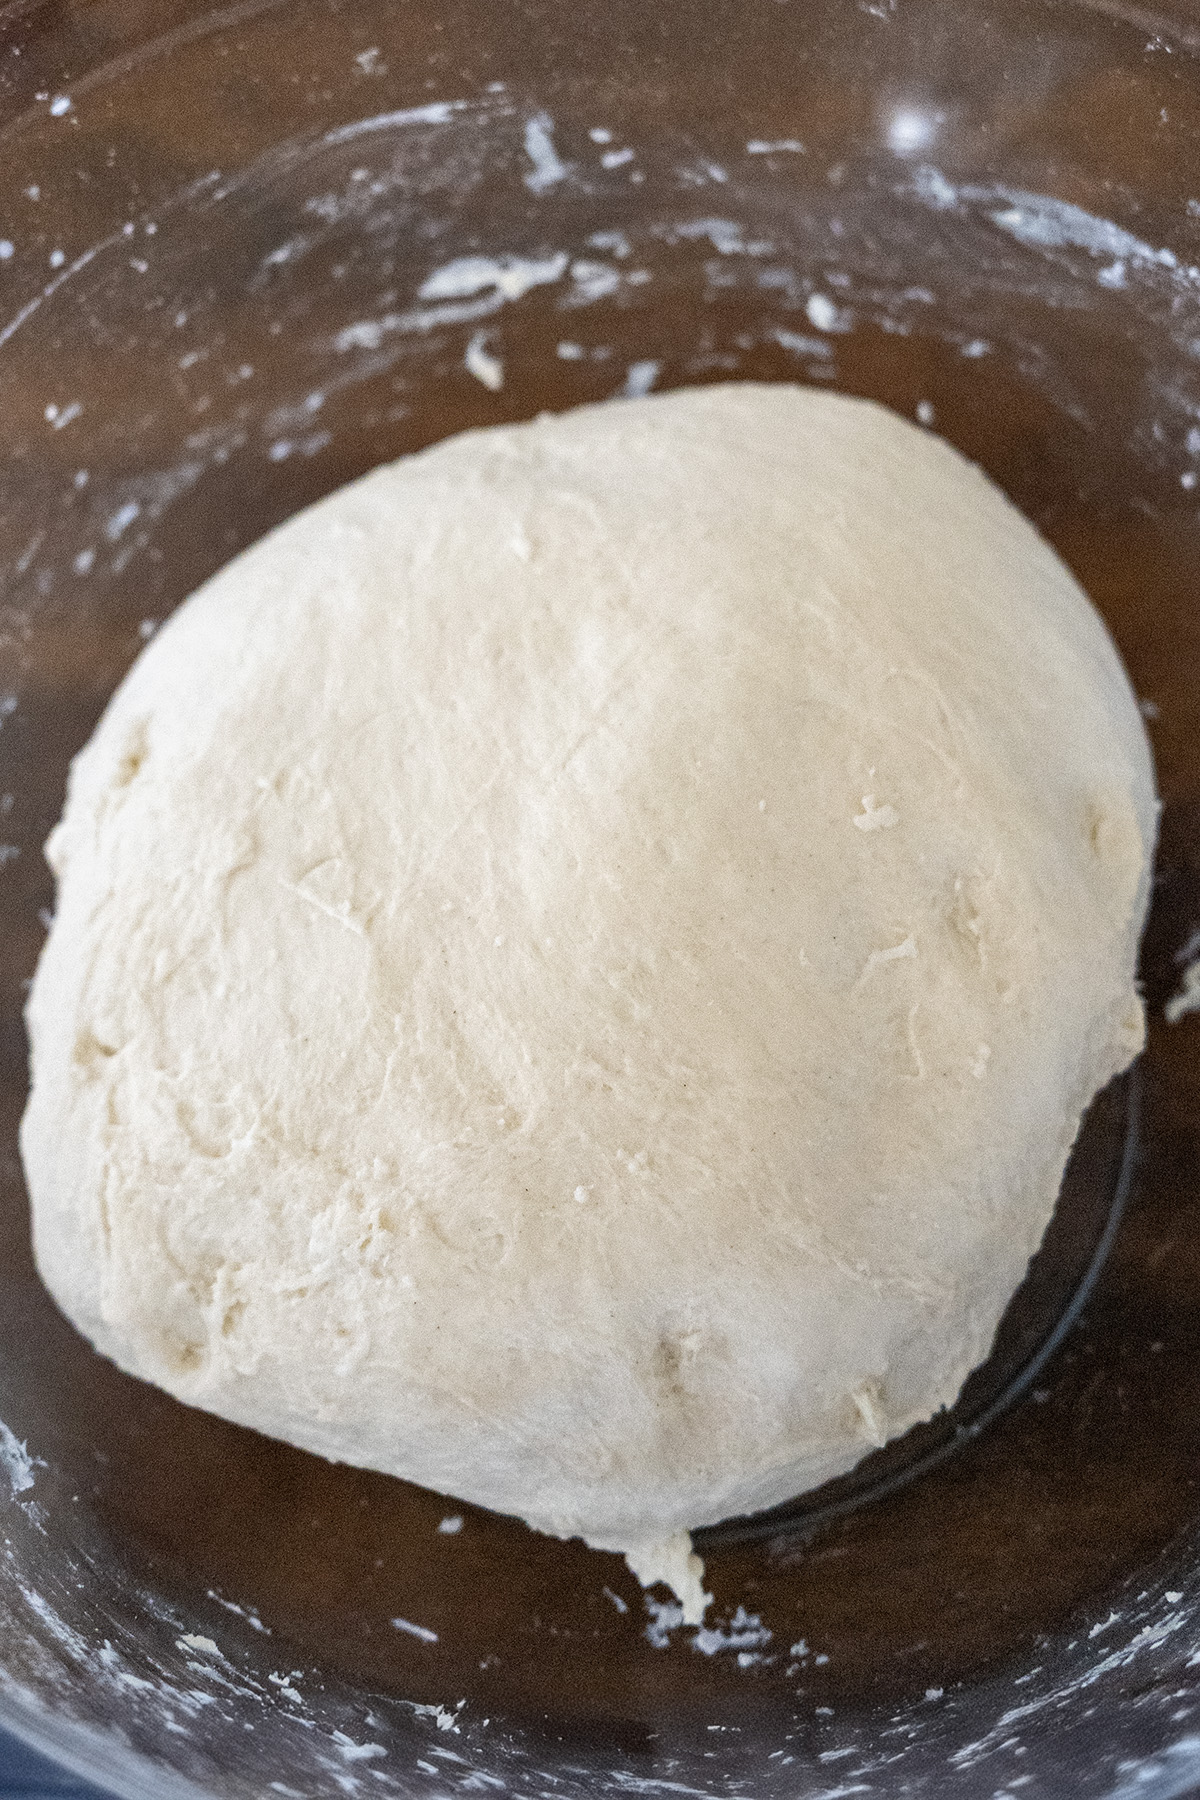
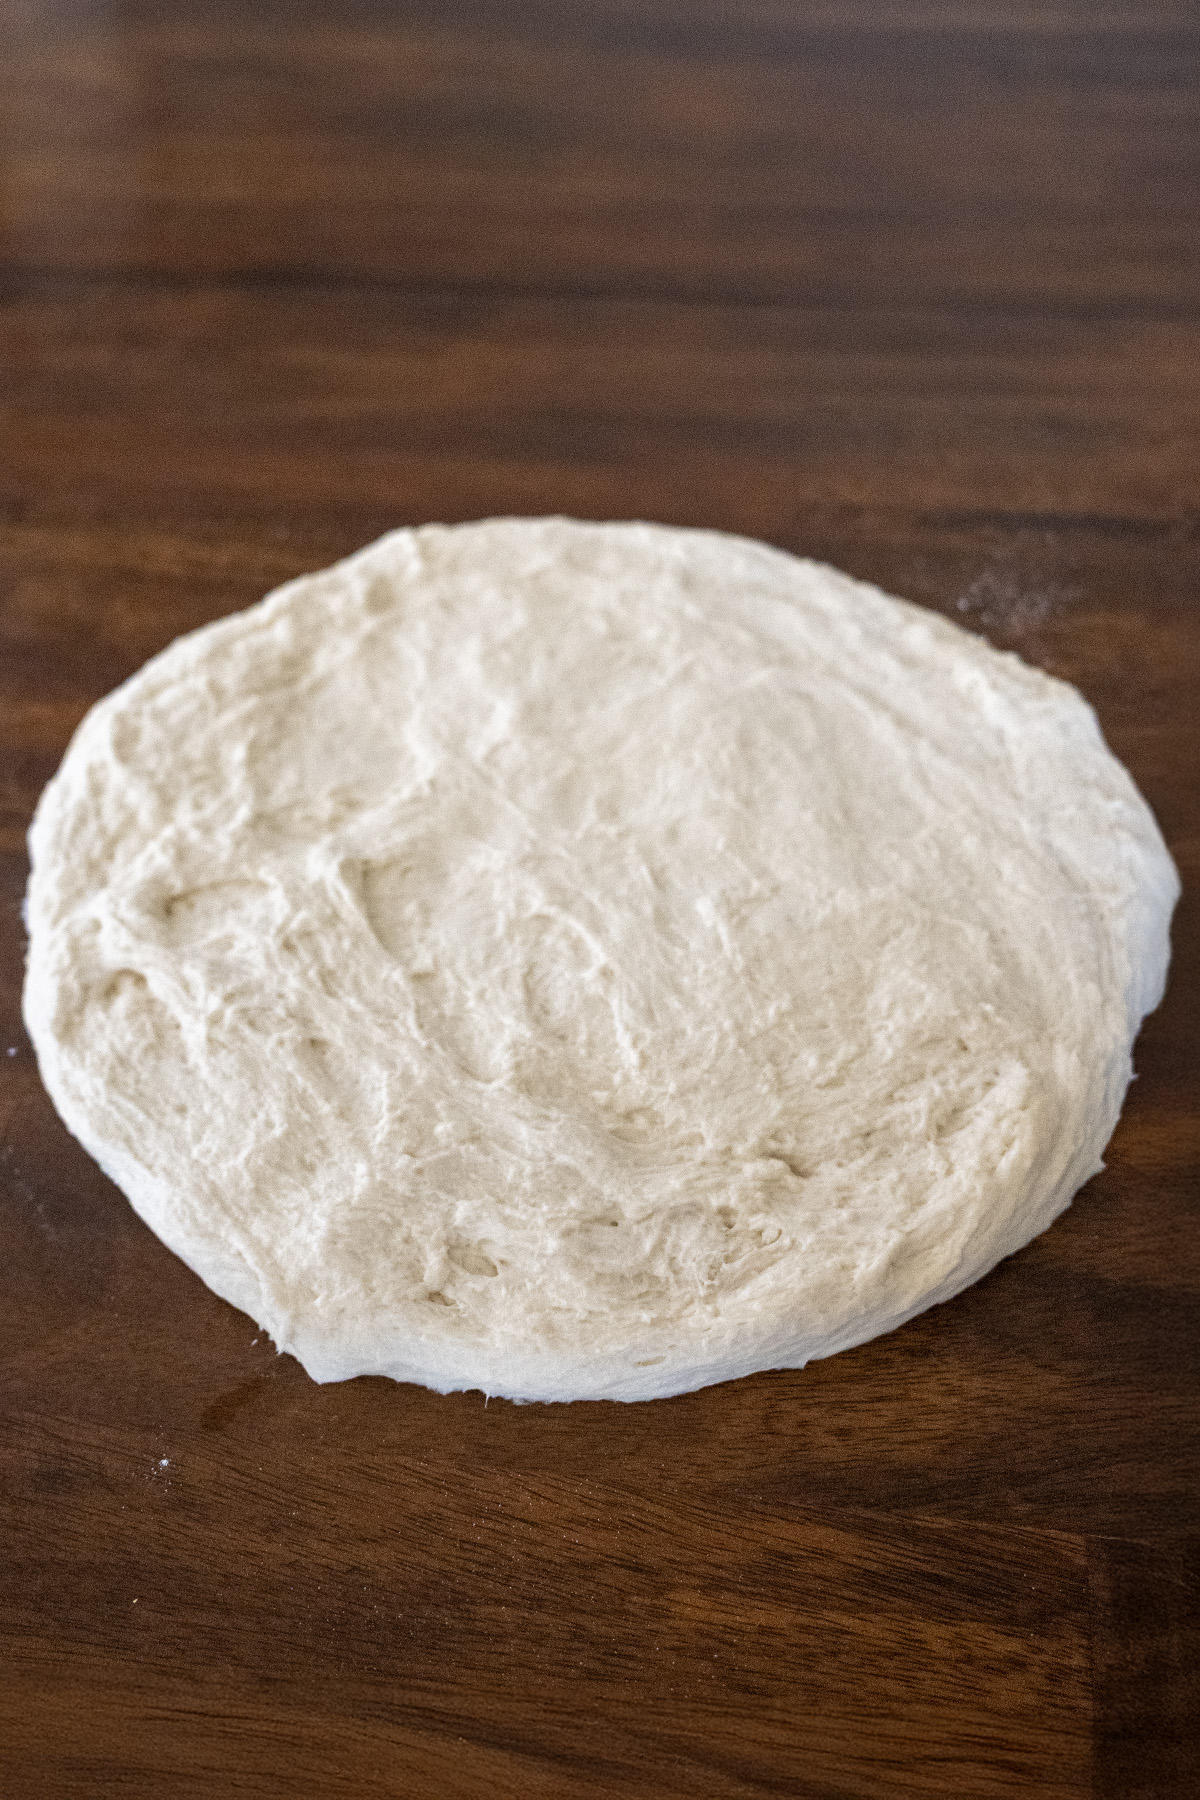
- Mix the Dough: In a large bowl, combine active sourdough starter, lukewarm whole milk, melted butter, and sugar. Stir until blended. Add all-purpose flour and salt. Mix with a spatula or dough whisk until a shaggy, slightly sticky dough forms.1 c. (240 g) sourdough starter1¼ c. (300 g) whole milk2 tbsp. (28 g) salted butter, melted1 tbsp. (12 g) granulated sugar3 c. (360 g) unbleached all-purpose flour (RECOMMEND WEIGHING)1 tsp. salt
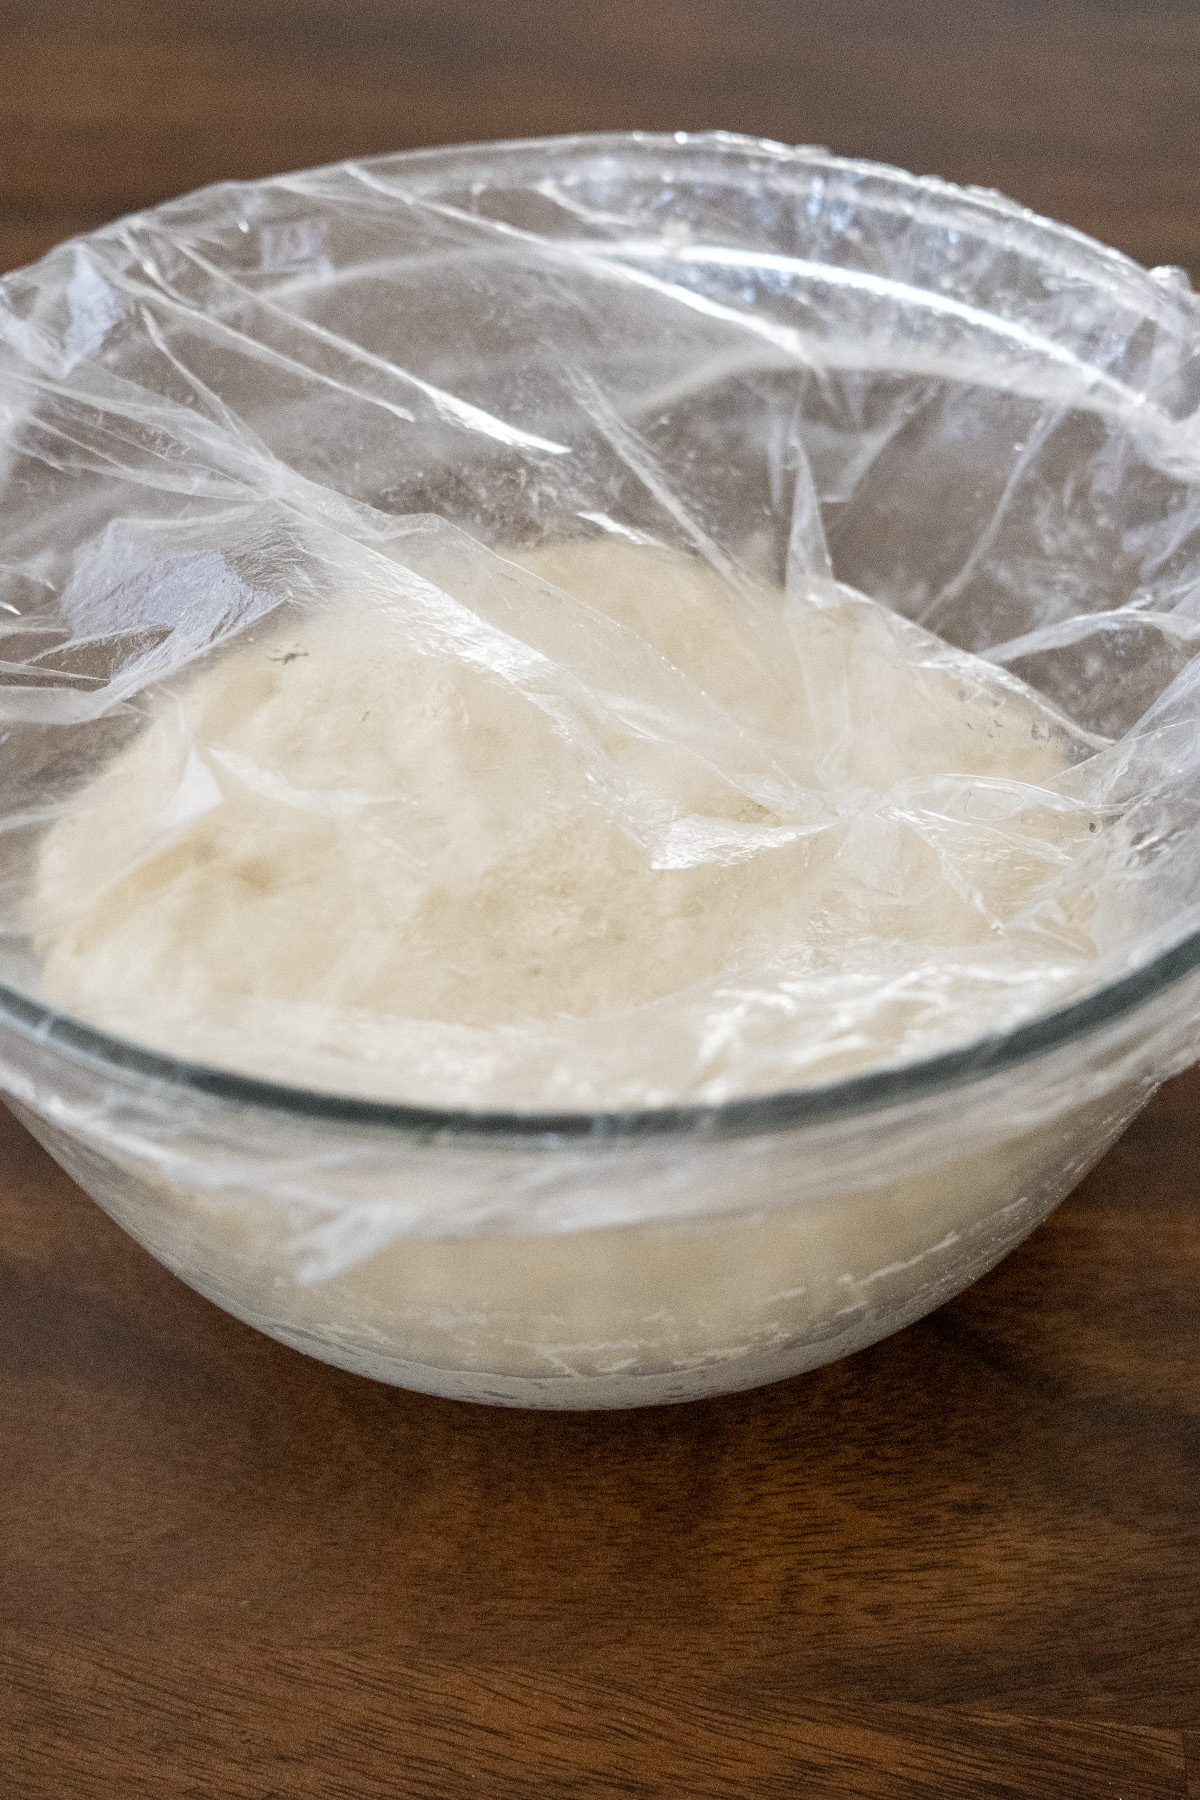
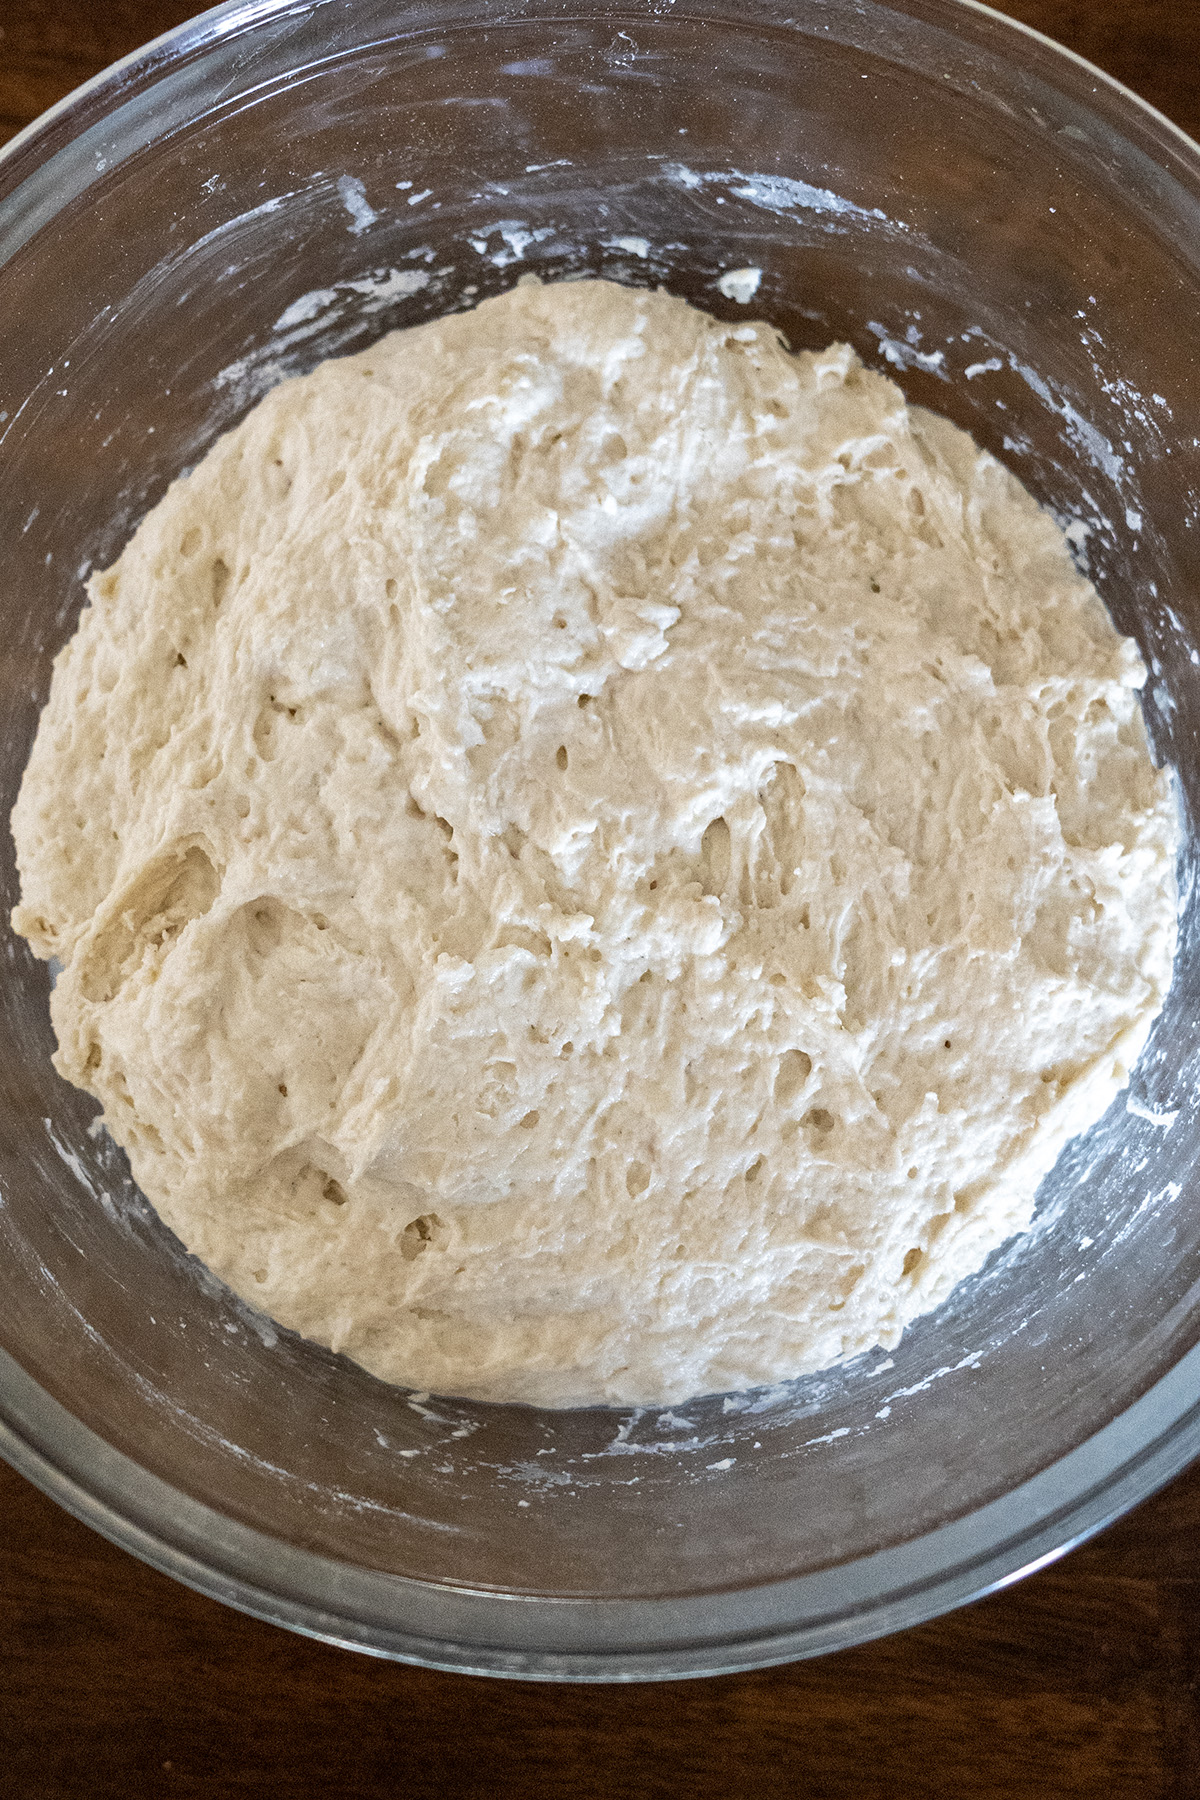
- First Rise: Cover with a shower cap or damp cloth and let ferment at room temperature (70-75°F/21-24°C) for 8-12 hours, until doubled and bubbly.
- Optional Refrigeration: If you need to delay shaping (as I often do), cover the dough tightly and refrigerate for up to 24 hours. This keeps the flavor mild and the dough workable.
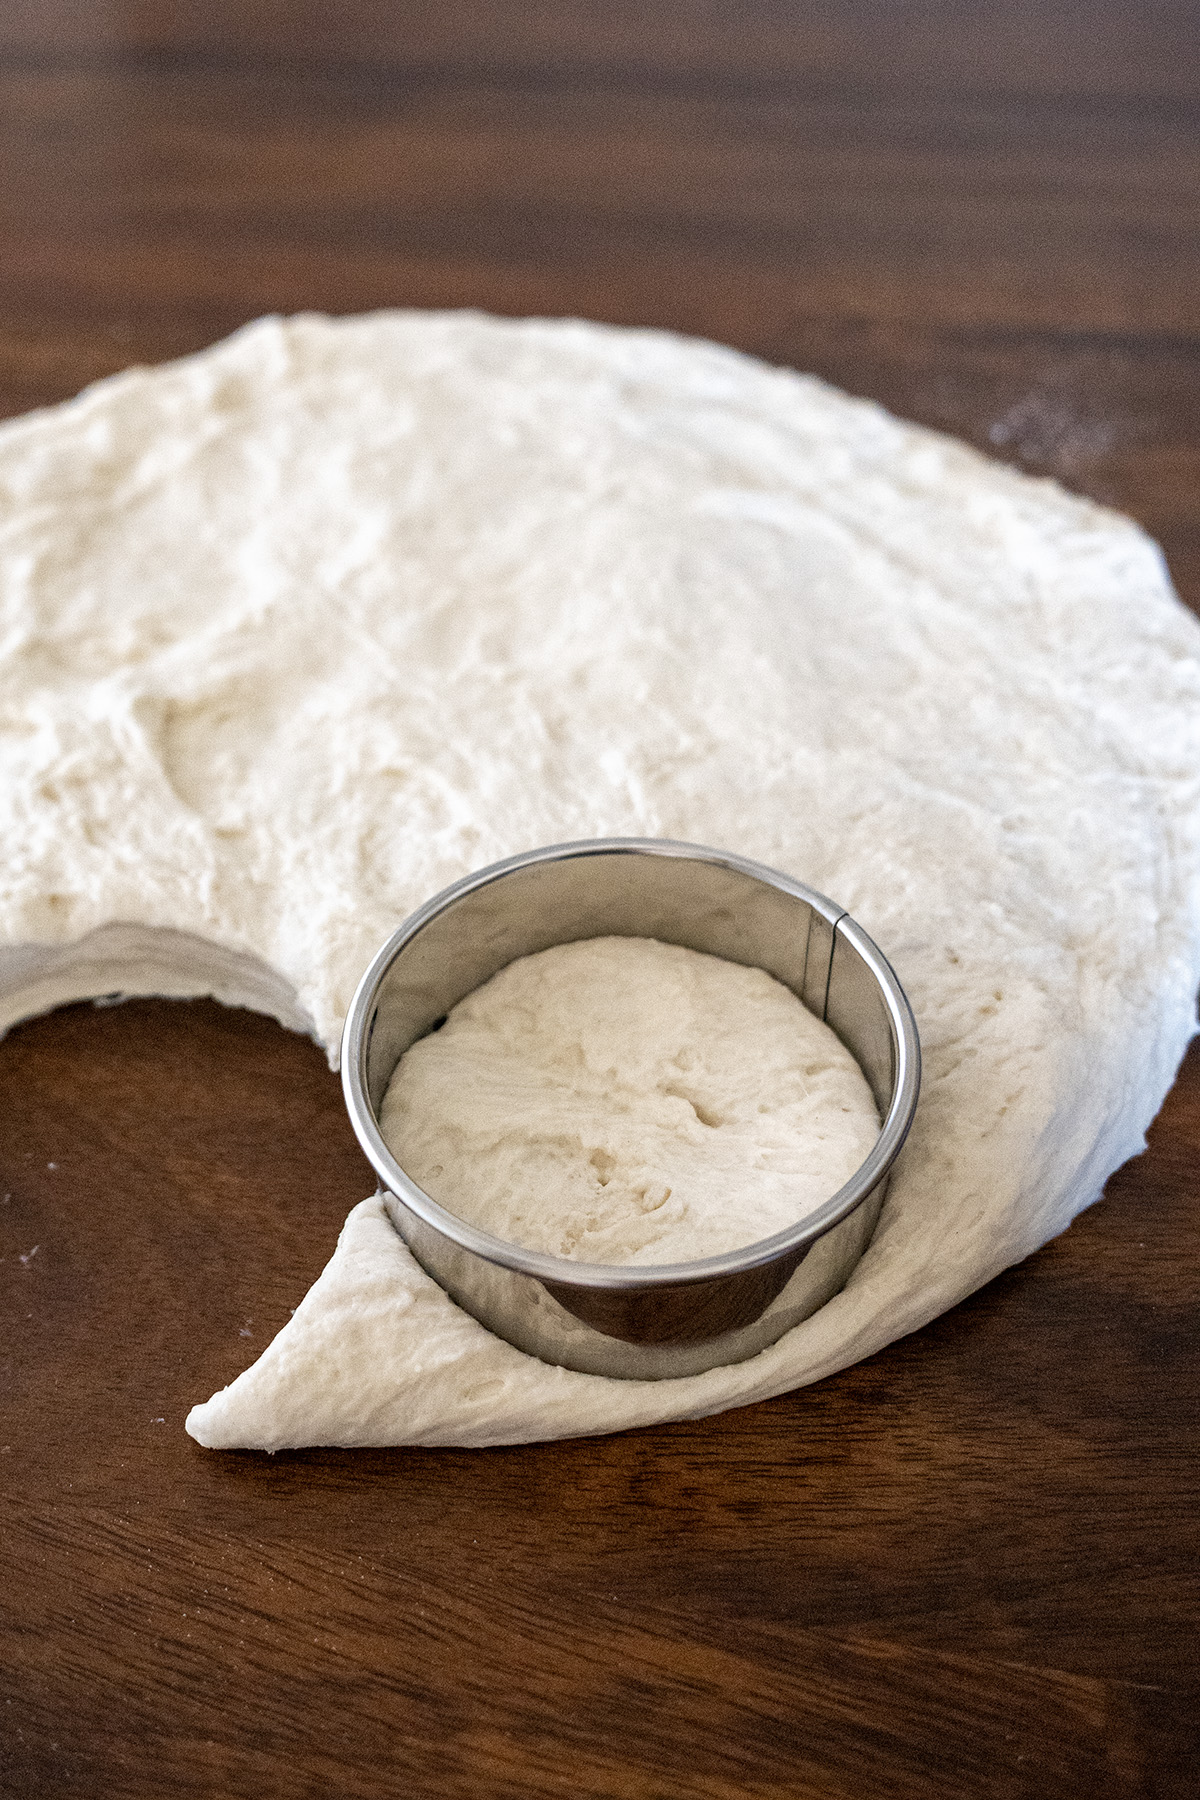
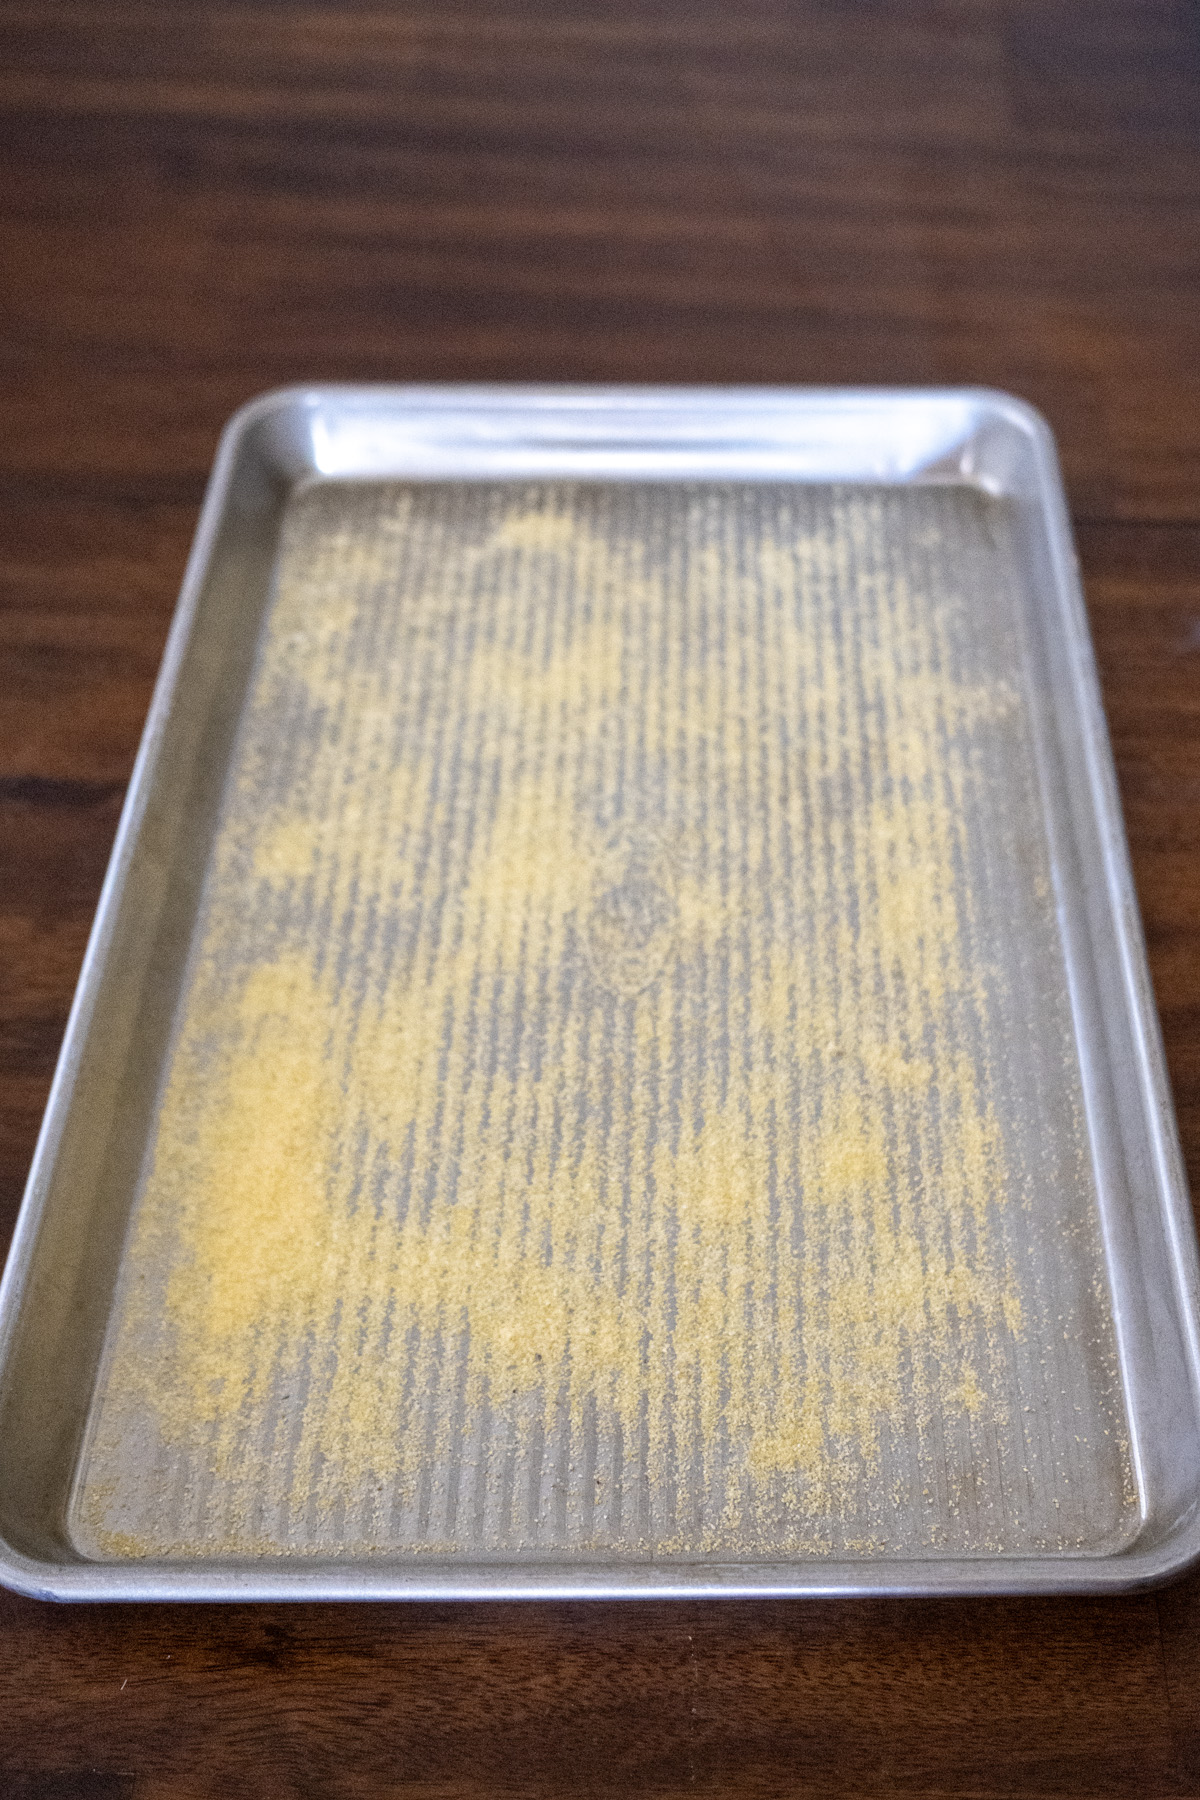
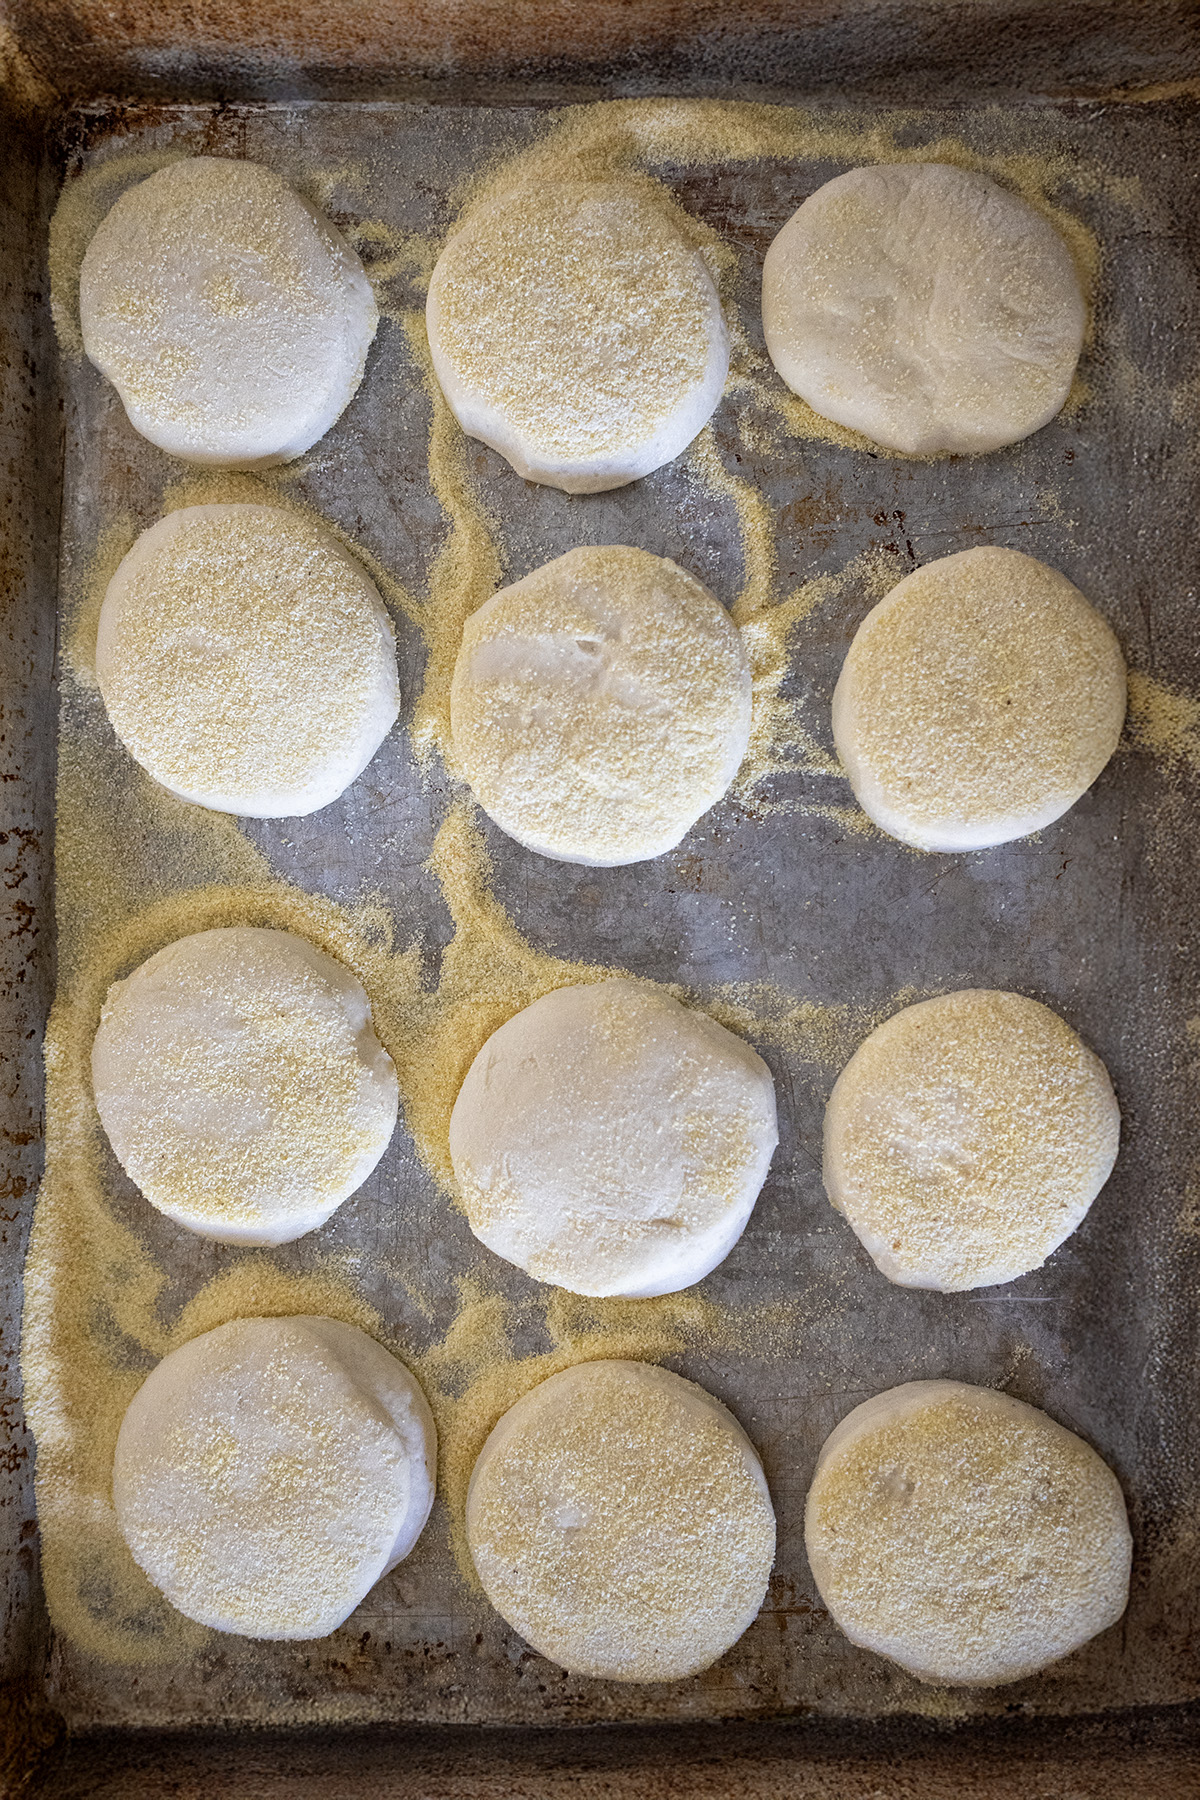
- Shape the Muffins: After fermentation (and refrigeration, if used), sprinkle with baking soda over the dough and gently fold it in for 30 seconds. On a lightly floured surface, pat or roll the dough to a scant ½ inch thick. Cut out rounds with a 3-inch cutter and place on a baking sheet dusted with cornmeal. Gather scraps, re-roll and cut to yield 12 muffins.¼ tsp. baking sodaCornmeal
- Second Rise: Cover loosely, and let rest for 45 minutes until slightly puffy.
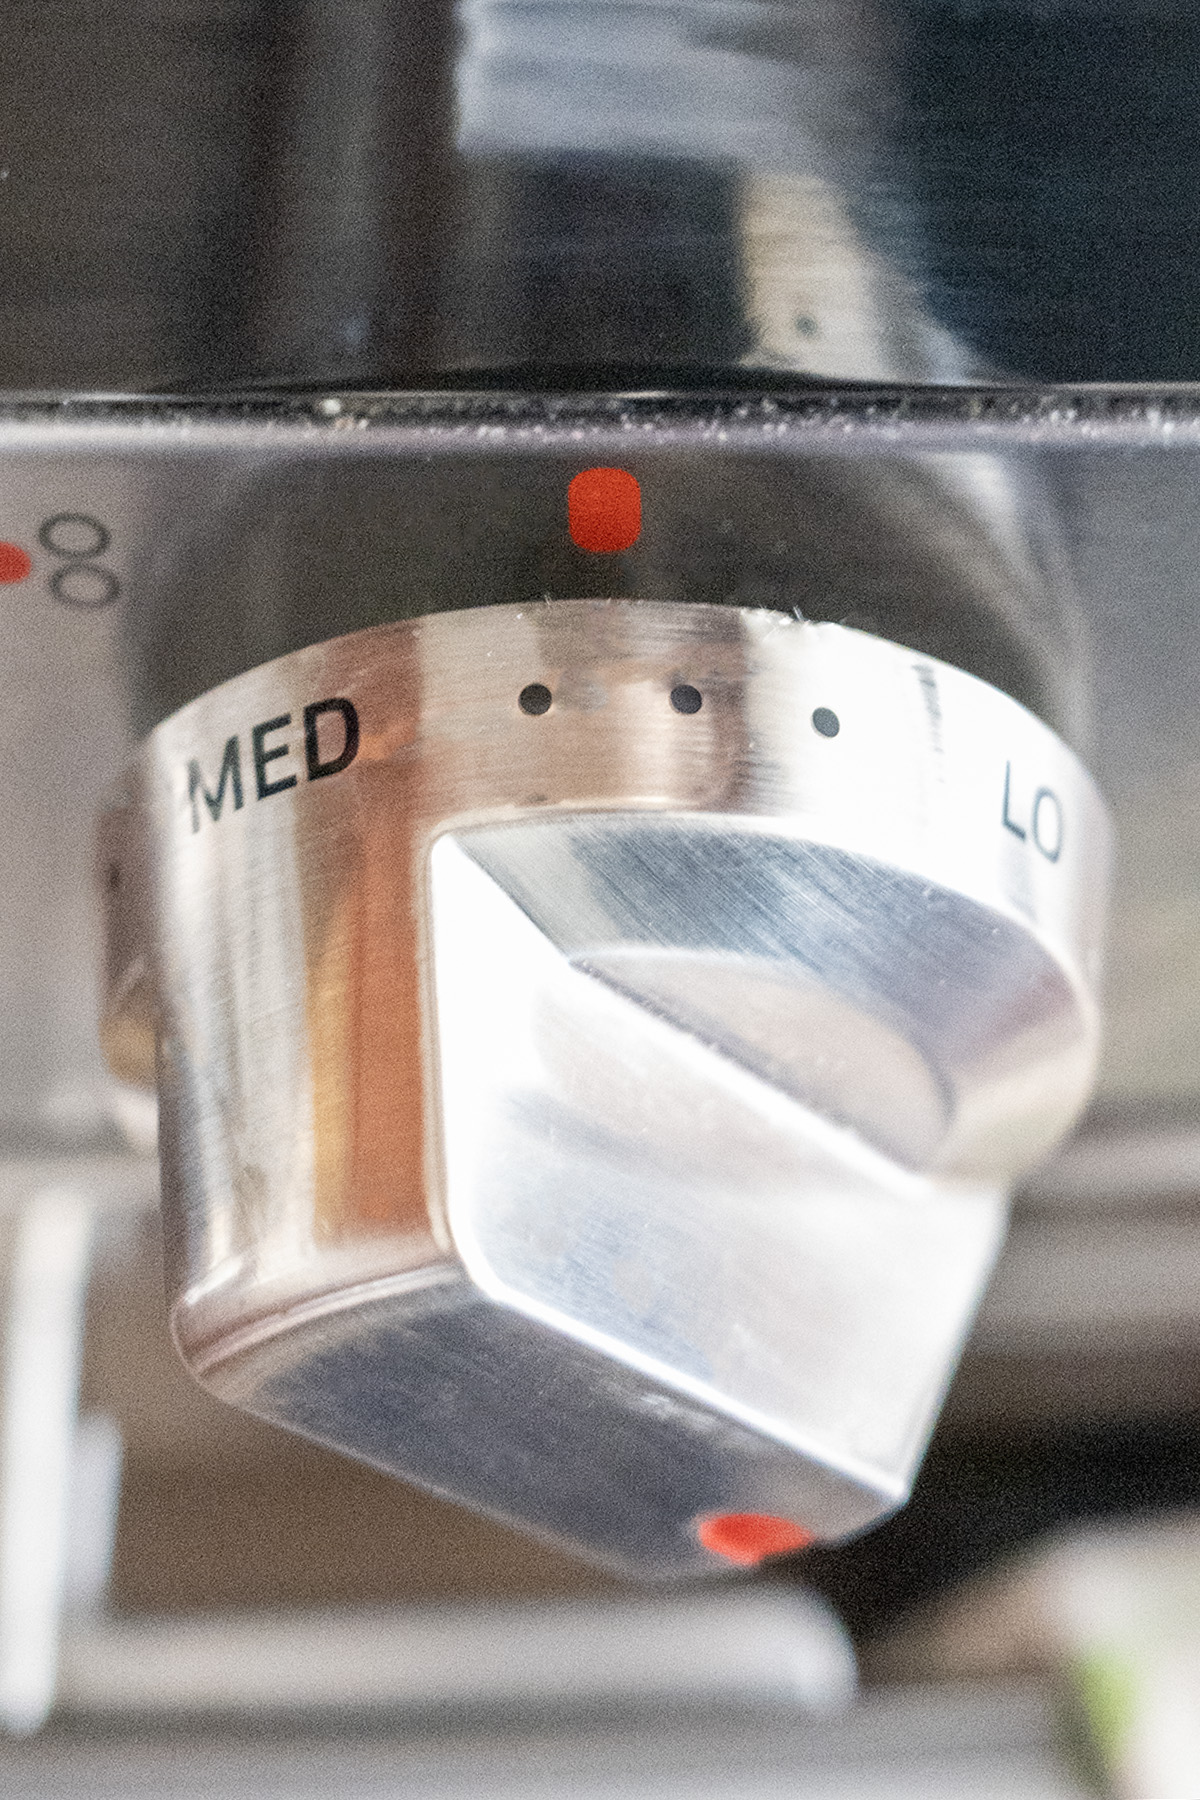
- Cook the Muffins: Preheat a non-stick skillet, cast iron pan, or griddle over medium-low heat (325°F/165°C). Cook 3-4 muffins at a time, 4-5 minutes per side. Cover cooking muffins with a lid or cover for about 2-3 minutes, remove lid and fry an additional 1-2 minutes. Turn and repeat on the 2nd side. Fry until golden brown and the internal temperature reaches 190°F/88°C. Transfer to a wire rack to cool. Repeat with remaining muffins.
- Serve: Split muffins with a fork and toast lightly. Enjoy as breakfast sandwiches or with butter and jam.
Video
Notes
- Texture Note: These muffins don’t have the super-defined nooks and crannies of store-bought English muffins. They’re still incredibly delicious and perfect for breakfast sandwiches.
- Why We Love Them: The mild sourdough flavor and soft, chewy texture make these muffins a family favorite, far better than store-bought. They’re easy to make and forgiving, even with a 36-hour fridge rest.
- Tips:
- Ensure your starter is active (doubles in 4-6 hours after feeding) for best results.
- Handle the dough gently when shaping to avoid deflating it.
The scant 1/2 inch thickness and rerolling scraps will yield 12 English muffins. - Store in an airtight container for 2-3 days or freeze for up to 1 month. Toast to refresh.
As an Amazon Associate, I earn from qualifying purchases at no extra cost to you. Thank you for your support!


One Comment